Upgrade Your Chimney Surround for Lasting Value and Comfort

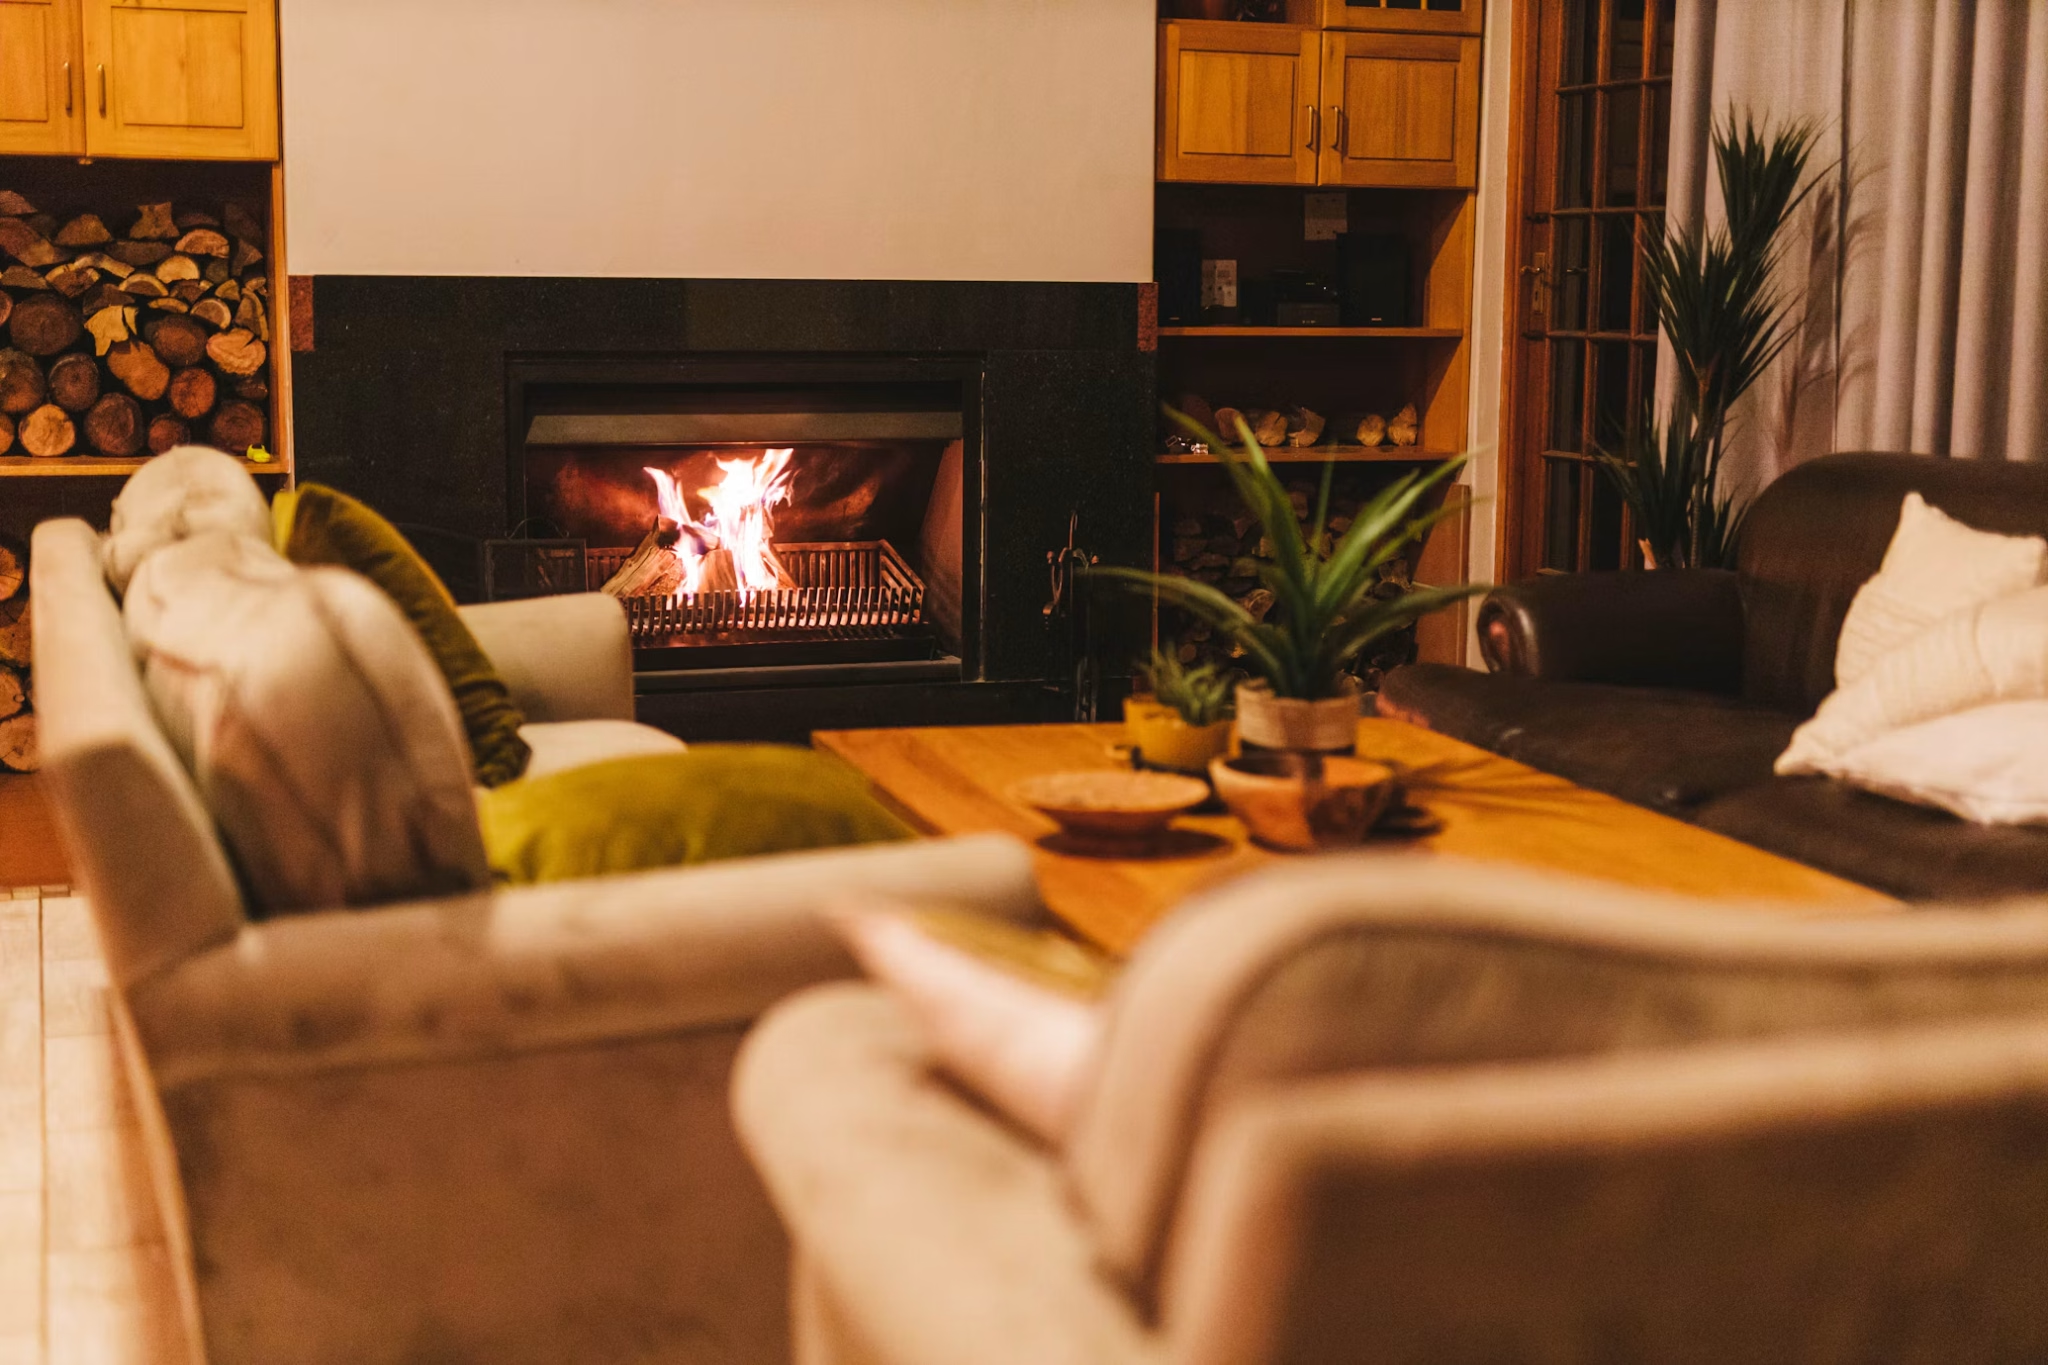
Image Credit: Unsplash
A chimney surround can change how an entire room looks, but a successful upgrade also needs to manage heat, moisture, and everyday storage. Before ordering tile or sketching shelves, inspect the full assembly and identify any repairs that could affect the finished work. This prevents new materials from hiding cracked masonry, loose joints, or signs of water entry.
Plan the project in a practical order: verify the chimney’s condition, address exterior leaks, confirm required clearances, and then install the decorative elements. Local building requirements and product instructions should guide every choice.
Select Contemporary Non-Combustible Facing
Choose a facing material rated for the temperatures and clearances around your particular fireplace. Stone, brick, porcelain tile, concrete, and some metal systems are common options, though suitability depends on the product and installation method. This guide to non-combustible fireplace materials offers a useful overview of available finishes.
Large-format porcelain creates fewer grout lines and suits a clean interior, while textured stone gives a room more depth, much like exterior upgrades can transform curb appeal. If you want a shelf above the opening, review options for a non-combustible fireplace mantel. Confirm clearances with the fireplace manufacturer and local code authority before settling on dimensions. Adhesive, backer board, and grout must also be approved for the application.
Diagnose Masonry Integrity Behind Walls
Inspect the hidden structure before covering old brick or framing a new surround. Warning signs include widening mortar joints, white mineral deposits, rust stains, loose bricks, and recurring odors. A stain that feels dry during summer may still point to water entering during heavy rain.
Arrange a professional inspection if you see damage, have recently moved into the home, or don’t know when the system was last checked. Homeowners in West Virginia’s Eastern Panhandle can consult a chimney sweep for sweeping, visual or camera-aided inspection and repair recommendations. Ask the contractor to document problem areas so your mason, carpenter, or tile installer knows what must remain accessible. Complete structural and mortar repairs before installing backer board or decorative facing.
Seal Exterior Flashing Against Leaks
Check the roof connection because an interior stain near the chimney may begin several feet above it. Flashing should direct water away from the masonry and roof opening. Look for lifted edges, missing sealant, corrosion, and gaps where step flashing meets counterflashing. From the ground, binoculars can reveal obvious defects, but a qualified roofer should handle close inspection on steep or high roofs.
The chimney crown also needs attention. Cracks can admit water that freezes, expands, and damages masonry over time. Confirm that the crown slopes outward and has a drip edge. A cap should fit securely while allowing the system to vent as designed. Once repairs are complete, wait through rainfall before closing interior walls so you can verify that the leak has stopped.
Integrate Functional Built-In Storage
Design storage around how you use the room. Closed cabinets can hide electronics, board games, and charging cables, while open shelves work well for books, ceramics, and framed art. Keep all woodwork and stored objects outside the required clearance area. Heat-sensitive items such as candles, photographs and electronics also need enough distance to avoid damage.
Measure wall depth, baseboard height, and nearby outlets before drawing the built-ins. An asymmetrical layout may solve awkward conditions better than matching shelves on both sides. For example, one side could hold a 16-inch-deep cabinet while the other uses shallow display shelves. Include removable panels where technicians may need access, and leave ventilation space around electronic equipment. Paint samples should be tested beside the facing material in daylight and after dark.
A well-finished surround begins with work that may never be visible. Once the masonry is sound and the roof connection stays dry, the tile, mantel, and cabinetry can become lasting parts of the room instead of surfaces that need to be removed for another repair.