How Photos and Lighting Can Transform Your Home

A room’s mood isn’t set by furniture. It’s set by light and what that light lands on. Change the lighting in a space, and everything else in it reads differently. Change what’s hanging on the walls, and the light has something to work with instead of empty drywall.
Why Lighting Changes How a Room Feels
Light temperature matters more than most homeowners realize. Bulbs rated below 3000K read warm and residential. Anything above 4000K starts to feel clinical, closer to office lighting than home lighting. Most living rooms and bedrooms look best between 2700K and 3000K.
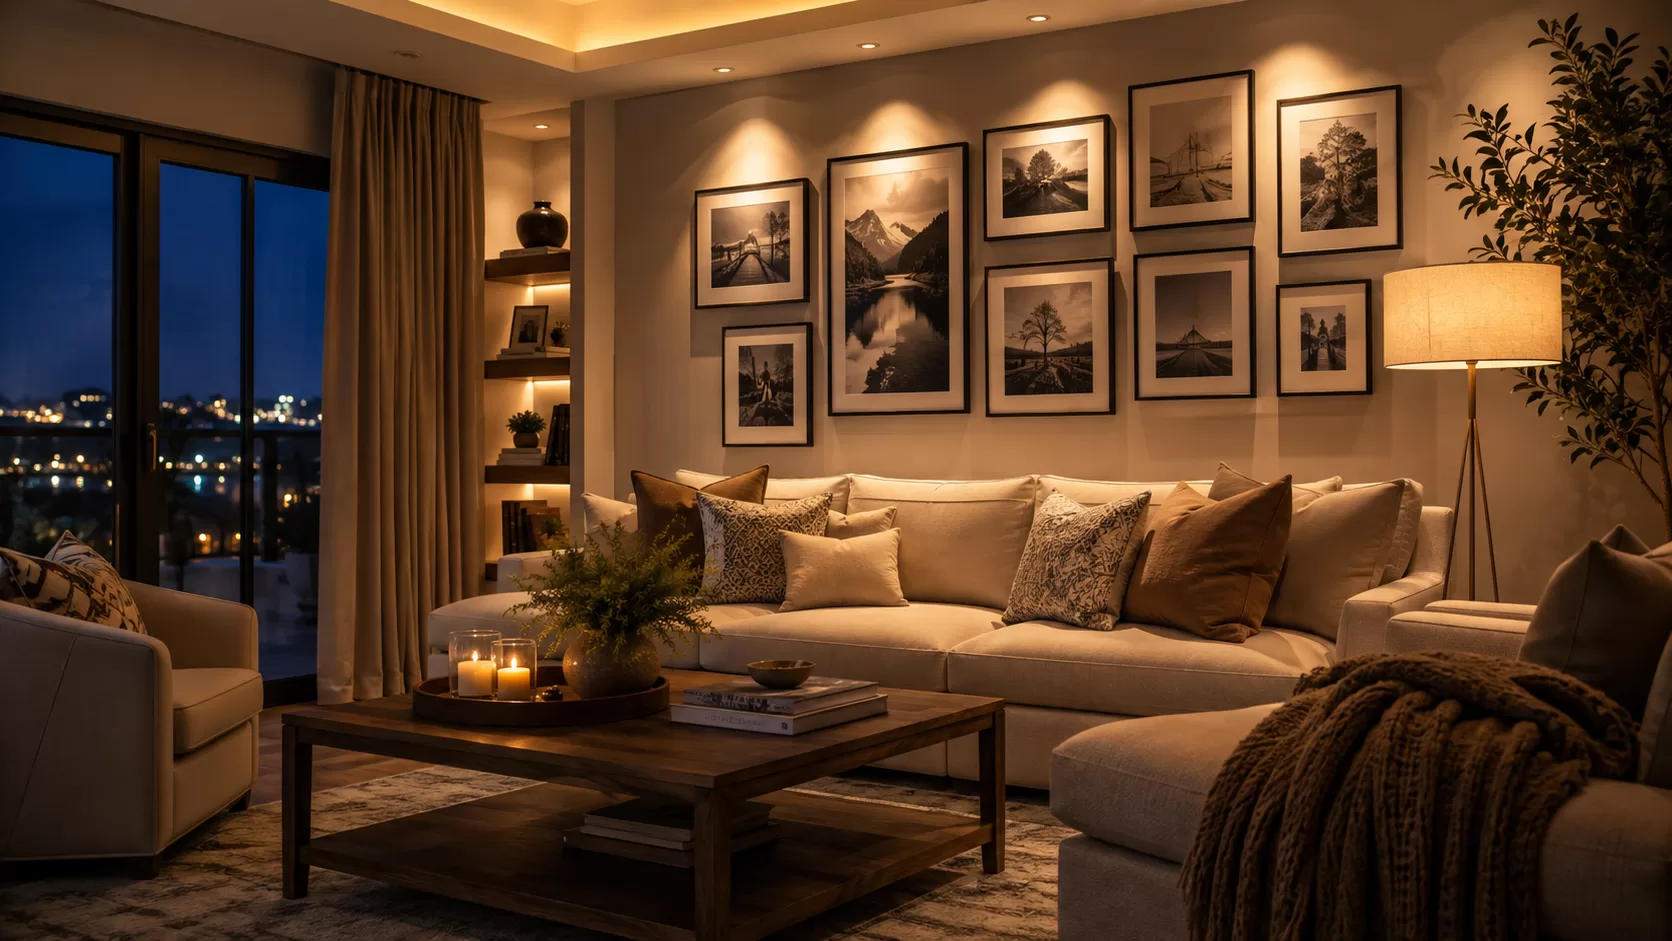
A Redfin survey found that 44% of U.S. residents would choose a smaller home with more access to natural light over a larger home with less light, according to Redfin’s research. That preference doesn’t stop at square footage. It applies to how a room is lit after the sun goes down too. People respond to light quality even when they can’t articulate why.
The Science of Layered Lighting
Professional lighting design breaks a room into three layers. Skipping any one of them is why a lot of rooms feel flat under a single overhead fixture.
- Ambient light: the base layer, usually ceiling fixtures or recessed cans, providing overall visibility
- Task light: focused light for reading, cooking, or working, like under-cabinet strips or desk lamps
- Accent light: light aimed at a specific object or wall, used to create depth and focal points
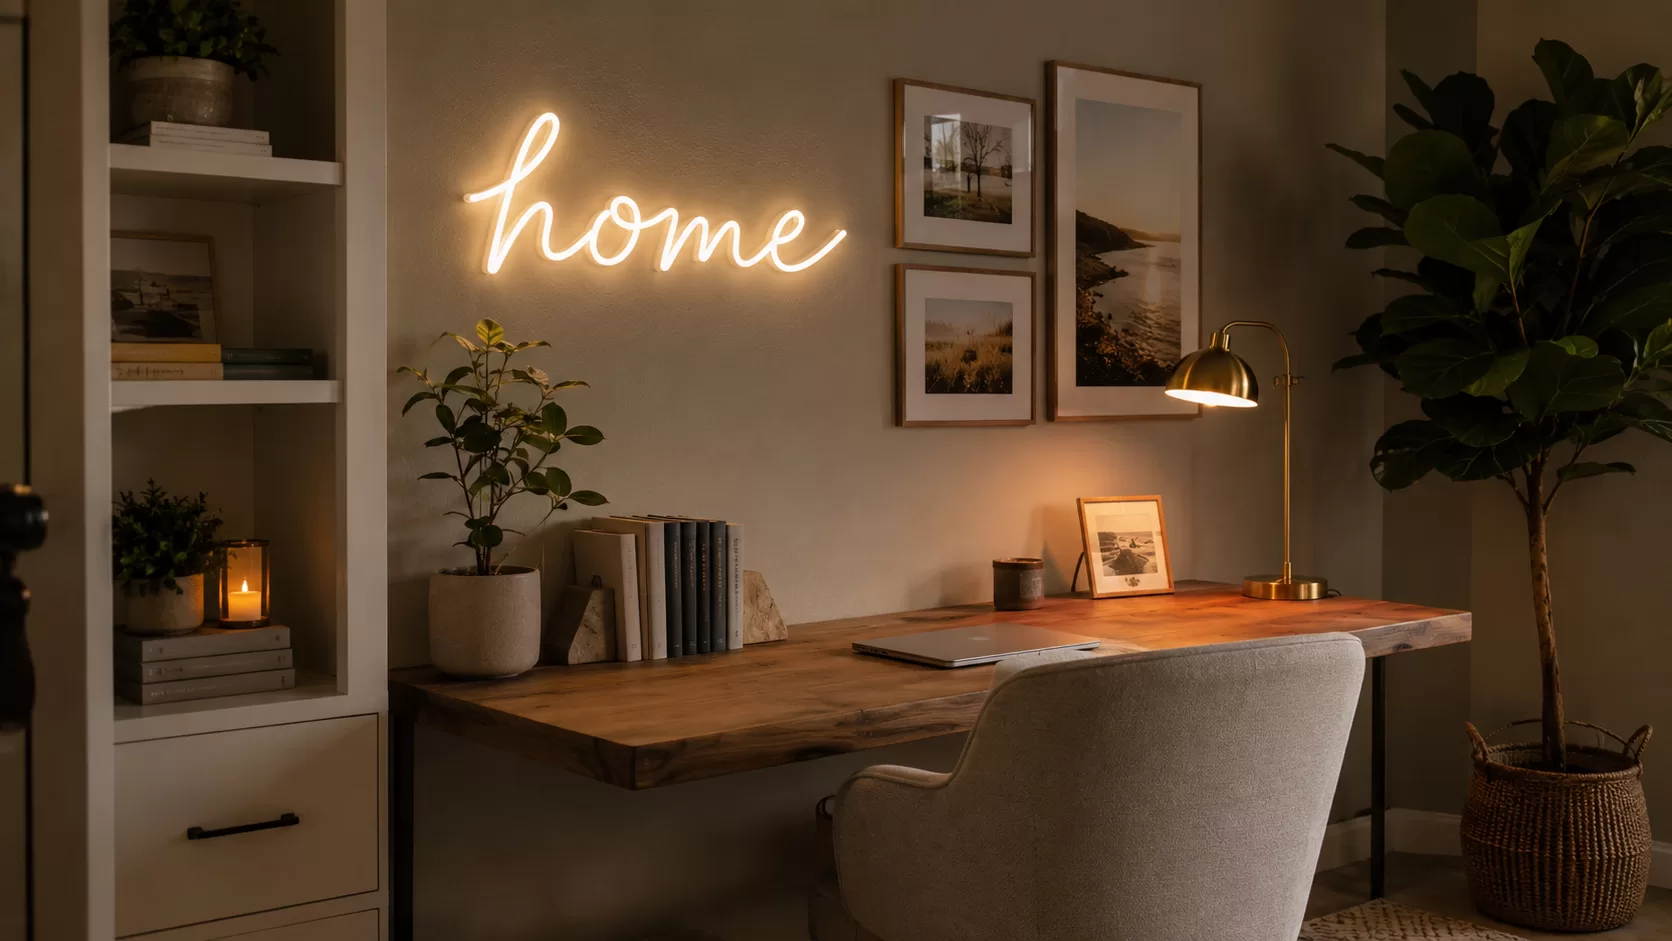
Most homes only have the first layer. Adding task and accent lighting is what separates a builder-grade room from one that feels designed. Accent lighting specifically is where photography and wall art come into play, because a photo with no light on it disappears after dark.
Where Photography Fits Into Home Design
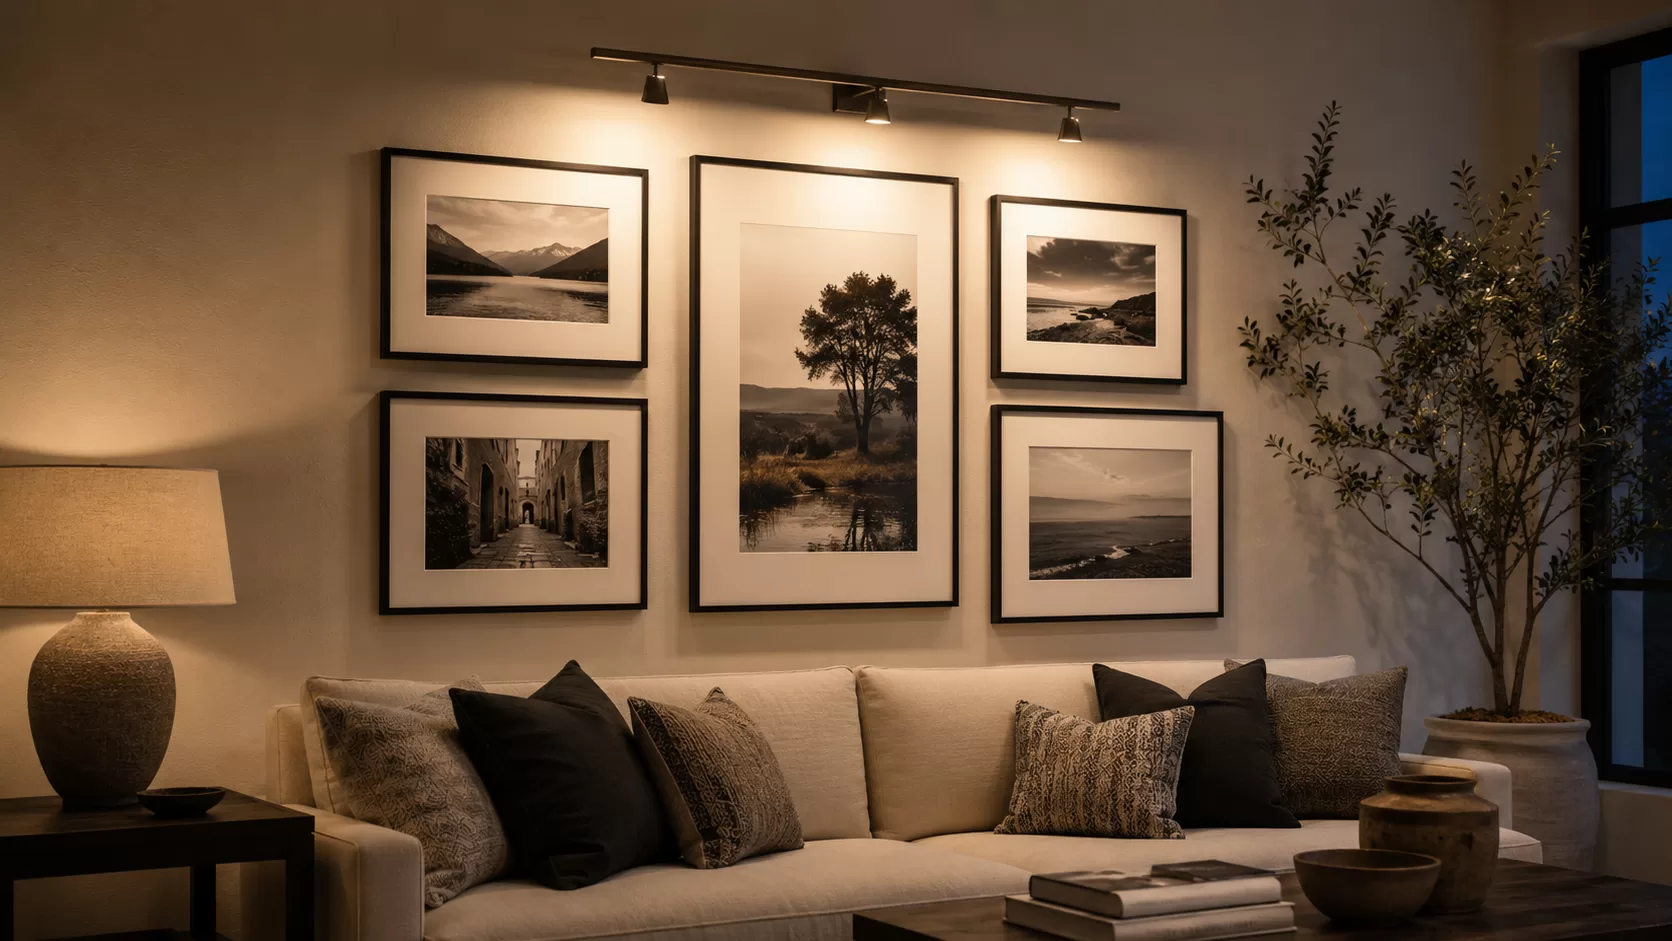
Printed photography does something screens can’t. It gives a wall a fixed, physical focal point that light can be aimed at. A gallery wall lit with a single picture light or a track head reads as intentional. The same wall lit only by ambient ceiling light reads as an afterthought.
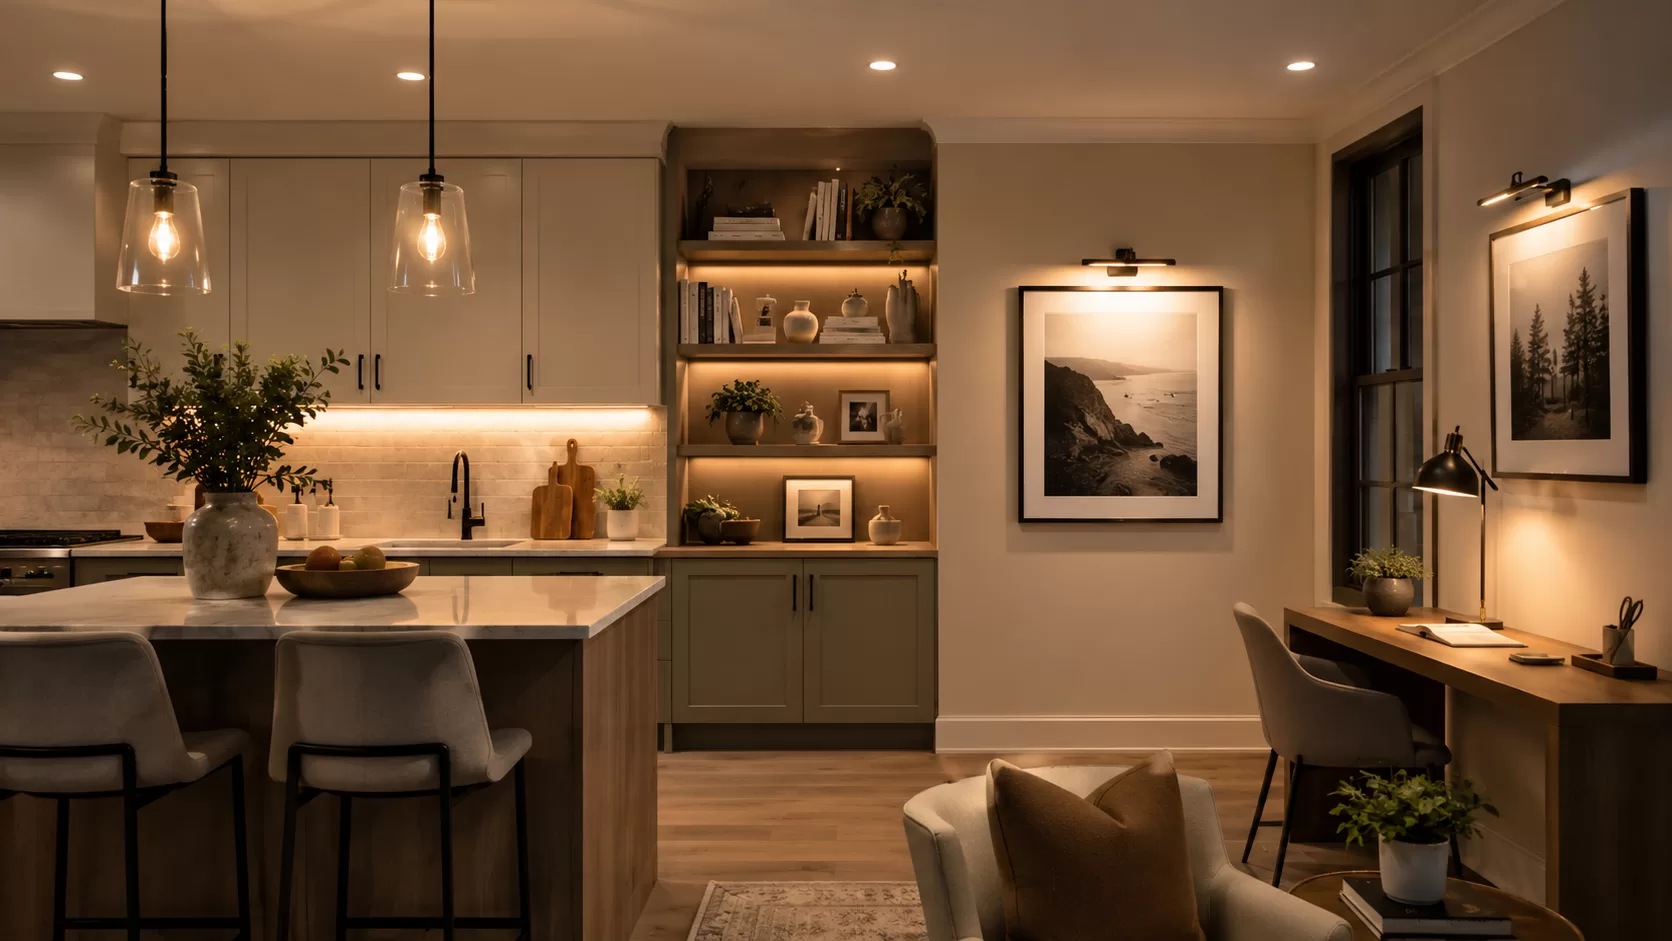
If you’re building out a collection, ordering through photo books is a practical way to organize prints by theme or trip before deciding what gets framed and mounted. It also solves the problem of photos that are meaningful but not necessarily wall-worthy on their own.
Placement and Scale Matter More Than People Think
Gallery wall height is the most common mistake. Frames should hang so the center of the arrangement sits around 57 to 60 inches from the floor. That’s average eye level for a standing adult, and it’s the standard museums use.
Spacing between frames should stay between 2 and 3 inches. Wider gaps make a grouping look scattered. Tighter gaps make it look cramped. For a single large photo over a sofa, the frame should span roughly two-thirds the width of the furniture below it, not the full wall.
Mixing Photography With Statement Lighting
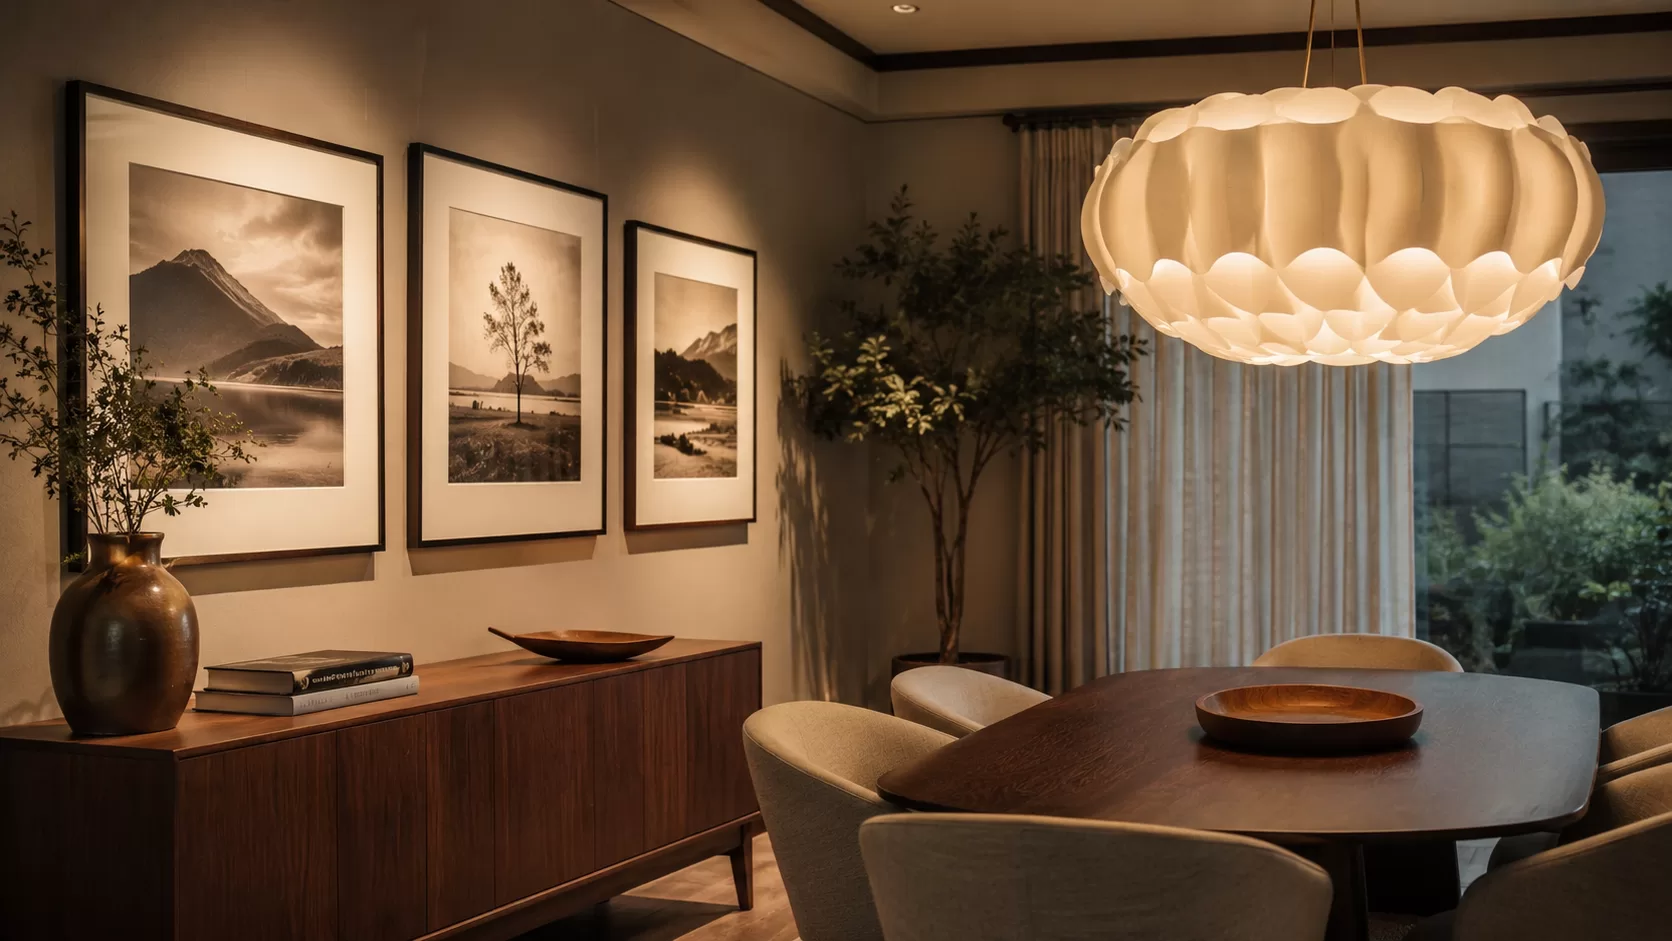
Combining printed photography with a bold light fixture is where a room starts to feel curated instead of decorated. A gallery wall on one side of a room and a sculptural pendant on the other gives the eye two anchor points instead of one flat sweep.
The mistake is treating these as competing elements. They work better as a pair. A warm-toned photo wall paired with a warm-toned fixture reinforces the room’s temperature instead of fighting it. Mixing 3000K accent lights with a 5000K pendant is a common reason a room feels inconsistent even when every individual piece looks fine on its own.
Personalizing a Room With Light-Based Accents
Light itself can be the decor, not just the thing illuminating it. This is where custom neon signs come in. Unlike printed photography, a neon piece is a light source and a graphic element at the same time. It works well in spaces that need a single strong focal point rather than a wall full of smaller images, like a home bar, office, or nursery with a name or short phrase.
Modern LED neon flex runs cool and pulls very little power compared to old glass tube neon, so it can stay on for hours without heating up a room or spiking an electric bill. Most units are dimmable, which matters if the piece sits in a bedroom or living room where brightness needs change throughout the day.
Practical Steps to Start
A full lighting and photography overhaul doesn’t need to happen in one weekend. It works better broken into stages:
- Audit existing light temperature and swap mismatched bulbs to a consistent range
- Add one accent source, like a picture light or track head, to an existing wall
- Select and print a small photo grouping before buying frames
- Hang the grouping at 57 to 60 inches center height with 2 to 3 inch spacing
- Add one statement piece, whether that’s a fixture or a neon accent, as a focal point
Doing this in order prevents the most common outcome: buying frames or a fixture first, then realizing the lighting underneath doesn’t support either one. Light and photography aren’t separate projects. They’re the same project, done in the right sequence.