How to Achieve Pro Photo Results on a DIY Budget
Capturing professional-quality photographs without breaking the bank may seem like a daunting task. But by understanding fundamental photography principles, embracing creative solutions, and the other tips in this guide, it’s possible to achieve breathtaking results on a DIY budget.
12 Ways to Achieve Pro Photo Results on a Small Budget
This guide will outline practical tips and tricks for utilizing affordable equipment and mastering essential techniques that can enhance your photo-taking skills while keeping costs in check.
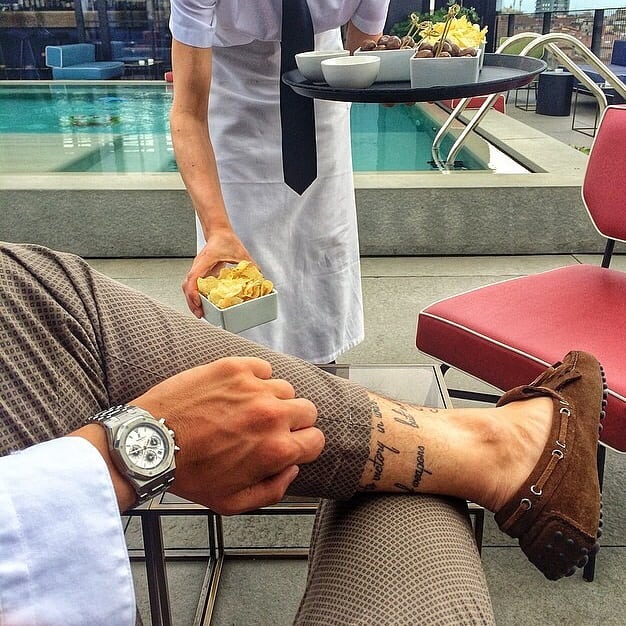
1. Shoot During the Golden Hour
For professional-looking photos, shoot during the golden hour. It’s that magical time shortly after sunrise or just before sunset when the light is soft and warm, eliminating harsh shadows while enhancing colors. It can also bring out a lot of emotion in a person’s facial expressions.

2. Utilize Natural Light
Natural light in our homes can improve your photos. When indoors, make use of natural light from windows rather than relying on artificial lighting. If possible, position your subject either facing or next to a window to get beautifully lit shots without spending on expensive equipment.
3. Master Composition Rules
Learn and practice composition rules like the rule of thirds or leading lines to create visually appealing images that draw the viewer’s attention without a hefty budget. You should also learn how to “fill the frame,” meaning you’re reducing the amount of negative space in a photo.
4. Use DIY Light Modifiers
Create your own light modifiers, such as homemade softboxes or reflectors made from foil and cardboard. All you’ll need is a cardboard box, a lamp, and aluminum to get started. These DIY instruments can help diffuse harsh light sources and ensure even lighting across your subject.
5. Experiment with Depth of Field
Depth of field is the distance between the closest and farthest objects in the photo. It can change what your photograph focuses on. Mastering depth of field will add an artistic touch to your images. Experiment with aperture settings on your camera to achieve pro-level focus.

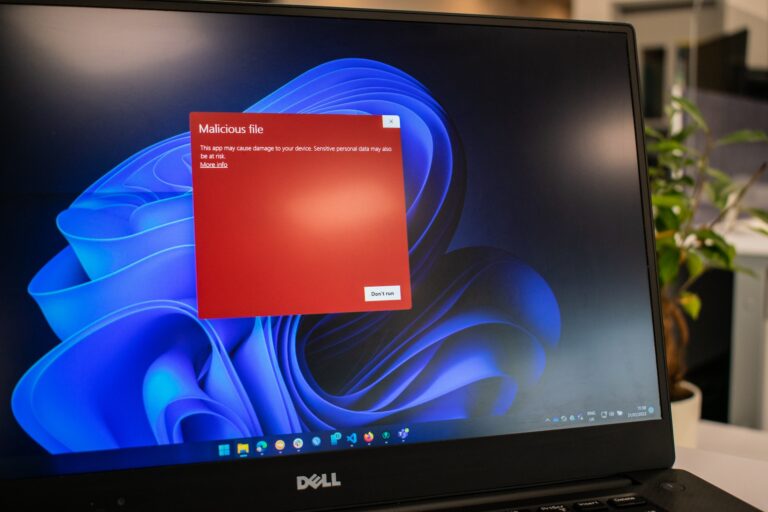
6. Edit Tastefully Using Free Software
There are plenty of free editing software options available online that provide excellent post-processing tools. For example, Picsart lets you edit, perfect your images, and remove unwanted objects from photos. Only include small edits so your photos don’t look fake.
7. Learn from Online Tutorials
With countless resources available online, spend time watching photography tutorials and learning new techniques to immediately improve your skills without needing costly workshops or courses. Or, you could take a course in person if you prefer something more hands-on.
8. Shoot in RAW Format
Shooting in RAW provides higher-quality files which allow for greater flexibility when you’re editing during post-processing. The reason for this is that RAW has the ability to recover shadows and highlights without making the image too grainy (usually due to a high ISO setting).
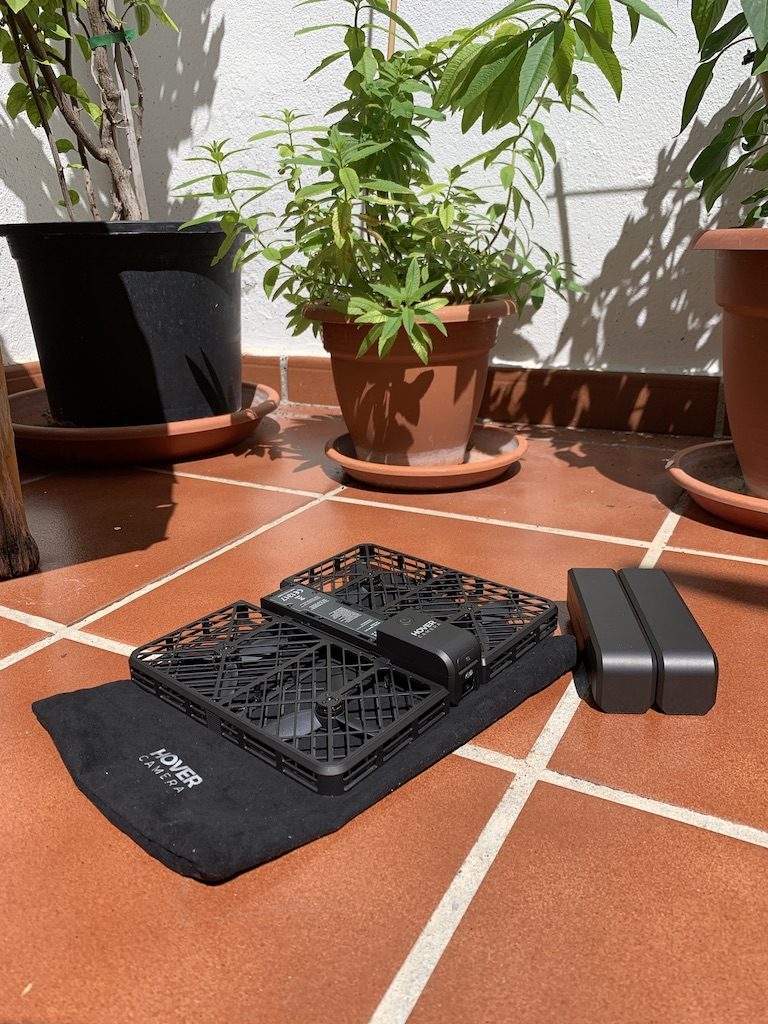
9. Invest in a Tripod
A tripod is an affordable accessory ensuring steady shots for long exposures, landscapes, and macro photography, giving your images a professional quality edge. If you’re using a phone camera, you can also get a tripod for that but also consider getting a selfie stick and light.
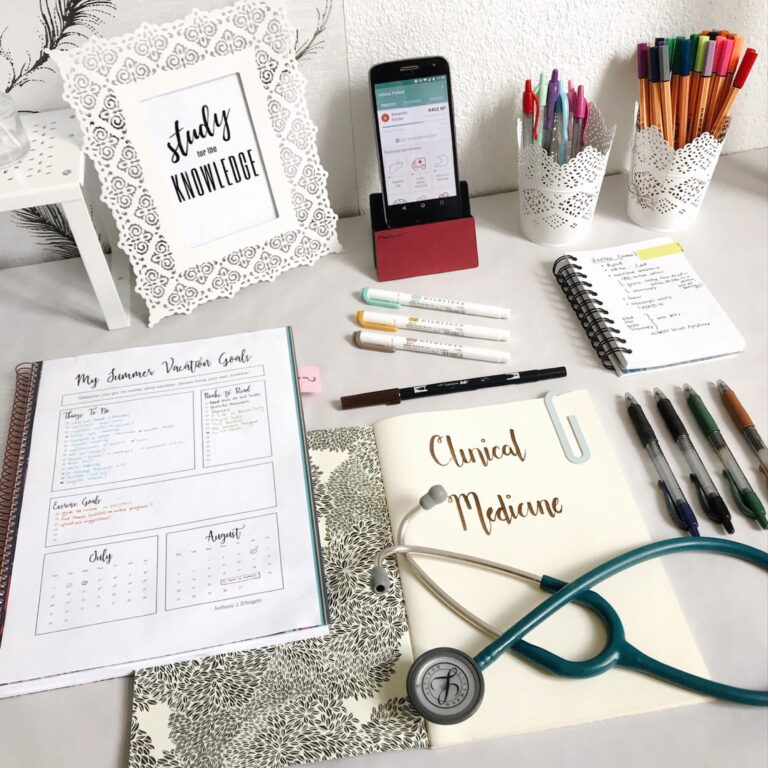
10. Get Creative with Props and Backdrops
Find props at thrift stores or DIY backdrops using fabric pieces or foam boards. This can add dimension to your photos and ensures you stay within budget constraints. Or, better yet, check out your own closet for props. You may find that your home is filled with interesting objects.
11. Use Manual Mode
By controlling aperture, shutter speed, and ISO settings yourself, you’ll understand how each aspect affects image quality and ultimately create better photos without the help of pricey gear. It’s fine to shoot in automatic when you start learning your camera, but don’t use it as a crutch.
12. Practice Makes Perfect
Ultimately, practicing consistently to improve your skills and produce professional-looking photos with minimal investment is vital. No photographer is incredible when they start. Don’t let other people’s art discourage you; just focus on growing your own talents.
In Conclusion…
It’s time to embark on your journey to capture stunning, professional-grade photos without overspending on costly gear or software. Remember that diligence, creativity, and a willingness to explore new techniques fuel the most impressive results, so keep on practicing!