DIY Project: A Cozy Dog Bed
As you probably guess from the title this post is intended for those lucky people who have dogs. So if you don’t have a doggie yet, it is time to get one and join me for this really funny and interesting DIY project.
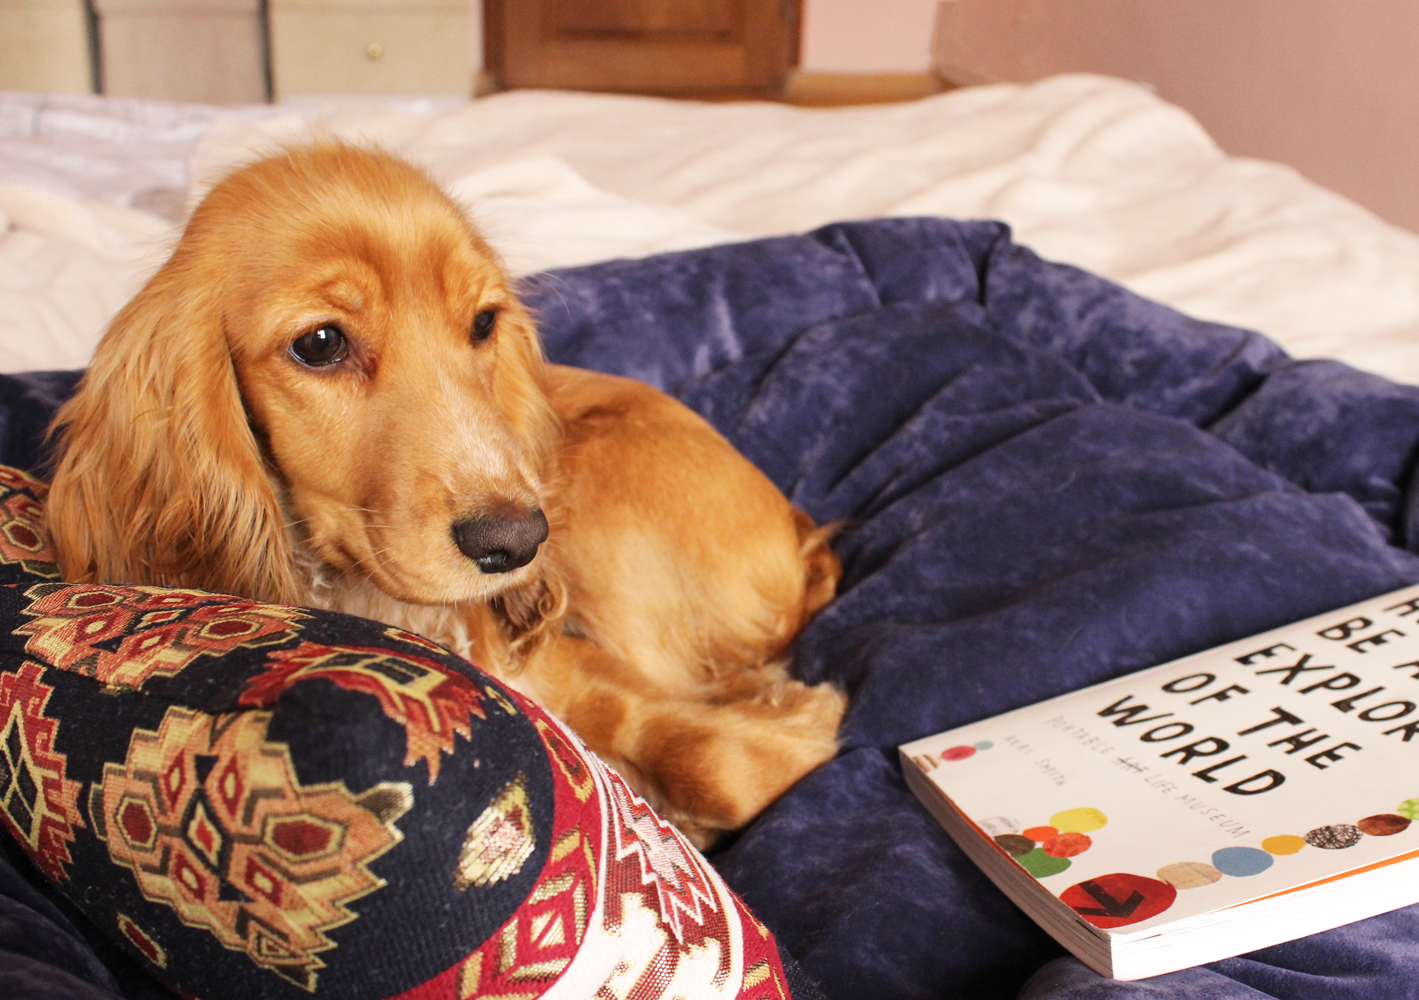
So, why at first place does dog need a bed? Honestly, when our Dolce came to our life, she immediately understood who is the real boss in the house, and my timid attempts to define her place didn’t have any success. When Dolce’s teacher (yes, she went to a dog’s school now) saw that she can sleep on all sofas in our house he was really impressed and said that from now on this situation needs to be changed. He said that psychologically all dogs want to have their own little space where they can relax, be alone when they want and recover when they don’t feel well (same as people!). After visiting pet shop and not finding anything that would suit my room’s decor (seriously, what do these designers think when they make dog beds in these really stupid colour combos which would hardly fit any room?) I decided to make one myself.
When I am typing these lines now I really don’t know whether I will succeed with this project as I don’t have any template or tutorial by hand. Let’s see!
Here is the list of materials I have:
- Fabric (for making a square bed 70 X 50 cm I bought 1 meter of upholstery textile 140 cm wide)
- Scissors
- Needle and thread
- Polyester fiberfill (I took 1 kg)
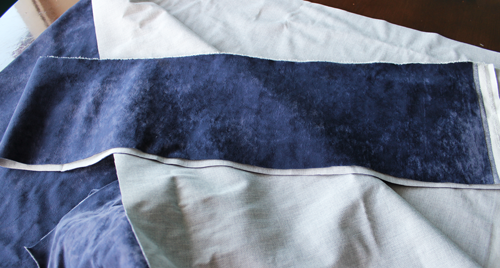
I started from cutting the base of future bed: two square pieces 72 X 52 cm (1cm on each sides goes for joinery).
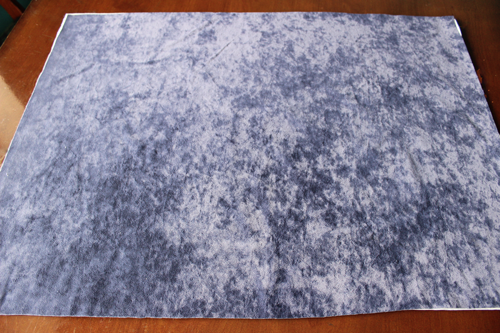
Now is the time to cut out the future walls: the length should be equal to the perimeter of our bed (240 cm + 2 cm for joinery). The height can vary, I preferred to make a small one, 17 cm high. If you want to make the walls from one wide piece of fabric just fold it along the length or if you have taken two pieces sew them together.
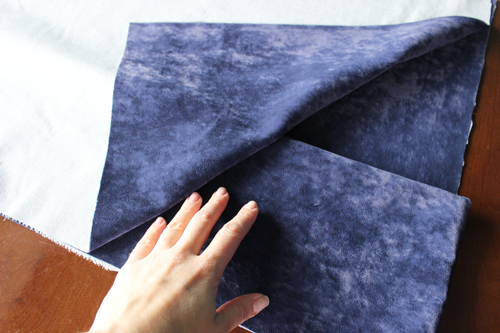
Now it is a bit tricky. You need to to put the wall between two pieces of base and all facing sides need to be inside (like on the picture):
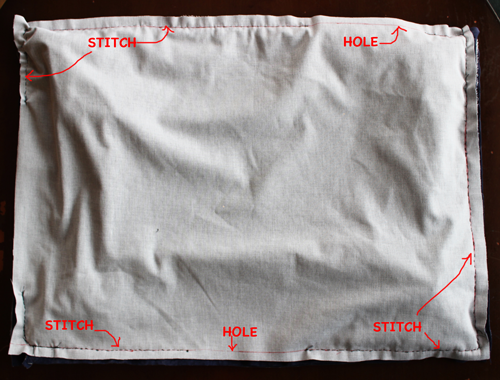
Start sewing along the perimeter. You need to leave a couple of holes (that’s where you will put filling later) and one side not stitched so that you can turn the base inside out. In the corners just fold the fabric diagonally towards the centre and make sure you stitch this area properly.
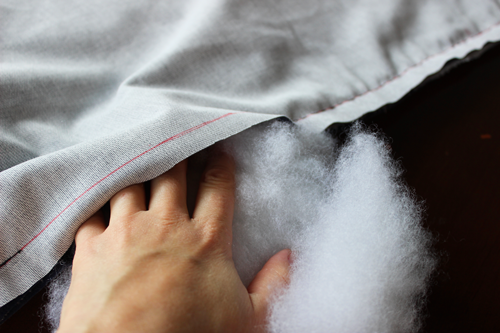
Now it is time to put filling inside the walls using the holes that we have left. Make sure to spread it evenly so that there are no hollows and bumps later.
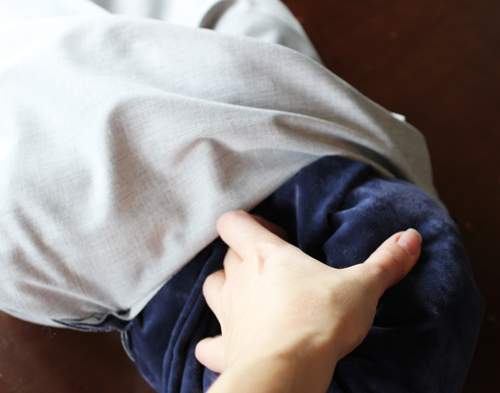
After putting all filling in the walls, stitch the holes leaving only one which you will use for turning the base inside out. It is time to do it:
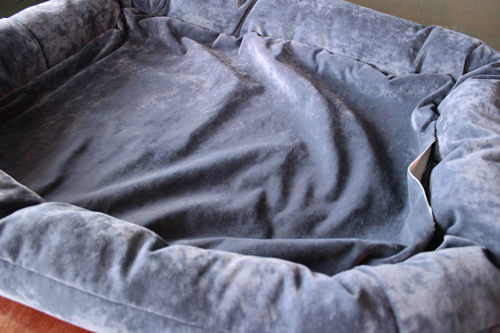
Phew, that was hard! Now is the last step: to put the filling inside the base and sew the last hole with a secret stitch:
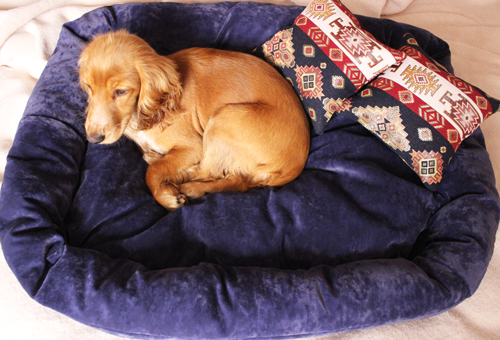
That was even harder! But I did it, and I am proudly sharing with you the results:
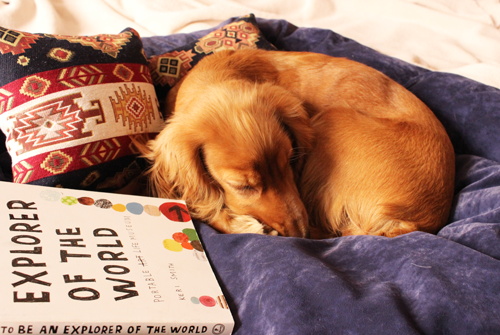
By the way, I also made these little “Berber” cushions for Dolce in the last desperate attempt to break her habit to chew ours: who knows maybe if she has her own she will loose interest in ours?
That was a really interesting do-it-yourself project and I think after accomplishing it I can proudly call myself a crafty person!
I hope you enjoyed this post and it was useful. Looking forward to hearing from you!
You might also like
- DIY Project: How To Make Attractive Product Packaging (essenziale-hd.com)
- DIY Project: Reupholstering Old Chairs (essenziale-hd.com)
- DIY Project: Vintage Suitcase Makeover (essenziale-hd.com)

