DIY Project: Reupholstering Old Chairs
I wanted to share with you a quick post about the easiest way to re-upholster an old chair. I am sure many of you have done it or know how to do it, however for those who are doing it for the first time these tips might be helpful.
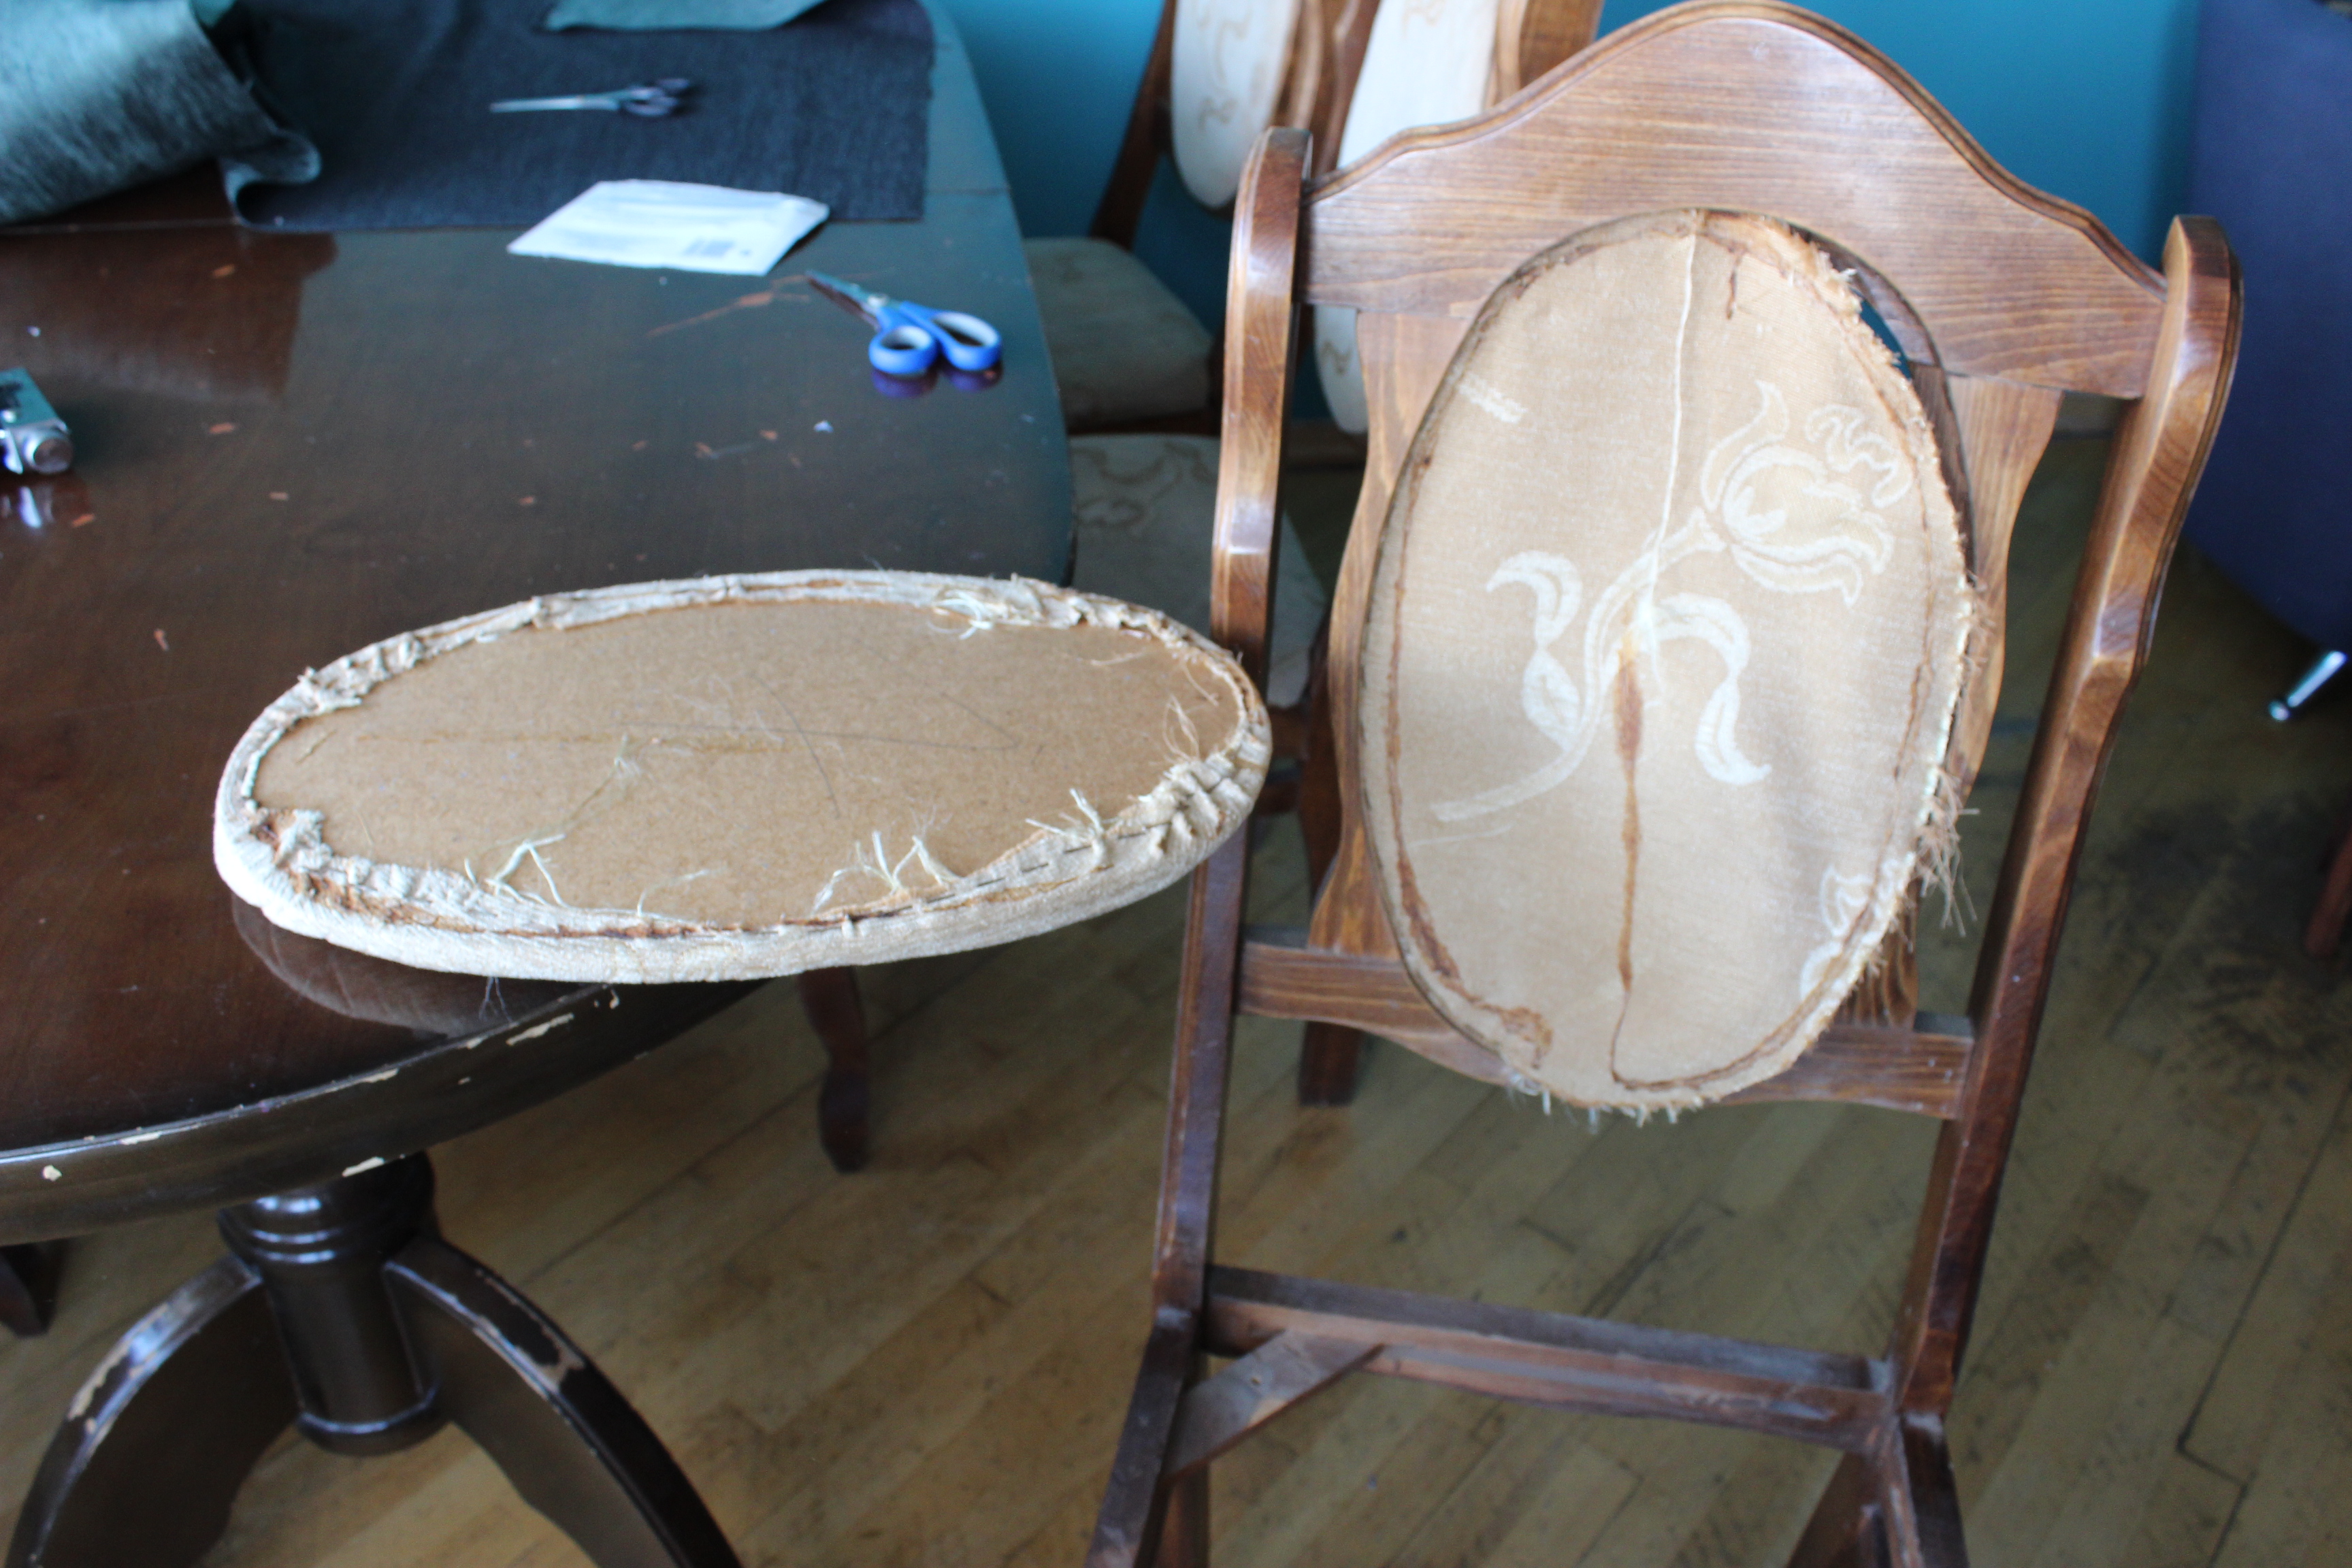
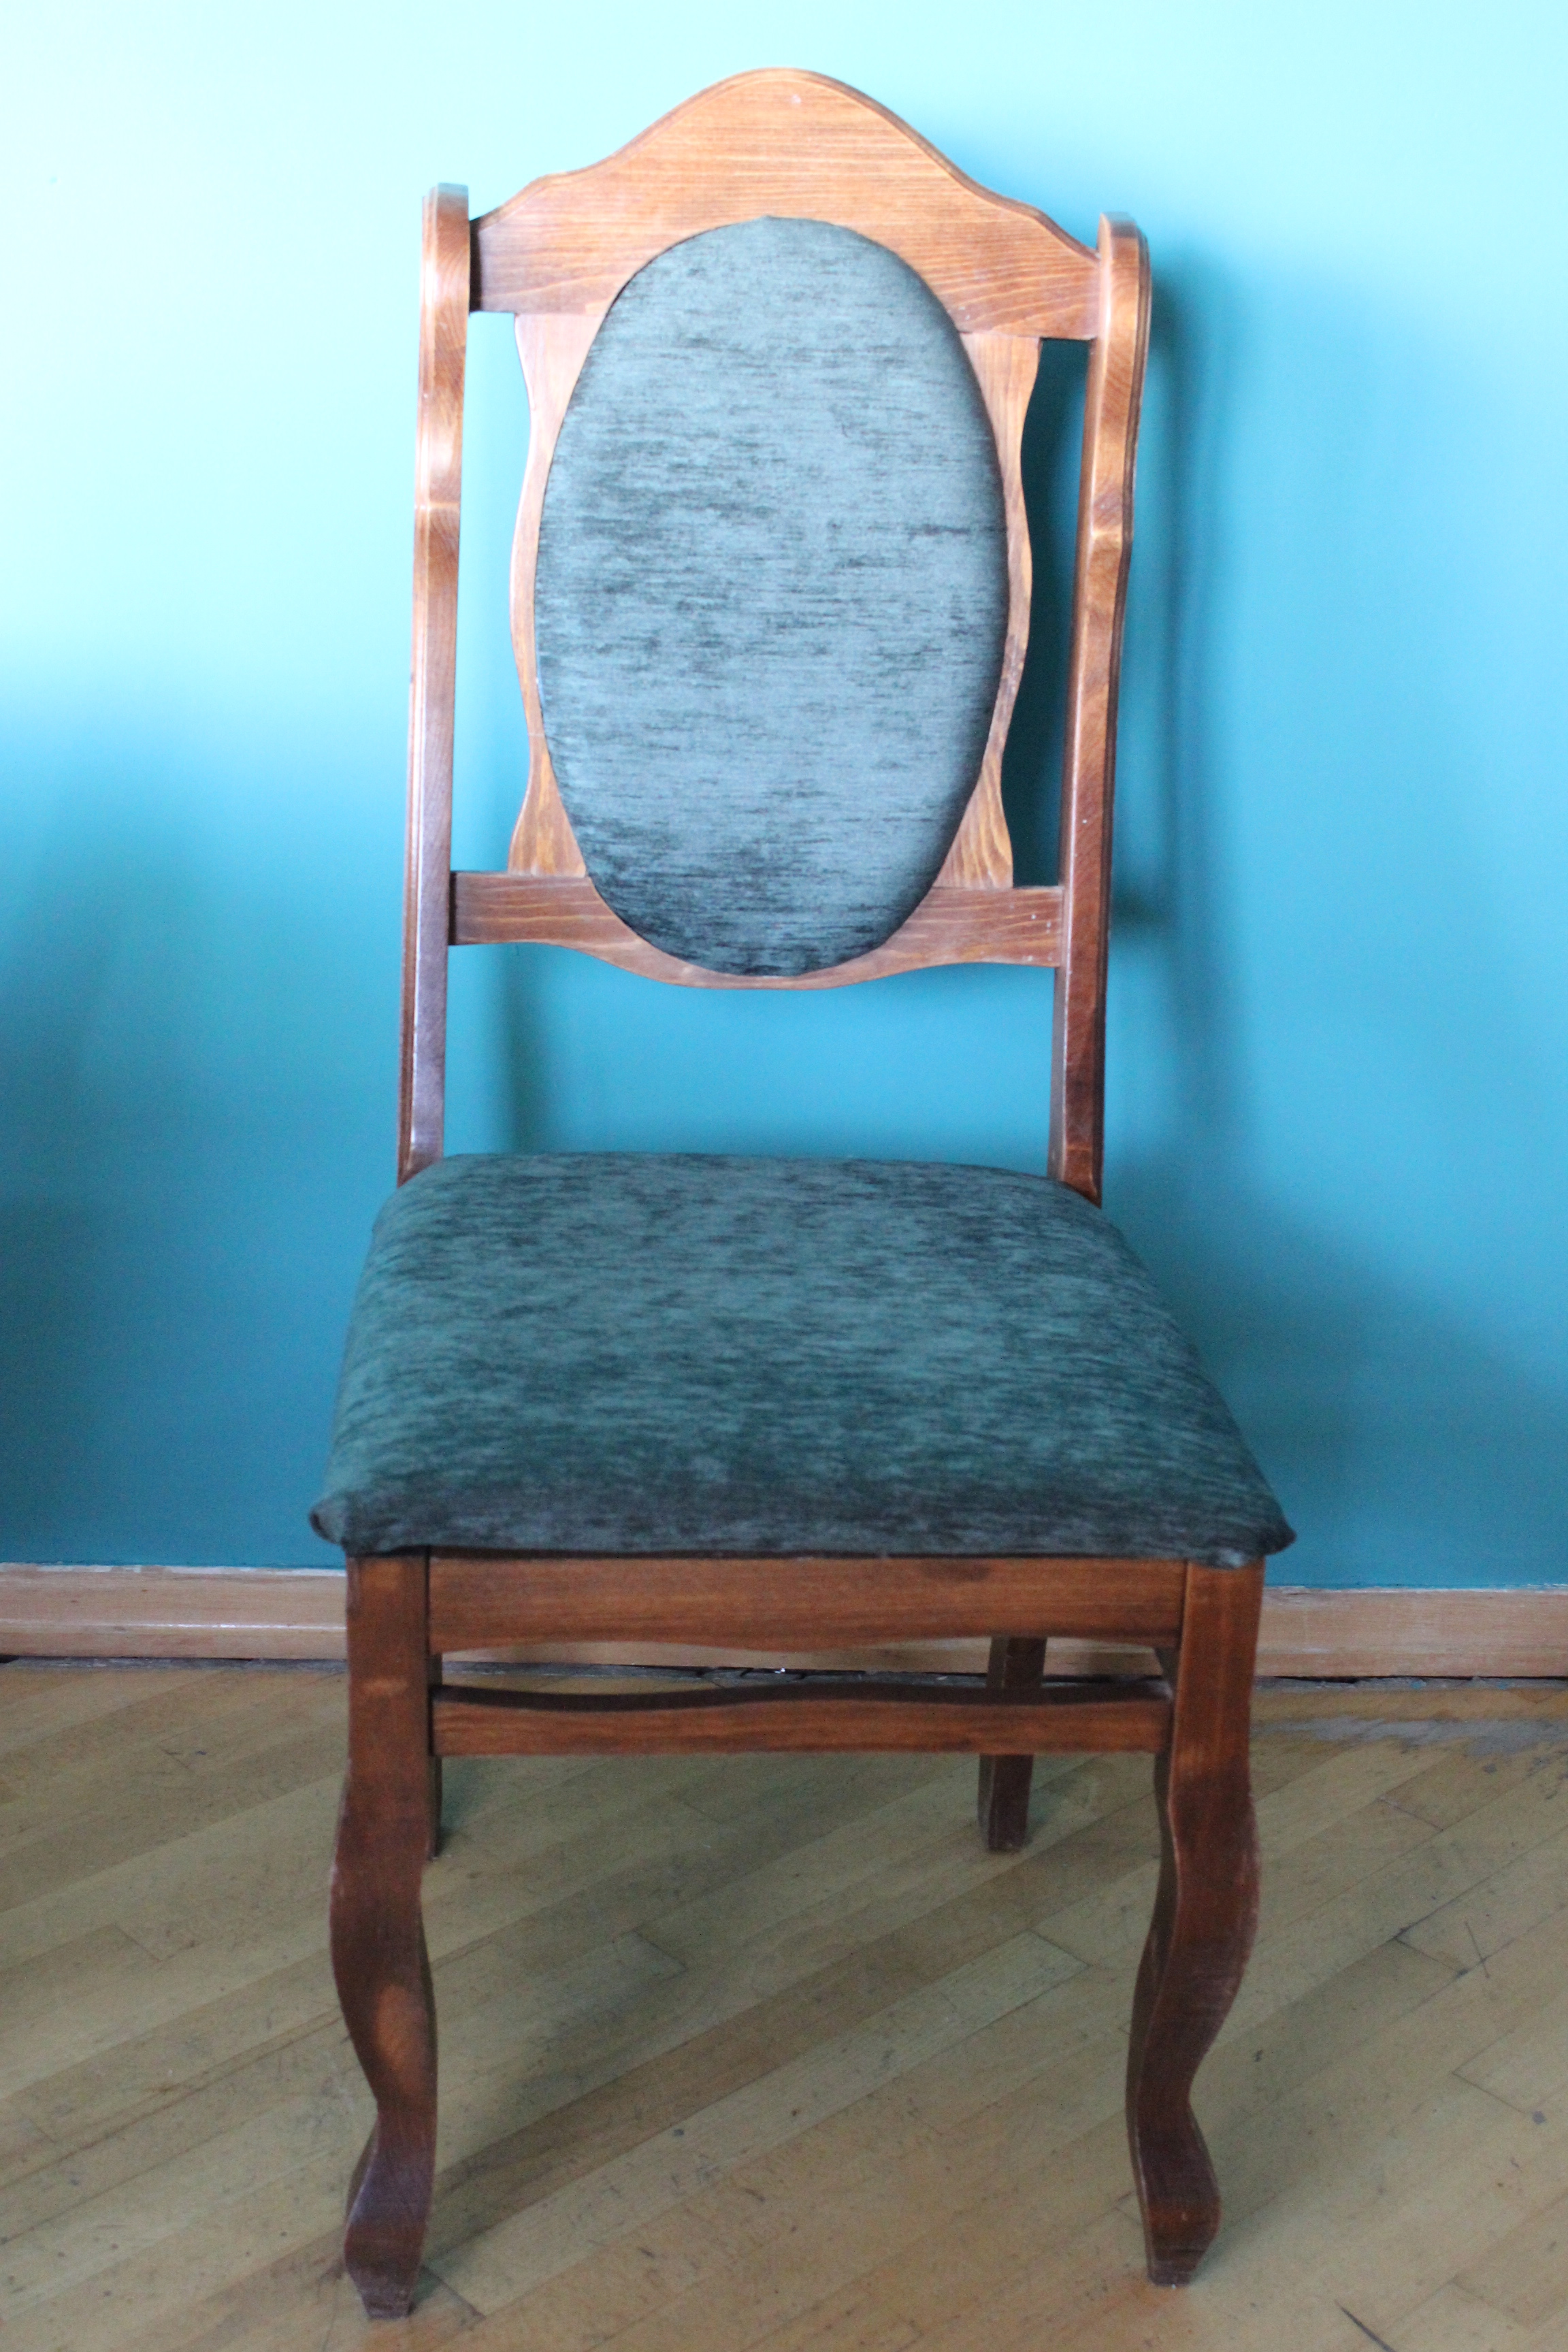
So I had this set of six traditional wooden chairs upholstered in beige velvety fabric which I decided to change. I didn’t like the way it looked in front of my newly painted in teal colour walls plus they had a lot of dirty spots on them and fabric looked pretty tired.
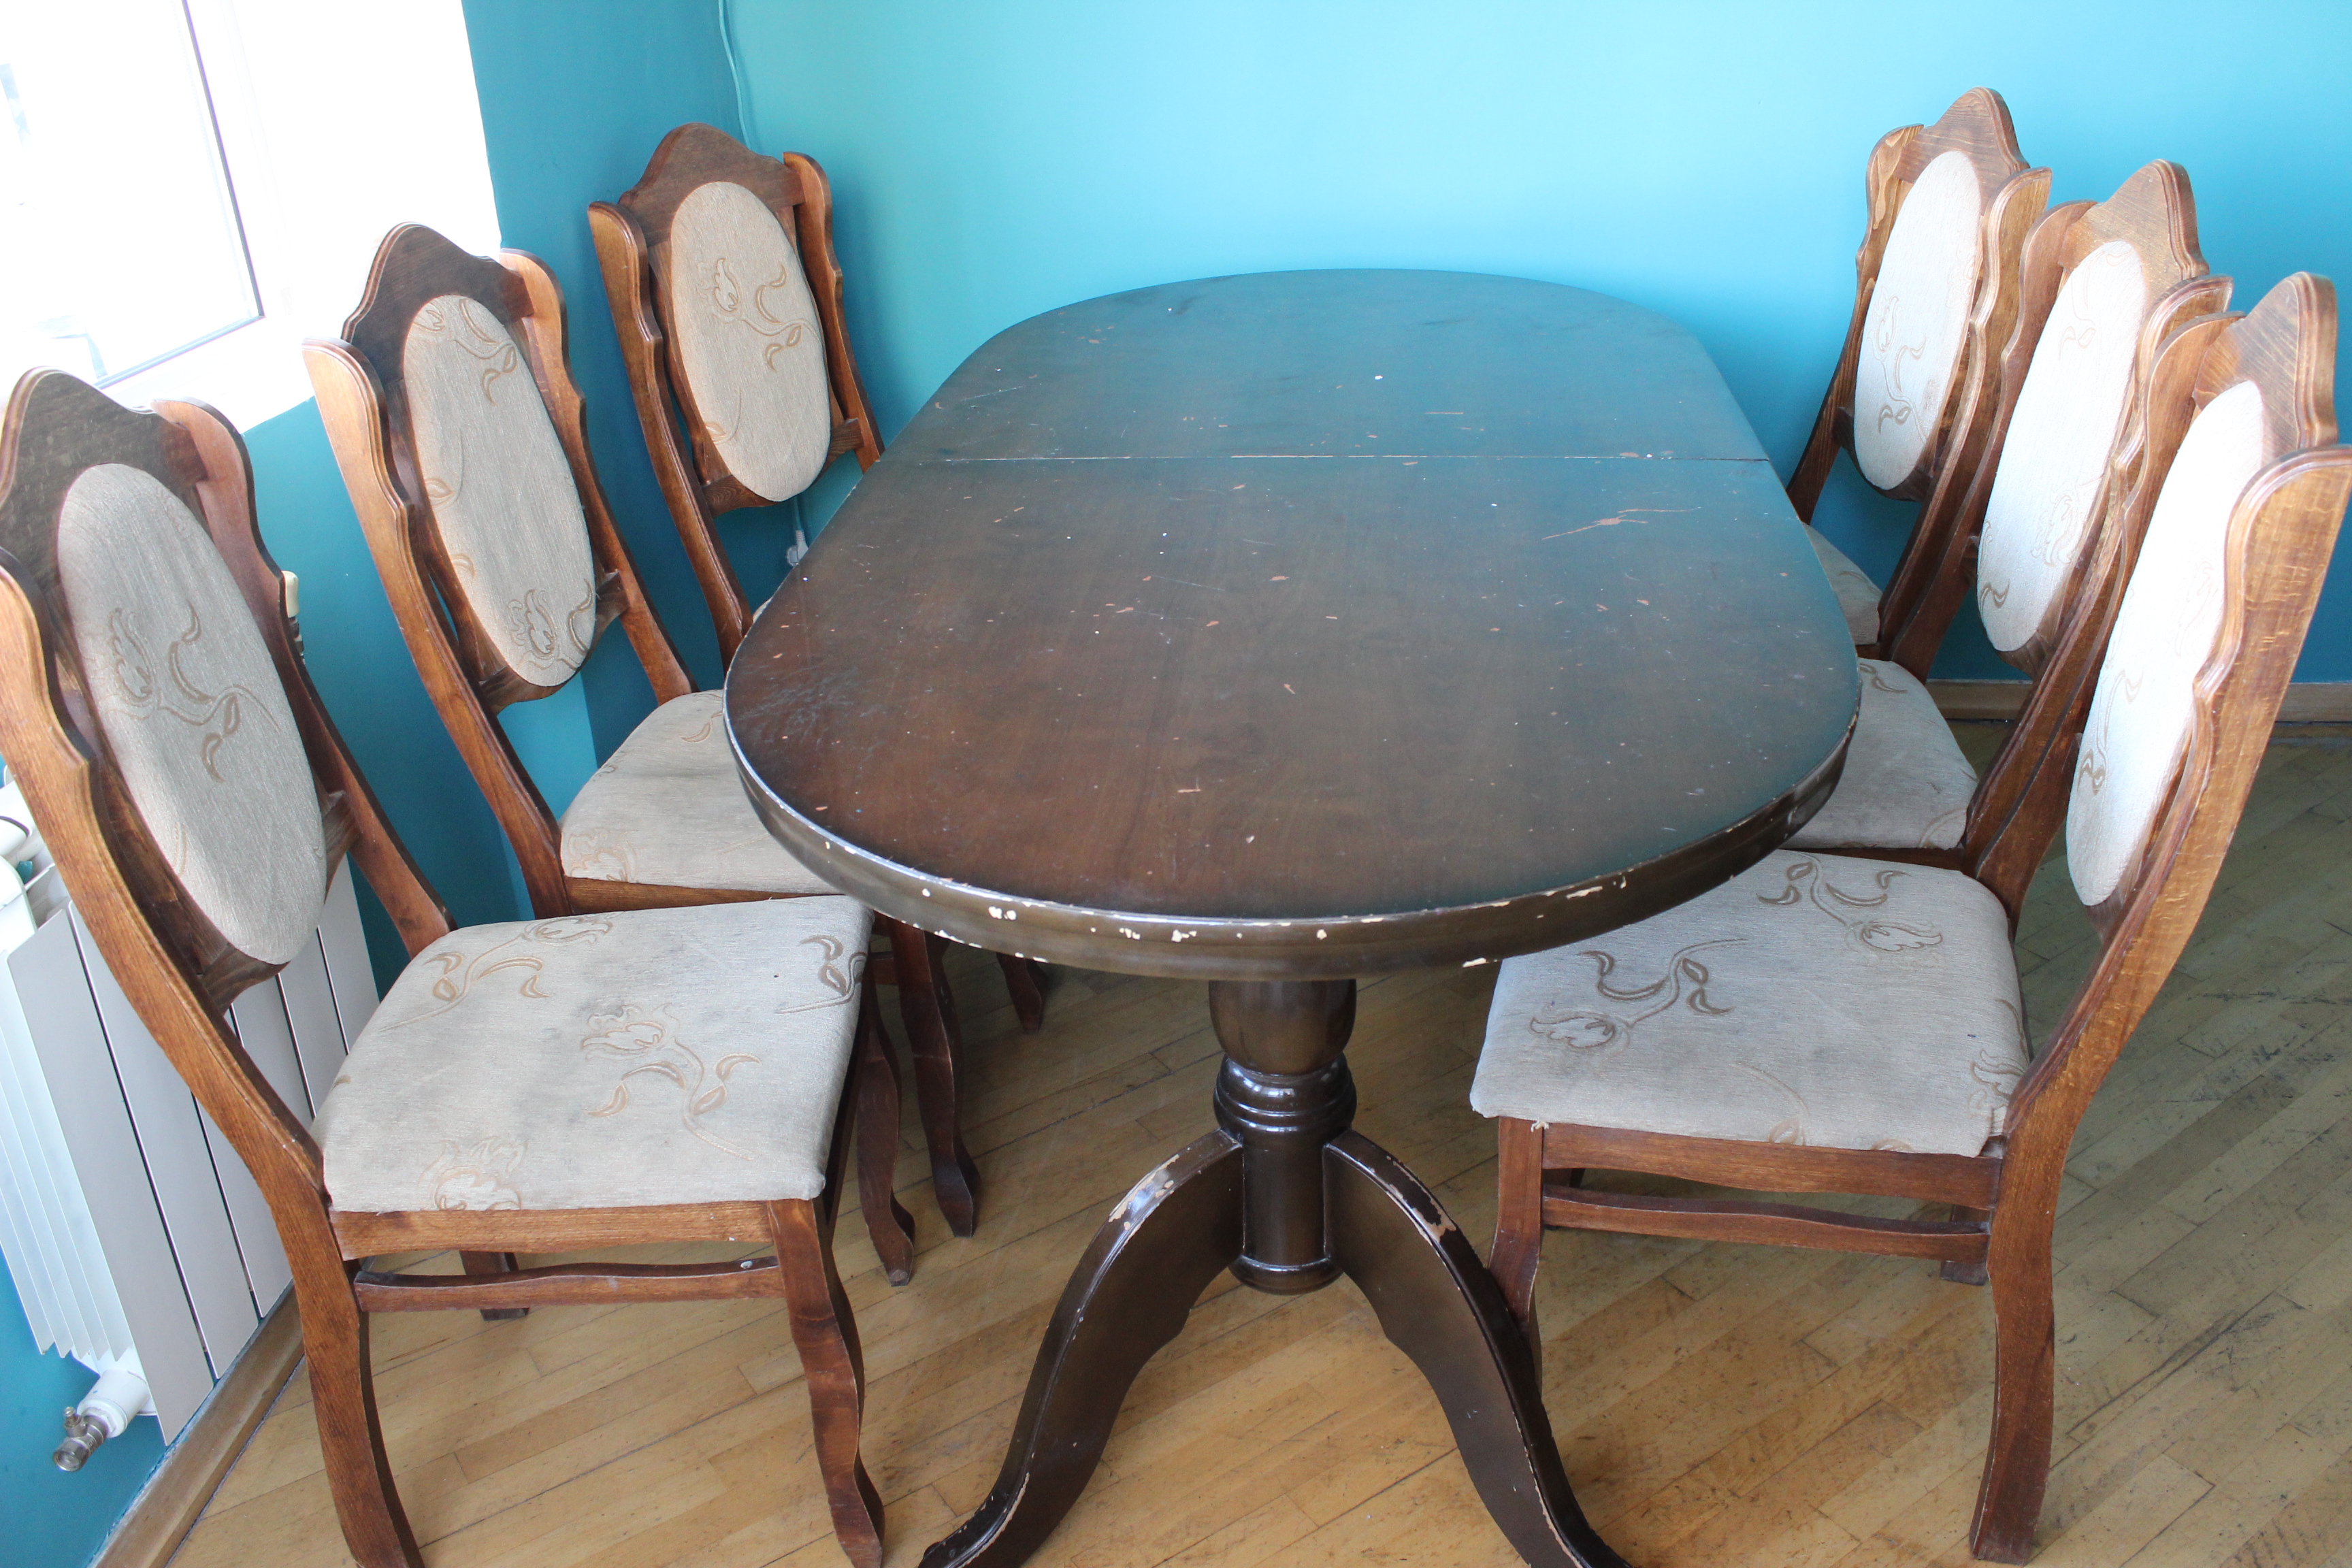
The wooden frame and seat padding were still good and what I decided to do is called “re-covering”. Unlike re-upholstering it doesn’t involve changing of fillings and frame renovation, it is a simple replacing of original fabric.
So here is what you will need for this project:
– New fabric
– Stapler
– Fabric Glue
– Scissors
– Flat-head screwdriver
– Needle-nose pliers
When choosing new fabric for your chairs pay attention to the following important aspects: fire retardancy (domestic upholstery must be cigarette resistant) and density of material (tightly woven textile wears the best). I recommend to use fabric specifically designed for upholstery, as it usually covers these points, though it might be a bit costly.
1) First of all you need to remove the seat from the frame by unscrewing it underneath. After that use your seat as a pattern to cut out the fabric and leave about five centimetres on each side to allow it to wrap around the seat. If you have chosen fabric with grain or motifs, you should watch direction and placement of them. Then remove the original fabric using screwdriver and pliers. Actually, I skipped this step as the foam cushions inside were still firm and me being very lazy as another reason. I just attached fabric on the top of the old one. However, if you decided to remove the original fabric, you might want to use this opportunity to change the foam cushion too.
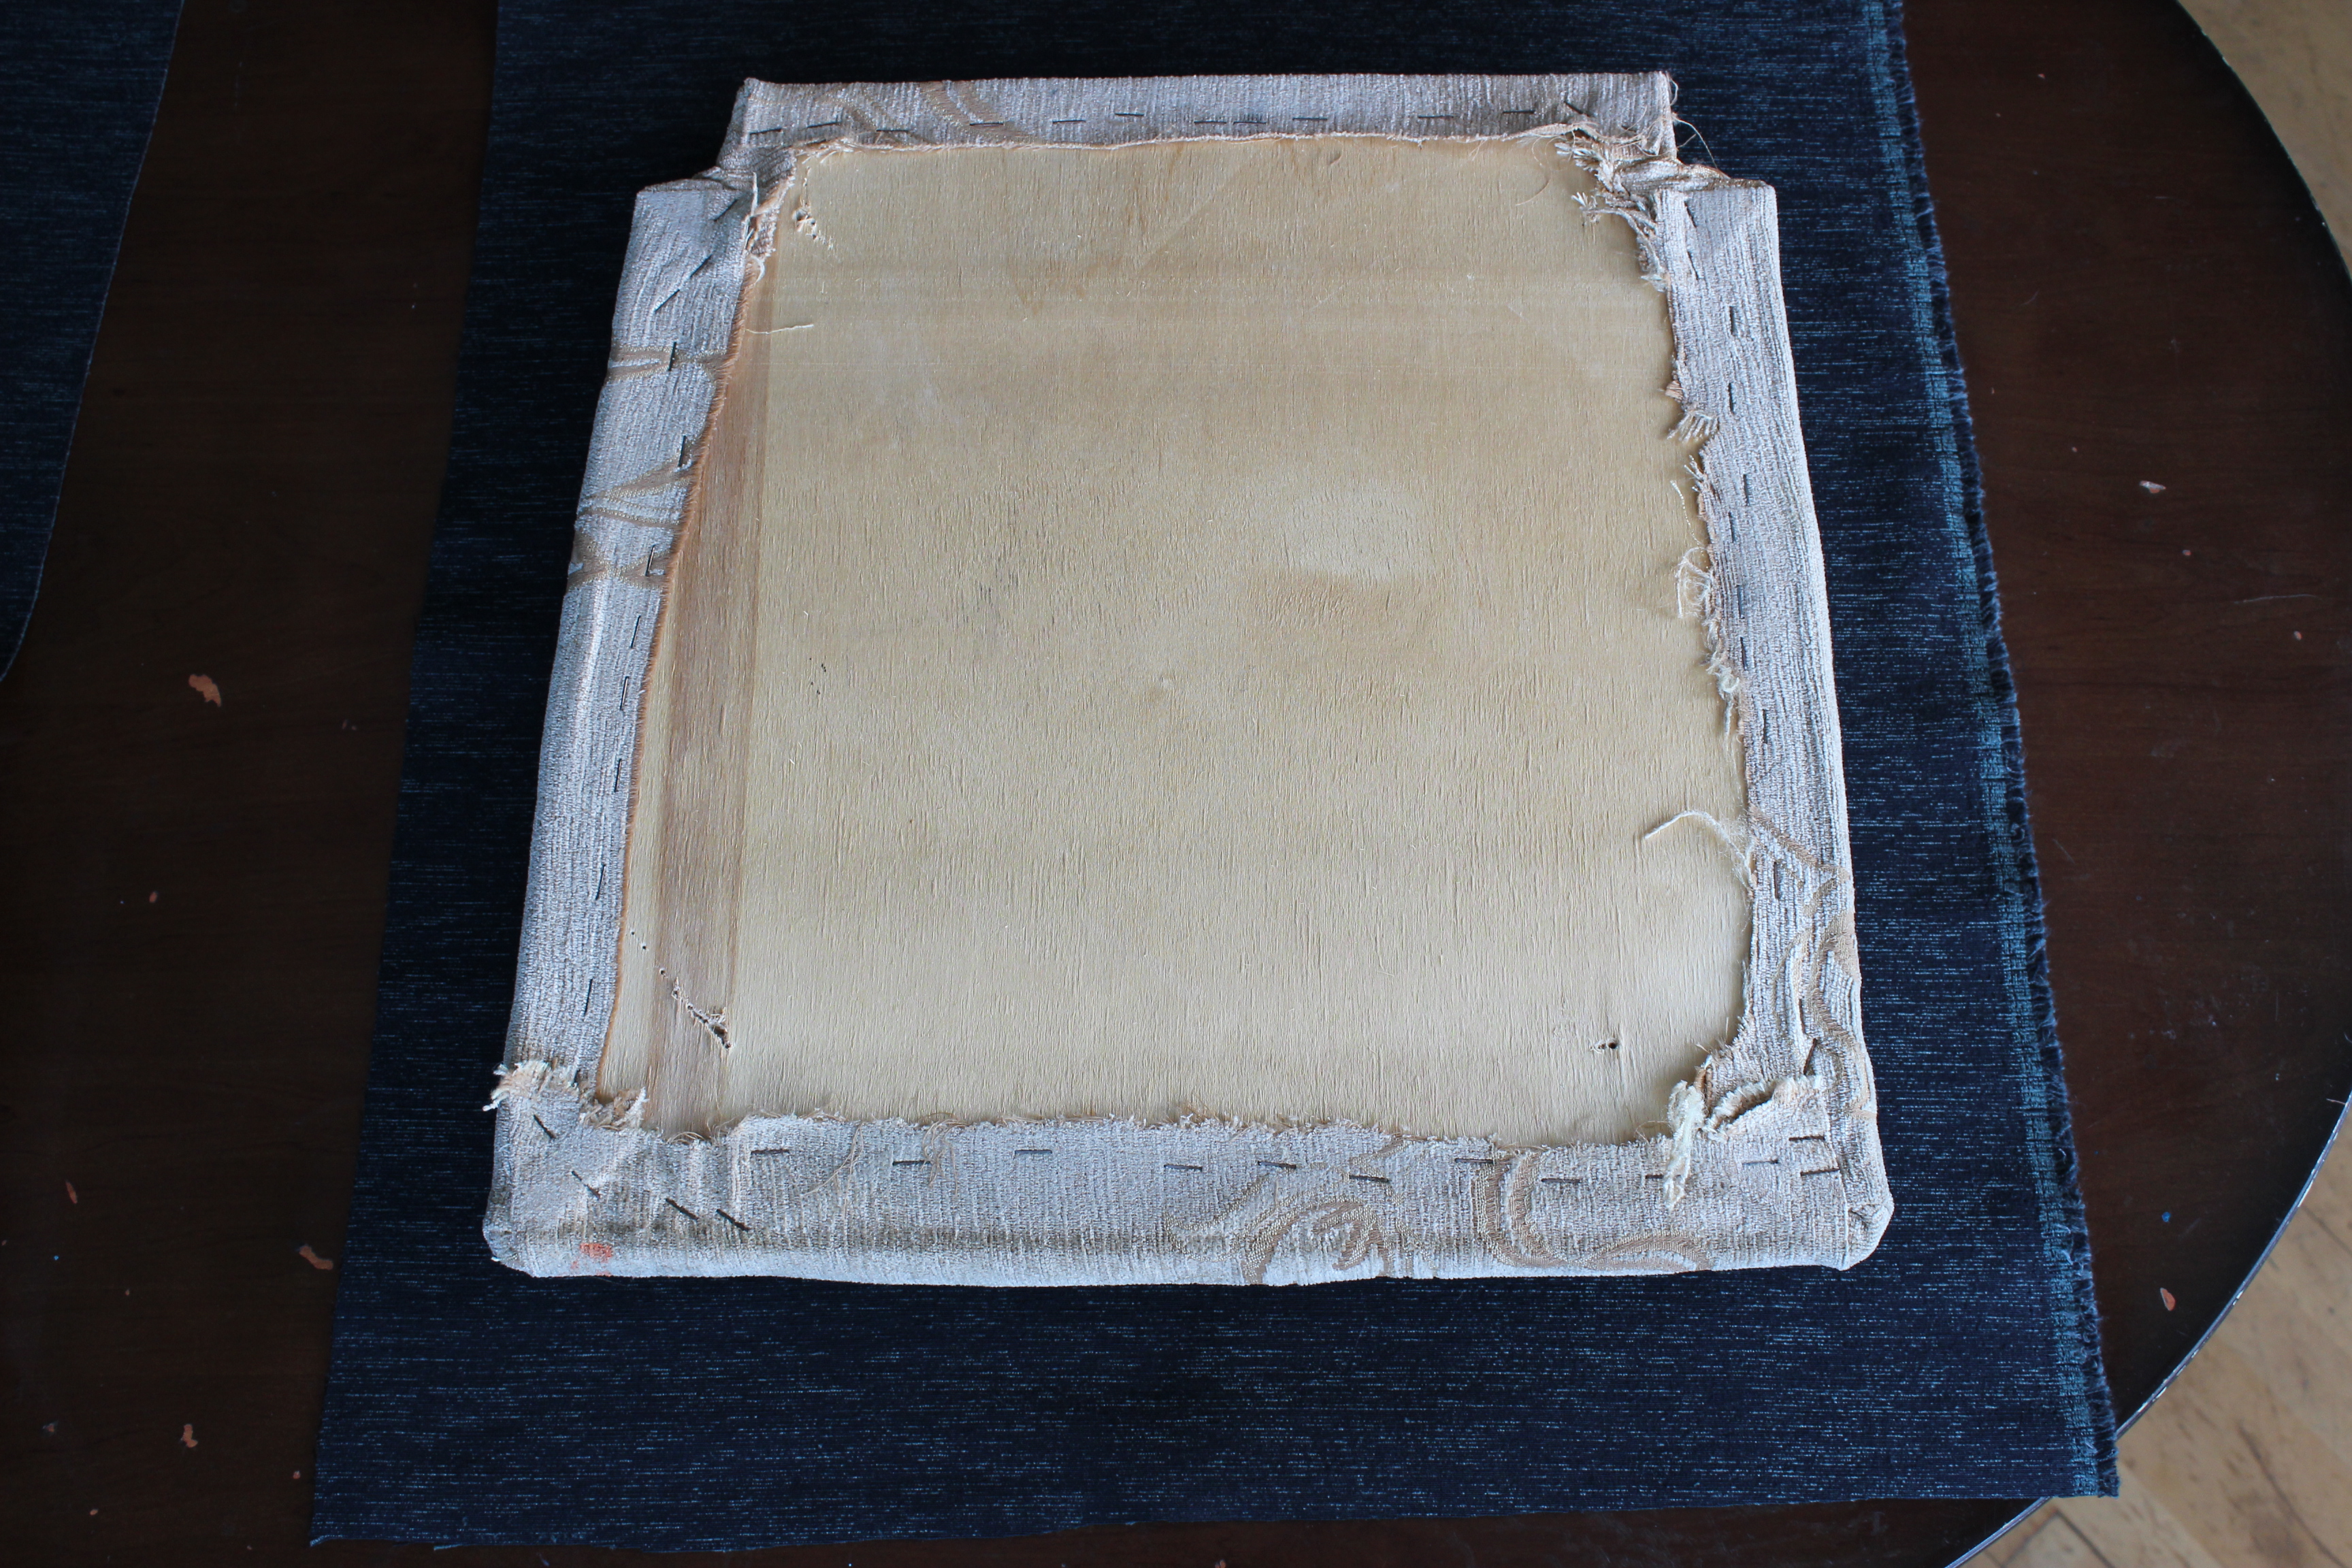
2) Place the fabric wrong size on the table and put your seat on it with top facing cloth. After folding the flap of fabric on one side, staple it in the centre and then move towards the corners. After that work on the opposite side – make sure that you pull fabric firmly to get rid of all wrinkles before you put any staples. Work on the two remaining sides.
3) The last but the most difficult part is pleating the corners. Attach first the central point of the corner towards the center of the seat and then consequently fold two sides along the diagonal. Put a lot of staples to make sure it is attached firmly without any wrinkles.
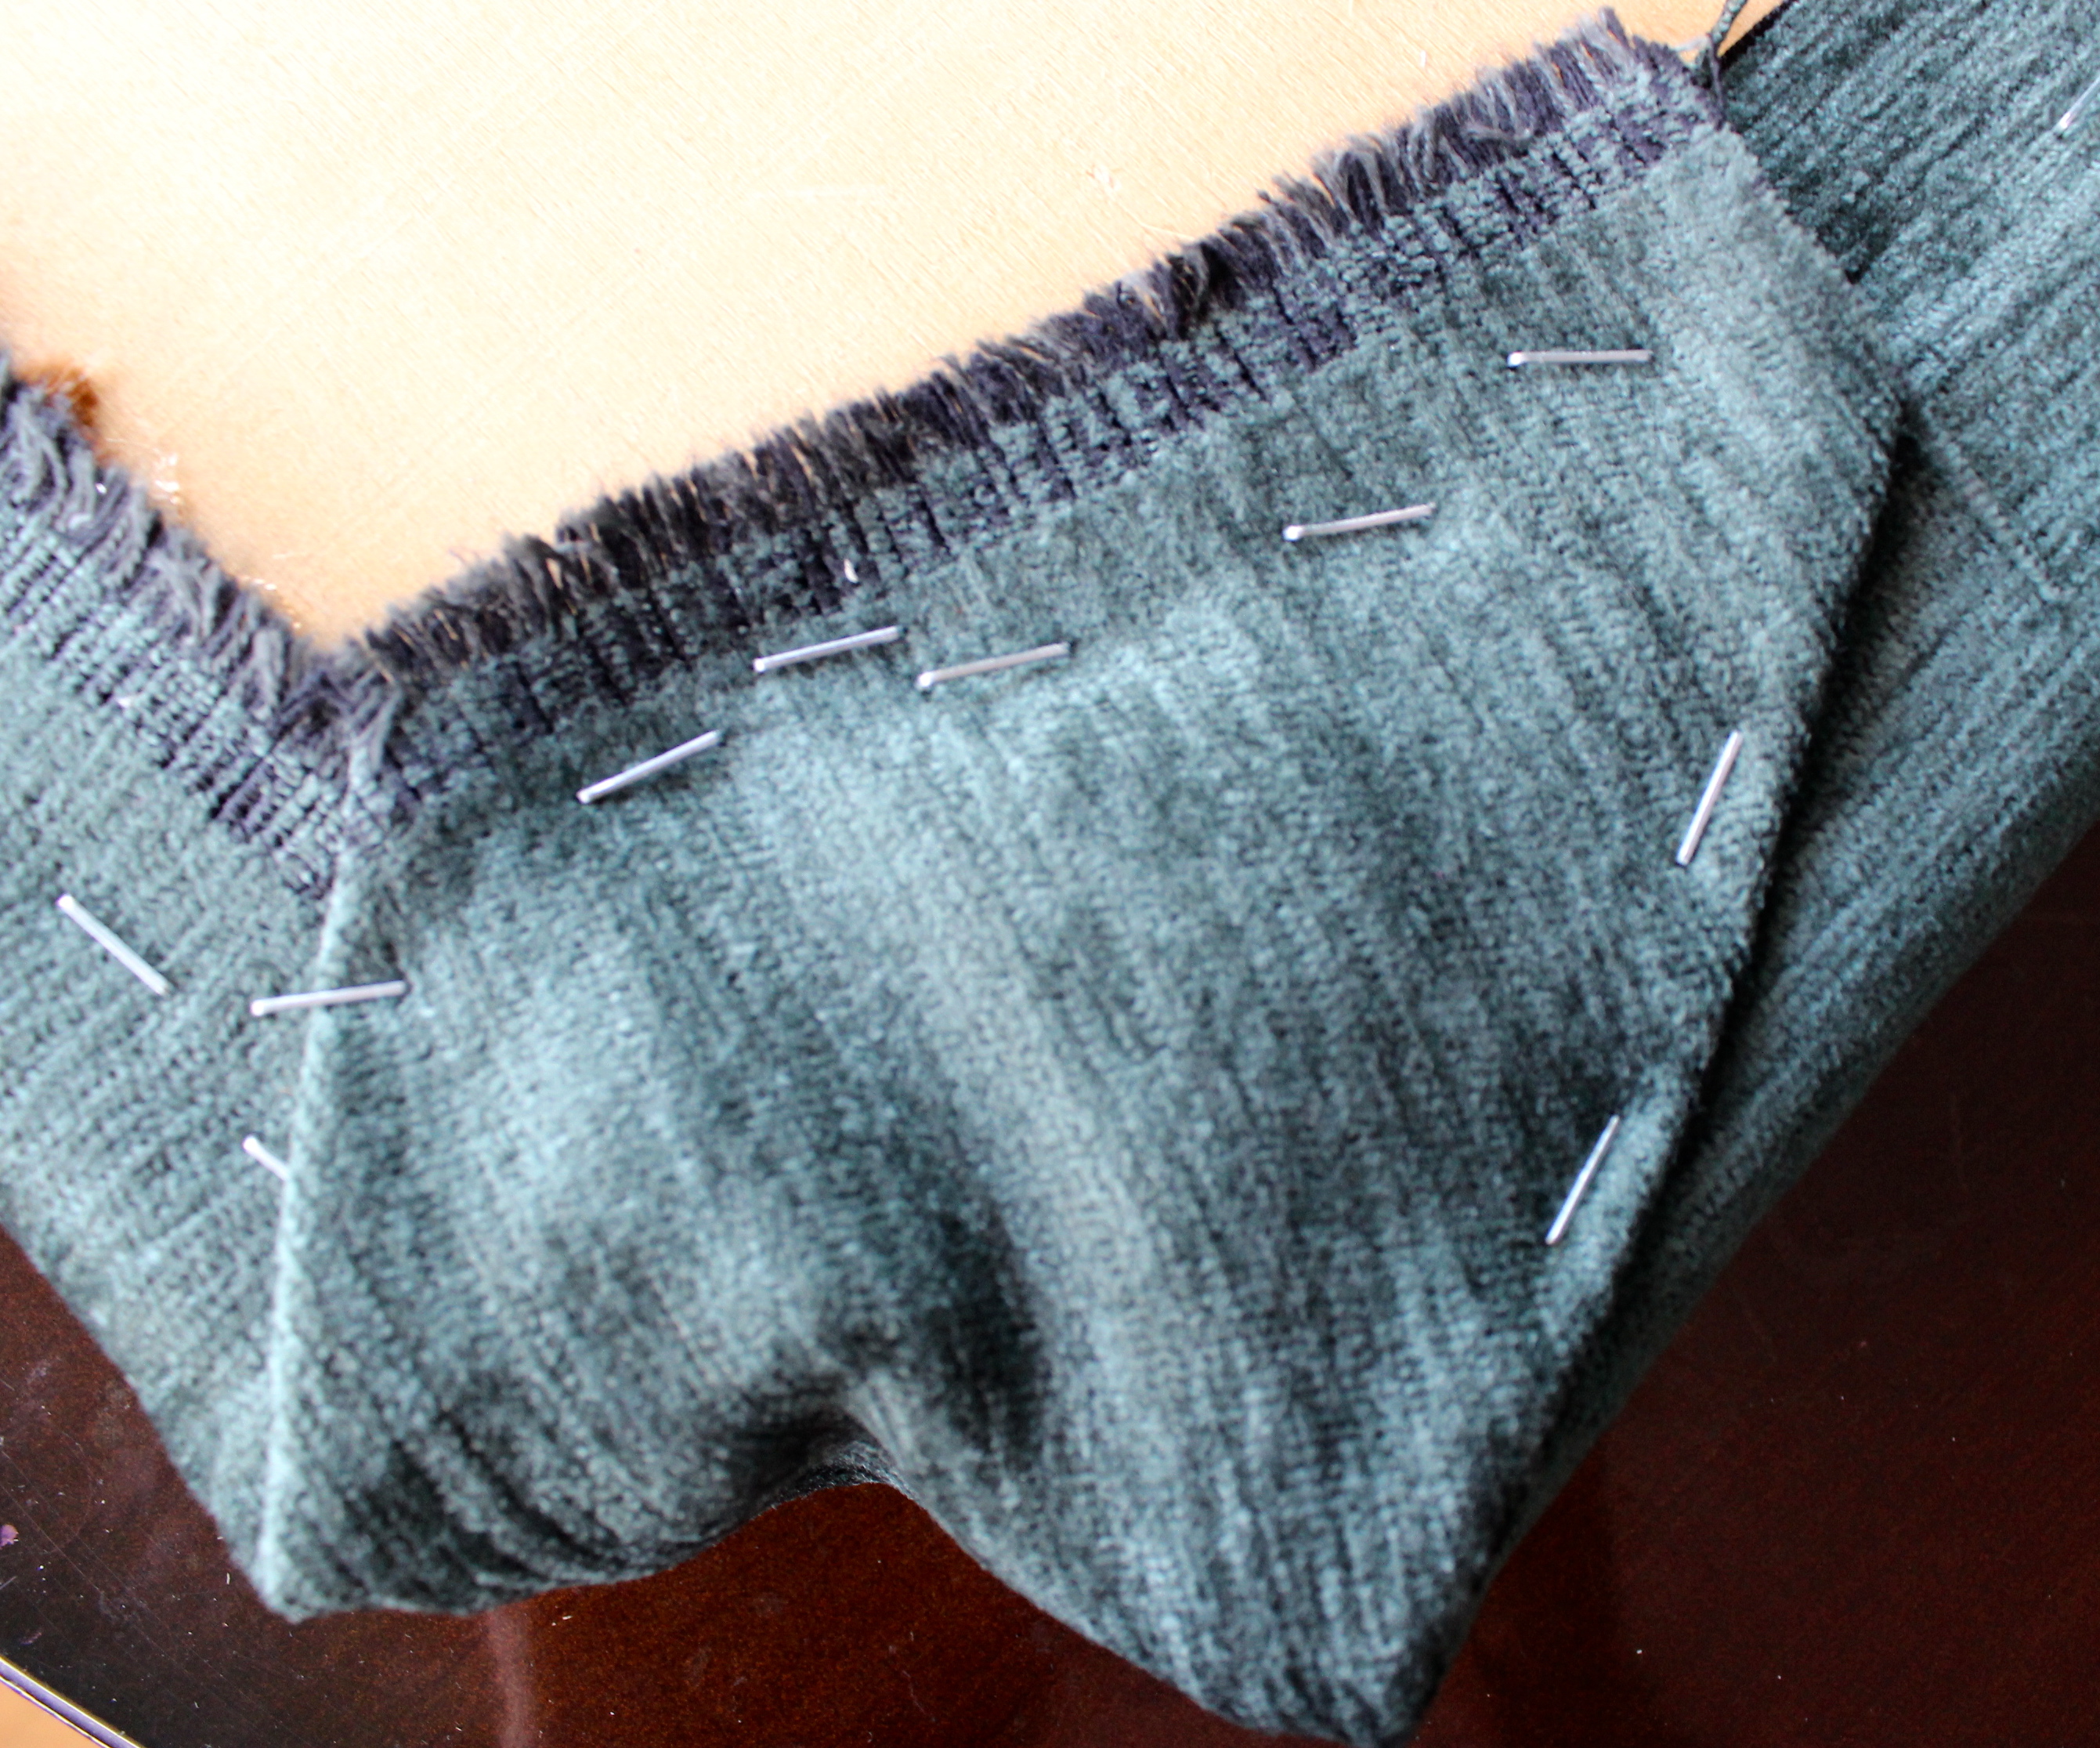
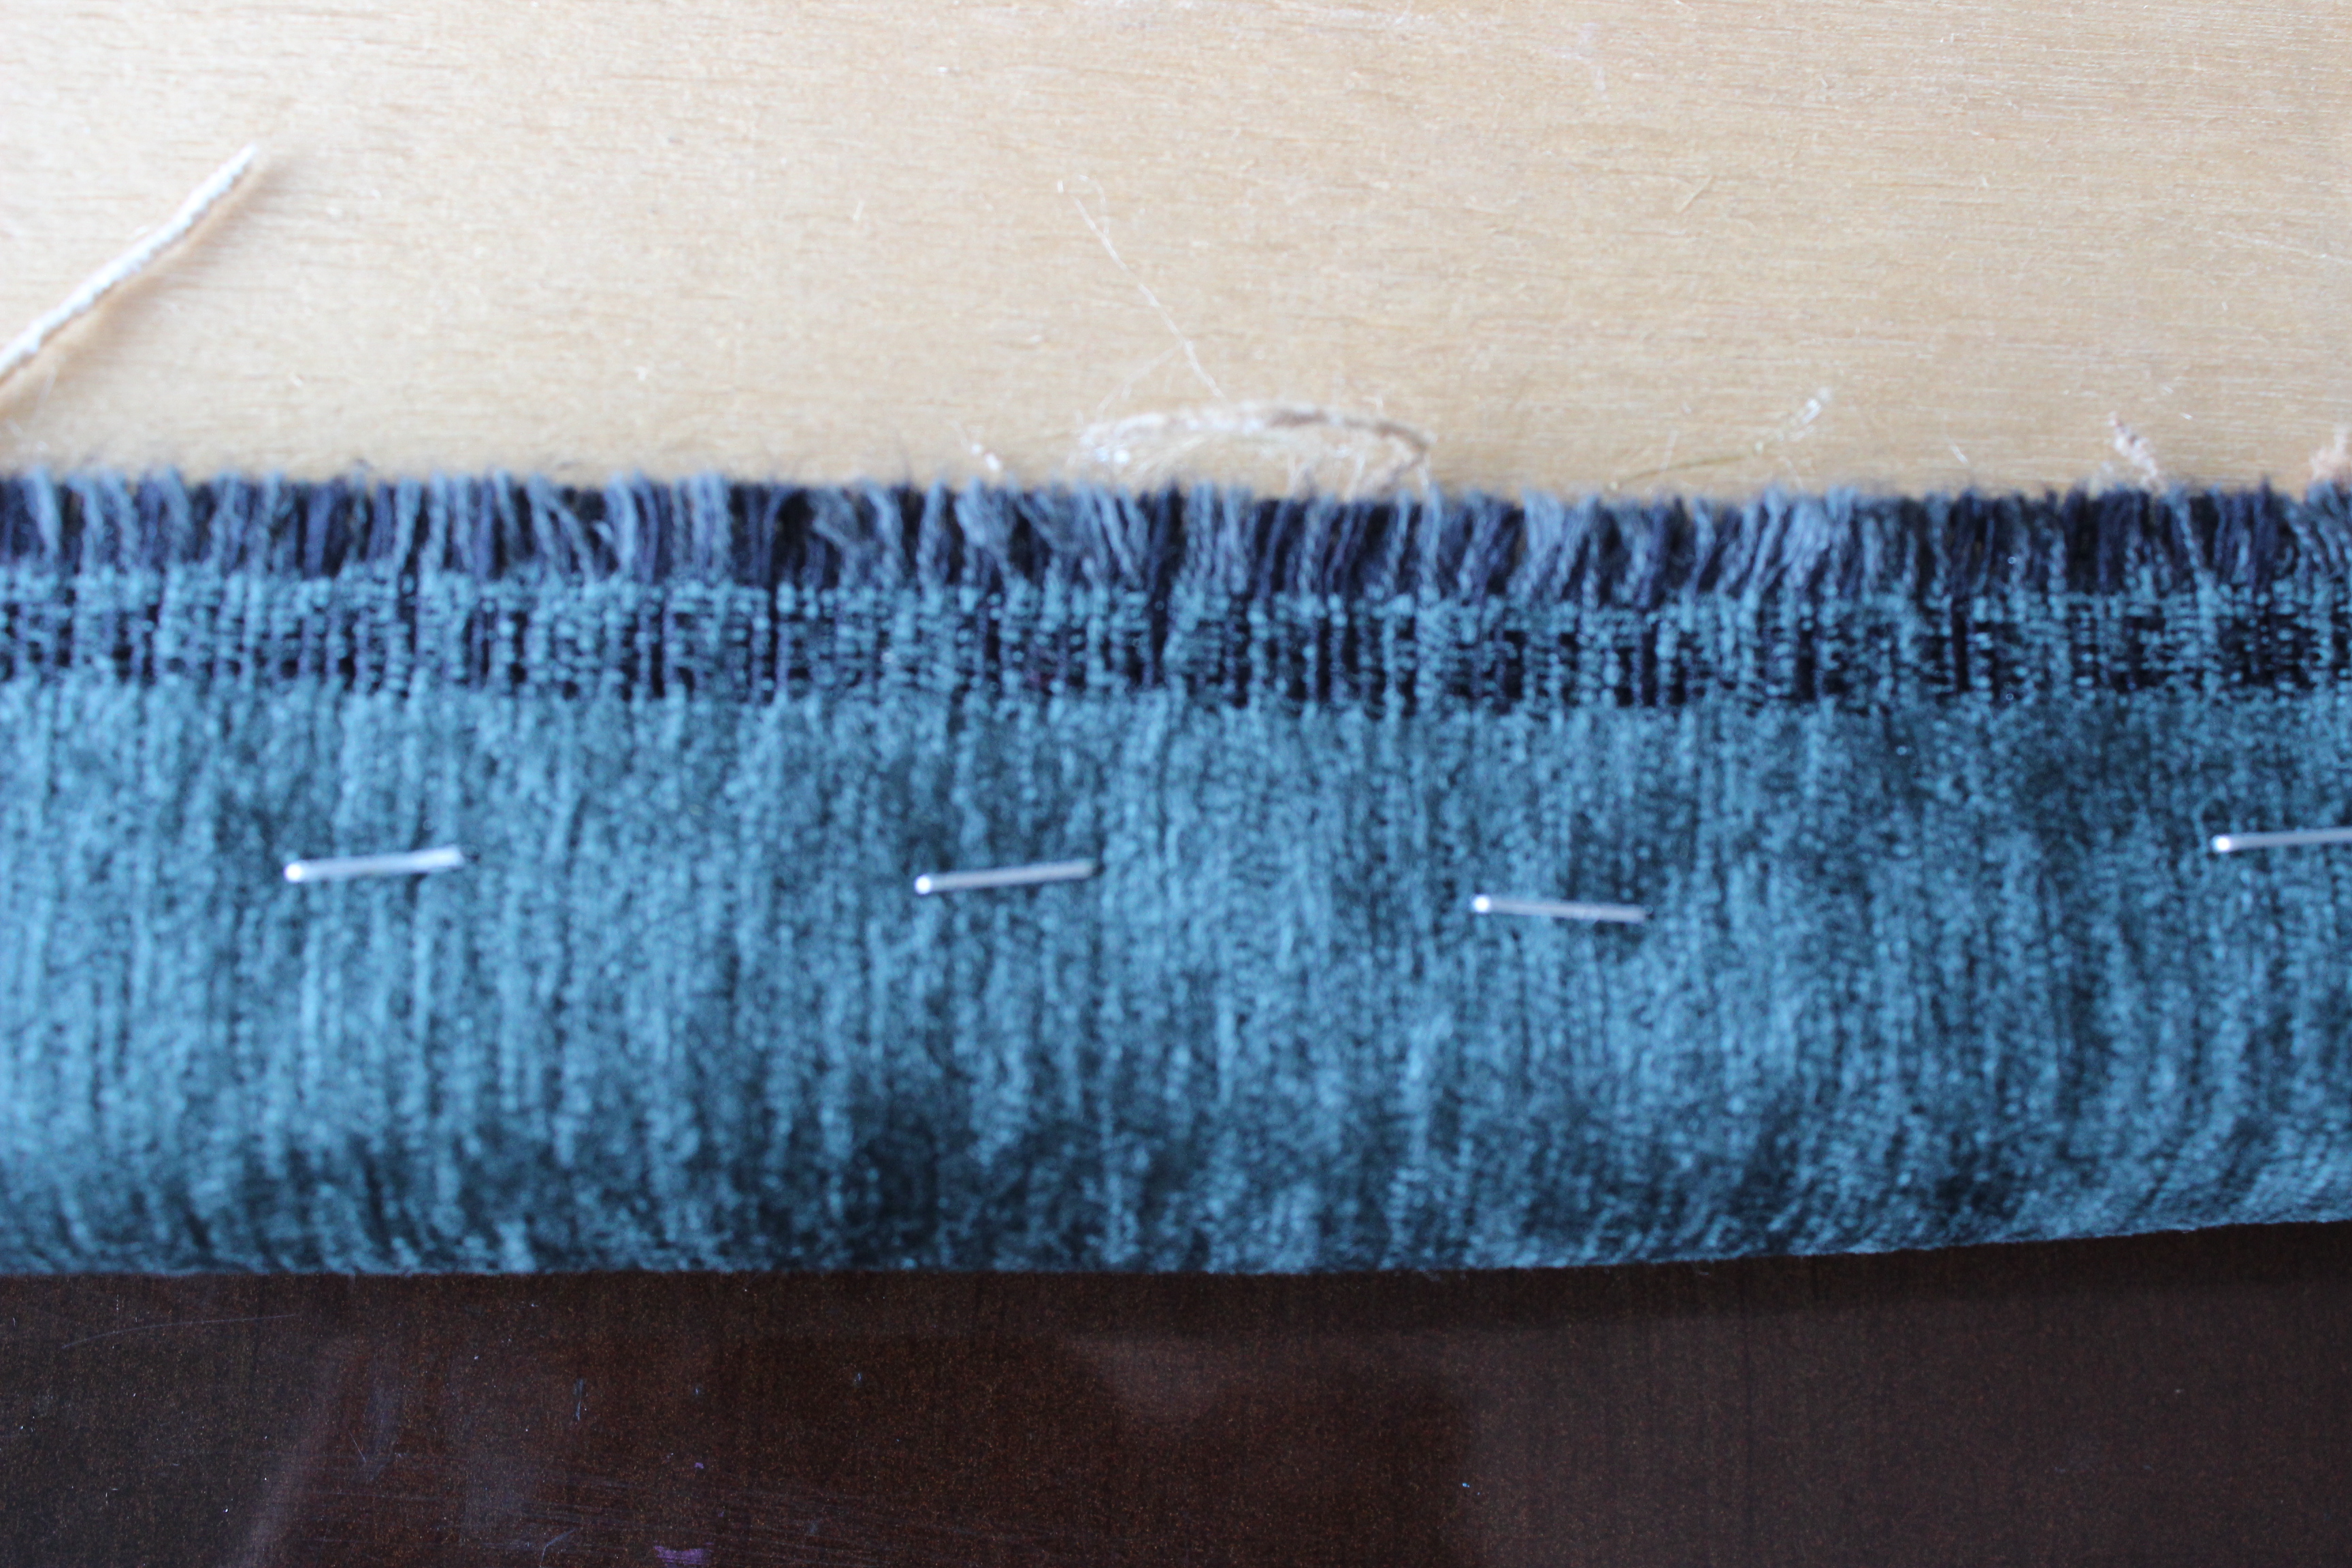
4) My chairs gave me extra work to do as there was fabric padding on the back as well. If you have the similar design of chairs you need to remove the insertion which is usually attached with glue and staples. Removing staples was a pain and I used flat head screwdriver to loosen them and then gently pulled with pliers. I used removed pieces of fabric as a pattern.
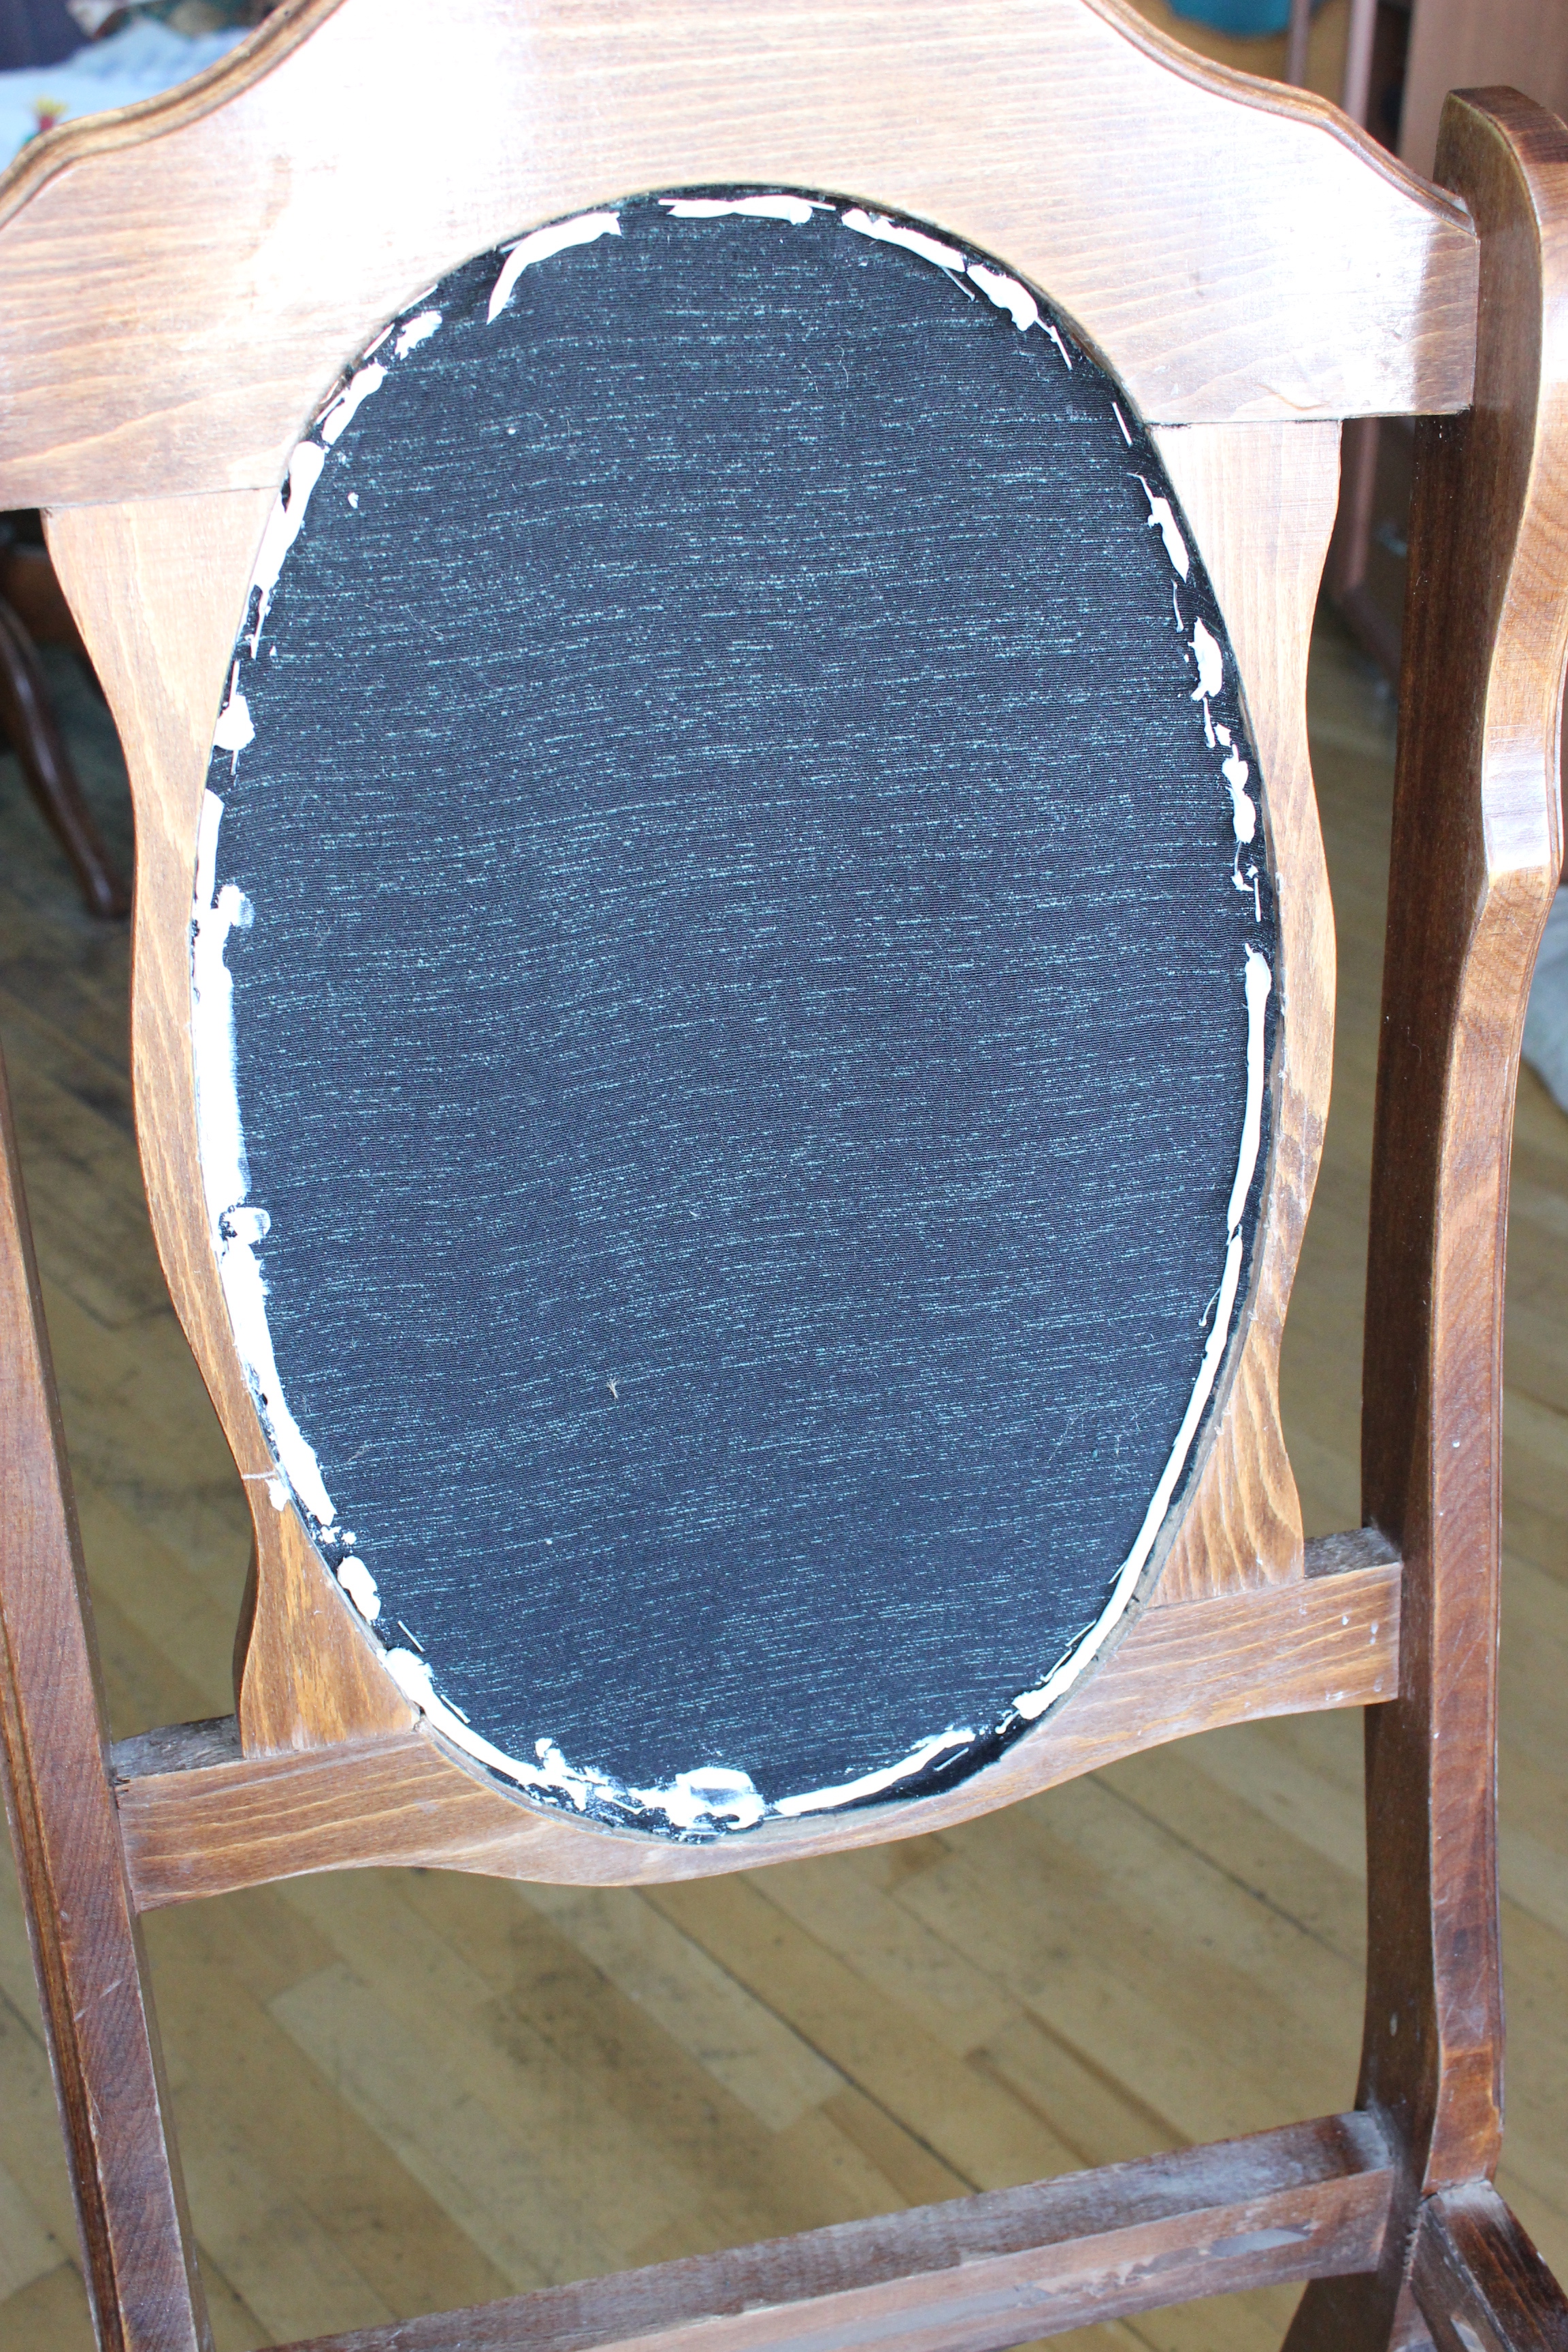
5) I had to remove original fabric from the back cushion as there were too many wrinkles and pleats. I re-covered it with new cloth the same way as I did with seats. Then I attached the fabric insertion to the frame with stapler, put fabric glue around it and inlayed cushion inside.
6) The last step was to attach the seat again to the frame using the screwdriver. The work on one chair took me no longer than twenty minutes so I can assume that this is the easiest and the fastest way to give an old chair a new look.
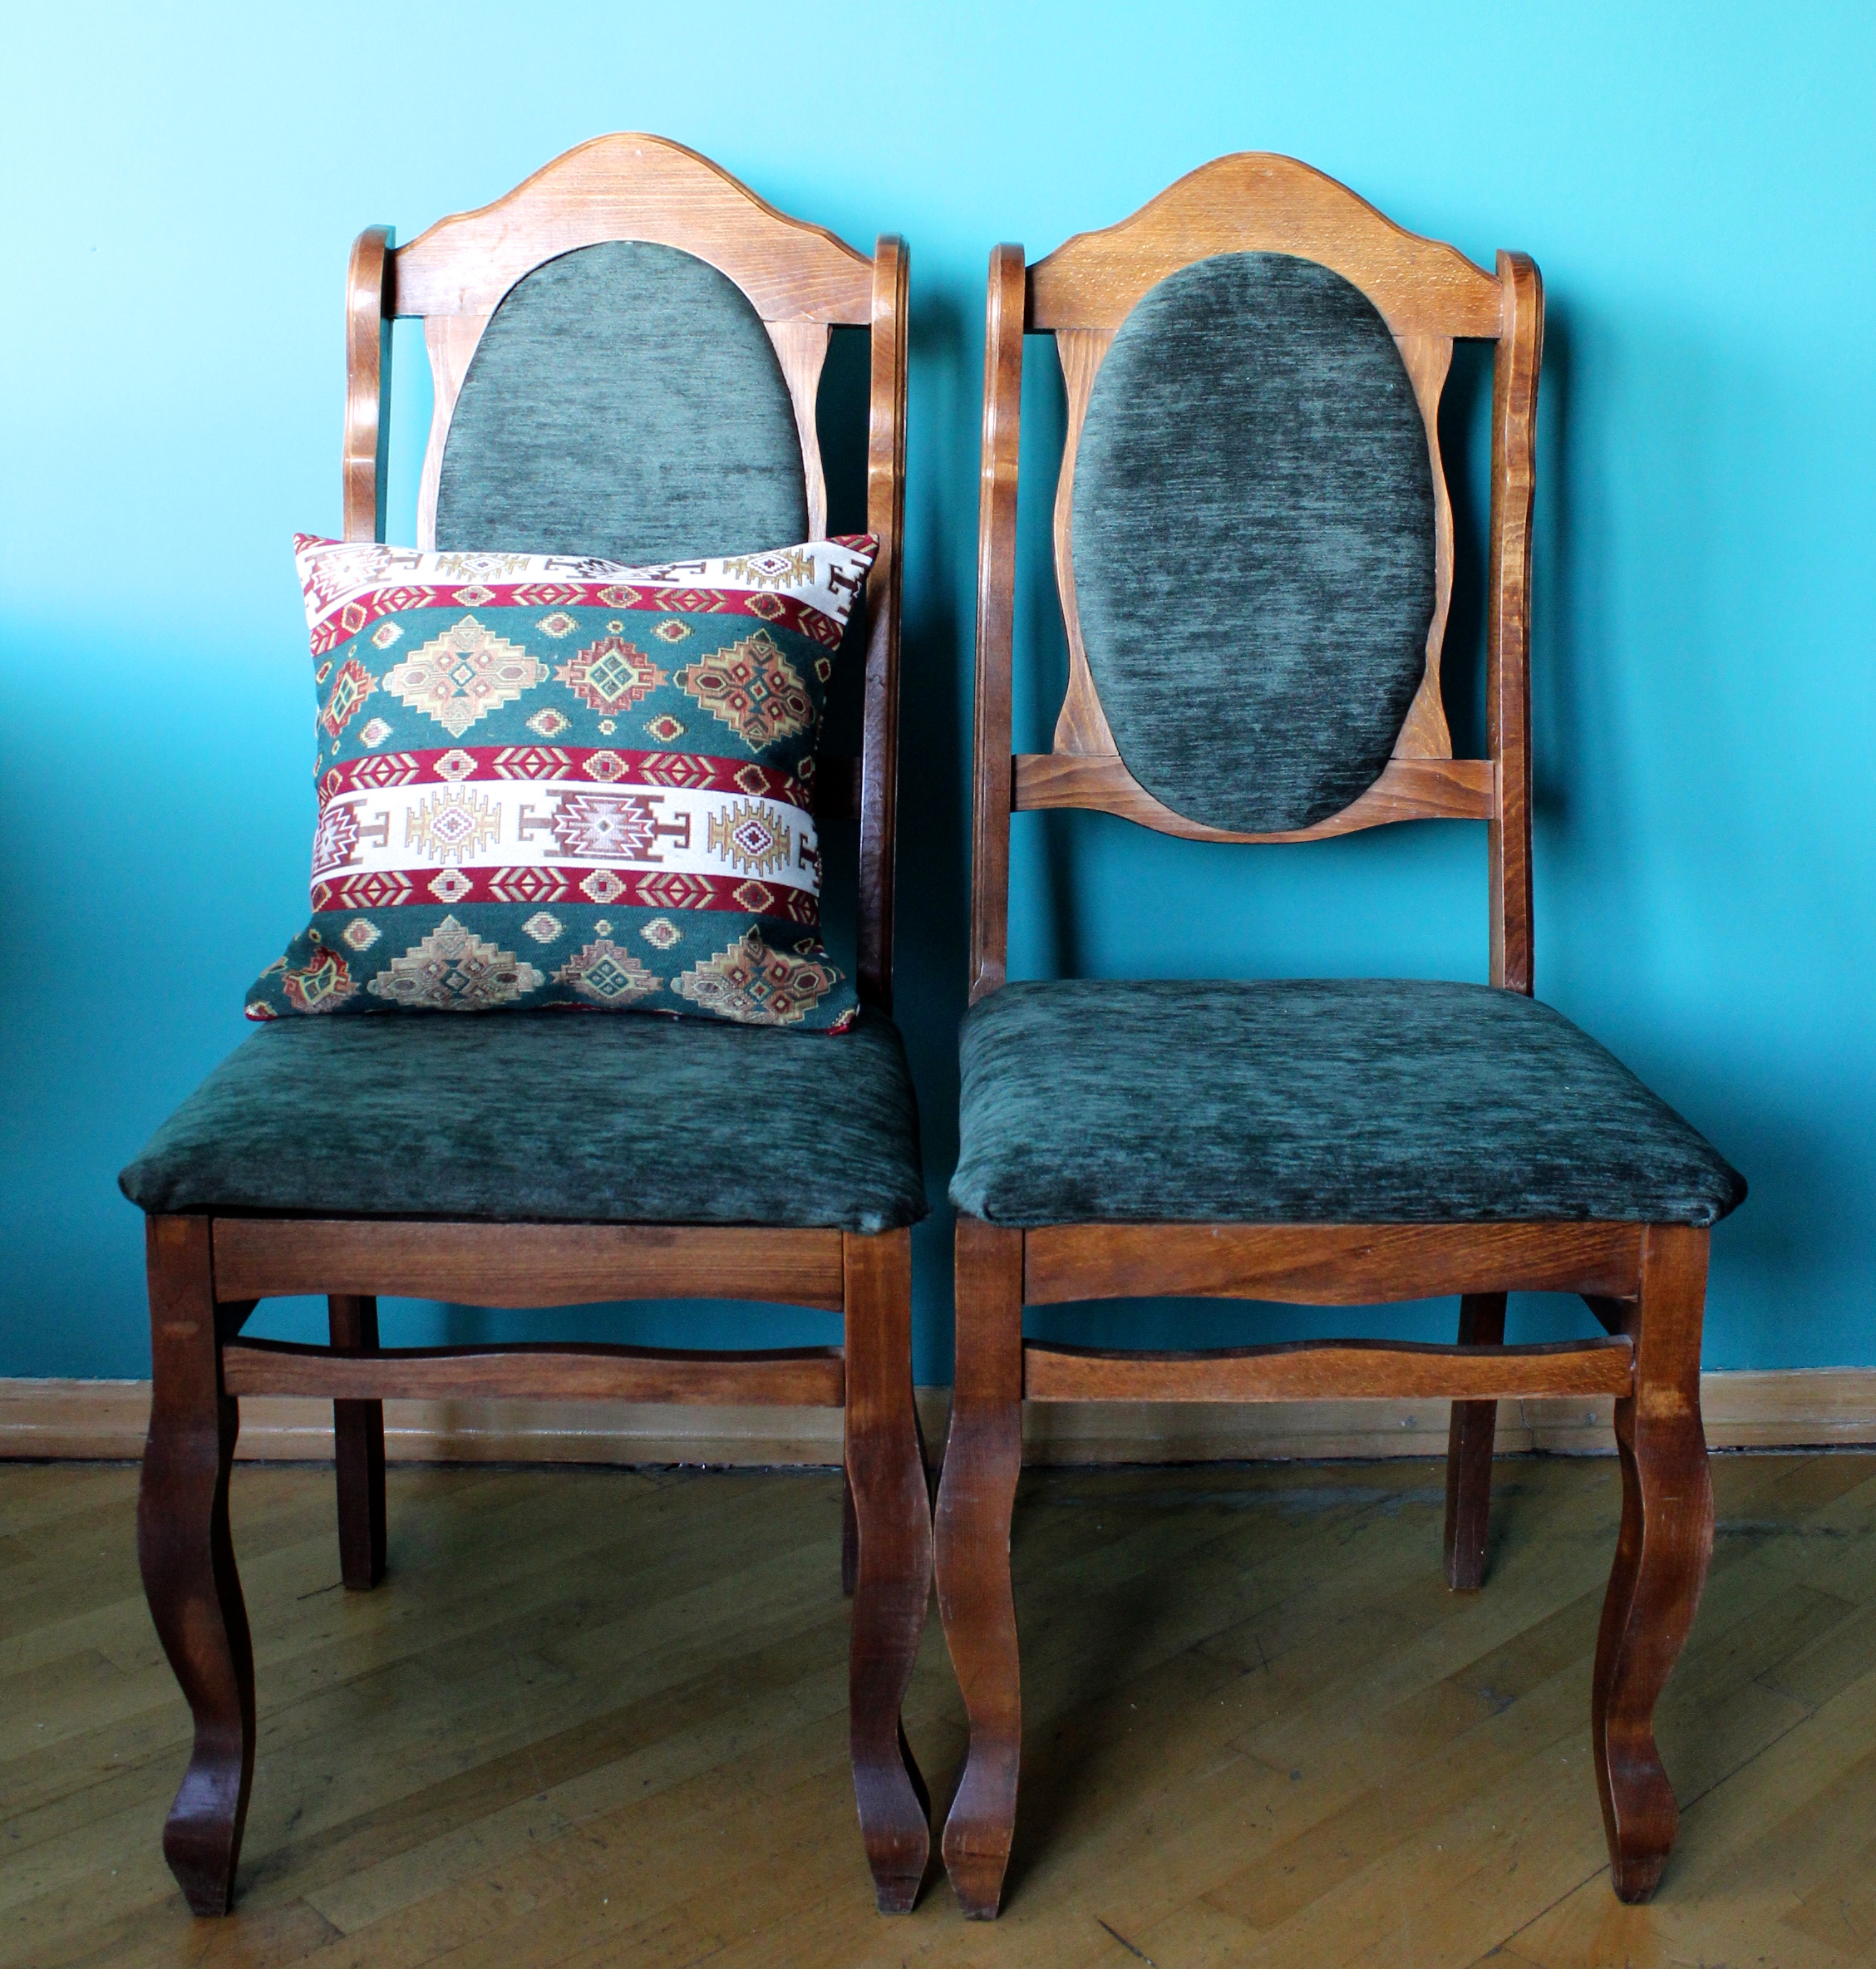
By the way if you like the cushion on the chair you can purchase the same one from my online boutique.
Wishing you good luck with all your DIY projects! By the way, what was your most recent work?
Related articles
- DIY Project: Vintage Suitcase Makeover (essenziale-hd.com)
- DIY Project: Vintage Clock (essenziale-hd.com)
- DIY: Step By Step Guide To Make A Custom Lampshade (essenziale-hd.com)