How To Install Skylight Properly?
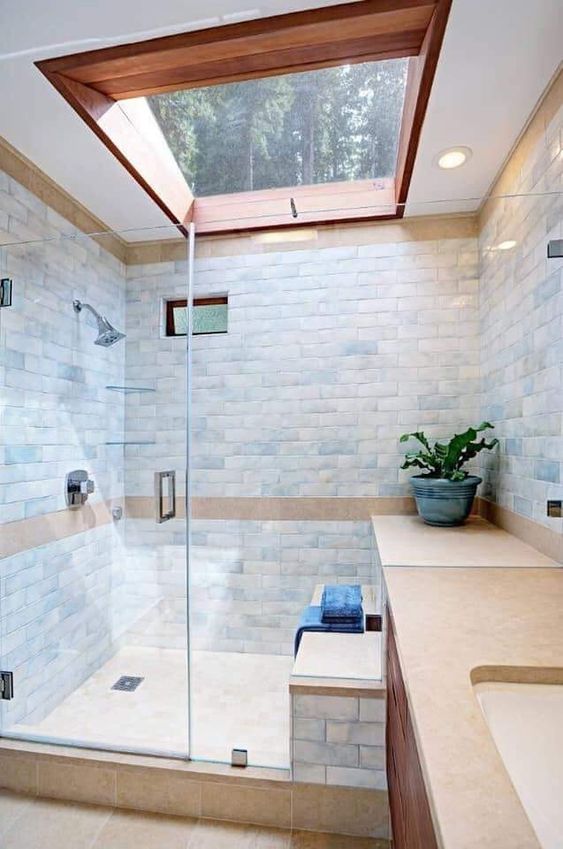
Installing a skylight on the roof is more effective than installing a vertical window. You can use a skylight to make your room feel airier and larger. However, it is important to install a skylight correctly for effectiveness. It is also important to consider the sun’s path during the installation of a skylight. Installing a skylight to collect direct sunlight can become a heat trap during hot seasons. To control the problem of heat gain, you can buy shades that are remotely controlled or install the skylight to face away from direct sunlight.
Planning
Before installing a skylight, you must plan. If the roof has received significant damage from a storm, it is important to repair it before installing a skylight. Mike La Pointe from Pointe Roofing Contractors in Boise says that any roof that has received significant damage from a storm should be inspected within 48 hours. Bearing this in mind, you will need to have a professional inspect your roof before installing a skylight.
The following supplies will be crucial for installation of a skylight:
- 2 by 4 frames
- Finishing and drywall supplies
- Roofing nails
- Roofing paper
- Step flashing
- 16d galvanized nails
- Hammer
- Flat pry bar
- Circular saw
- Tin snips
- Utility knife
Installation Instructions
1. Cut the opening
When cutting a hole in the roof, it is crucial to follow the instructions from the manufacturer. Drill a locator hole from the inside. This is where the centre of your skylight will be. You will need to cut the opening using a circular saw. The opening should be framed to be compliant with the building codes. You will need carpentry skills to do this, otherwise, consult a professional carpenter.
2. Cut the roofing
Use a straightedge and a utility knife to cut the shingles about three inches back from the roof’s opening on all the four sides. Get the skylight and set it in place. Make sure it is centered on the opening and use the screws or nails to attach it to the roof.
3. Overlap the pieces
Cut the roofing paper strips about eight inches wide. Ensure they are slipped under the roofing shingles and the bottom piece should be installed first, then the side pieces and finish with the top. You need to make sure the pieces overlap down the roof to allow proper shedding of water. It will be tricky to sneak the paper under the shingles. You can lift the roofing nails using a flat pry bar. Take care not to damage your shingles.
4. Install the bottom
The bottom flashing is a piece that wraps around the skylight partway and sits on the shingles. You need to install it by driving the flashing or roofing nails horizontally into your skylight. You will then need to slip the pieces of step flashing individually under the shingles. Start at the bottom working towards the upper side. Overlap the step flashing pieces by 4 inches and attach the pieces of the flashing to the skylight. Avoid attaching them to the roof.
5. Installation of solid flashing piece
Make sure these pieces fit tightly onto your skylight to prevent water from entering between the skylight and the step flashing. Start by attaching the bottom piece and finish with the side pieces. The top piece should be installed by slipping it under your roofing and then attaching it to the skylight.
You need to make sure that the skylight you install is wind resistance, meets the local codes for load and prevents rainwater from seeping through. You will need to acquire building permits to install the skylight. Make sure you get the skylight from a reputable manufacturer or supplier.

