10 Essential Things for Using Mod-Podge
Mod-podge has a wide range of applications for a number of craft projects. Whether you want to seal a decoupage piece or add different papers and fabrics to surfaces like canvas, glass, wood, and even cardboard, there’s a mod-podge product perfect for you to use. Since it’s different from other types of seals and glue, there can be a bit of a learning curve for the first time user, but browsing CraftOnline can give you a good idea of the brands and types of mod-podge available. Once you’ve got a project in mind, here are some tips and tricks to refer to when using this product.
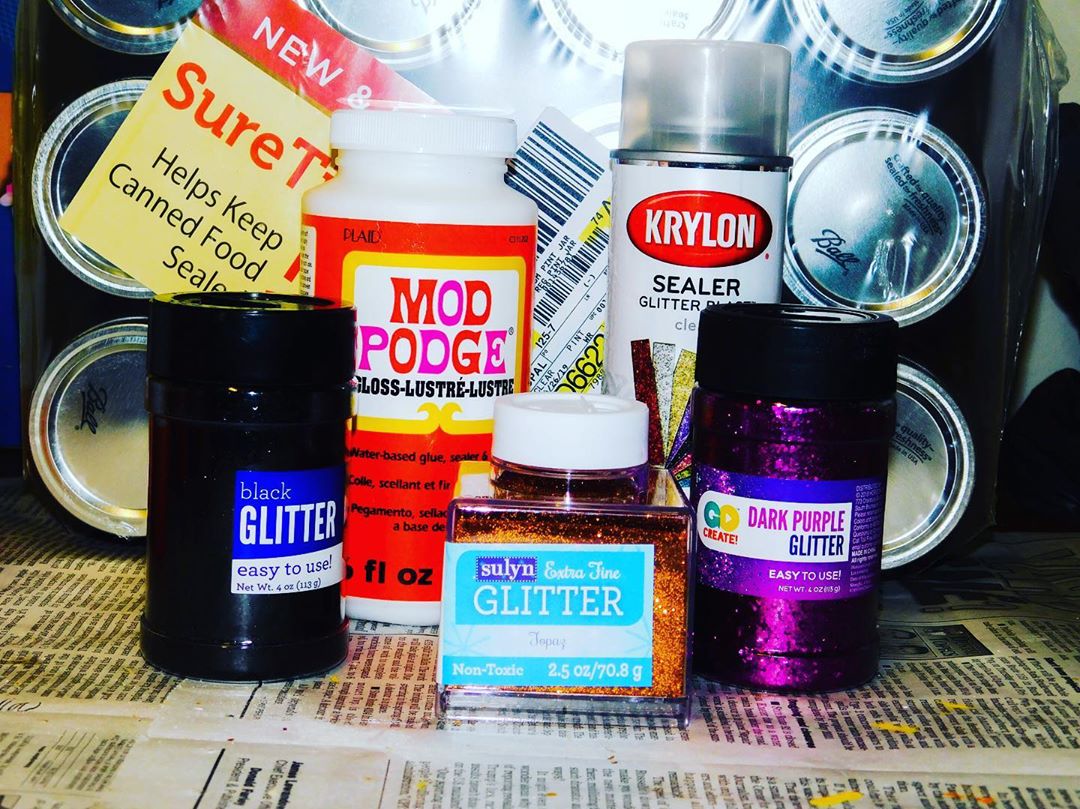
1. Choose the Right Kind
There is a basic mod-podge available that is suitable for most projects, but you may want a more specialized version depending on the materials you’re using and how to intend to use the finished items. Some products are geared towards fabrics, outdoor use, photos, and paper, and there are also different finishes to consider. Though matte is standard, you can also find mod-podge with shiny, pearl, and glitter finishes. Each will have a different effect, so it’s wise to swatch some samples before beginning, especially if you aren’t certain about your preference.
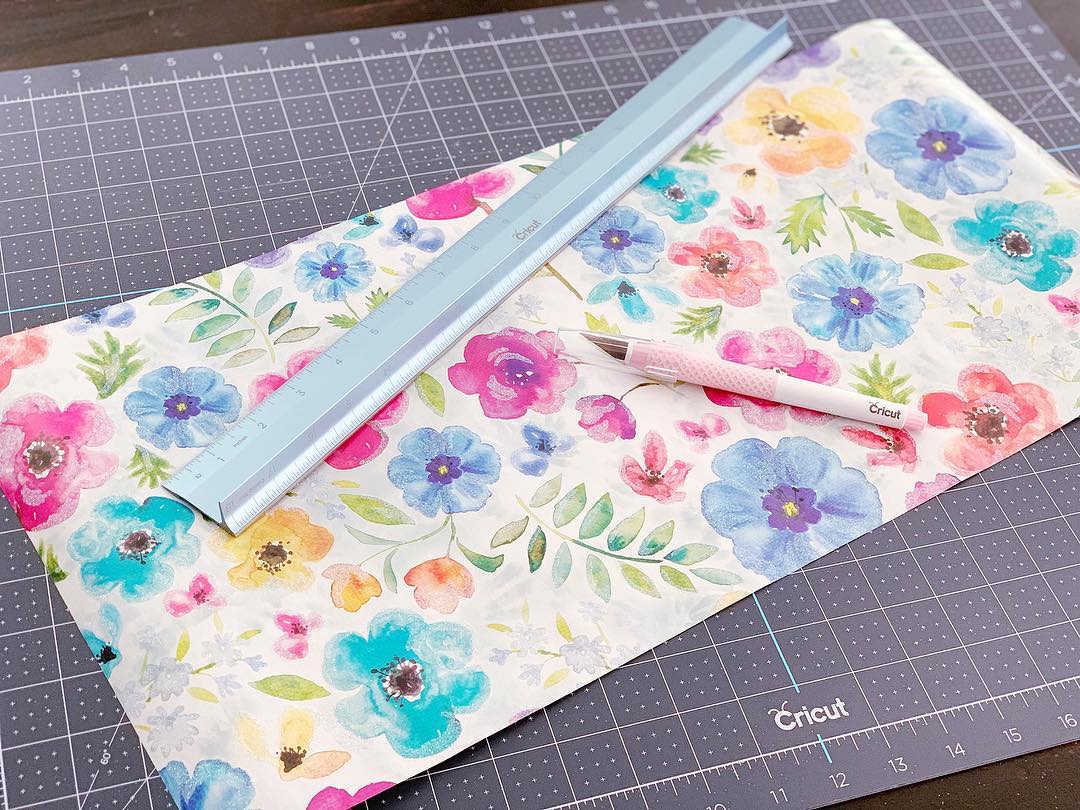
2. Prep Your Work Area
Since mod-podge is water based, it’s likely that clean up will be pretty easy. You can even wipe up excess product on the item itself with relative ease. Still, it may be a good idea to cover the surface with a protective barrier before getting started, especially if you don’t want materials sticking together. To make the process easier, you can pour some of the product onto a paper plate that you can dispose of later. This way, you’re not constantly dipping into the container, risking larger spills, and damaging your brushes.
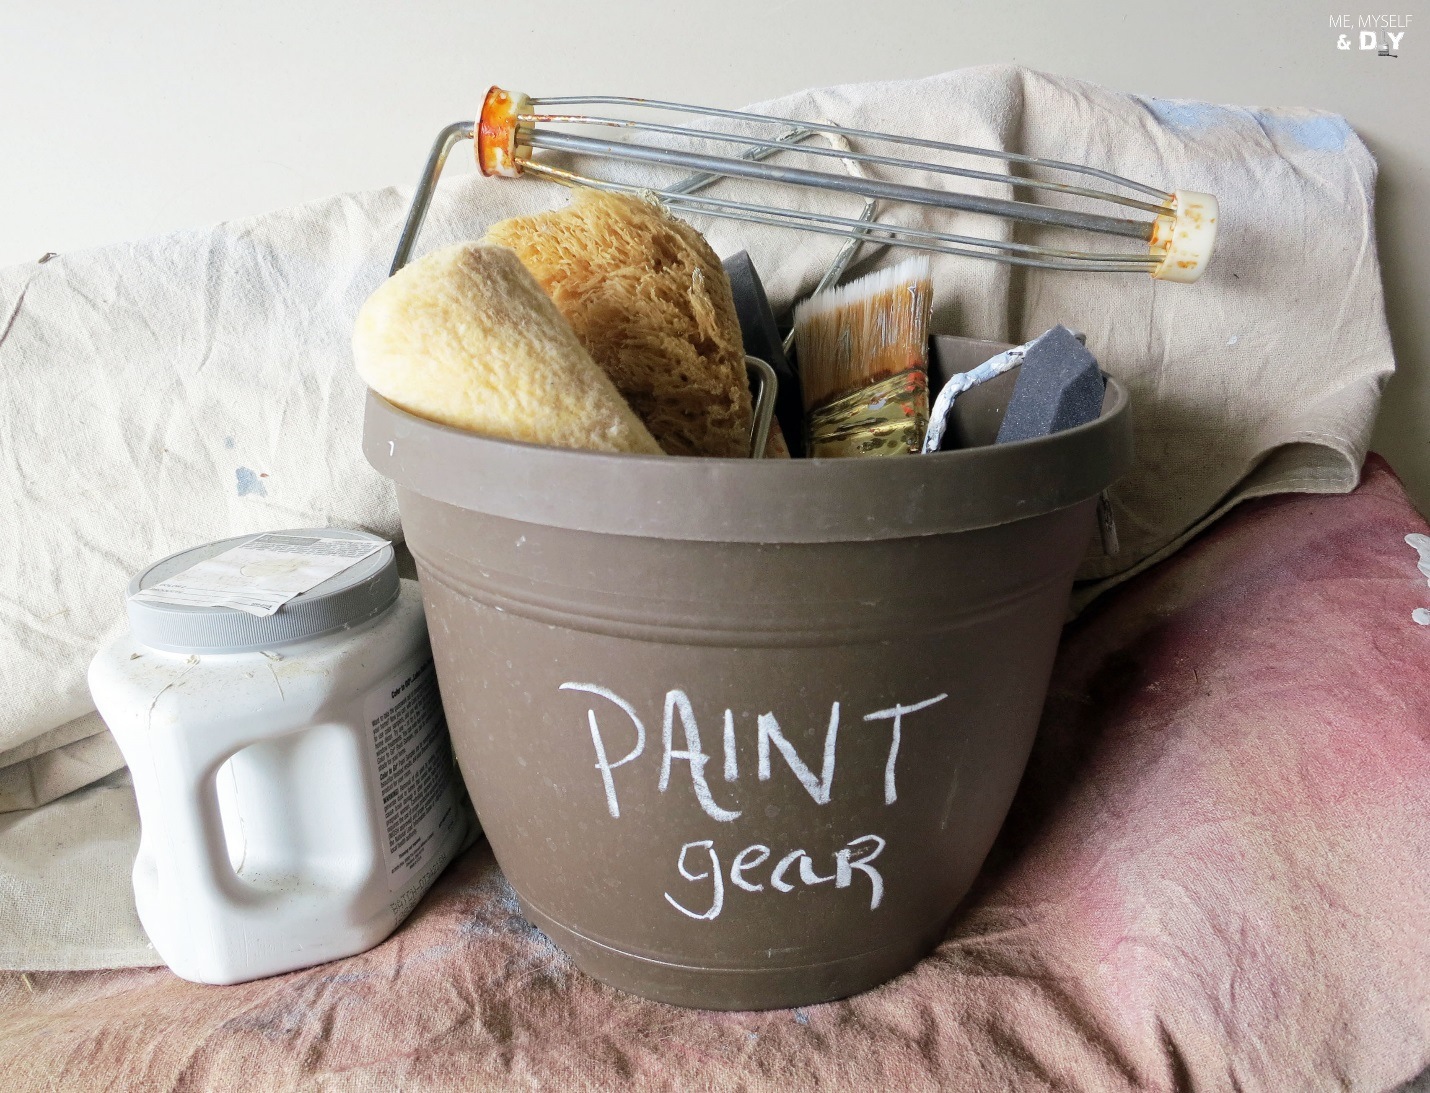
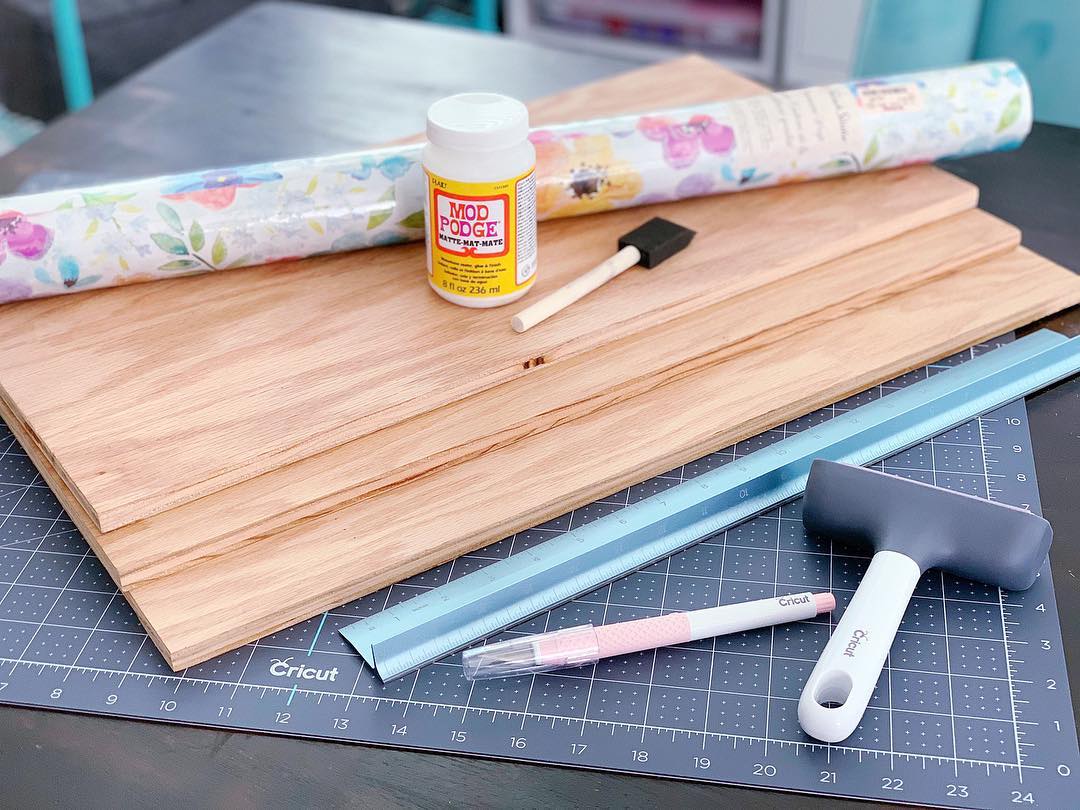
3. Choose Your Tools
The tools you use will depend on personal preference, though there are specific brushes typical for mod-podge use. These specialized brushes allow you to smoothly apply the product without a bunch of unwanted streaking. A simple sponge brush can be great for application, and can even be used again provided you don’t let it sit without rinsing the product out. For more detailed work, a regular paint brush will work just fine. If you plan on using the supplies again, make sure to wash the mod-podge from them completely, otherwise it’ll be difficult to remove.
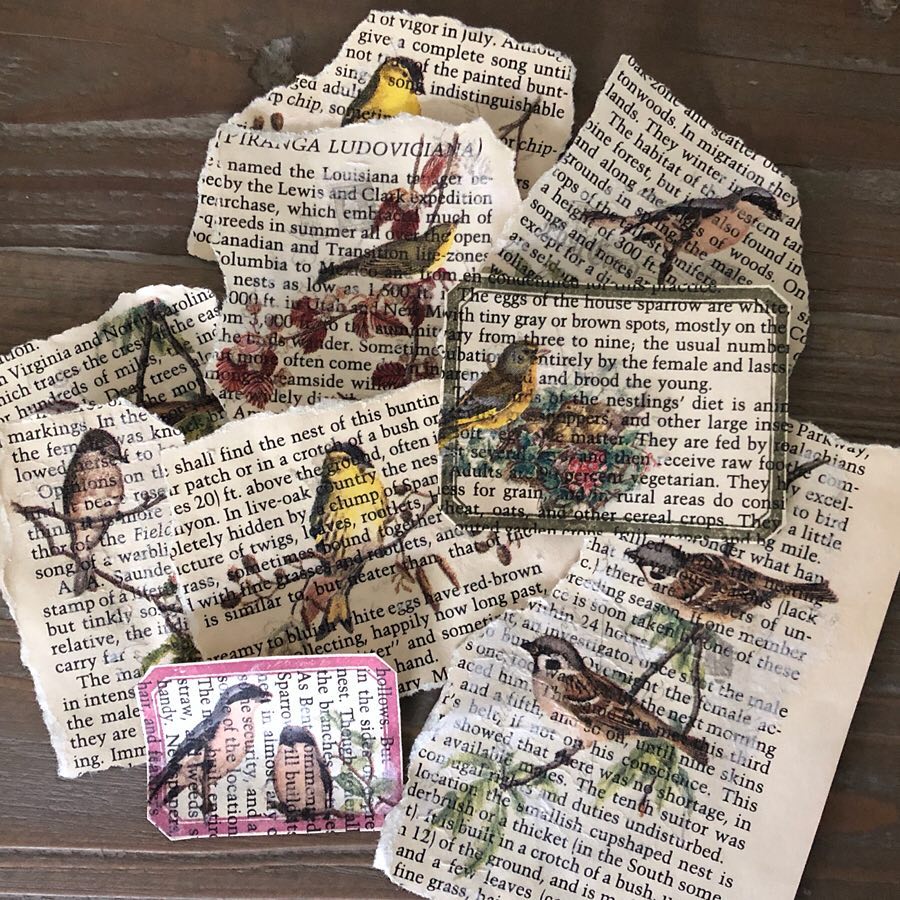
4. Prep the Project
This step is important. You’ll want to make sure the surface is clean and free of any debris that could ruin the surface. Depending on the material, you might even want to sand it. Once it’s clean, make sure everything is dry. If you’re using photos in your project, make sure they’re printed on computer paper. If you use thicker papers, like photo paper, it’s unlikely the product will adhere well.
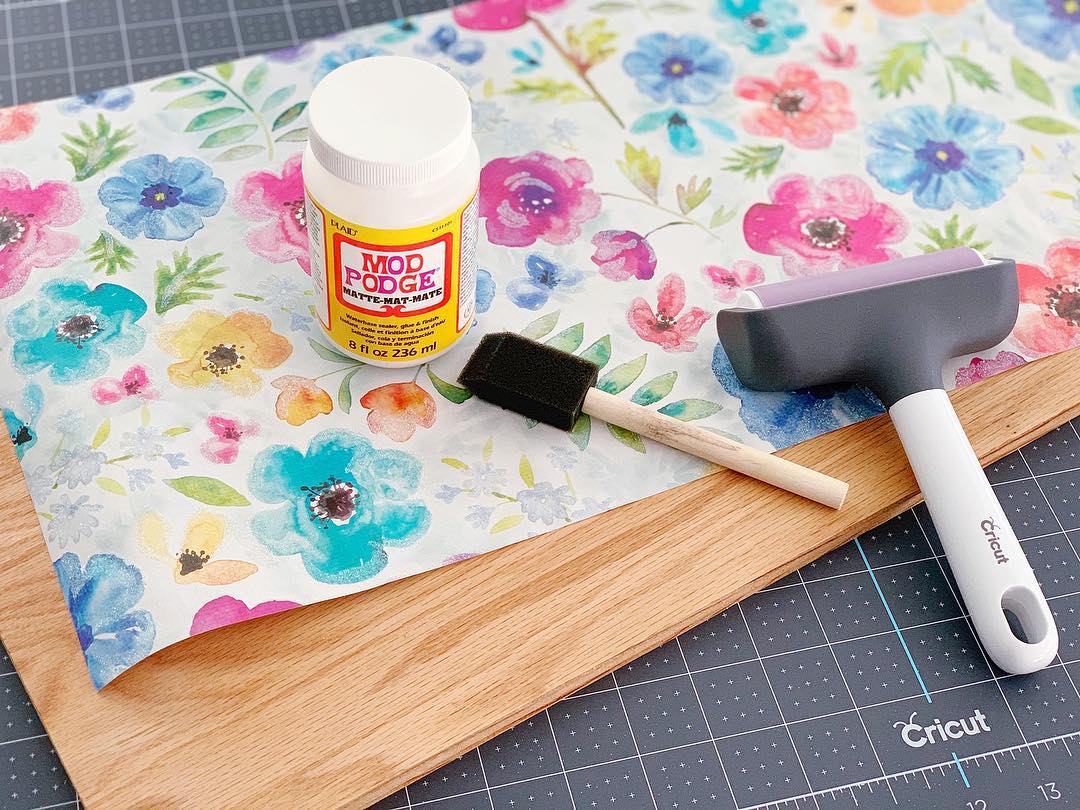
5. Applying the Mod-Podge
Paint a thin layer of mod-podge on the surface first, then wait until it becomes slightly sticky or tacky in texture. This will help make sure your craft items will stick well and won’t move around too much. Then apply mod-podge to the items such as paper and fabric. Make sure you’re working in thin layers, or you’ll have even longer drying times and the finished seal won’t look so pristine. Be patient, and know that you can smooth flaws and sand down the project after it has time to cure.

6. Perfecting the Surface
Once you’ve applied paper to the project, you may want to use a tool or even a flat-edged item like a credit card or ruler to smooth out any bubbles, gaps, or imperfections. You can use your finger in a pinch. Move from the center outward, and make sure the edges have adhered properly. Skipping this step may result in lifting edges or corners. Before adding more layers, allow the project to dry. Ideally, you’ll be waiting at least an hour between applications, or else you could end up with a sticky mess.

7. How Many Coats?
Some projects may look better with more coats of mod-podge, whereas others may need fewer coats. Always follow the instructions for best results, and make sure you’ve allowed ample drying time in between. Don’t forget to get rid of any dust from sanding! When in doubt, just leave the project alone to dry and cure. If your project is intended for outside use, consider the placement of the final item. Direct contact with water or full immersion in water can still damage even mod-podge intended for outside use, and lots of layers could turn the whole thing into a sticky disappointment after a rainstorm.
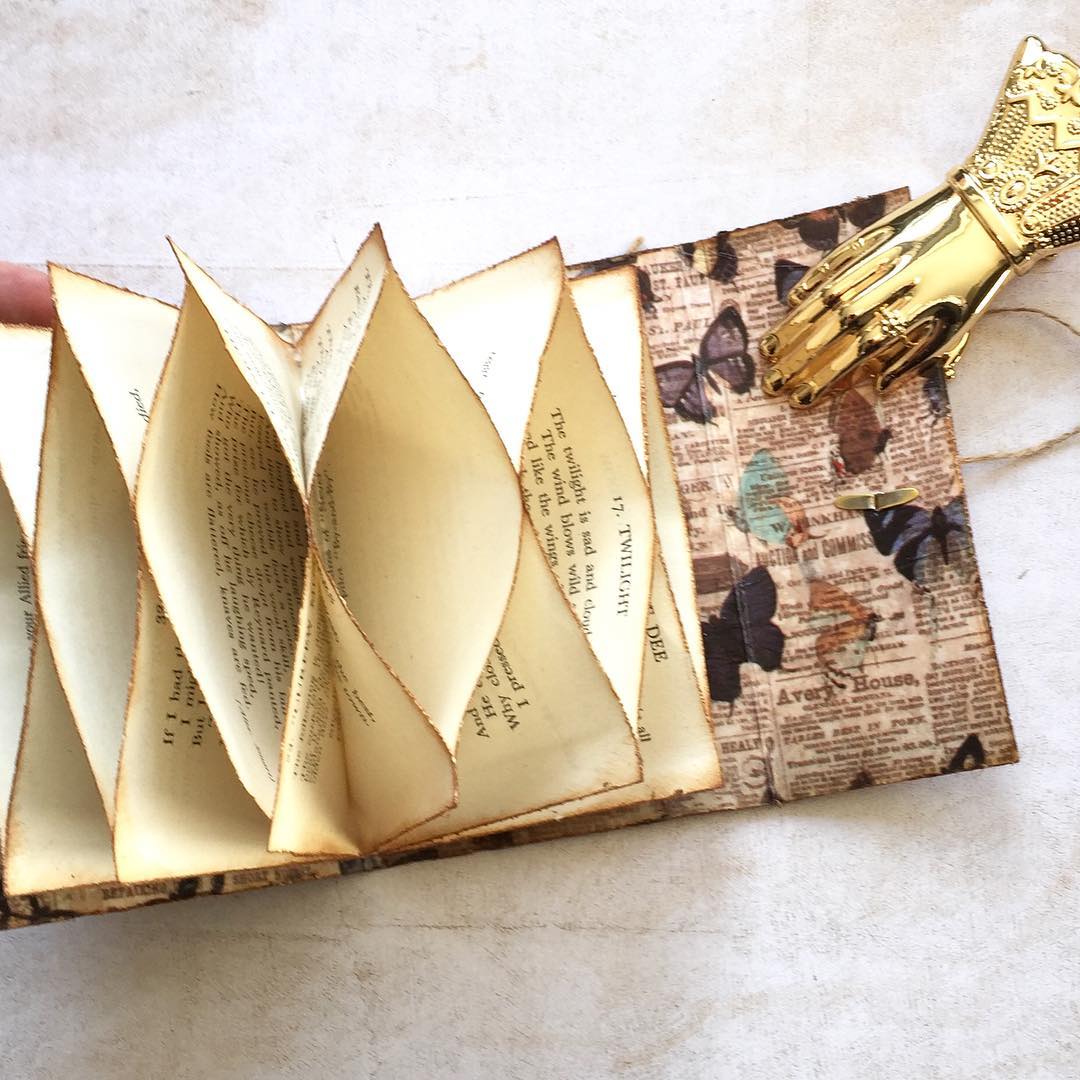
8. Finishing Up
Consult the product instructions for the curing time, and follow them closely. Leave the item where it won’t be disturbed throughout the curing process. Once the project is dry and cured, you may want to sand out any blemishes, dips or bumps to perfect the finish. Proceed carefully and make sure you don’t sand too hard, or you could undo hours of hard work.
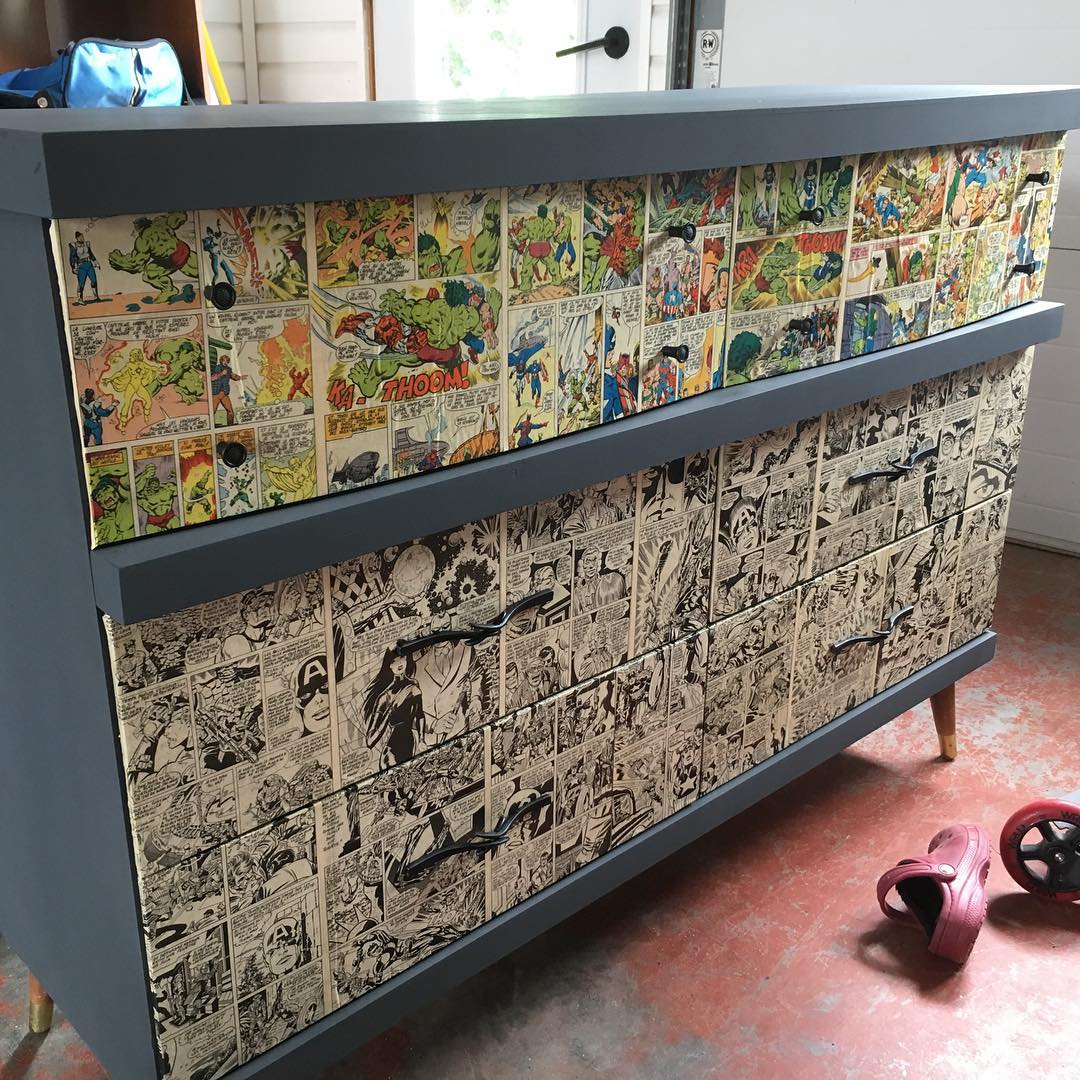
9. Experiment
With all the different craft materials and types of mod-podge out there, the only way to know for sure which ones will suit your artistic style best is to experiment with a variety of products. Ceramics and plastics can also be used with mod-podge, and patterned fabrics and papers can create a truly unique gift. Not only is experimenting a great way to see if you like the effects of different products, but also a great way to test your ideas before using new techniques on valuable craft items.
10. Research Get stuck? Have a question? The internet is an invaluable source for all things crafty, including mod-podge. You can watch videos, find more great tips, and see different finishes all before starting your own projects. With a little practice and patience, you can be making beautiful mod-podge projects in no time.