Designing a Kitchen Island That Actually Works

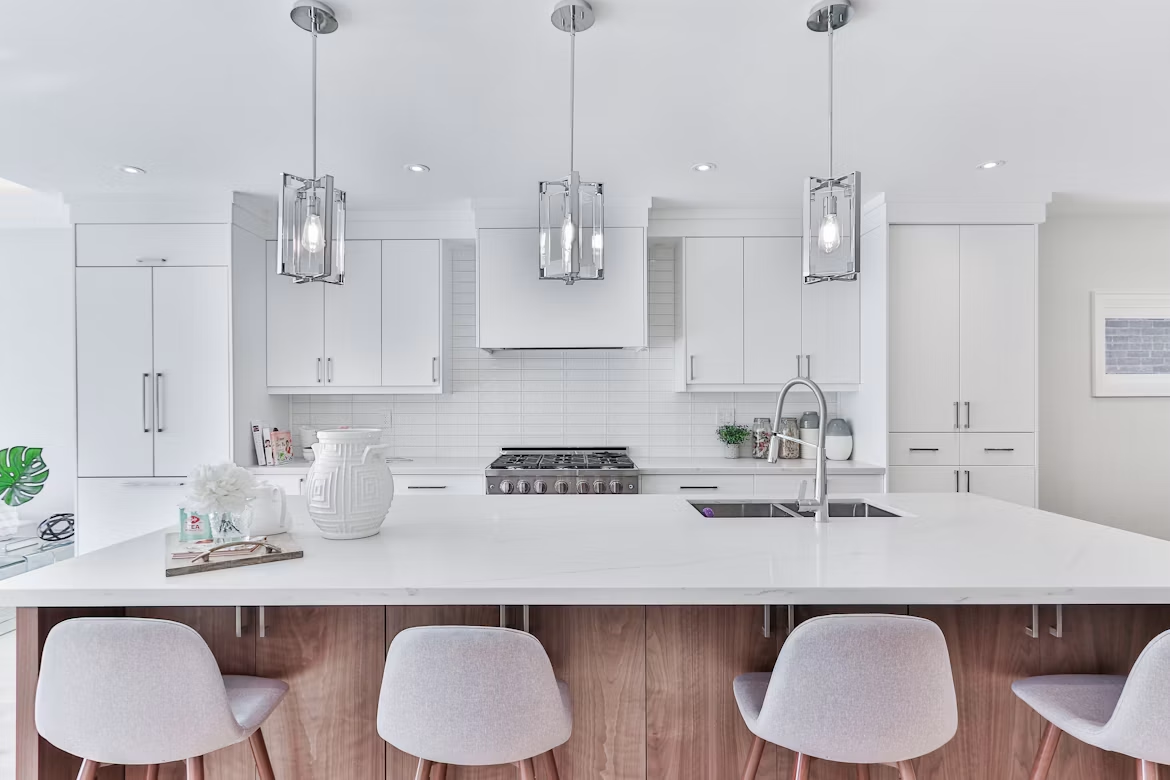
Image Credit: Unsplash
A successful kitchen island supports cooking, cleanup, dining and conversation without making the room feel crowded. Its dimensions should come from the way you use the kitchen, not from a standard showroom layout. Before ordering cabinets or choosing a countertop, map the island at full size with painter’s tape. Add temporary stools and open nearby appliance doors to see where conflicts occur.
This simple test reveals problems that are difficult and expensive to correct after installation.
Plan Your Prep and Traffic Zones
Start with space planning for kitchen island size and seating before deciding how large the island should be. Aim for at least 36 inches of clearance around it, then increase that to 42-48 inches in busy work aisles or areas shared by two cooks. Check the path between the refrigerator, sink and cooktop as well as the route people take through the room.
Think in terms of tasks, not a rigid triangle. A landing spot beside the refrigerator, a clear prep surface and easy access to the trash bin create a useful sequence. This guide to kitchen zones and the new work triangle can help you organize those activities without forcing every kitchen into the same layout.
Getting Counter Seating Dimensions Right
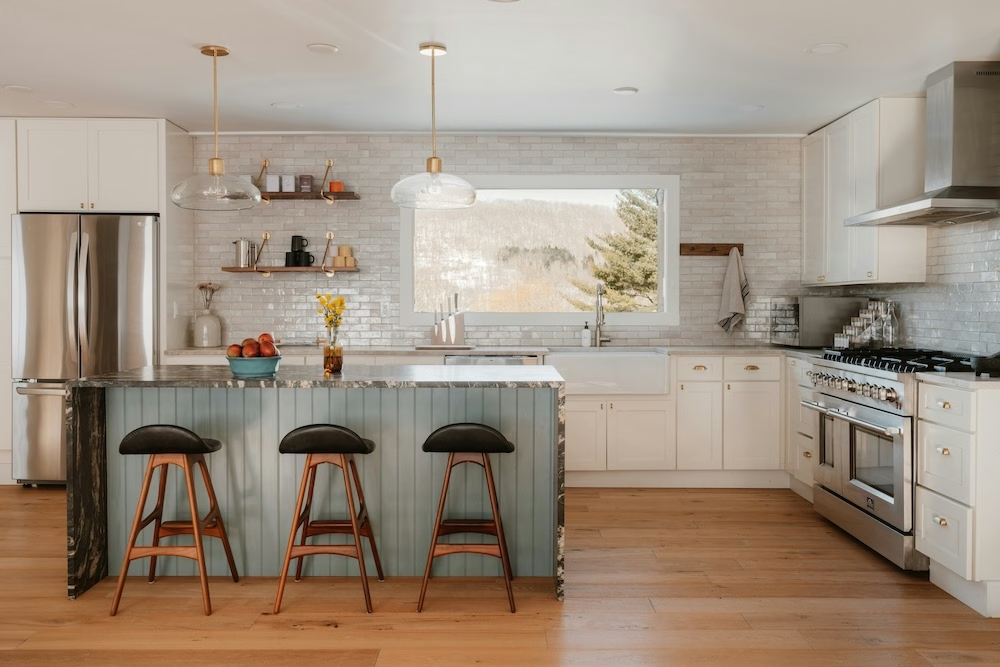
Measure the finished counter height before buying seats. Standard kitchen counters are generally about 36 inches high, while raised bar surfaces are often around 42 inches. A practical bar stool height guide helps you match the seat to the surface and avoid an awkward gap.
Allow roughly 10-12 inches between the seat and the underside of the counter so knees fit comfortably. Plan about 24 inches of counter width per person, with more room for swivel seats or stools with arms. The countertop overhang also matters. Around 12 inches works for many counter-height arrangements, though deeper overhangs may need concealed brackets or other structural support. Test the setup with a chair before approving the final countertop depth.
Lighting and Outlets for Daily Flow
Center lighting over the usable island surface, not automatically over the cabinet base. An overhang can shift the visual center several inches, while a prep sink may call for more focused light. Two or three pendants usually suit a long island, but their scale matters more than the number. Keep enough open space between fixtures so they feel connected without forming a solid visual barrier.
Plan outlets around actual habits such as charging a phone, running a mixer or plugging in a laptop. Local codes determine outlet placement, so discuss current kitchen electrical requirements with a licensed electrician. Pop-up or under-counter options can reduce visual clutter when permitted. Place switches where you can reach them without crossing the cooking zone.
Integrate Storage Without Bulk
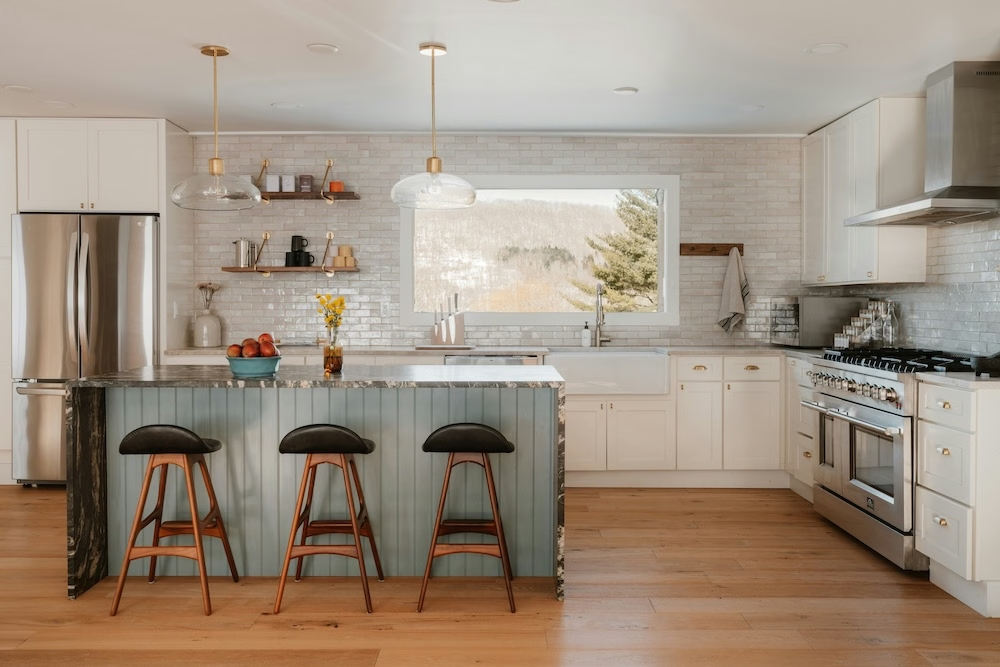
Give each cabinet a specific purpose before settling on the island’s footprint. Wide drawers near the prep area can hold mixing bowls, cutting boards and small appliances. A pull-out trash unit works well near the sink, while shallow cabinets beneath a seating overhang can store serving dishes used only occasionally.
Avoid filling every side with deep cupboards. They can be hard to access and may make a large island look even heavier. Open shelves at one end, recessed doors or a furniture-style panel can soften the mass. Leave generous knee space around seats and keep cabinet handles away from traffic paths. If storage needs are modest, a shorter island with clear walkways will serve the room better than an oversized block of cabinetry.
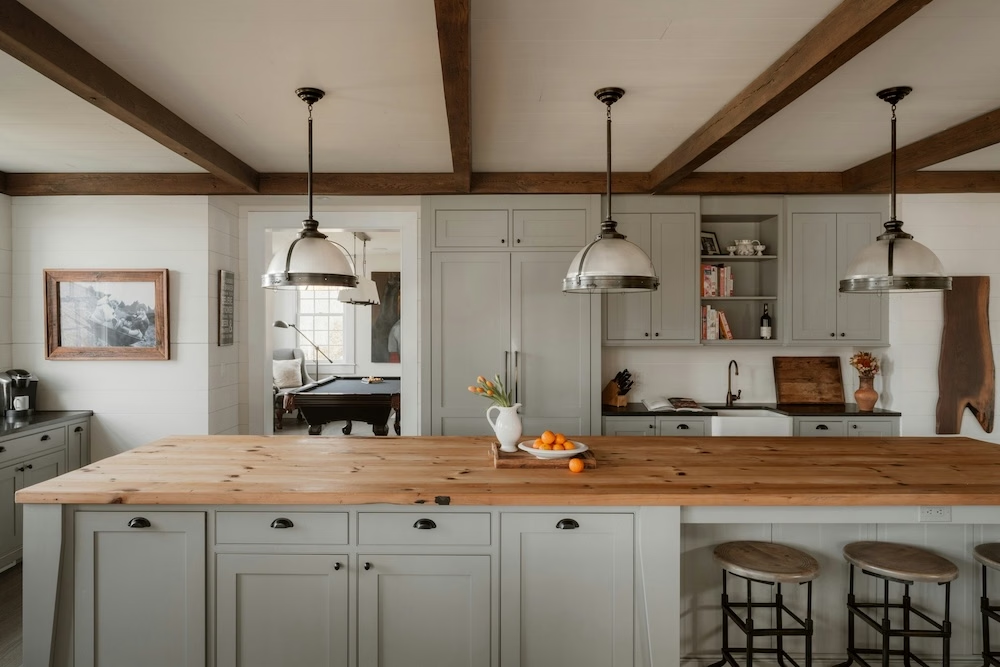
Before construction begins, mark every door swing, stool and overhang on the floor. Walk through a typical meal from refrigerator to prep area to cleanup. If that route feels natural at full scale, the finished island is far more likely to work as well as it looks.