The Blueprint for a Truly Functional Alfresco Kitchen

Image Credit: Unsplash
A functional outdoor kitchen needs a clear layout, durable finishes, and enough protection from heat and weather. Without those basics, even an attractive space can leave you carrying ingredients back and forth, searching for counter space or avoiding the area after sunset. Good alfresco kitchen design starts with the way you plan to cook, serve, and clean up. Let those everyday habits guide each decision that follows.
Optimizing the Prep and Cook Triangle
Place the refrigerator, prep counter, and cooking station within a few comfortable steps of one another. A compact arrangement keeps raw ingredients moving in one direction and helps prevent guests from crossing the cook’s path. Leave at least 24 inches of landing space beside the main cooking area and reserve a separate counter for serving.
Outdoor layouts often work better as zones than as a strict indoor-style triangle. This guide to kitchen zones and the new work triangle explains how task-based planning can improve movement. Apply the same idea outside by grouping cold storage, prep, and cleanup based on how you’ll use them.
Choosing Resilient Surface Materials
Select materials that can handle sunlight, rain, temperature changes, and frequent cleaning. Stainless steel works well for cabinet fronts because it resists moisture and wipes clean easily. For counters, granite and porcelain slabs offer durable work surfaces, though lighter colors may stay more comfortable in direct sun.
Pay close attention to what sits beneath the finish. Exterior-rated cabinet boxes, corrosion-resistant fasteners, and properly sealed joints matter as much as the visible surface. Ask how often sealers need renewing, and keep samples outdoors for several days before making a final choice. That simple test reveals how a color looks in full sun and whether a dark countertop becomes too hot for practical use.
Exploring Professional Project Portfolios
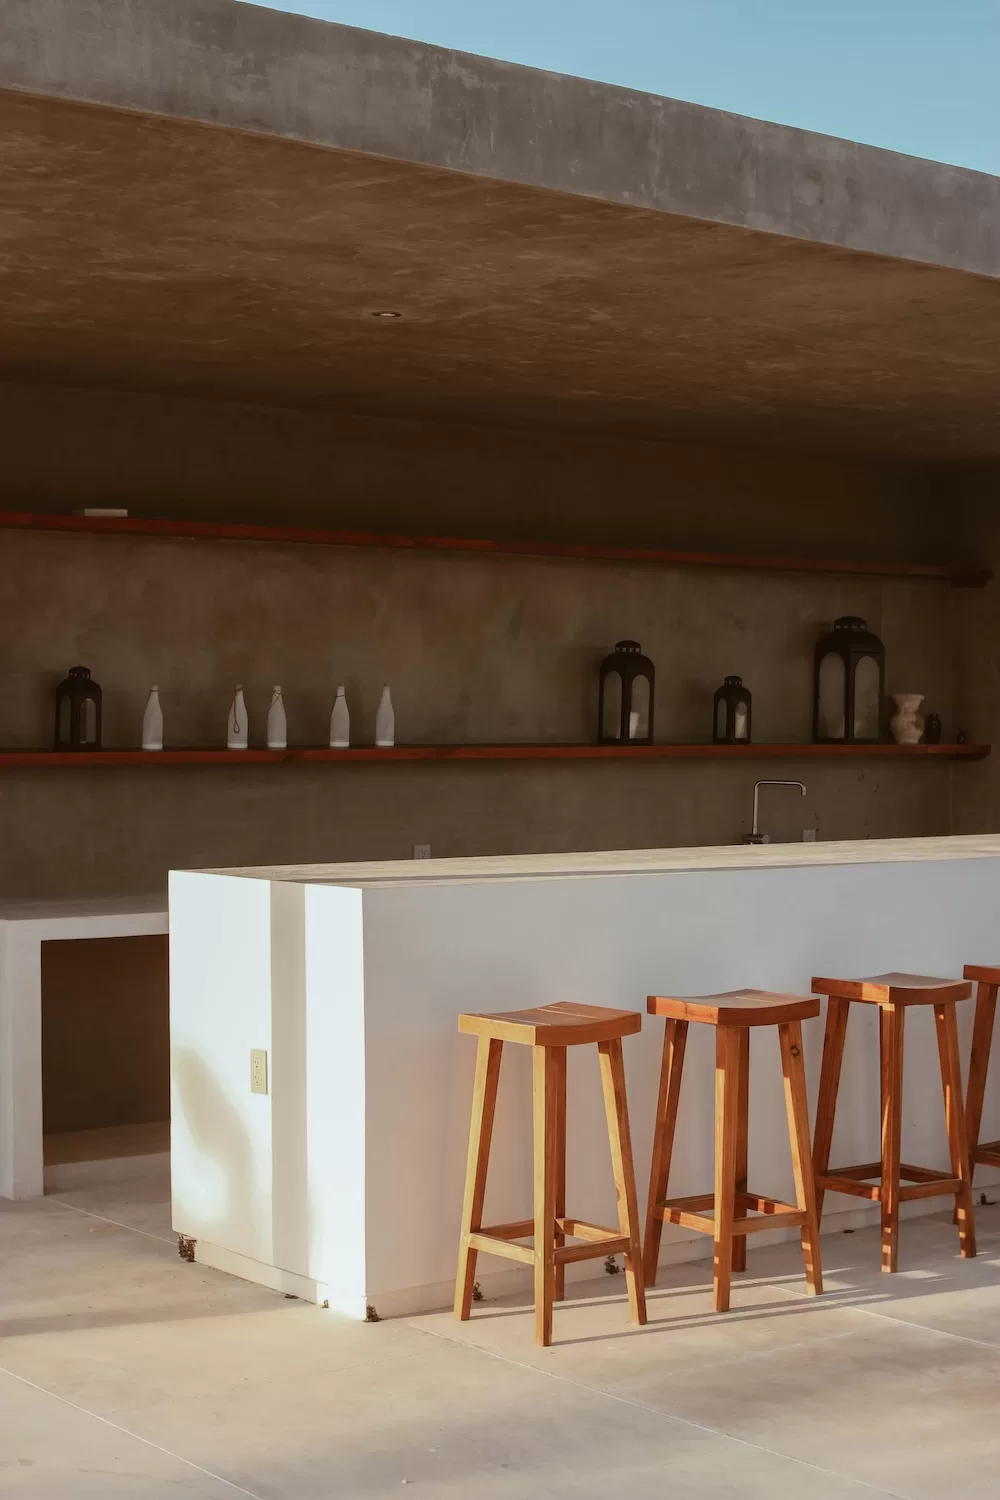
A project portfolio helps you judge layout decisions, construction quality, and the builder’s experience with spaces similar to yours. Look past wide beauty shots and study corners, appliance clearances, cabinet alignment, and transitions between the kitchen and surrounding patio. Photos taken after completion are especially useful because they show how materials age.
When comparing design ideas, see their outdoor kitchen work for examples of grill islands, patio covers, and connected outdoor living areas. Focus on features that suit your space, since a narrow side patio calls for different solutions than a large freestanding pavilion.
Integrating Smart Ventilation and Shade
Plan airflow before finalizing the cooking station’s position. Keep heat and smoke away from doors, windows, and covered seating. Under a roof, you may need an outdoor-rated ventilation hood, and its size should match both the cooking equipment and the installation height. Follow local requirements and the appliance manufacturer’s clearance instructions.
Understanding kitchen ventilation principles can help you assess capture areas, airflow, and exhaust placement before discussing the system with a contractor. Shade also deserves early attention. A pergola, solid patio cover, or adjustable canopy can reduce surface temperatures, but posts and rooflines must not interfere with movement or ventilation. Consider the afternoon sun’s angle, not just its midday position.
Lighting the Space for Nighttime Utility
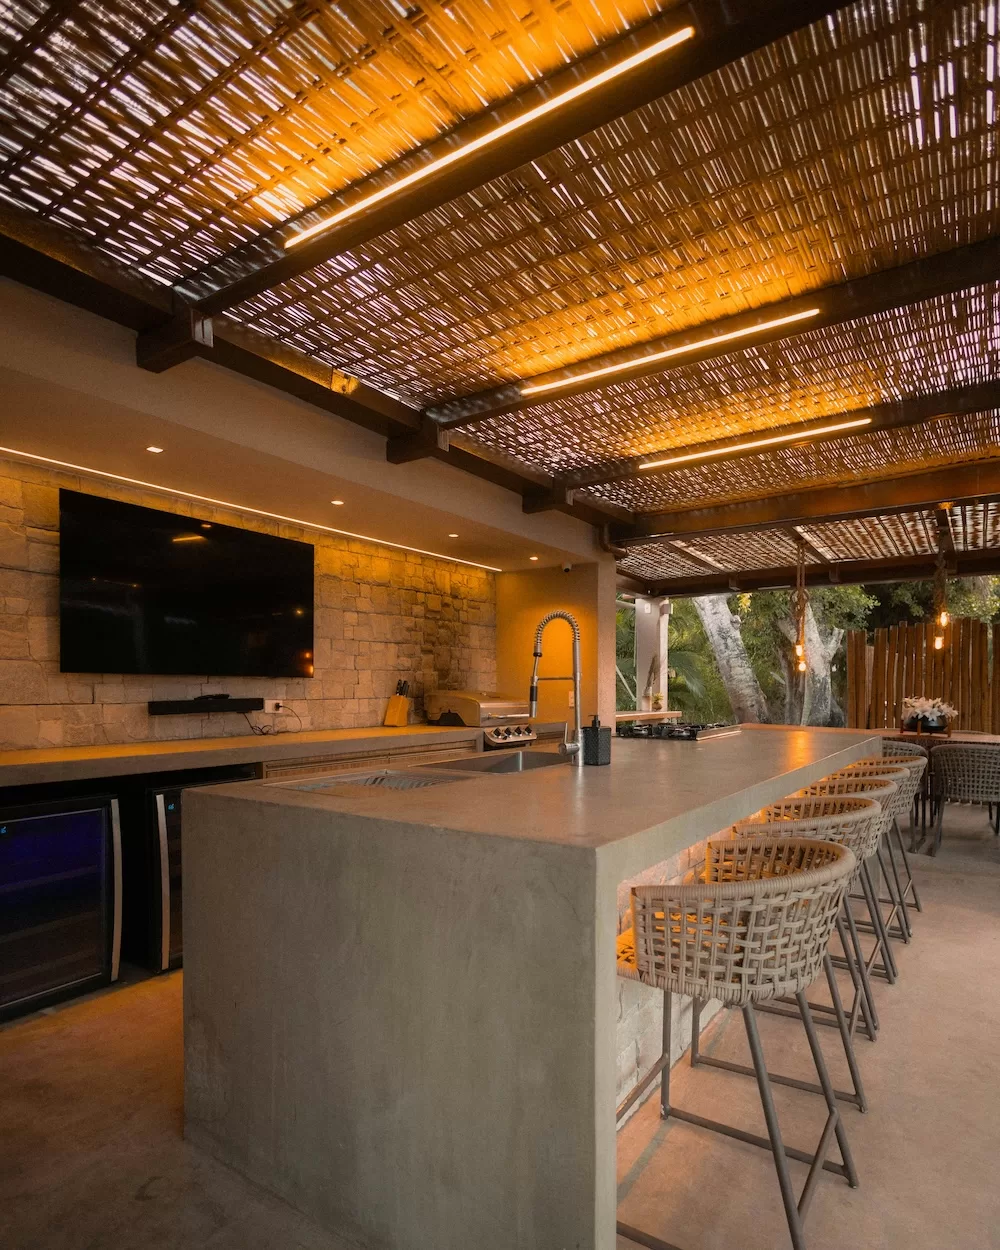
Use several modest light sources instead of relying on one bright ceiling fixture. Task lighting should illuminate the prep counter, cooking surface, and sink without casting your own shadow across the work area. Recessed fixtures under a patio cover can provide general visibility, while shielded wall lights make paths and changes in floor level easier to see.
Choose exterior-rated fixtures with warm color temperatures around 2700K to 3000K for dining areas. Place brighter task lights on separate switches so the kitchen remains practical without making nearby seating feel harsh. Dimmers give you more control once cooking ends.
Before construction starts, mark counters, doors, and appliances on the ground with painter’s tape or cardboard. Walk through one complete meal, from taking food out of storage to setting dishes on the table. Any awkward turn or blocked cabinet will become obvious while changes are still simple to make.