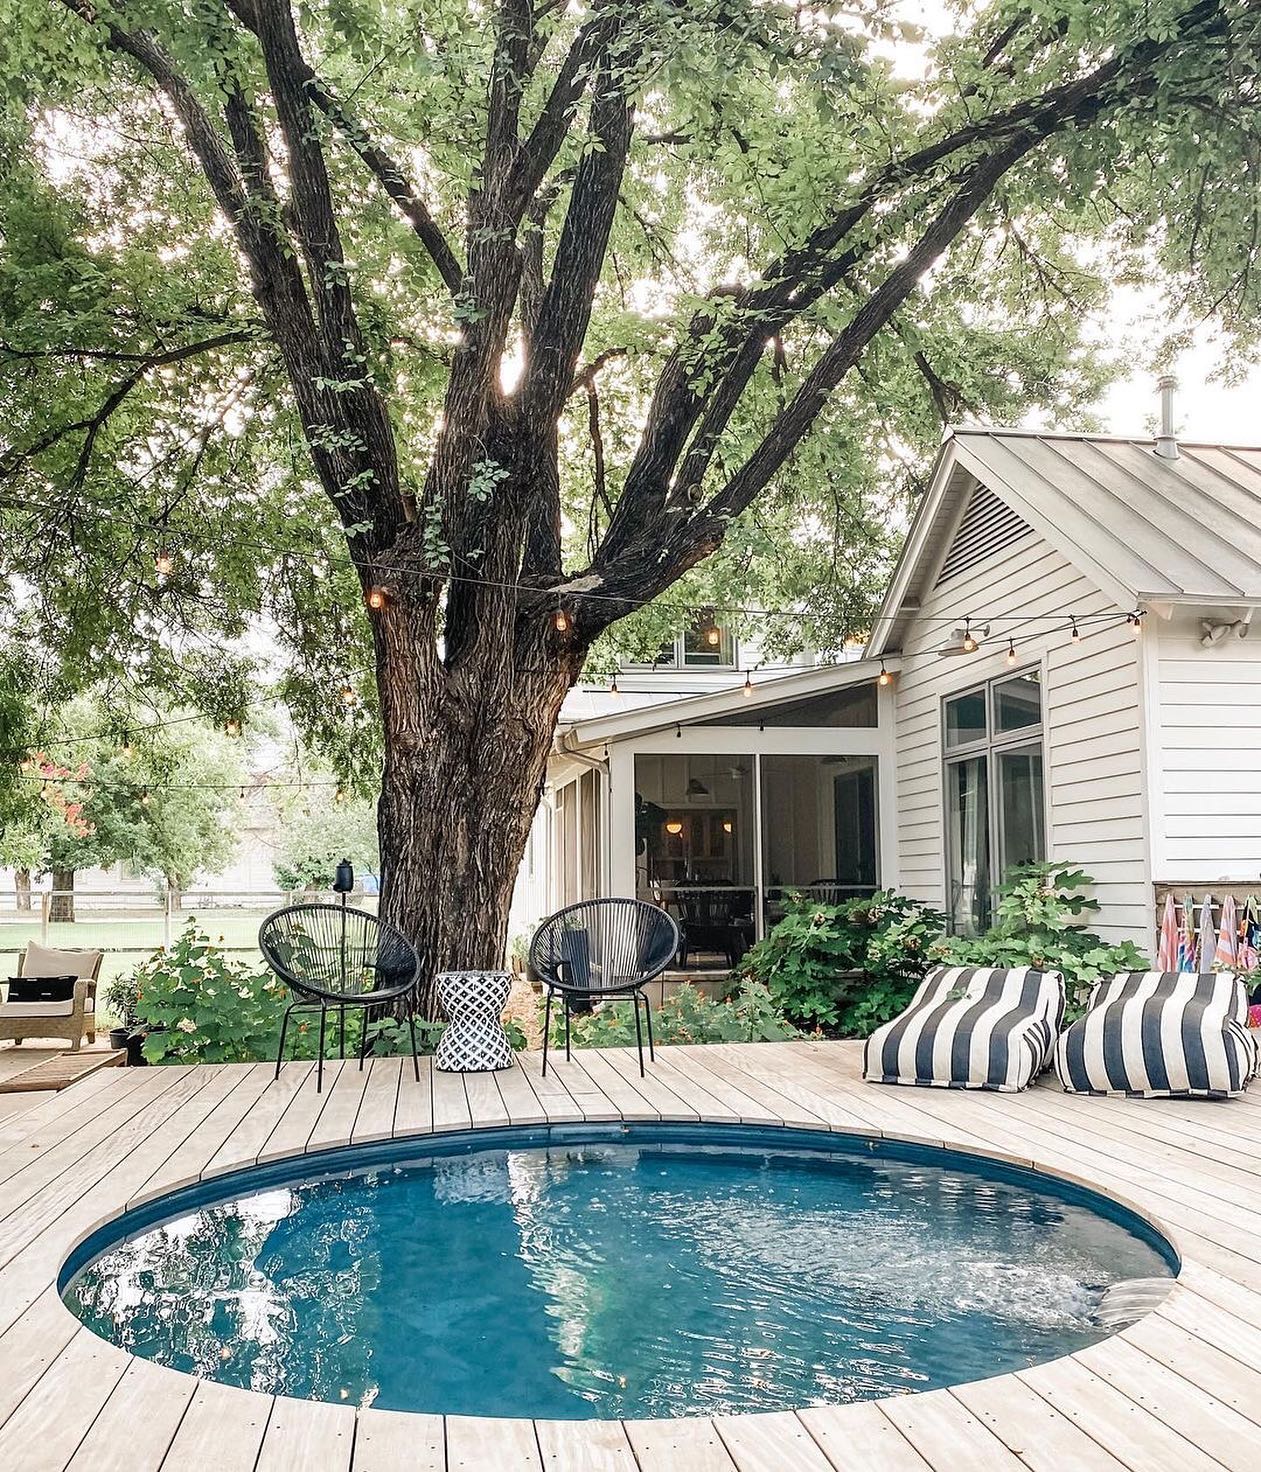
A Simple Way to Make Your Own Amazing Deck
Having a beautiful deck is more than an extension of your home; it’s the coziest way to enjoy the outdoors in your own little nest. While hiring professionals to do the job may seem tempting, the cost often makes a severe dent in your bank account. Luckily, you can make DIY decking for your new project to save costs while having the ability to personalize it to your unique style. Here’s exactly how to do it, step by step.
Choosing the Right Materials for Your DIY Deck
Choosing the right materials in DIY decking is the starting point and a crucial step since your deck’s durability, appearance, and maintenance depend on it. Choose from three main types of material:
Wood
Wood is a timeless and traditional choice for decking, known for its natural beauty and warmth. However, it’s essential to consider the specific type of wood. Hardwoods like teak and cedar are naturally decay-resistant, while pressure-treated pine is a more affordable option. Despite its appeal, wood does require regular maintenance, including sealing or staining, to protect it from the elements.
Composite
Composite decking is a modern alternative that blends wood fibers with plastic. This combination results in a durable, low-maintenance material that resists rot and splintering. It’s available in various colors and styles; hence, you can customize it like wood with less maintenance. It comes at a higher price point initially, but you save a lot in the long run due to little maintenance.
PVC
PVC (polyvinyl chloride) decking is a synthetic material known for its durability and resistance to moisture, making it an excellent option for decks in humid or coastal areas. It doesn’t require painting or sealing and is resistant to rot and insects. However, it does come with a higher price tag compared to other materials, and color options can be limited.
We can also display their features in a pros and cons table:
| Material | Pros | Cons |
| Wood | Natural appearance, customizable | Requires regular maintenance |
| Composite | Low maintenance, diverse design options | Higher upfront cost |
| PVC | Durable, resistant to moisture | Limited color options, can be pricey |
Designing Your Deck
Once you’ve chosen the suitable material for your DIY decking, the next step is to get in touch with your creative side and sketch a design for your deck.
However, before you get to design, grab a measuring tape to assess your outdoor space. Measure the area where your deck will be located and note any features, like trees or slopes.

The usage of your DIY decking is another key point – will you use it for relaxation, dining, or something else? That will determine how to position it for sunlight and shade so you can optimize it according to your needs.
Once you have these in check, it’s time to sketch your deck layout. Include the key measurements, including the deck’s dimensions, stairs or entry points, and additional features like built-in seating or planters. This basic sketch will make it much easier to proceed with construction while avoiding unnecessary mistakes.
Before proceeding to the next phase, remember to check with your local authorities to determine whether you need any permits for your deck.
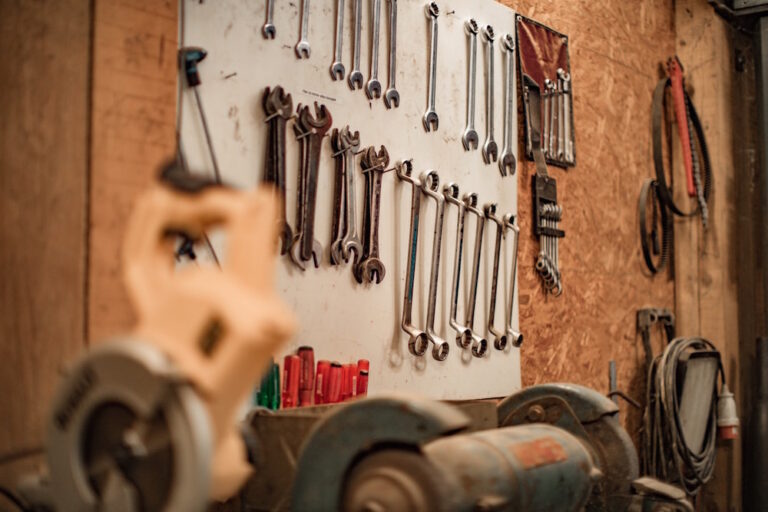
Tools and Materials for Your DIY Decking Project
There are quite a few tools and materials you’ll need for your DIY decking project. Don’t let that discourage you, as all of them are easily obtained – we’ll divide them into a few simple categories.
Safety Gear
As with any other DIY project, you should prioritize safety and apply these equipment pieces:
- safety glasses;
- work gloves;
- ear protection;
- dust mask.
Hand Tools
Prepare or purchase the following hand tools for the construction process:
- measuring tape;
- level (to ensure your deck is even and balanced during construction);
- speed square (for marking and measuring angles for precise cuts);
- chalk line (for proper alignment during installation).
Power Tools
Power tools can save you loads of time and effort – for this particular project, opt for:
- circular saw (ideal for cutting deck boards and other materials with precision);
- drill/Driver (for driving screws and drilling pilot holes)
- jigsaw (useful for detailed cuts);
- router (optional for creating decorative edges on deck boards).
Decking materials
Deck boards: Choose the decking material that aligns with your preferences and budget.
Joists and beams: Provide structural support for the deck, distributing weight evenly.
Fasteners: Go for corrosion-resistant screws or nails suitable for your chosen decking material.
Concrete footings: By setting them in concrete, you’ll have a stable foundation for support posts.
Post Anchors: Connect posts to the concrete footings securely.
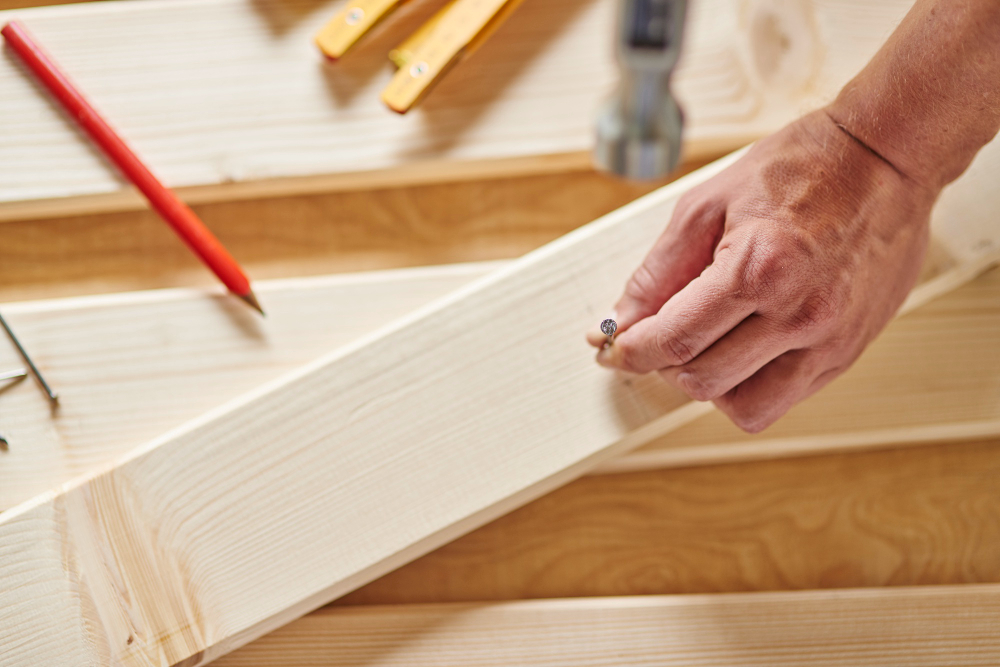
Step by Step DIY decking
Before you start construction, clean up the area of any debris and vegetation. The ground must be level without uneven spots for a stable foundation.
To prevent weed growth while ensuring drainage, lay the ground fabric over the cleared and leveled area. This simple step will preserve the integrity of your deck over time.
Now, get to framing the deck. Attach a ledger board to the exterior wall of your house using lag screws. It must be level and securely anchored. This is the starting point for your deck’s frame.
Create the deck’s frame by attaching joists to the ledger board. Use joist hangers for a secure connection. Add beams perpendicular to the joists, supporting the structure and providing additional stability.
The next step is to install your chosen deck boards while keeping consistent space between each. This is where spacers come in handy to maintain even gaps, which will keep proper water drainage while lowering the risk of warping.
Secure each deck board with corrosion-resistant screws or nails. Start from one end and work toward the other. Remember to check alignment as you progress. Trim boards at the deck edges for a polished finish.
Add railings around the deck perimeter and any elevated areas to make it extra safe. You can also give it your personal touch and express your style with a railing design that matches your deck and overall aesthetic. For a unique look, you can go for wooden balusters, metal railings, or a combination of materials.
Now, you’ve reached the final stage of your DIY decking project. In this step, your goal is to protect your deck from the elements by applying a quality stain and sealer. Follow the manufacturer’s instructions for optimal results. This step also enhances the visual appeal of your deck.
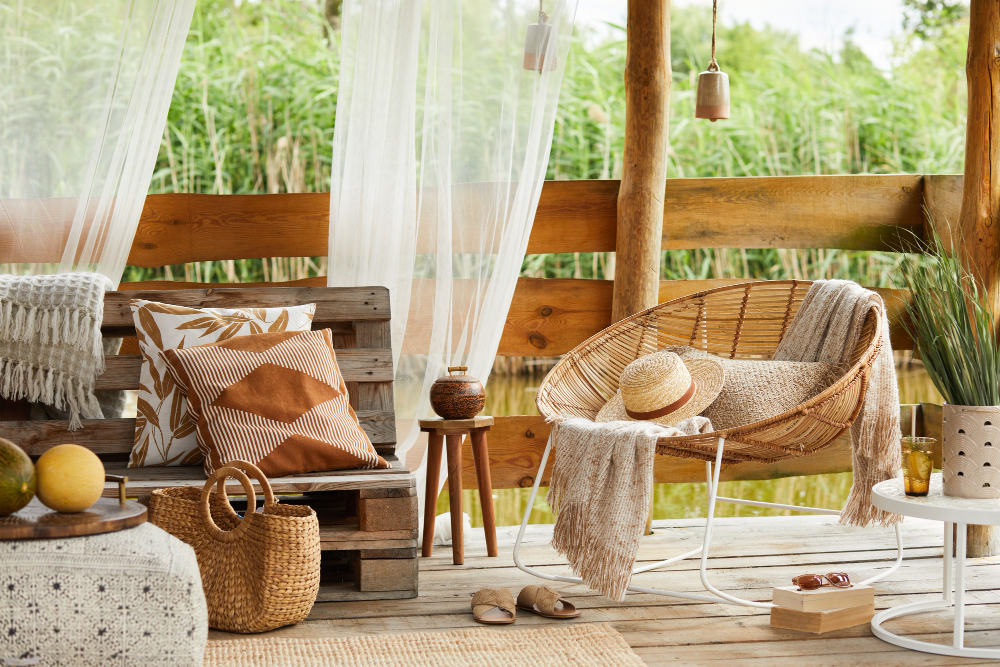
Finally, add long-lasting outdoor furniture to transform your deck into a functional and inviting space. There are plenty of weather-resistant seating, tables, and other elements to choose from.
Final thoughts
Congratulations on completing your DIY deck! With these simple tips, you’ve created a functional outdoor space with the satisfaction of building something with your own hands. And there is no better way to relax after a day of hard work than on your hand-made deck, which is a testament to your creativity and joy of DIY projects.