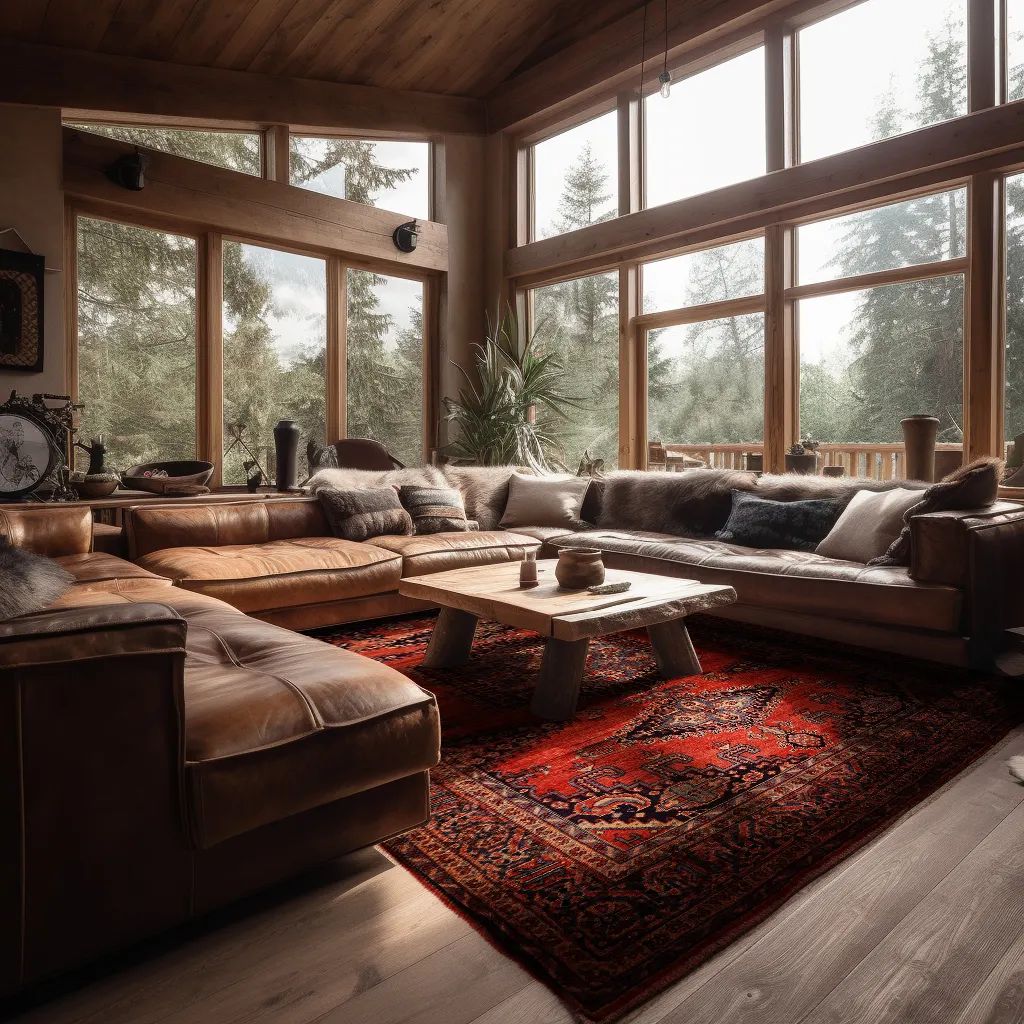
How to Make Your Own Custom Rugs
If you’re into arts and crafts, you’ll love this. Making your very own rugs can be so satisfying that you’ll develop a new hobby, possibly growing it into a home business. Grab the items needed, spare a weekend and start rocking and rolling your first DIY rug.
What do you need to make rugs?
Gather these tools and materials. You can buy these in your local stores, through Amazon or other dedicated websites. This guide lets you make rugs even without sewing skills.
- Tufting gun – This hand-held device shoots yarn into the cloth.
- Monks cloth – This is the fabric that the yarn loops and cuts into. It also acts as backing to your rug.
- Wooden frame – This is where the monks cloth is attached. You can put nails sticking out around the frame to make your fabric extra taut when making the rug.
- Design – Either create your own or hire someone to make the design.
- Marker – Use this to trace the design’s outline.
- Projector – This is used to project an enlarged image of the design to the canvas.
- Scissors or Cutter – This is used to cut the excess yarn on your canvas.
- Clippers – This trims the entire rug and makes it look well-polished.
- Glue Gun & Hot Glue – This is used to neatly fold the excess cloth/border.
How to make a rug with a tufting gun
This step-by-step guide is beginner-friendly. The finished product is technically partially handmade because you’re making the rug by hand but with the help of a tool (tufting gun).
- Attach the monks cloth onto the frame. Slowly pull the cloth’s edges onto the nails so that there’s a nice tension and consistent pressure across the entire fabric when you’re making the rug.
- Get the design ready. You can either grab one from the Internet, create your own or hire an illustrator.
- Turn on the projector to get your design projected onto the monks cloth. This way, you can perfectly adjust its size and placement. Remember to flip the image when casting the design so your rug comes out exactly how you want it to look.
- Use a marker or sharpie to trace the outline of the design.
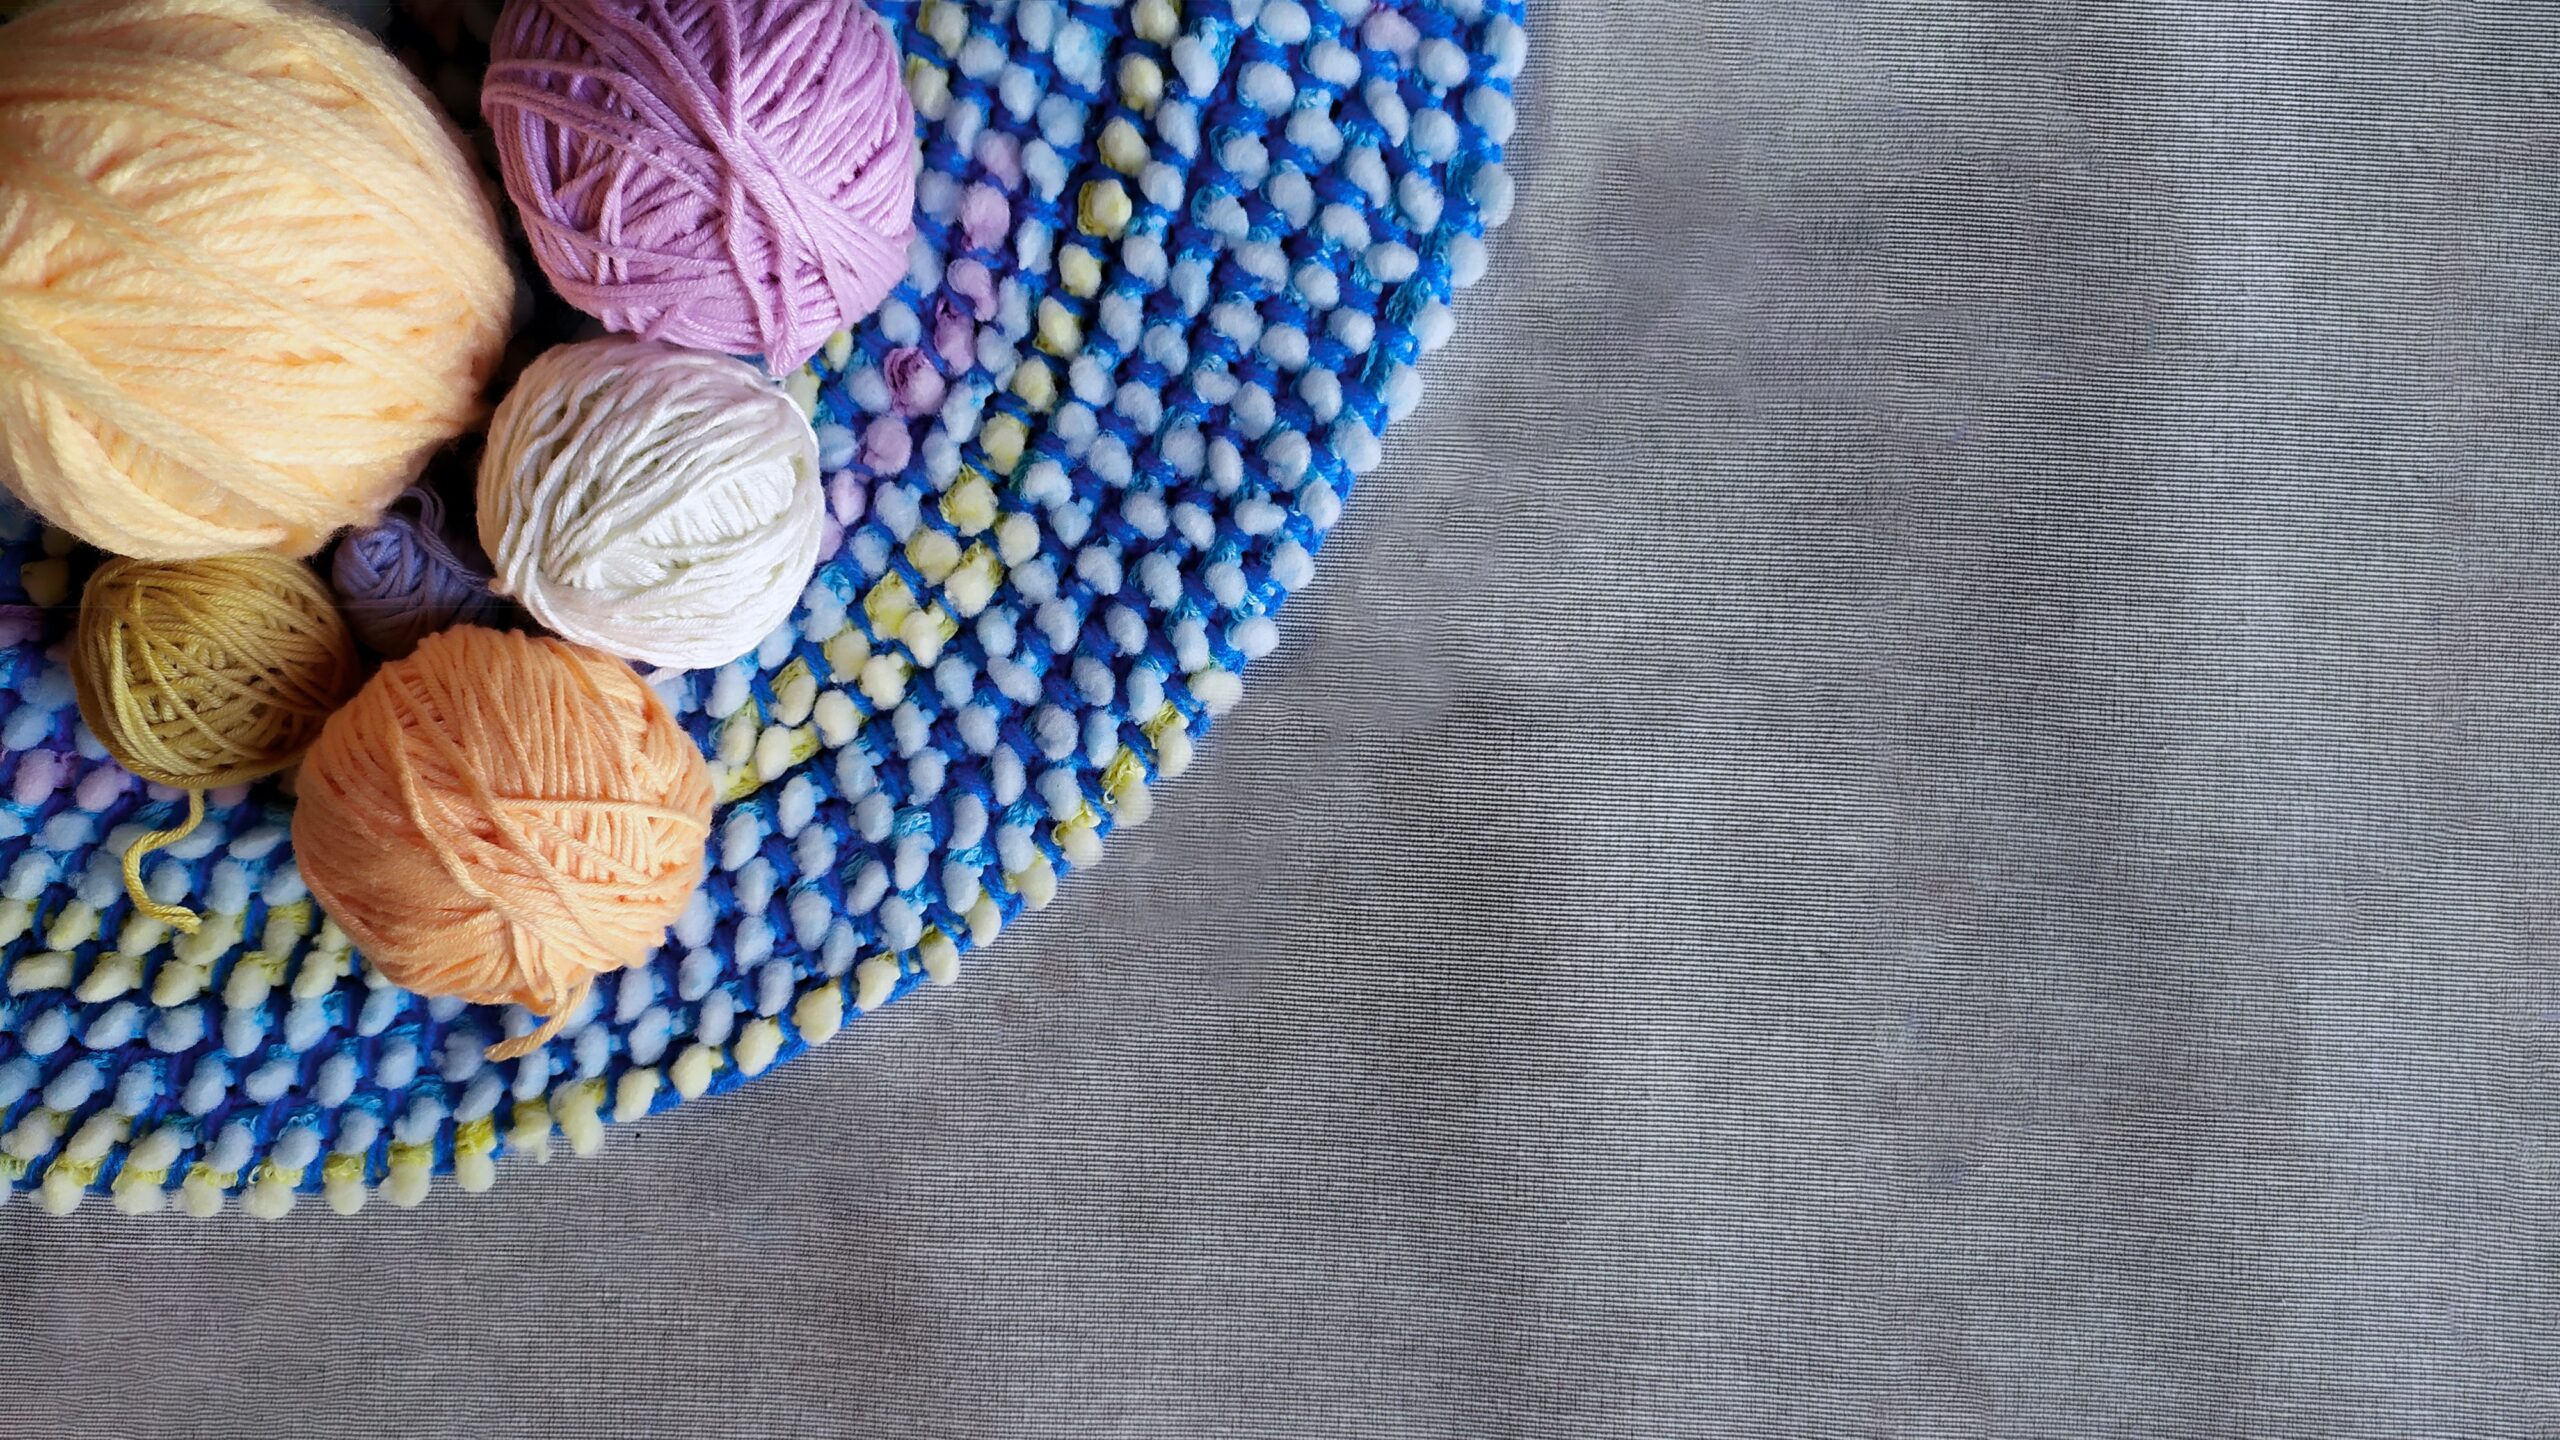
- When making rugs for the first time, it makes sense to buy some cheap acrylic yarn. An extra step you can do is take the skeins of yarn and reroll them to get rid of tangles and knots that might be present. Use two skeins of yarn to make your rug a bit thinker and have a bit better tension.
- Load the yarns into the tufting gun and start tufting.
- Hold the tufting gun with both hands, put it into the monks cloth and pull the trigger. Don’t be afraid to push hard onto your fabric. If you don’t push hard enough, it might create holes or won’t sew in the fabric properly.
Always follow an upward motion until you finish the outline. If you push in a downward motion, it could create holes. You can also opt to do the small details first before doing the bigger ones, including the outline. But as a beginner, starting with the outline seems the best way.
Tension and pressure may be the most important factors when making rugs using a tufting gun. Make sure to have even pressure and tension across your entire design so that it comes out nice.
- Keep tufting and use all the needed colors. As you’re going, you will see some strands hanging off. Just use a pair of scissors to cut them. You can also grab a classic hair trimmer to keep your design clean. Use it to cut loose ends, clean up between the lines and see if you missed any sections that might need touching up.
- Get a good ol’ Elmer’s Glue or carpet adhesive to glue the back of the rug so everything stays in place. Pour the glue on the design (back side) and spread it using a putty knife. Or, you can put the adhesive on a spatula and slowly spread it across the entire rug. Make sure the whole design is filled with the glue. Let the glue dry overnight so it’s no longer tacky. Alternatively, you can let it dry under the sun.
- Cut the rug out of the frame using a cutter or scissors. Leave about 1 to 1 ½ inches around the entire border to fold over the monks cloth. When you’ve cut out the newly designed rug, place it on a clean, flat surface, turn it over to its back side and fold over the extra fabric. It’s better to cut the excess cloth into little sections. That way, when you’re folding it around curved edges, you’ll have a nice flat base on the backside.
- Grab a hot glue gun, put some hot glue onto the cut sections, and fold it over. Don’t fold too tightly; just enough so that it hides itself underneath the rug. Keep doing this around the entire rug until the extra fabric is completely hidden underneath the tufted part.
- Use a hair clipper to give your rug a nice haircut. This gives a nice finishing touch across all colors. It evens off everything pretty well, so you’ll have a professional-looking rug. If you have a well-maintained sheep shearer, you can use it as well.
- Clean up your workspace. You can tie together the two skeins of yarn of the same color for easy access on your next rug design.
That’s it. Follow this 13-step process and you’ll be able to create your very own rug. Watch YouTube tutorials for a better understanding of the steps.
How far apart should all of the lines be?
It depends on how thick your yarn is. Just try out some lines, go on the other side and feel it out. You’ll be able to find out exactly how far apart they need to be. And if you need to, just add some fillers every now and then.
Is it cheaper to buy or make a rug?
Ready-made rugs are cheaper, but this question is not important. You love arts and crafts and you’re doing this for fun.
How do you clean a rug?
Your tufted rug is a delicate piece of art. Use a suction vacuum, but set the power to a low level. Run the vacuum over the rug 2-4 times to remove hair, dirt and dust. For wet stains, use a clean, undyed cloth or paper towel to absorb the stain. Don’t pour too much water to preserve the glue that keeps the rug intact. When in doubt, contact the professional rug cleaners to get the job done. If you have heirloom rugs, let them clean it, too.
Final Thoughts
Some people have a slightly different technique for making tufted rugs. For example, instead of sparing an extra inch of cloth to get folded beneath the rug, the rug is cut to its actual shape. This may look riskier because the edges have no protection to keep them together. But well, it works for them. Bottomline, try this craft and you’ll be amazed at how simple and fun making rugs can be. Who knows, you might even find this a lucrative income stream.
About the Author
Francis Intia writes for LoveYourRug. He spent five years as an editor-in-chief, writer and photojournalist of a campus publication. He also worked as an IELTS administrative officer for four years.