Photo Display 101: Learn the Basics Here
People have been decorating their homes with photos since the dawn of the photography era, but tastes and styles have changed a lot since the 1830s! And while putting a photo in a standing frame or hanging a photo poster on the wall might not require much practical know-how, creating more ambitious photo displays takes a bit of forward planning. In this article, we’ll look at how to display photos on your wall to get the best possible results.
Photo Display Layouts
Let’s start with the most common wall art arrangements.
Horizontal
One classic solution that never goes out of fashion is a neat horizontal row of pictures. You can go for photos all the same size to achieve a traditional look or choose a range of formats – a row of images that gradually increase in size, for example, achieves a daring contemporary look.
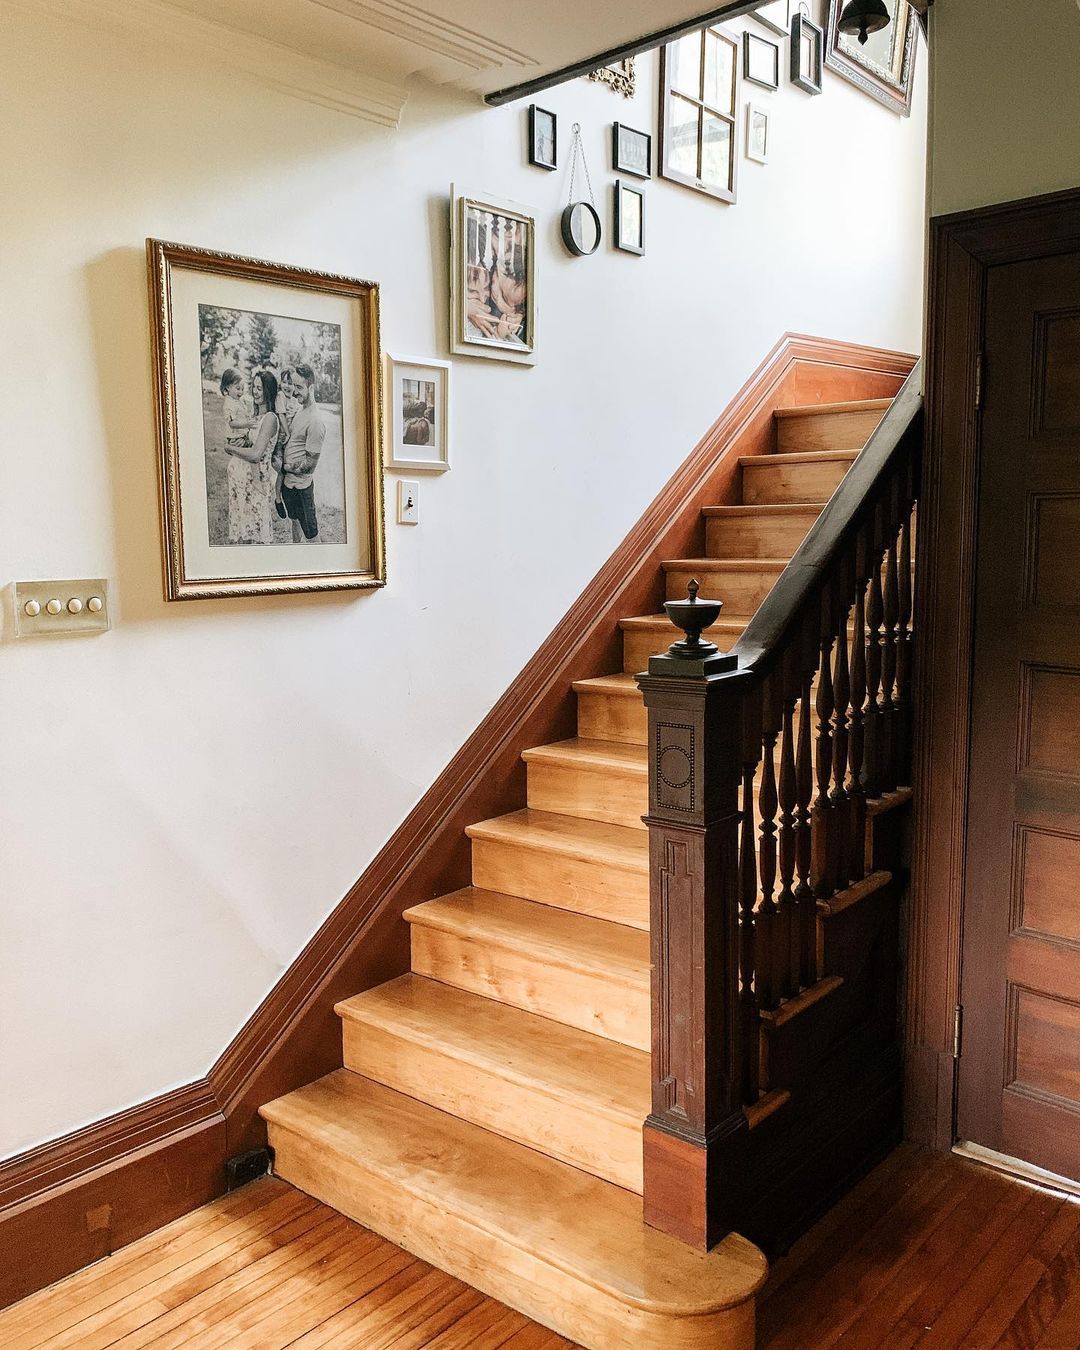
Diagonal
This arrangement is similar to the previous one, with the only difference being the direction of the main display axis – the photos being hung diagonally.
TIP: If you’re working with photos of different sizes, place the biggest at the lower corner of the arrangement.
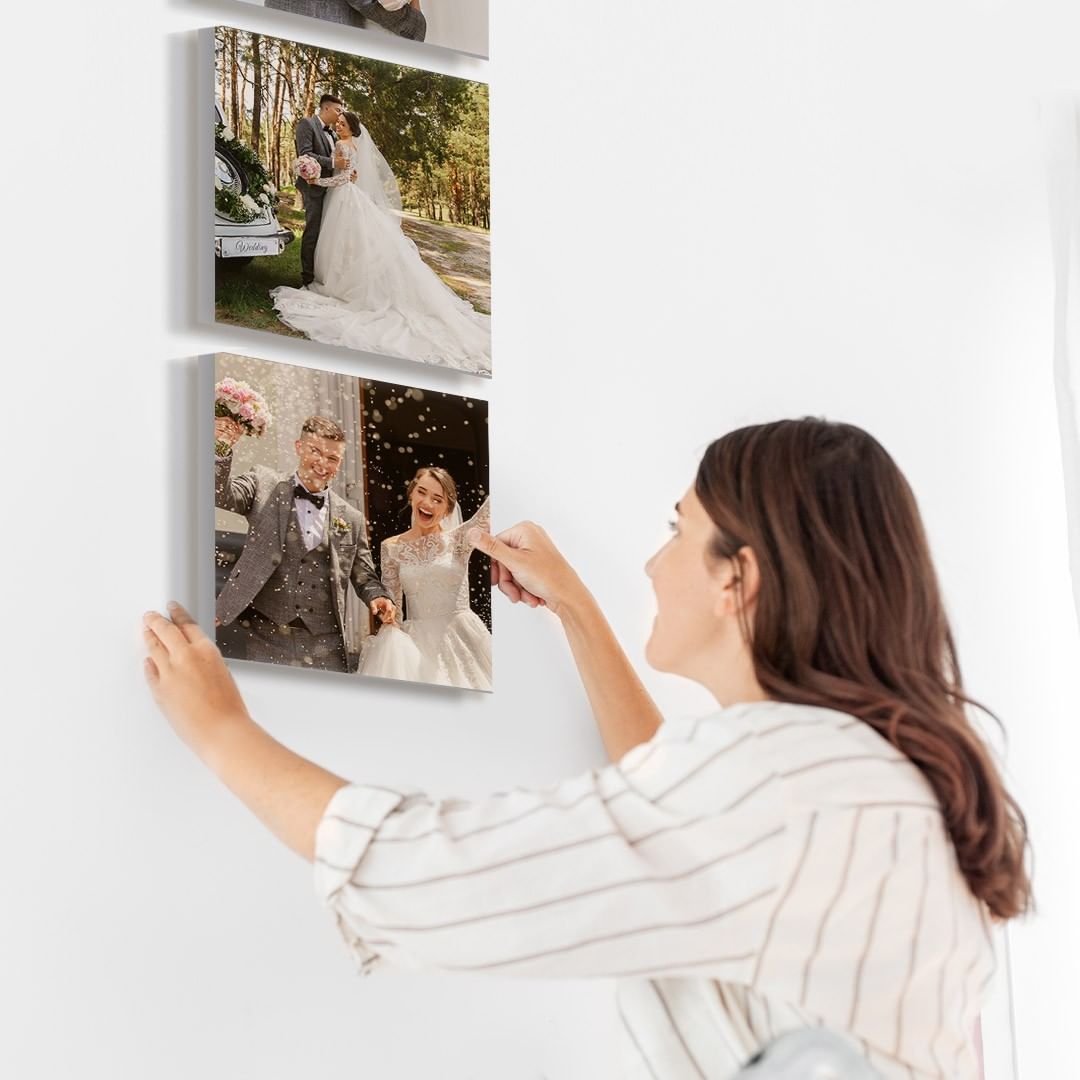
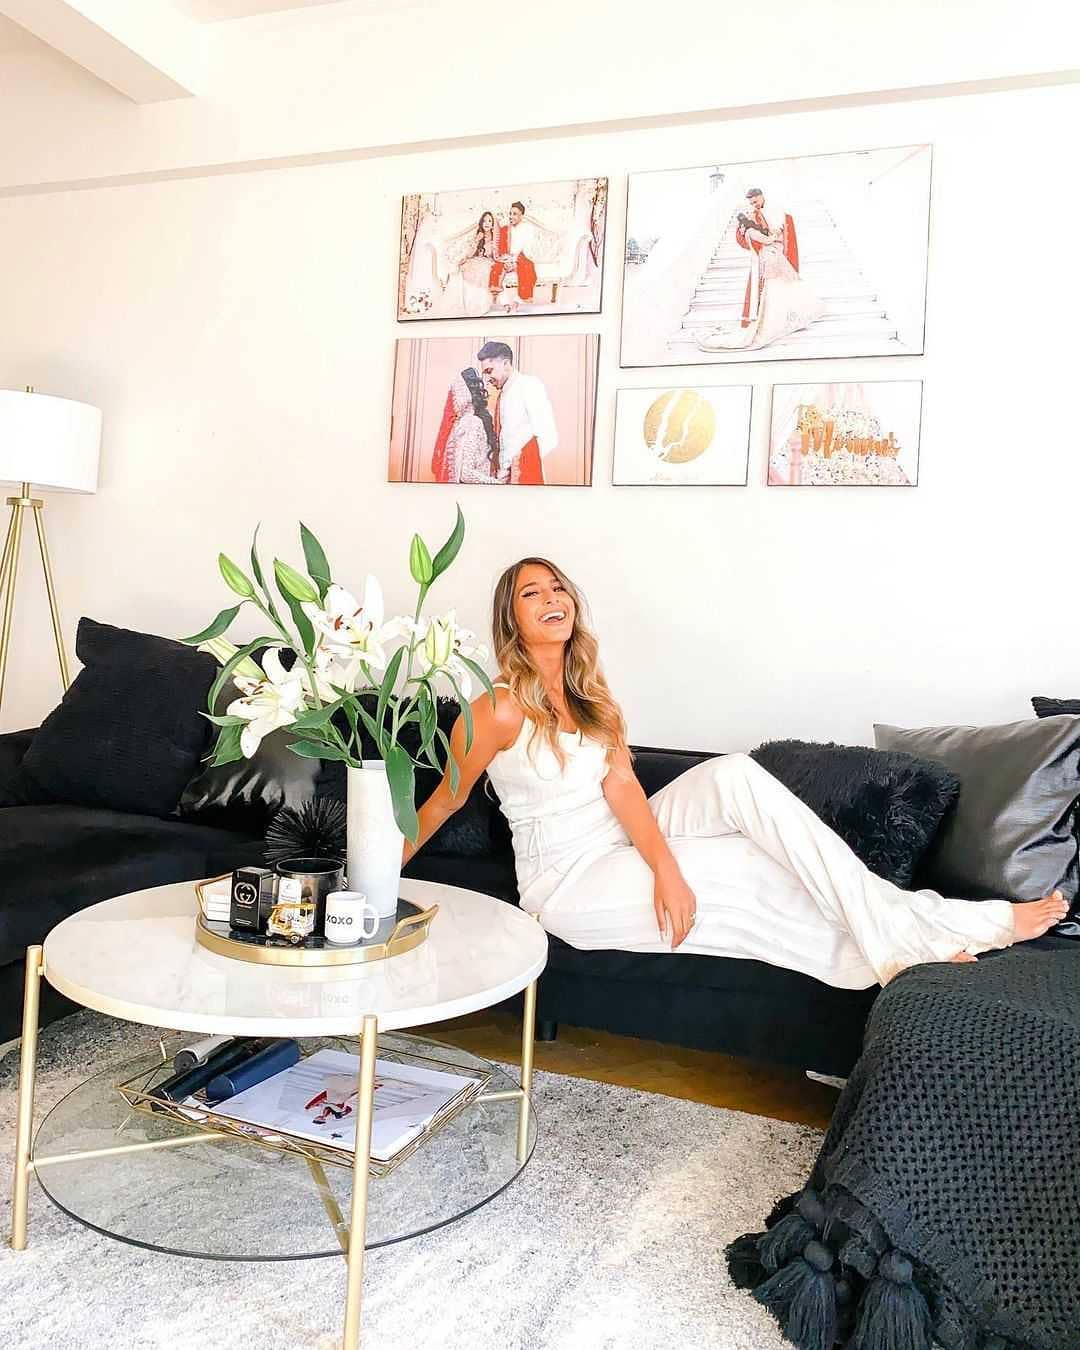
Rectangular
There are two approaches to a rectangular wall art layout. The easiest is to take four photos of the same size and hang them in two identical rows, one above another.
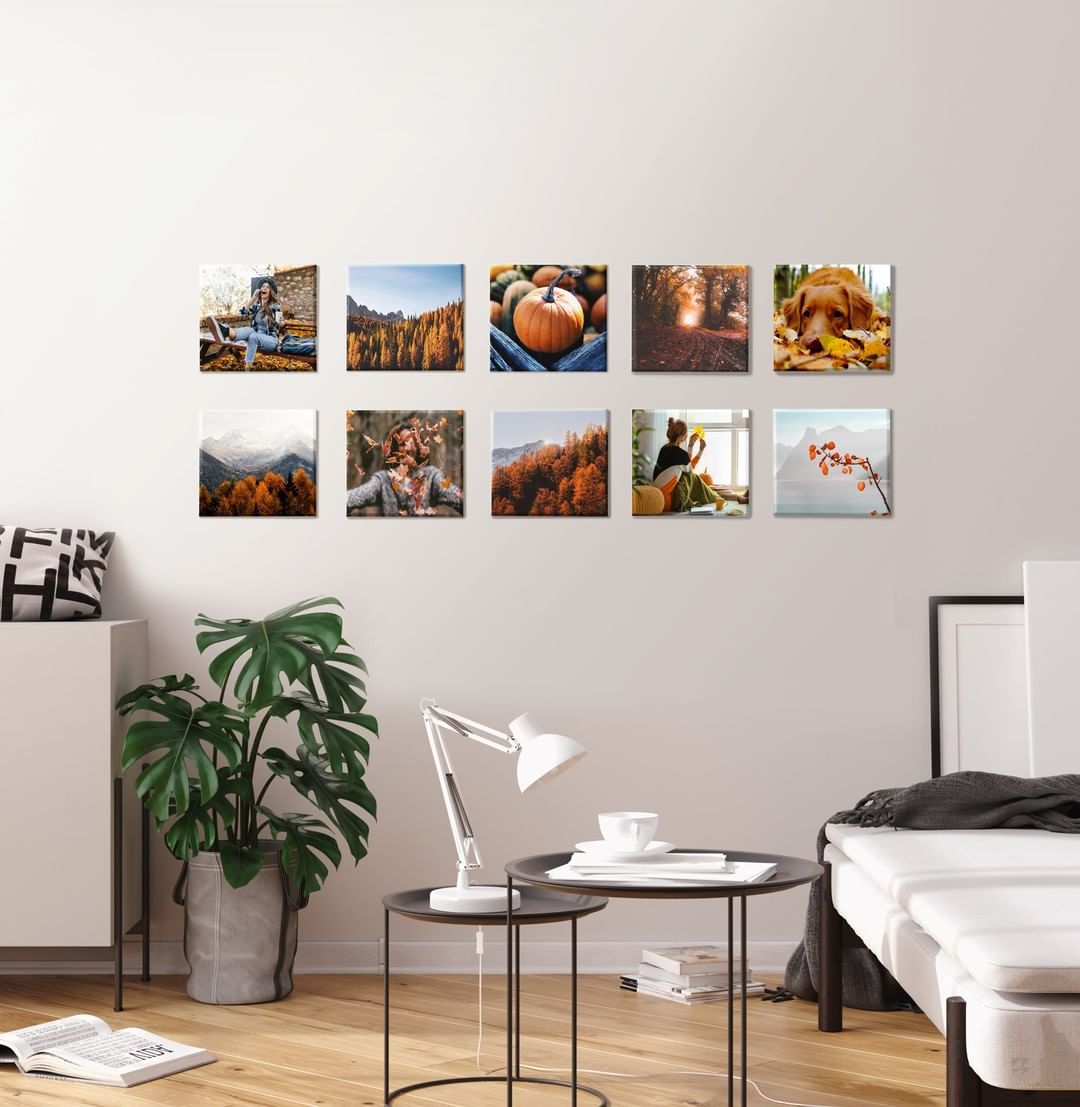
Alternatively, you can mark out a rectangle (or square if you prefer) on the wall using Post-it Notes, then fill the area with photos of various sizes as if you were completing a jigsaw puzzle.
Semicircular
This arrangement can work well if your semicircle of photo prints is displayed so that it surrounds a mirror or clock. You can also try this layout in children’s rooms, where more classical photo displays could look out of place.
Chaotically
Creative chaos is always a fertile approach for your photo display – create an eclectic photo wall that sprawls dynamically across the wall and you might find that this unorthodox approach makes a spectacular impact.
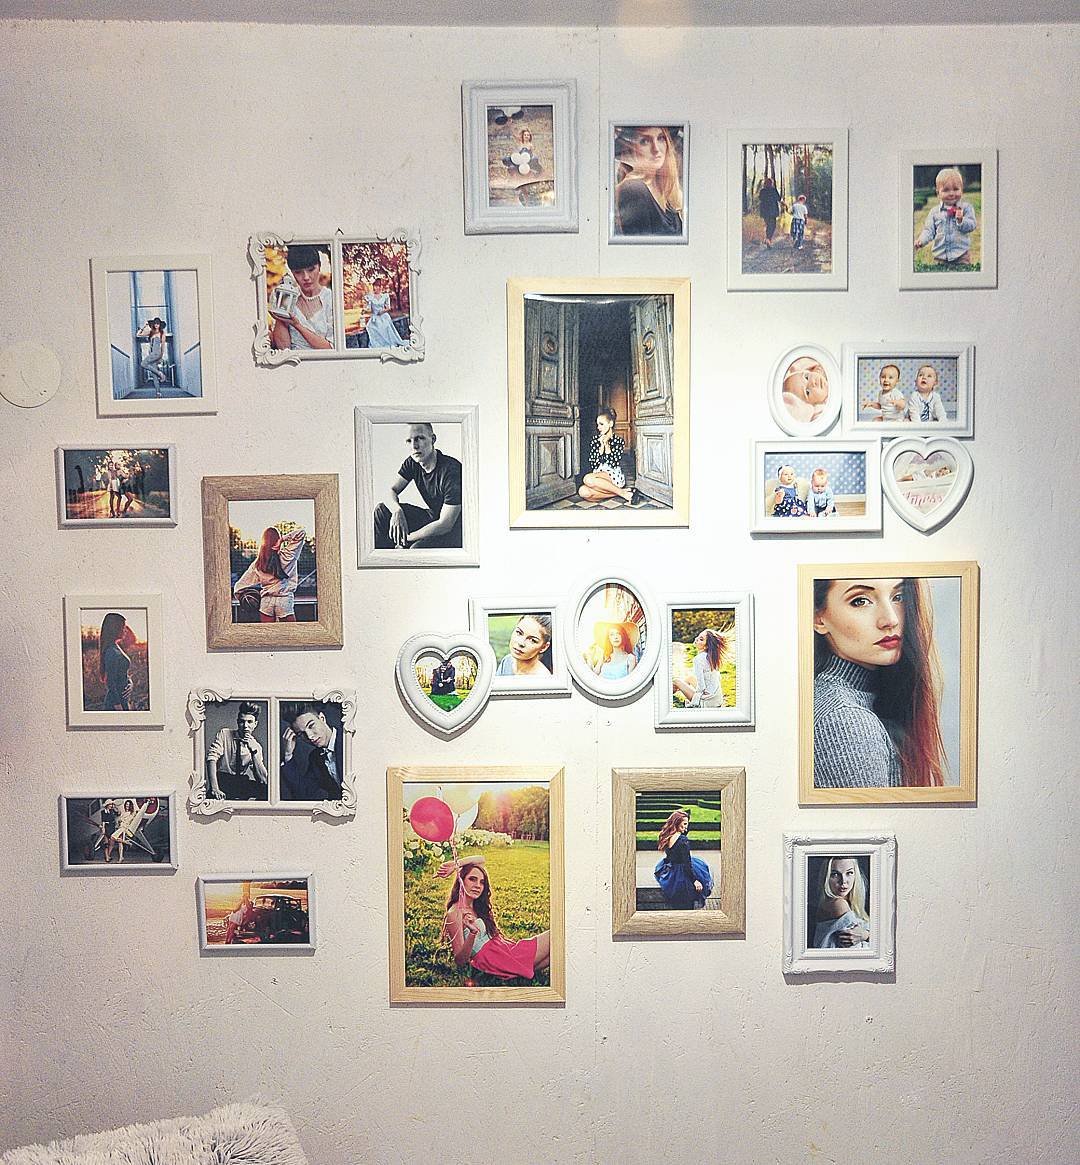
TIP: Even if you’re hanging photos in a seemingly chaotic layout, keep in mind that they should always form a coherent entity. Find a unifying theme that runs through the subjects of all your images, and make sure you use a coherent color palette.
How to Display Photos
Now let’s explore all the ways you can mount photos on the wall.
Hang Framed Photos
This is a classic display option – a failsafe choice for almost any interior. Photo frames are available in wood, metal, colored plastic, glass and other materials, so finding the right frames for your photos shouldn’t be a problem.
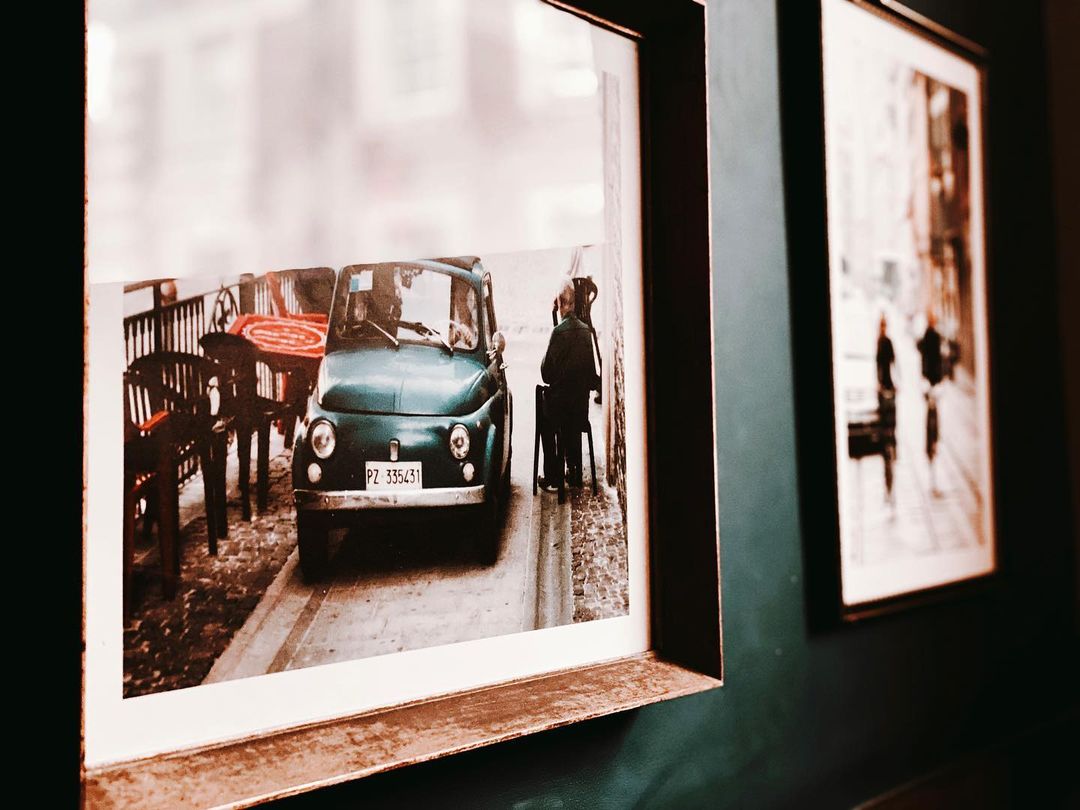
Note, however, that to hang framed prints on the wall you’ll need the appropriate tools and a bare minimum of DIY experience – so if you don’t feel ready to work with nails and a drill, you might want to consider other options.
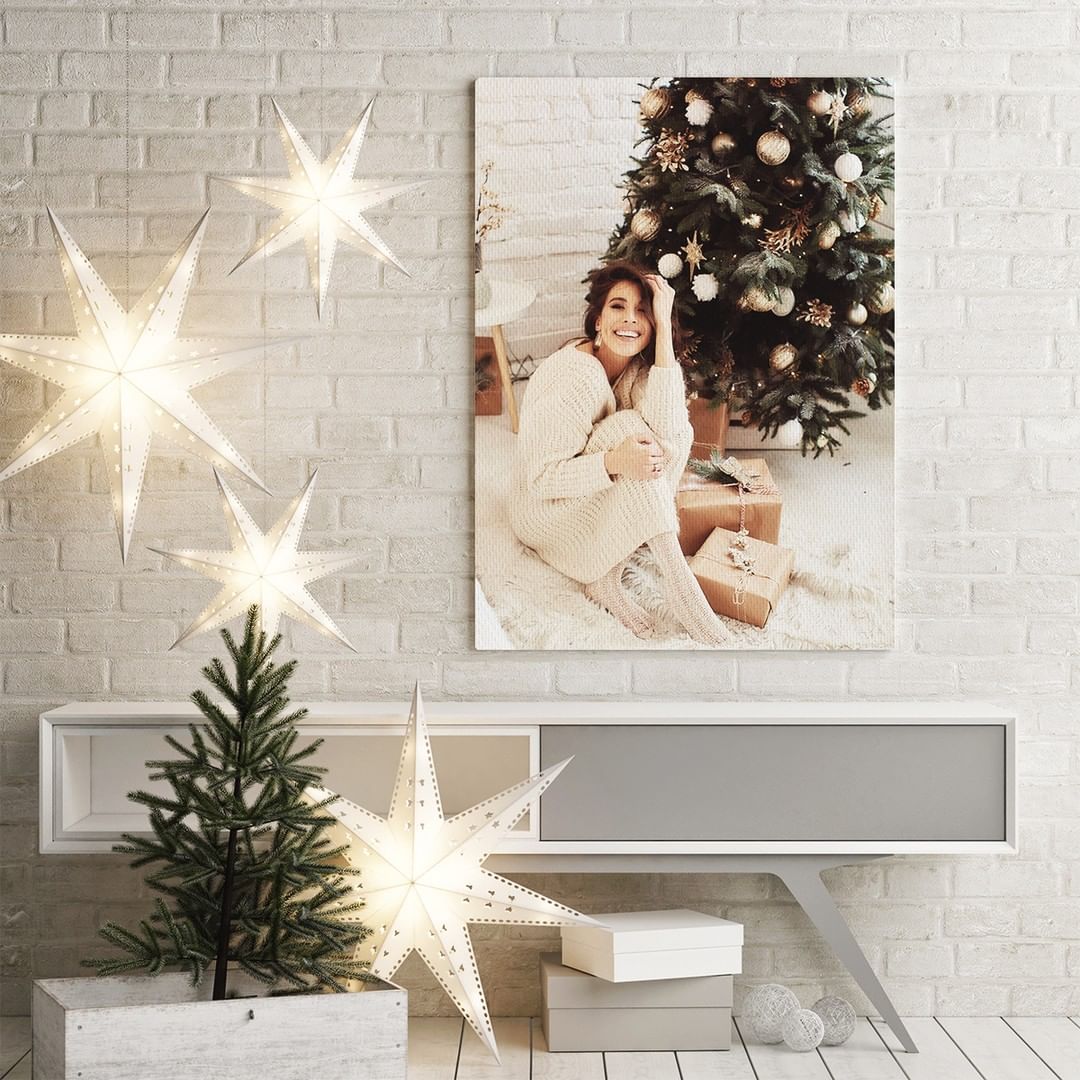
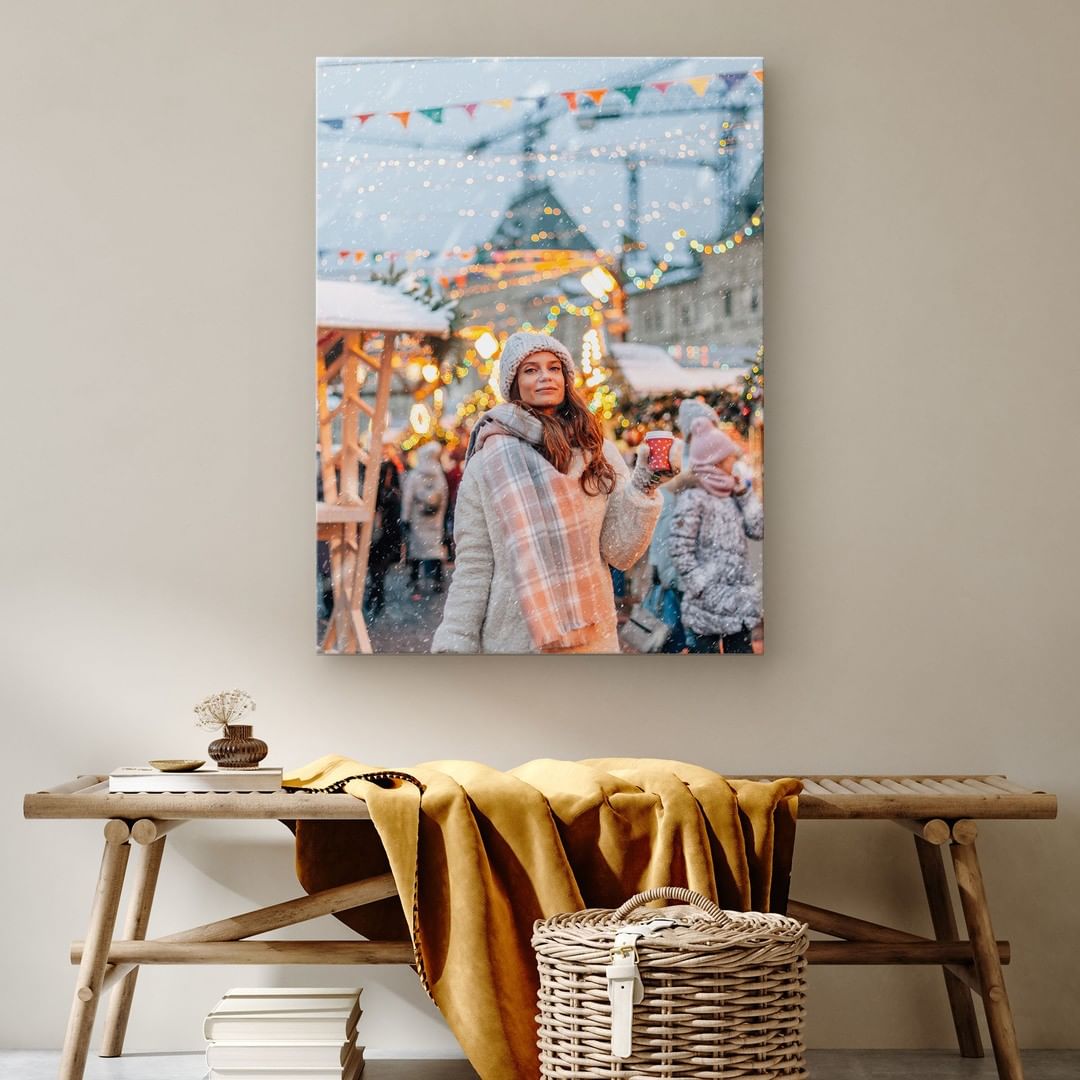
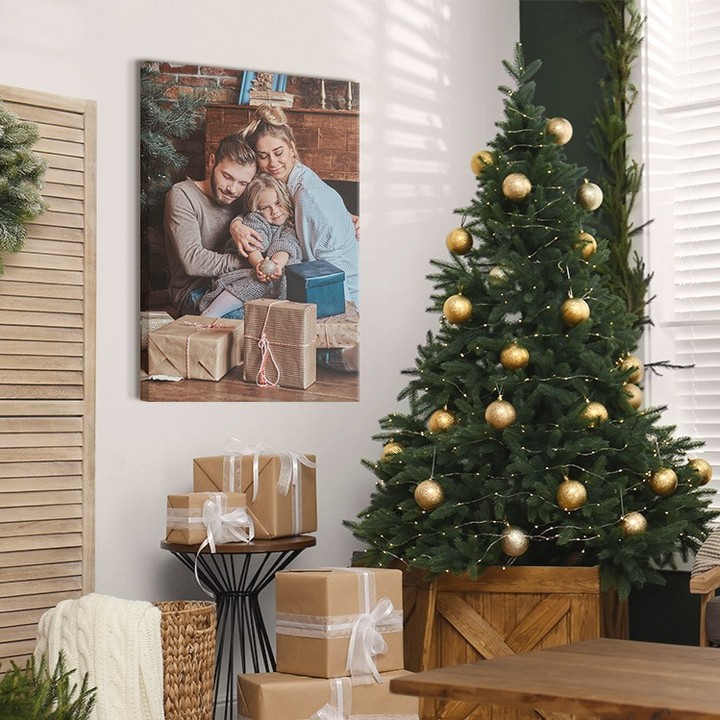
Hang Frameless Photo Prints
Framing is a great way to add depth and character to a photo print, but does that mean a frame is essential for striking wall art? Not at all – in fact the frameless photo aesthetic is one of the major trends in wall decoration right now. Canvas prints, for example, certainly don’t need to be framed to make an impact – and this substantial but lightweight decor solution is becoming the main competitor to the traditional framed photo.
Put Photos in Standing Frames
Sometimes hanging photos on the wall just isn’t feasible. If you feel more comfortable leaving your walls bare, try displaying photos in standing frames. Nowadays frames are available in a wide variety of stylish designs, so even this traditional solution can achieve a bold contemporary look.
TIP: Aiming for a more casual decor scheme? Then why not display canvas prints instead of classic photos? They come ready stretched over sturdy inner frames, so canvas prints can be leaned against any vertical surface – perfect for filling empty spaces on desks or shelves.
Attach Photos to the Wall with Putty or Tape
This might be the easiest way of all to display your photos – you can simply print the images on photo paper (traditional photo prints being a lot less costly than canvas prints etc) and attach them to a wall, with no need to spend money on frames. On the other hand, since they’re left unprotected from sunlight and moisture, prints on photo paper can degrade quicker than other formats.
TIP: To prolong the longevity of the prints, why not use special photo tiles instead of regular photos – for example, CanvasDiscount.com sell durable tiles (made from a lightfoam material) that go by the name MIXPIX®. They come with a magnetic/adhesive hanger system included free.
Hang String on the Wall and Attach Photos with Clothespins
Fix two nails at opposite ends of a wall and then pull a length of string between them, and you can hang photos on the string fastened in place with clothespins. It’s a versatile solution because you can replace the images any time you like and enjoy a new look. You can also hang several lengths of string at different heights and fill the entire wall with pictures.
TIP: As photos hung up with clothespins will be left bare and unprotected, it’s a good idea to replace them before too long to prevent your cherished photos from fading.
Where to Display Photos
Once you’ve selected the right images for a cohesive wall art display, you still need to choose the perfect display space. Here are some top picks for an impactful photo arrangement that will work for any home:
Spruce Up an Empty Wall
If you’re lucky enough to have an entire empty wall at home, a collection of photo prints is a great way to fill that space. You’ve really got free rein here – you can hang just one statement print, display photos in pairs, or design a full gallery wall.
Hang Photos above Furniture
In many homes the spaces above sofas, beds and tables are left empty – but in fact these spots make great locations for all kinds of photo displays. Just make sure your wall art layout has enough free space around it – don’t hang your photos too close to the edges of furniture etc.
Hang Photos around TV Set
If you have a large TV set at home, chances are the wall around it is more or less unadorned. Why not use pictures to spruce up this empty space and add some character to the room too?
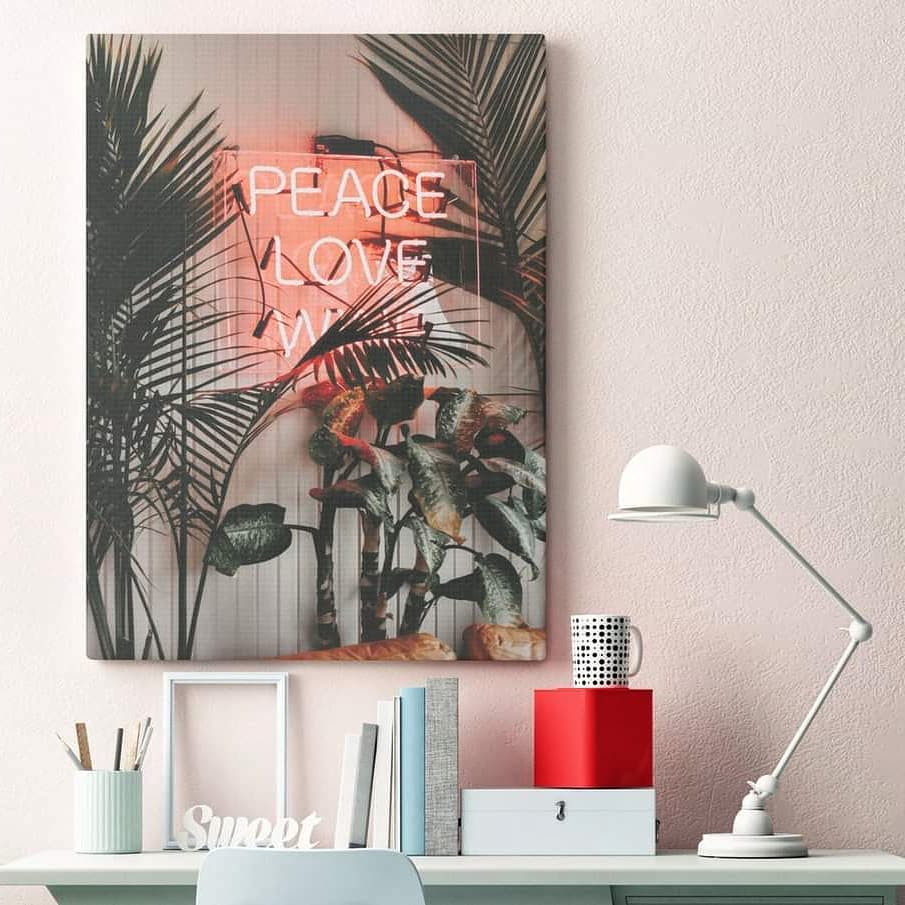
Decorate the Space above your Work Desk
If you’re a remote worker and your desk faces the wall, you won’t need us to tell you that staring at a blank space can be tedious. Luckily, livening up your home office environment is easy – hang a couple of pictures featuring bright colors above your work desk and get a lift every time you glance away from the computer.
Fill the Space around Mirrors, Windows and Doorways
A mirror is a good focal point for a wall art composition – just put it in the center and hang photos around it. It’s also perfect for gallery walls including both photos and more diverse elements.
Liven Up the Wall at the End of the Corridor
Some houses and apartments have a wall at the end of a corridor which, since it doesn’t serve any particular function, tends to be left bare and all but forgotten. But even these spaces can become attractive features in themselves with the addition of a few pictures and an appealing lighting scheme.
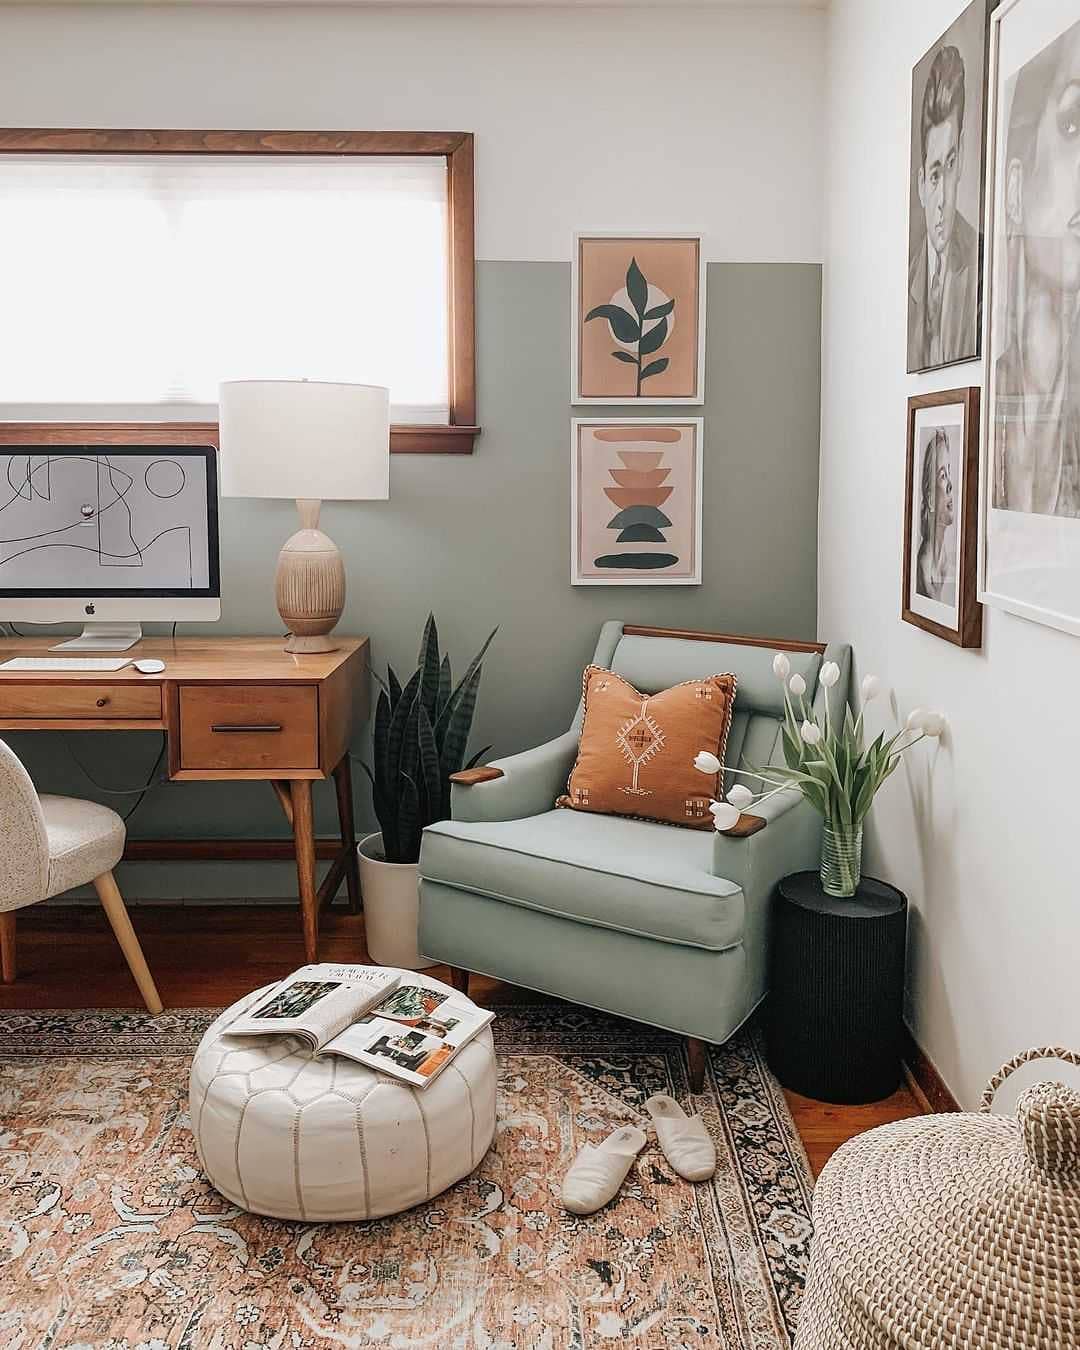
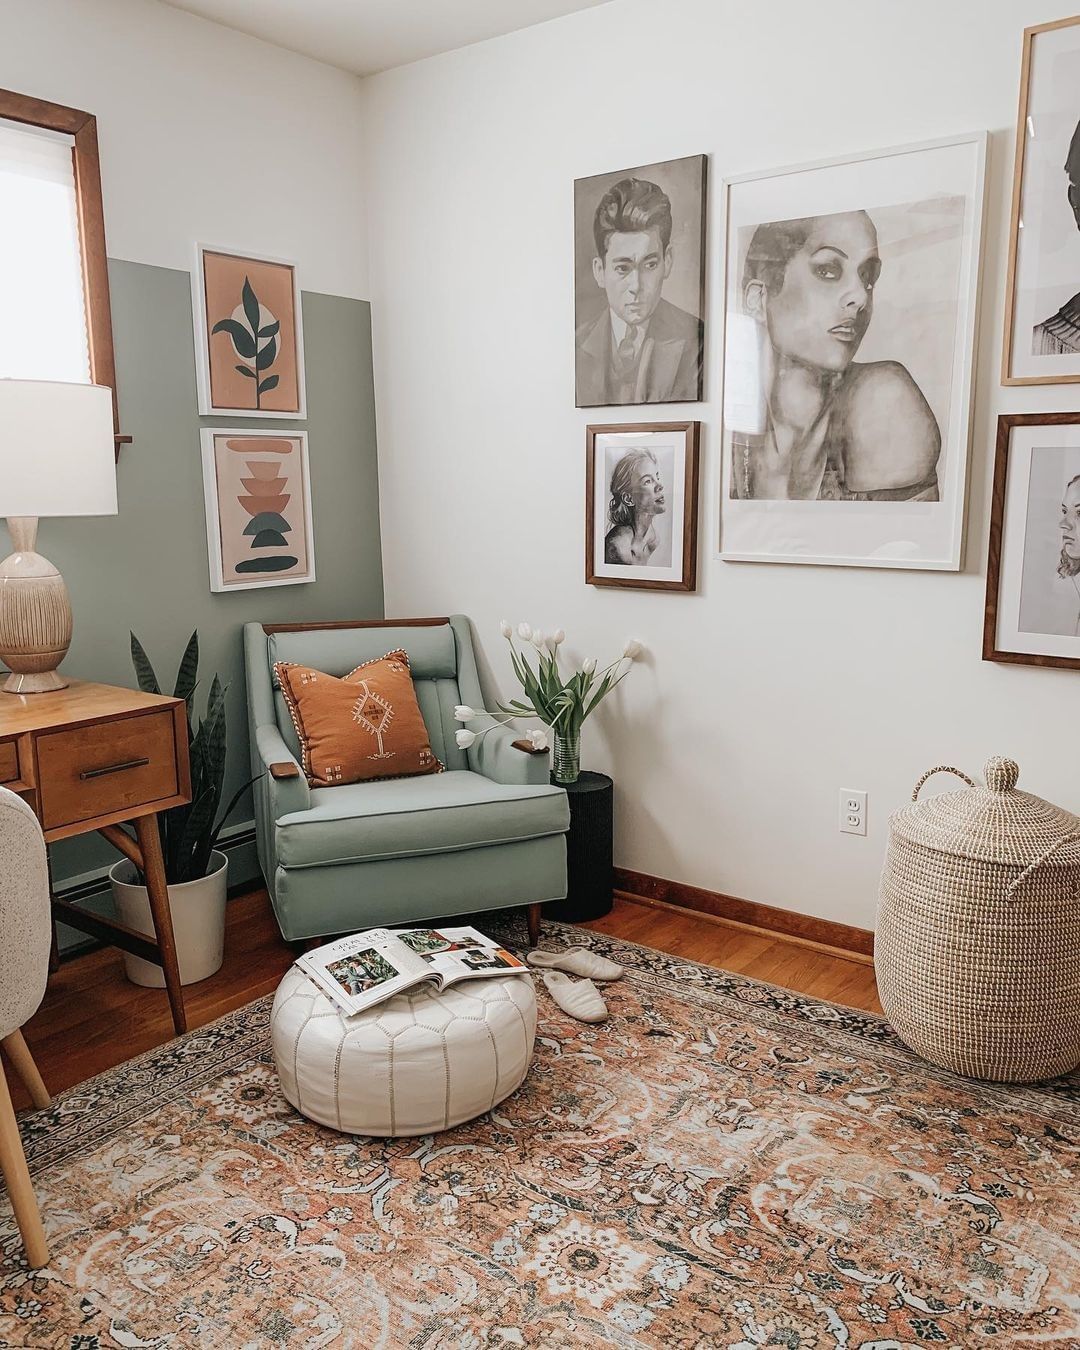
Create a Corner Gallery
Struggling to find a large bare space for your photo display? Focus on the corners instead! Even in small rooms you’ll usually find at least one empty nook. And that’s a great place for an unconventional photo arrangement – why leave those corners bare if you can use them to tell a story?
How to Hang Photos on the Wall
Now you know the basics when it comes to designing your own wall art display. But if you want your arrangement to be a complete success, it’s important to plan the layout first. The planning process can be divided into three stages:
#1: Design a Layout
Unless you plan to hang just a single print, you’ll need to design the layout of your photo display with care. And this can be done in a number of ways. You could download one of the designer apps that let you upload pictures and visualize them in your room with the help of VR technology. Or you can simply browse design blogs and find inspiration there.
TIP: Use relevant hashtags such as “wall art”, “gallery wall” etc on social media to find unusual wall art layouts that will work for your home too.
#2: Use Paper Templates
Find some old newspapers or other wastepaper and cut out templates the same size and shape as your prints. Then attach them to the wall in the layout you’ve chosen. You’ll be able to see how the arrangement looks on the wall and, if necessary, adjust it until you find the right combination.
This step comes highly recommended for wall art displays with more than 3-4 elements – and even if you opt for a smaller cluster, you’re unlikely to regret the 10 minutes or so you spend on it. After all, adjusting paper templates is much easier than covering up holes drilled in the wrong place!
#3: Attach Photos to the Wall
Finally, swap out the paper templates with real prints, attach them to the wall and enjoy the result. Depending on the hanging method you use, you may need a drill, nails, screwdriver, or other tools. Just pop into a hardware store to get anything you don’t have handy, or borrow what you need from a friend.
Ready to create your own photo display? Use our tips to make the most of your designer skills, and don’t forget to keep taking more gorgeous pictures – because we guarantee that once you’ve created your first photo wall, you’ll never want to stop!