How To Use Floral Wallpaper To Give Your Home Your Own Style
With winter just around the corner, colder weather and nature-filled days, you might want to give your home your own personal feel. If you love flowers but don’t have a green thumb or garden to tend to, consider adding cute floral wallpaper to your walls for a quick update in your home’s interior décor.
Using Floral Wallpaper to customize your living area
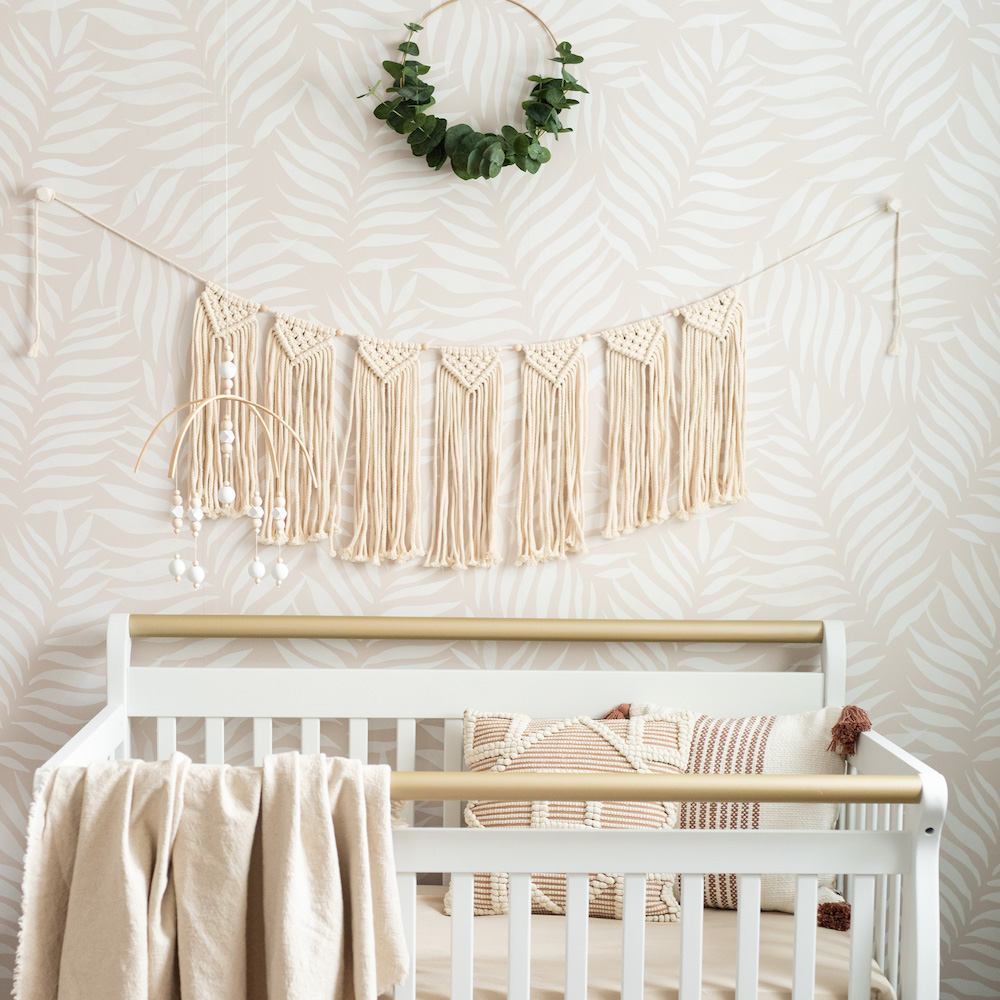
If you have always wanted to have a touch of nature in your home but lack the time or patience required to care for live plants, consider adding floral wallpaper to your walls. Floral wallpapers are great for giving any room an elegant look and feel without the hassle of keeping real flowers alive.
Many people love to work with wallpaper but are intimidated by the process. Adding wallpaper is easy and quite simple if you follow these steps:
Step 1: Measure Your Walls
For long-term success, make sure your measurements are exact. For example, if you decide on a wallpaper border, it should be added to an existing pattern. To give your home a quick update, you can measure just one wall.
Step 2: Prepare Your Wall
Using water and soap, wash your walls with a sponge to remove dust or grime that might prevent the wallpaper from sticking well. Once dry, use painter’s tape to mark where you will be placing the wallpaper border using an X for corners and straight lines.

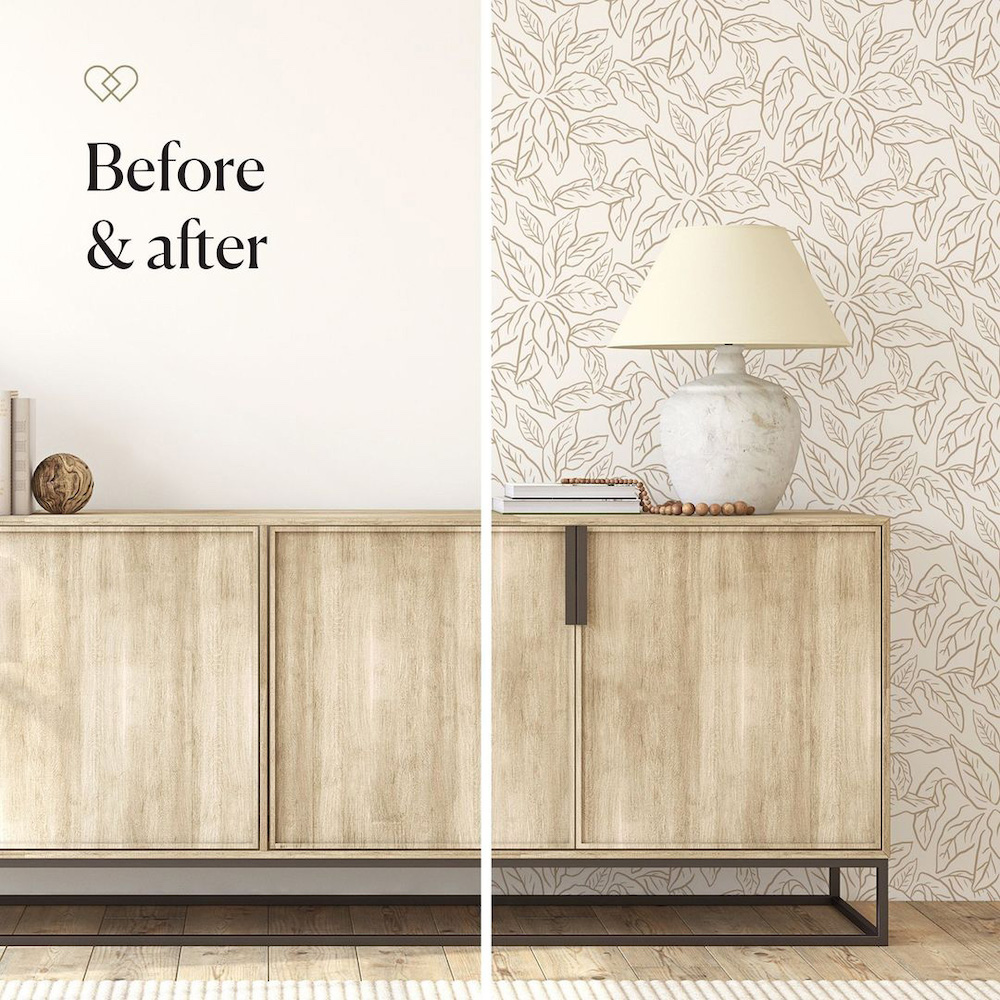
Step 3: Choose a Pattern
Pick out a design that will bring out your home’s best features. For instance, consider adding a wallpaper border with flowers or foliage if you have a lovely garden. If you’d like to add some colour to your room, choose from an array of floral colours and designs. For those who want simplicity, solid colour floral wallpaper is a great option as well.

Step 4: Measure Your Wallpaper
For easy installation, make sure the wallpaper roll you have chosen is longer than your wall’s length. This way, if your cutting goes slightly wrong, there will be enough to finish the job. Roll out a small portion onto a flat surface and cut using a sharp pair of scissors.

Step 5: Paste Your Wallpaper
Place it on the wall with your cut wallpaper and smooth out as necessary with a plastic squeegee. Apply the paste to the centre bottom portion of your border, but wait for five minutes before you start placing down this side. Once you have smoothed it down, use a few simple steps.

- Measure the Height and Width-Measure the height and width of your wall to get an idea of how much wallpaper you will need for this project. You can’t just go and buy a random amount without knowing what size paper to purchase, so measure carefully before heading out to the store with this project in mind.
- Fold Your Paper in Half-Fold the paper in half from top to bottom, with the front of the paper facing outwards. You’ll have a folded edge along one side when you are finished folding your wallpaper in this manner.
- Open One End of Your Paper-Open up one end of your wallpaper and smooth out any creases in the paper. This will give you a sturdy surface for applying adhesive to the wallpaper so that it sticks well to your wall when you begin hanging this in your bathroom or any other area of your home where you’d like to install new paper.
- Draw a Straight Line-Draw a straight line with chalk across the backside of the wallpaper, from top to bottom. This is your guide for where you’ll need to apply adhesive along the back of this paper.
- Apply Adhesive to Your Wallpaper-Use a paint roller to smooth out a generous amount of adhesive across the backside of your paper. The adhesive should be spread evenly and smoothly so that it doesn’t cause any bubbles or bumps along the back of your paper. This can be very easy if you have wallpaper stick and peel options.
- Apply Your Paper to Your Wall-Hang your wallpaper on the wall by starting at one end and smoothing it in place using a brayer, paint roller or another smooth tool. Press down in the centre of your paper in small sections until it is securely fastened all along the length of the wall, using a brayer to press down hard so that it sticks securely to your wall.
- Trim Your Borders-Use sharp scissors or a utility knife to cut through the paper along the edges of your walls. A gentle hand is needed here so that you don’t tear the paper at this stage, but it should be easy to cut using the lines you drew earlier as a guide for how much paper is needed for this project.
- Remove Your Adhesive-Use a sponge to wipe away any excess adhesive that may have come out from underneath your wallpaper border along the edges of your walls. This will remove any extra adhesive that has bled through along the back of your paper, allowing you to smooth out any bumps or bubbles that might have formed.
- Repeat Steps 2 Through 8 on Other Walls-Hang new wallpaper around your other three walls using the same method, applying adhesive to the backside and smoothing it in place according to step 6 above. Remember that if you’re installing wallpaper stick and peel options, you can avoid having to cut around your windows and doorframes. You’ll have a smooth border all the way around once this project is complete.
Take Away: Hang Pictures
Hang your pictures on the walls using small nails or adhesive strips to hold them in place at a height that you find satisfactory.
In conclusion, wallpapers are a great way of customizing your living area. There are so many designs and styles to choose from that you can really add your own personal touch to any room in the home. Good luck!