Five Tips for Baking Homemade Bread
Freshly baked homemade bread will never fail to impress and comfort guests, especially during the holidays when family and friends gather to share delicious food together. Making bread can complement any entrée or be a stand-alone meal. Making it fresh can sometimes be a long and arduous process, but if you follow these tips and use the best bread maker you can get, it all becomes very simple!
1. Add Your Ingredients Carefully
When you start to make your bread, the first step is always to add your ingredients into your bread maker, but you must be precise with how you do this step!
First, you put in all the wet ingredients your recipe calls for, like water, oil, or milk, and give a quick mix. Next, add the dry ingredients, but be sure to save the salt and yeast for last. You must place these two ingredients on opposite sides of the mixing bucket so they don’t react with each other.
2. Use Ingredients that Match your Bread’s Consistency
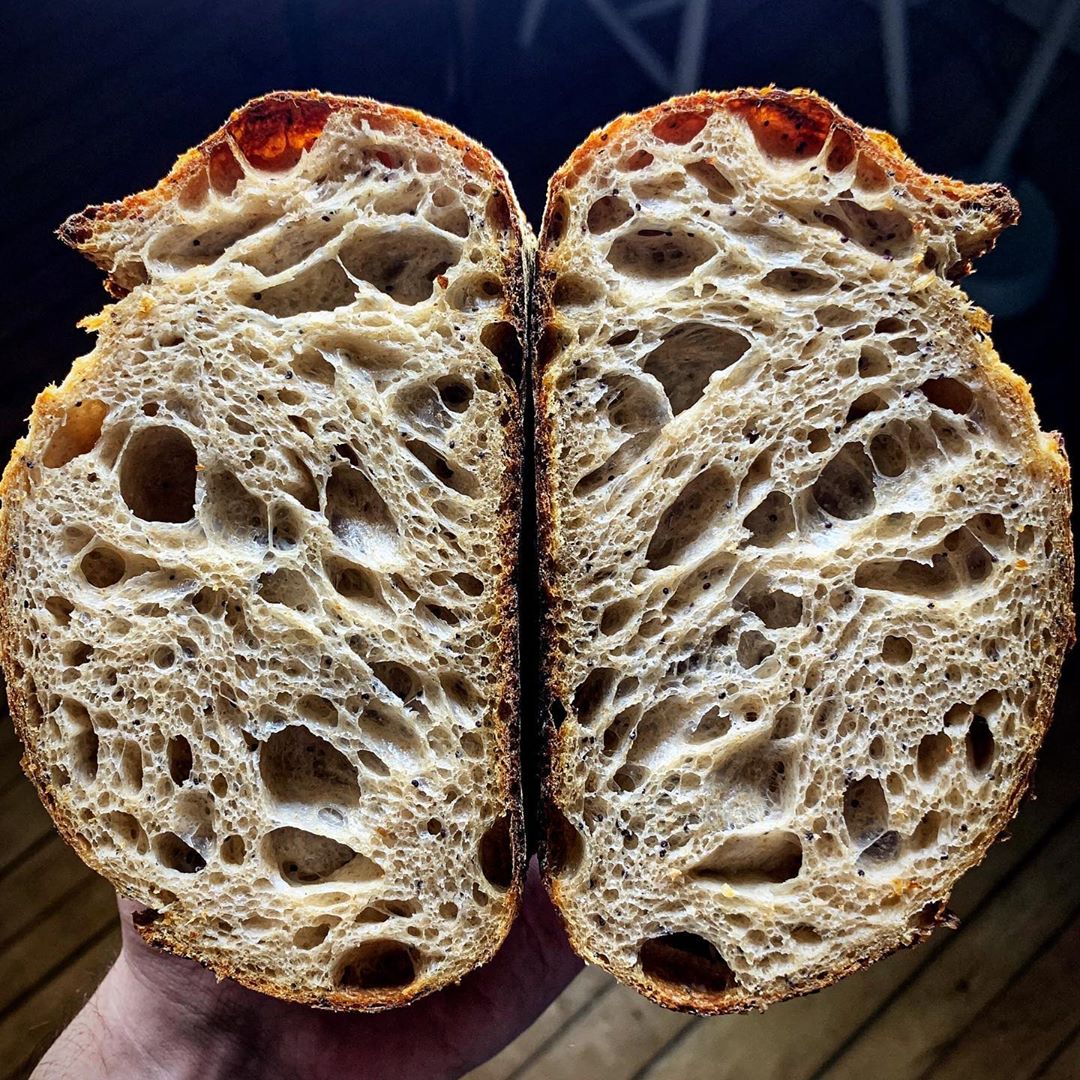
Some bread is best when it has a gritty texture, like bran or whole wheat. However, some are better smooth. It is important to think about the goal texture you want for your loaf when getting your flour. Flour is sold in various textures that can alter your final product if it doesn’t match up with the intended consistency.
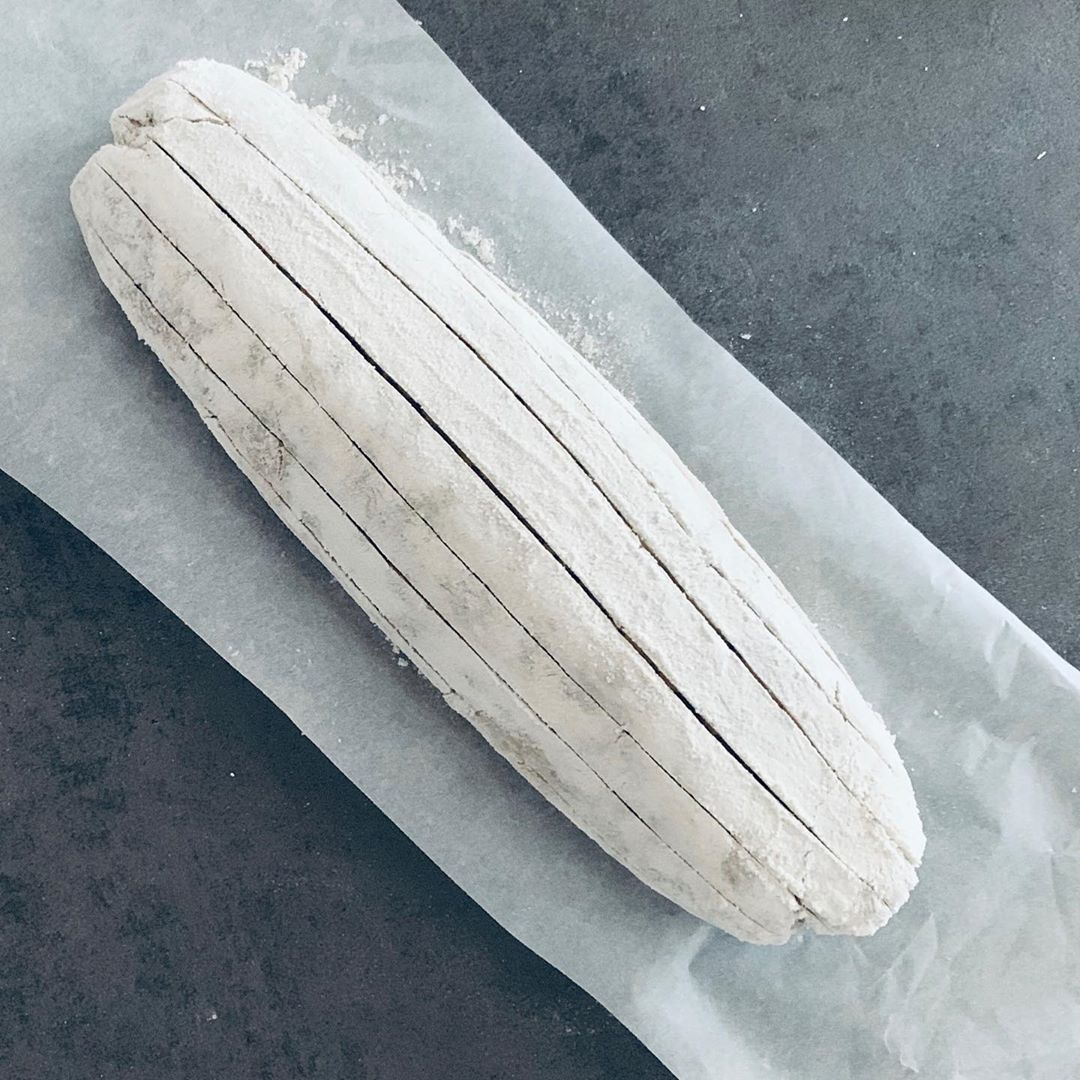
3. Shape the Dough After the First Rise
There are two stages of rising when the bread is left alone for an hour or two, while the yeast forms air bubbles. If you have a specific design or appearance you want to see in your bread, the best time to make your design is after the first stage of rising.
If you have to roll, shape, cut, or braid your dough, it might lose the air bubbles inside, causing it to flatten. But having a second stage of rising inside your machine will allow your dough to regain its height and fluffiness while keeping your desired shape.
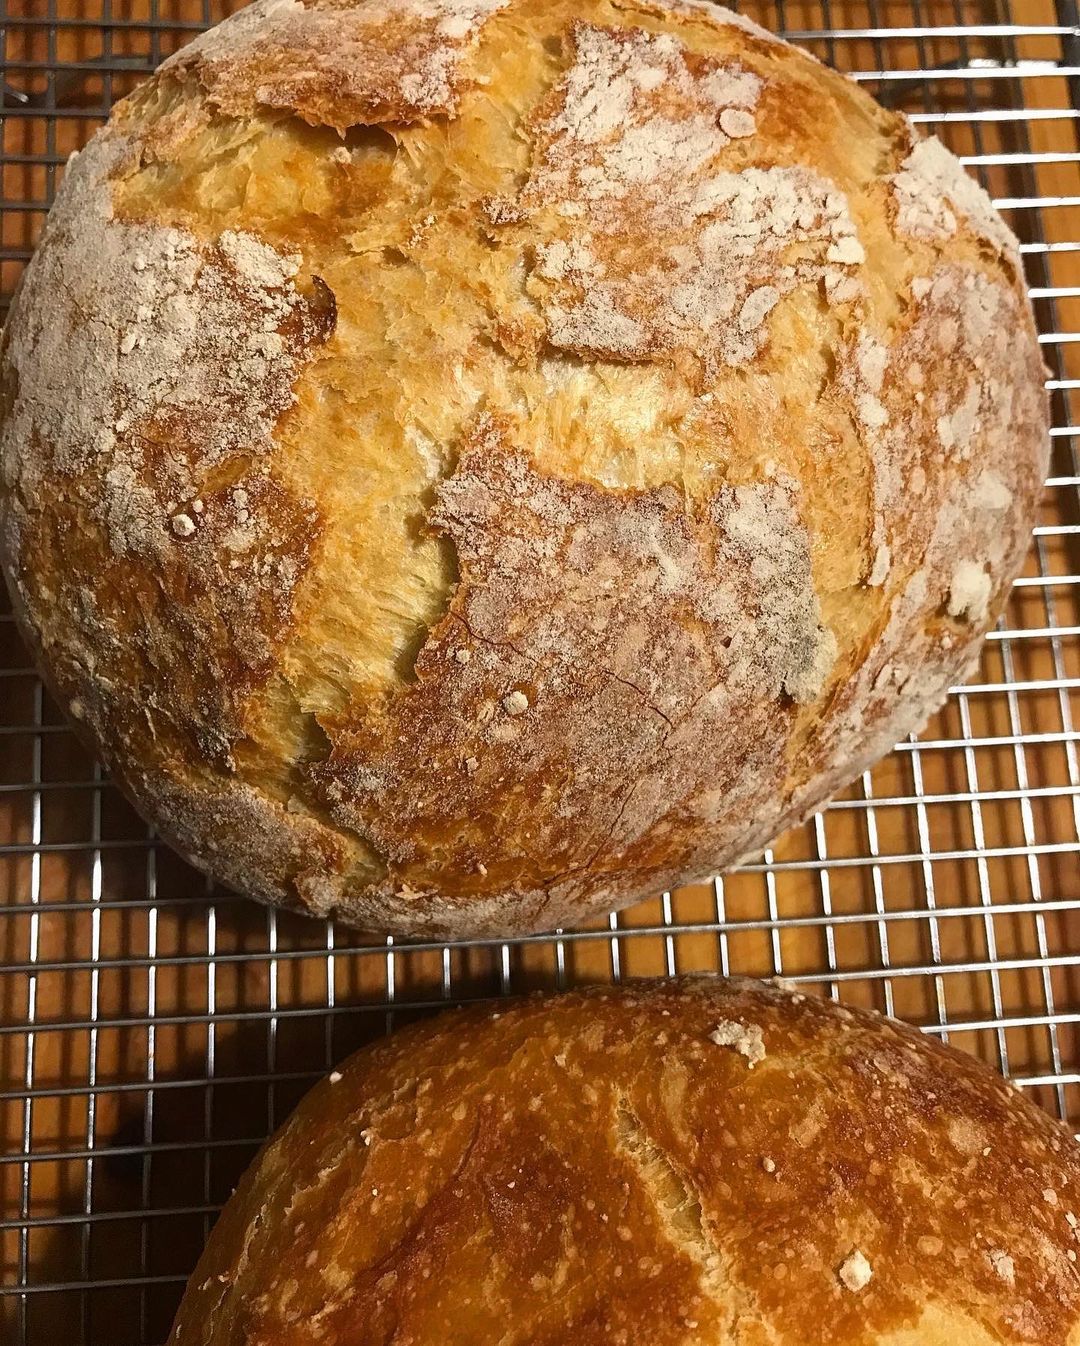
4. Crack the Lid Open to Cool, But Don’t Remove Bread
Once the timer goes off that your bread is finished baking, it is still not done in the bread maker. Pulling it out of the maker right away can cause the dough to become wrinkled and affect the final appearance. This happens when the hot bread is exposed to cool air and condensation forms on the surface of your loaf, which then soaks in and makes the loaf’s surface wrinkled or sometimes soggy.
Leaving it inside the maker for another hour while it cools down can prevent this wrinkled appearance.
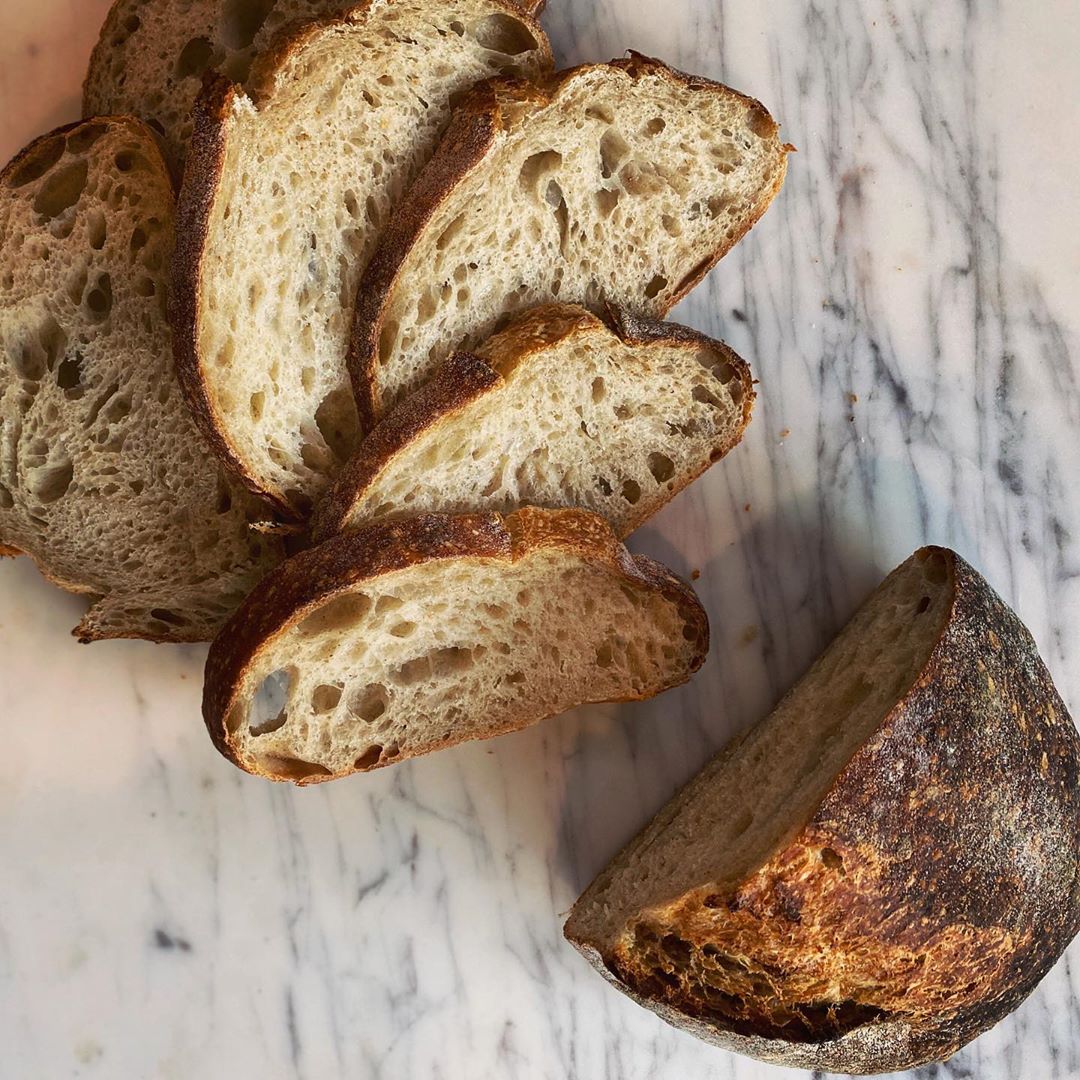
5. Presentation is Key
When the bread is fully cooked and cooled, it is ready to be enjoyed or shared! After spending the day waiting for it to be ready, it can be enjoyed at the moment or served to guests, family, and friends.
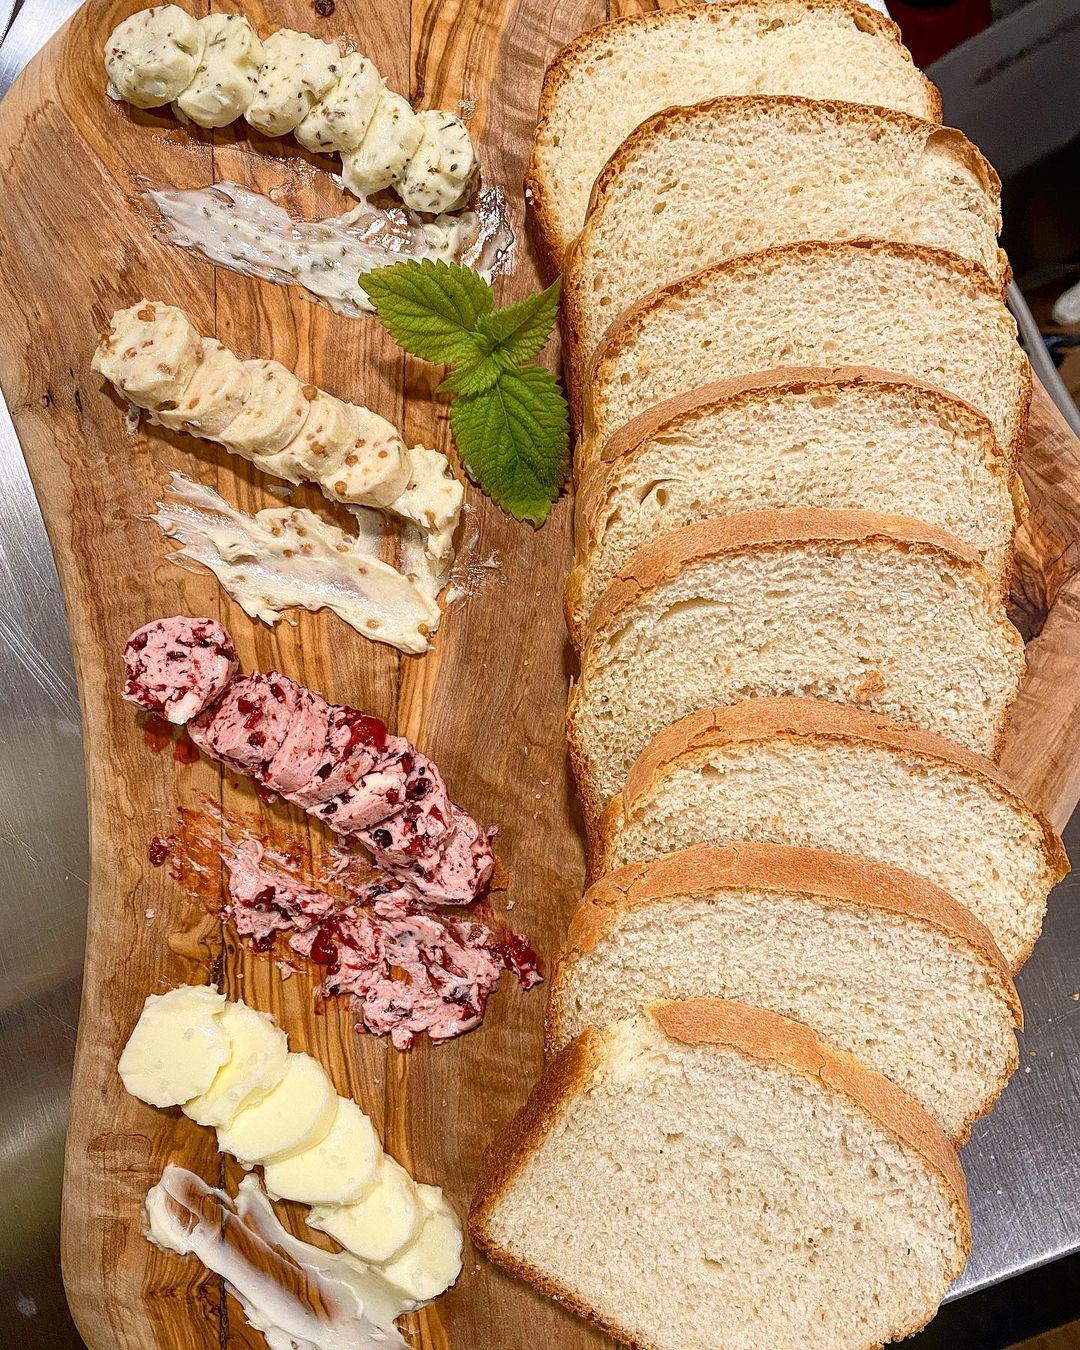
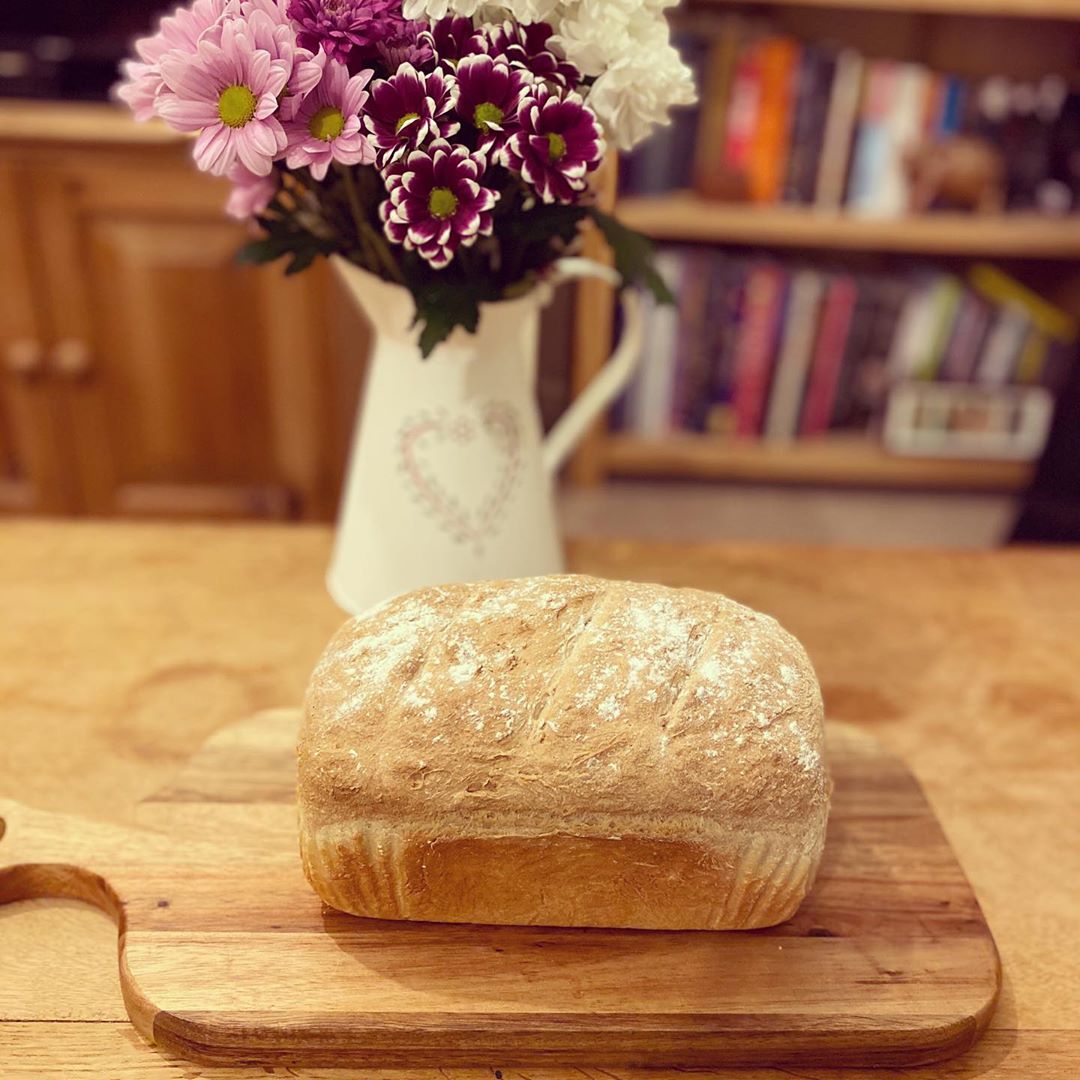
A fresh loaf of bread is usually served best on a wooden cutting board with a bread knife and some butter or topping. Bread also travels the best if wrapped in a cloth that would absorb any condensation, so the loaf stays fresh. It also helps to secure the cloth with a small string.
Homemade Bread Conclusion
When it comes to making homemade bread, remember to tailor the ingredients to your preferences, and add ingredients in the correct order. This way, the dough will form at the right time and cool off properly.
Following these tips will make sure your ideal loaf comes out flawlessly every time!