DIY Home Cinema Coffee Table
Installing a Home Cinema at home can be a painful process with tones of wires going around and finding the correct placement for all the components. Projector, speakers, a TV box…
Se we decided that we could integrate it all in a coffee table with wheels so you can project in any wall and move it around the house. Its the perfect solution for house renters that don’t want to expend a lot of money installing a costly system. Also, when summer comes, you can just move it to the garden or terrace to enjoy a ready to use solution in just seconds !
For this project we will guide you on the construction process and finding the materials we need. As any DIY project, feel free to change or suggest us any improvements you made !
In our case we used a wood shipping pallet box, that is easy to find in any industrial area, but can be replaced by any other box or even a cool chest.
Follow this easy DIY steps to integrate a Home Cinema, projector, TV set and speakers to your coffee table with soundproofing and cooling system.
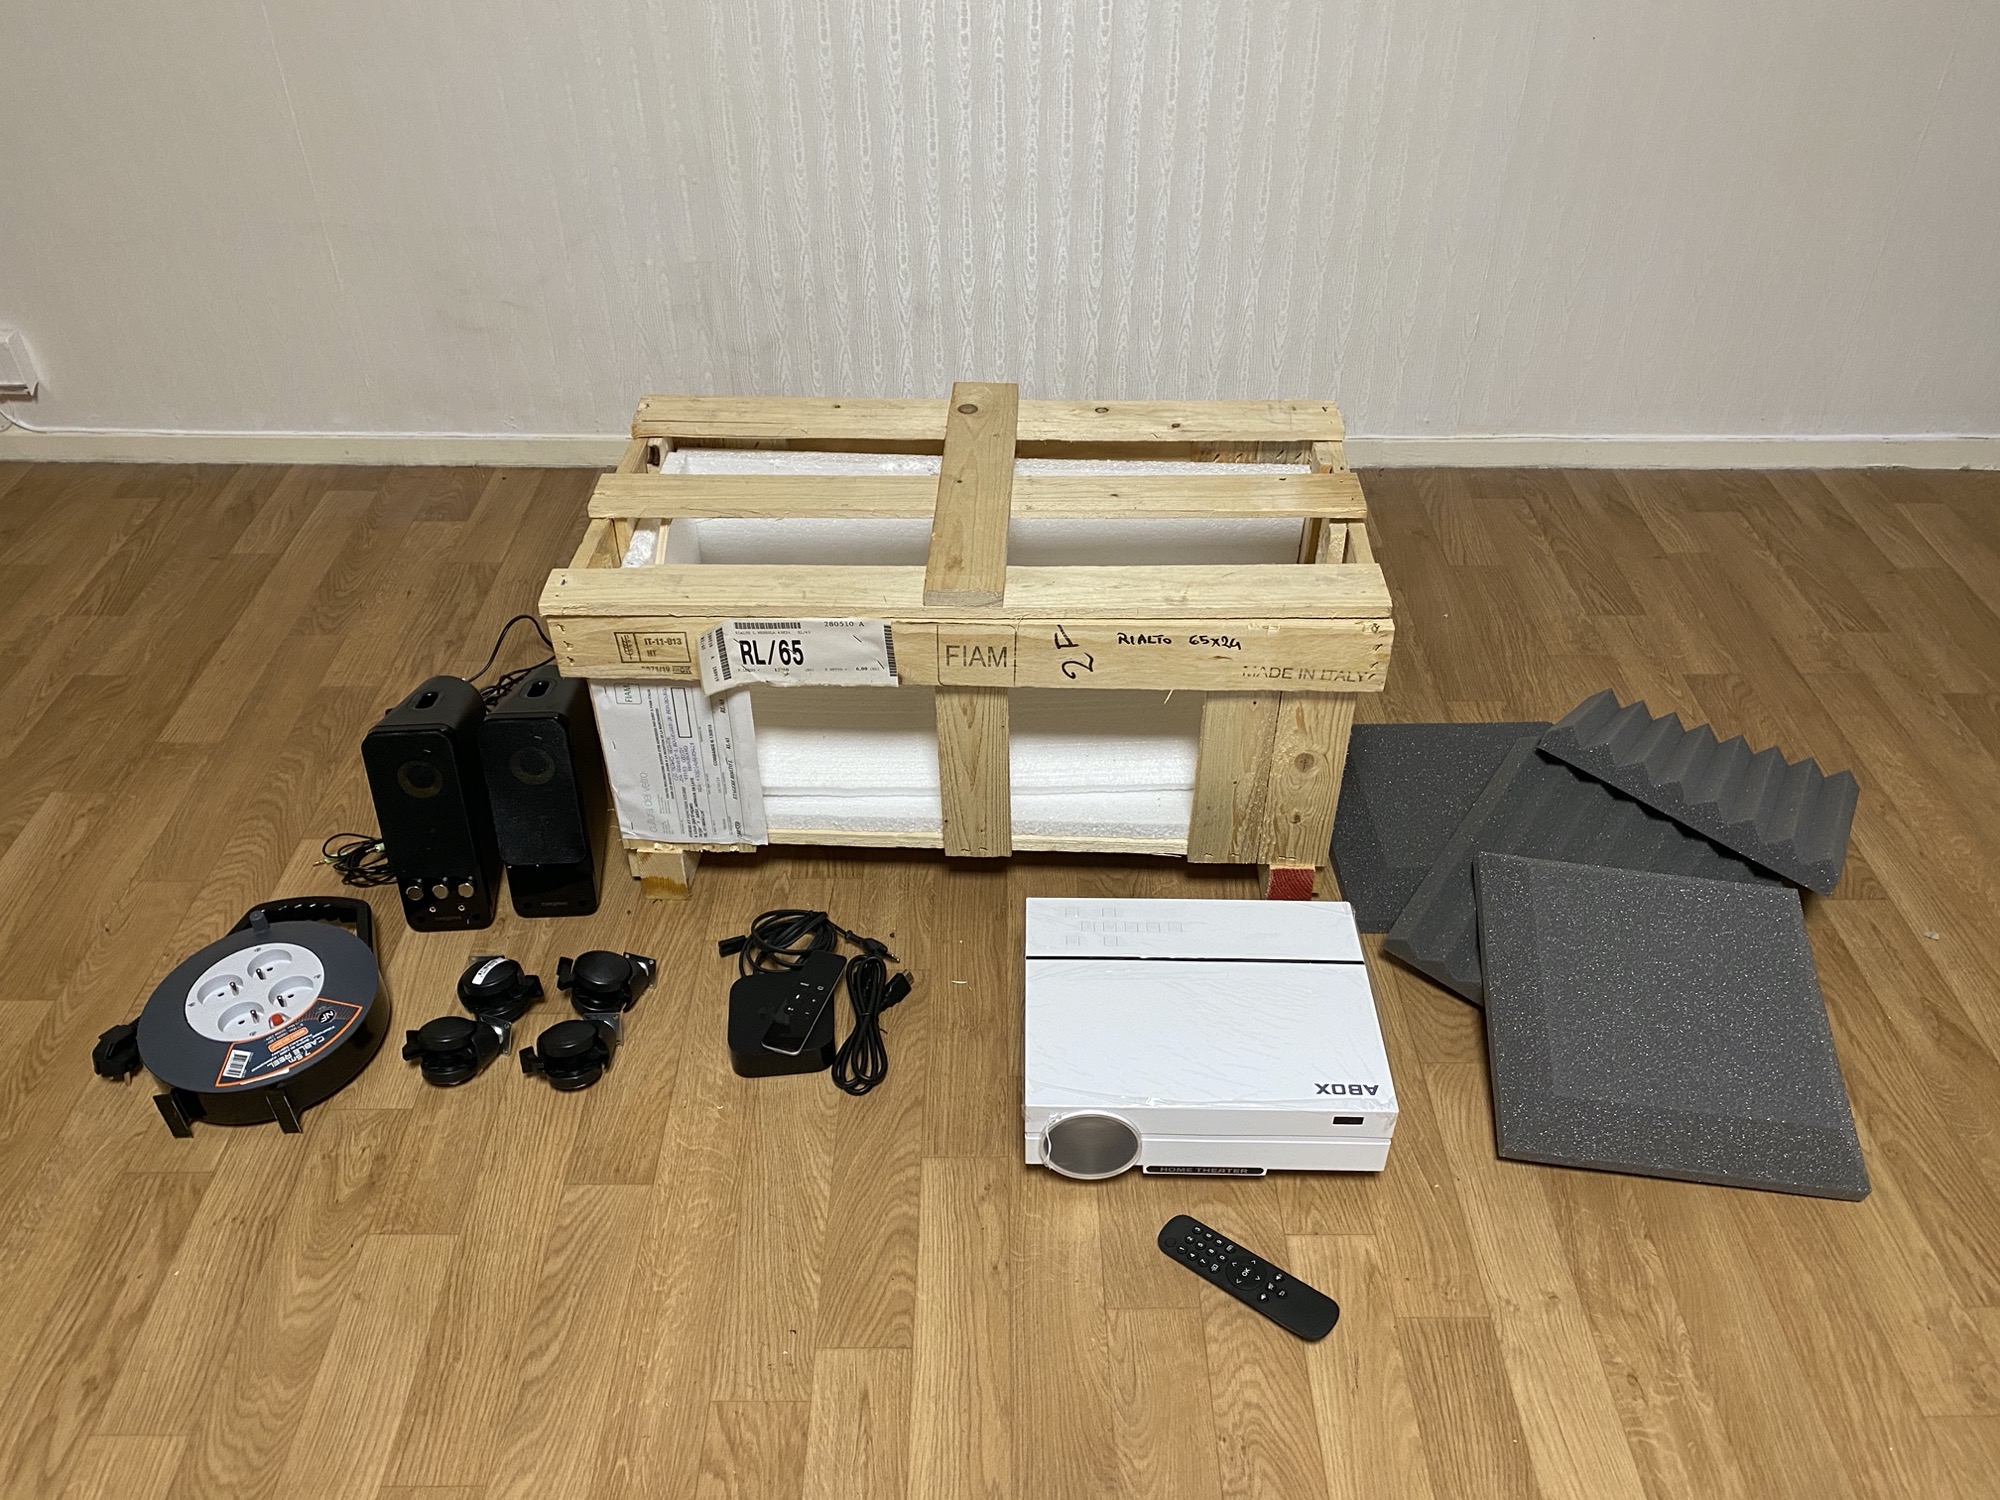
What we need ?
We will divide the project needs in two categories, the mandatory elements and the optional ones:
- A wooden or metal box of your choice, we will require a length of 27 inches (0.70 m) x 16 inches (ca. 40 cm) as the minimum size.
- A projector. Today you can find many options in the market, traditional ones or LED one, to even picoprojectors. For a good experience, be sure of selecting at least a 1080p native resolution.
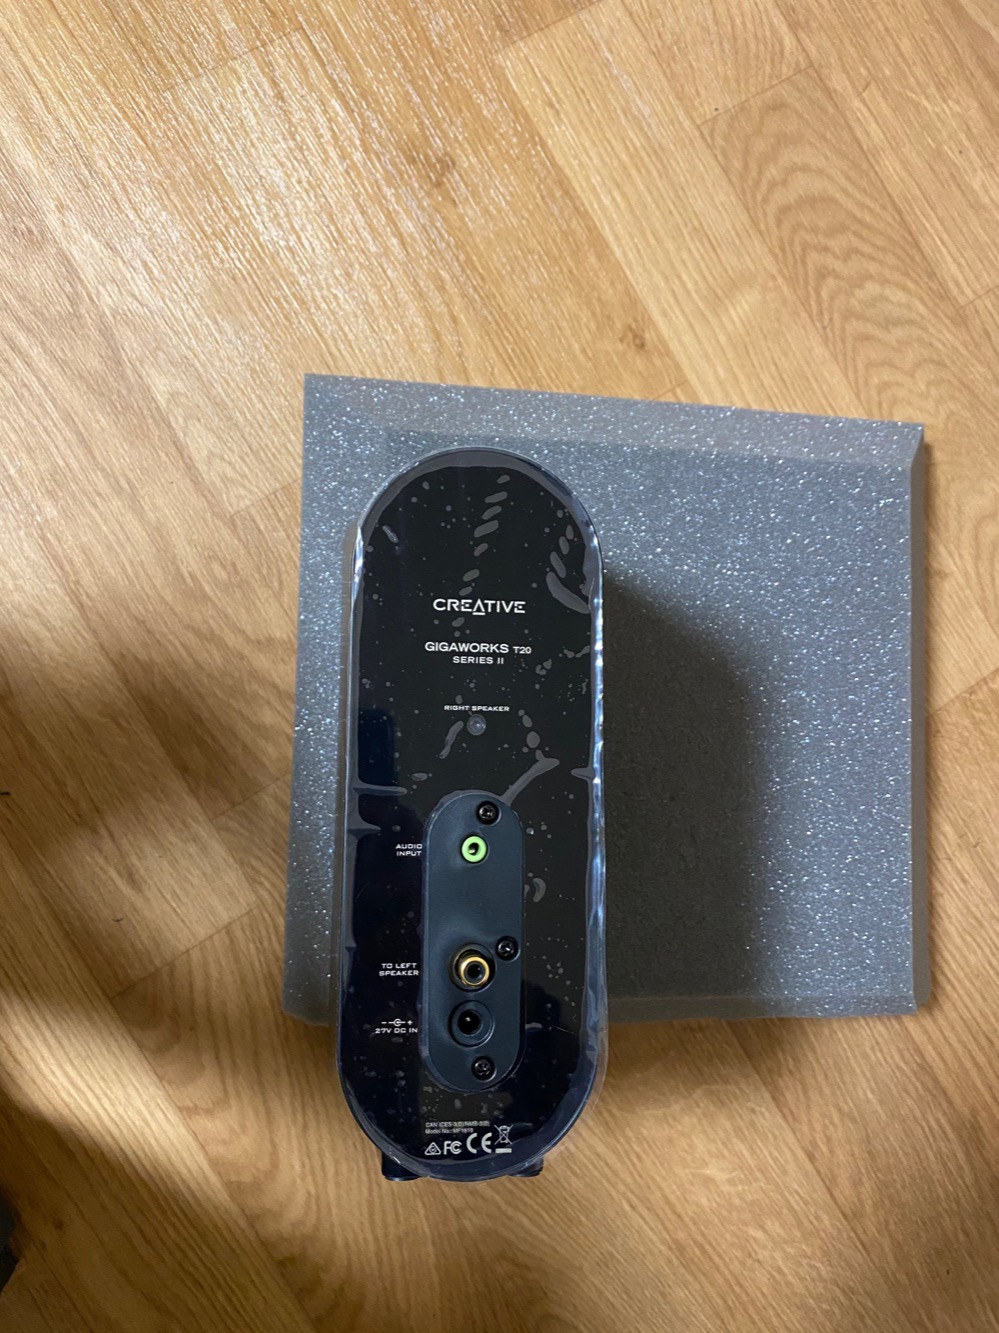
- A set of speakers. Our choice was the Creative Gigaworks T20 a set of two speakers with incorporated subwoofer and twitter. If you prefer to have a separate subwoofer, be sure of choosing a bigger box. Also, keep in mind that the whole box will act as a resonance camera, so the subwoofer effect it’s there as long as your speakers are inside the box.
- Acoustic panels. This is basic to ensure that our coffee table is not noisy.
- A power strip with at least 3 sockets, we advise 4.
- A TV box of your choice. For us, an Apple TV will do the trick, but any android TV set or even the Amazon Fire stick could work, as long as they have a remote control.
- Four wheels with built in brakes.
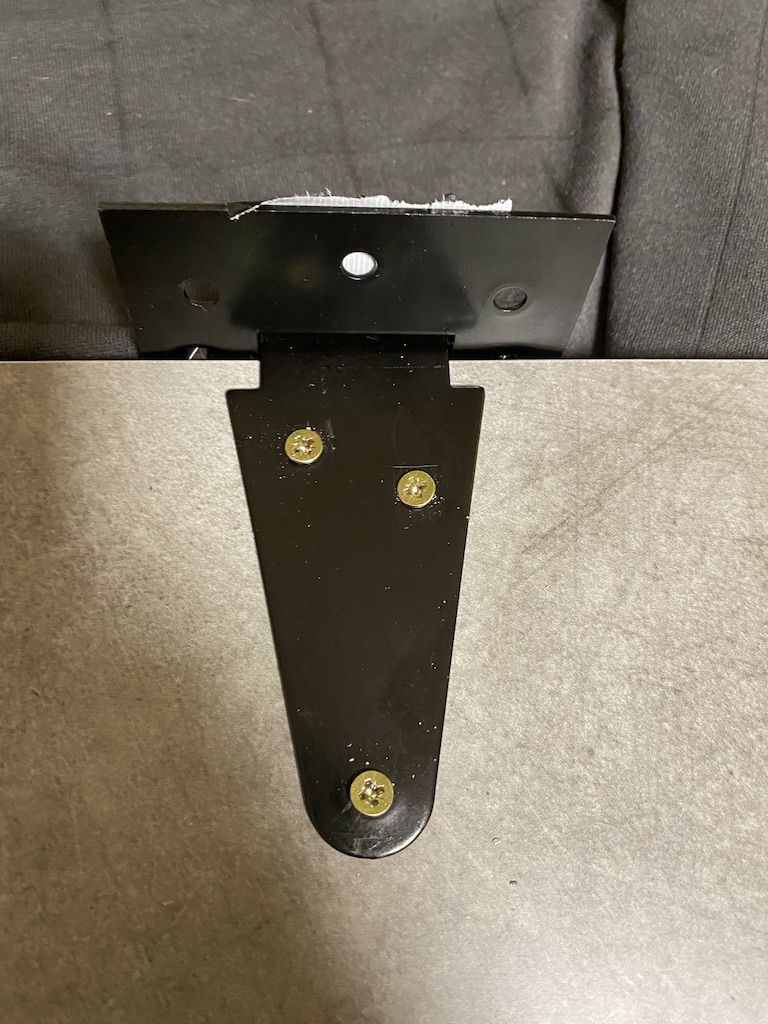
- Two hinges.
As an option, you can incorporate :
- Fans. In case you use a traditional projector, there will be a lot of heating on the interior of the box, so it’s better to get that covered.
- Phone chargers. You can add some USB ports to the side or even good-looking Qi chargers to the surface of the table.
A very good option concerning fans are the laptop bases like this one you can find on Amazon for very cheap, and they add the possibility to control the incline of the projector inside the table.
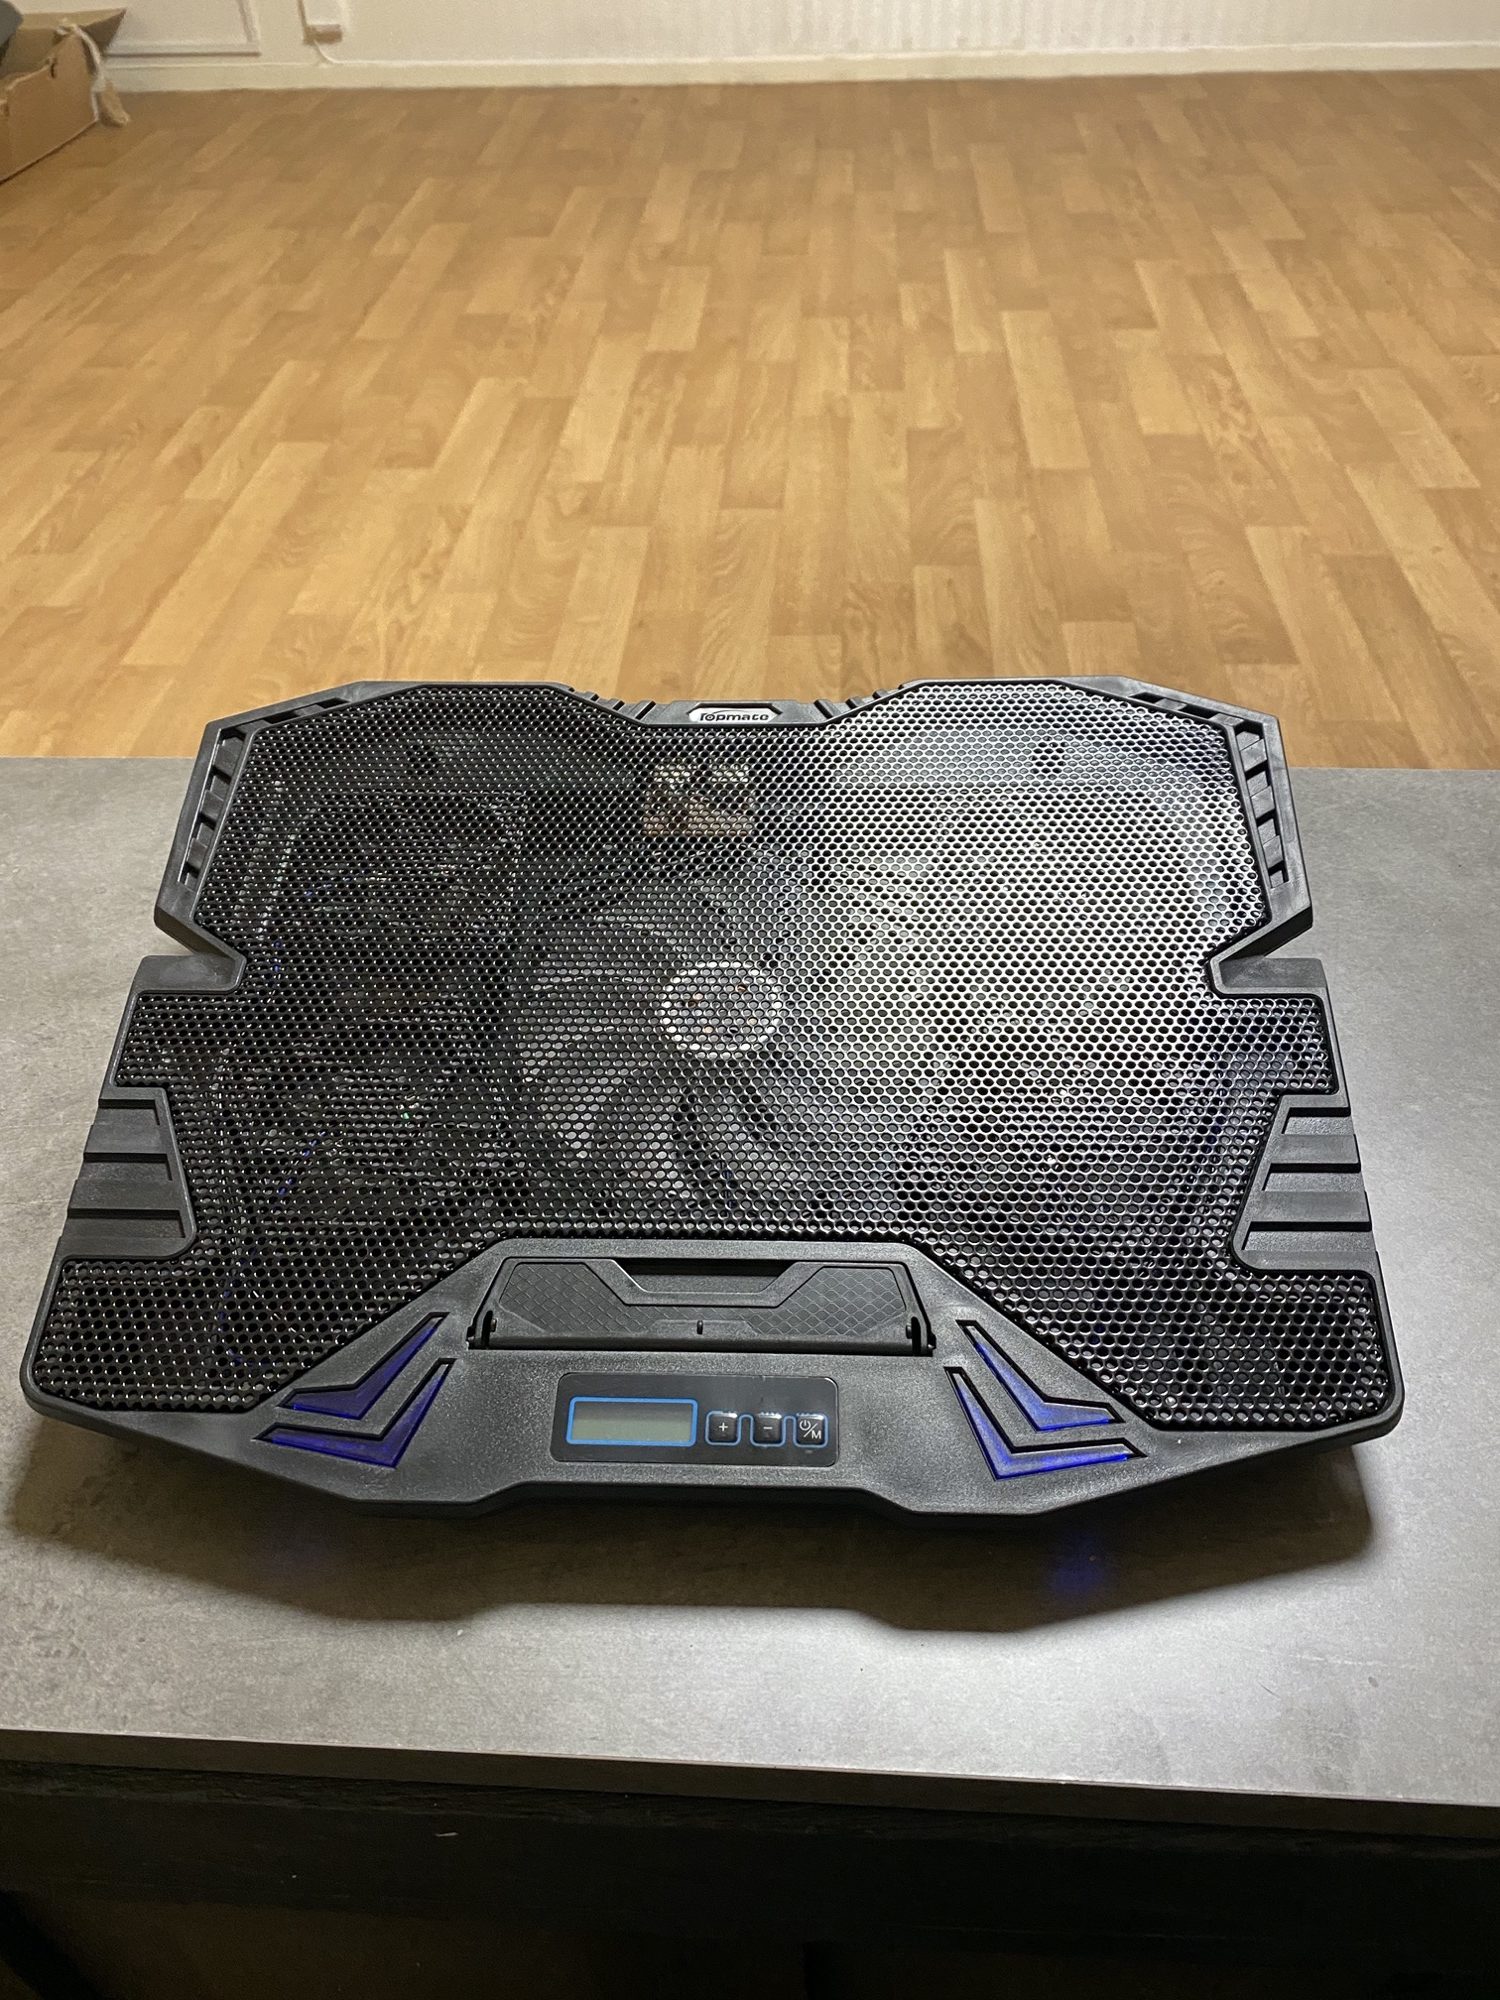
We got it here : TopMate C5 12-15.6 inch Gaming Laptop Cooler Cooling Pad | 5 Quiet Fans and LCD Screen | 2500RPM Strong Wind Designed for Gamers and Office
Let’s start to build a Home Cinema in our Coffee Table !
When it comes to coffee tables we can find many sizes, material and forms. Although, for our project we suggest wood and rectangular forms. You can opt for building a wooden table out of pallets or repurpose any kind of box. After that, we need to be sure that it will match the look and decoration of our living room.
In our case a grey, lightly blue was the choice. In this case, we start by painting from the inside to avoid paint drops.
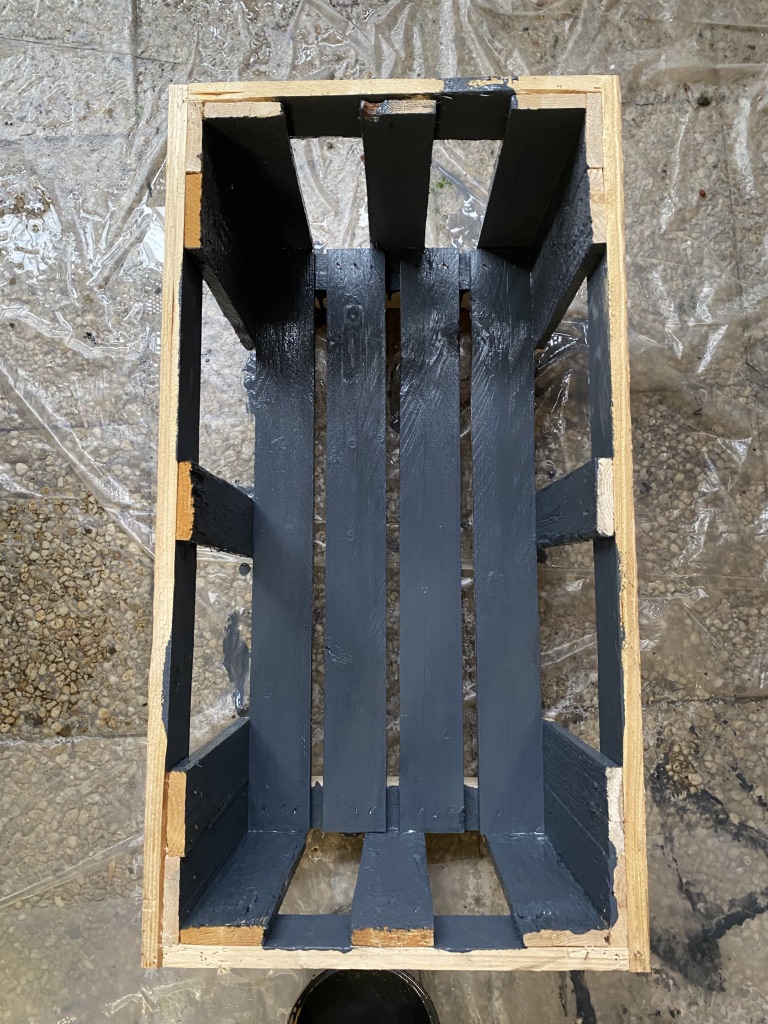
And then the outside:
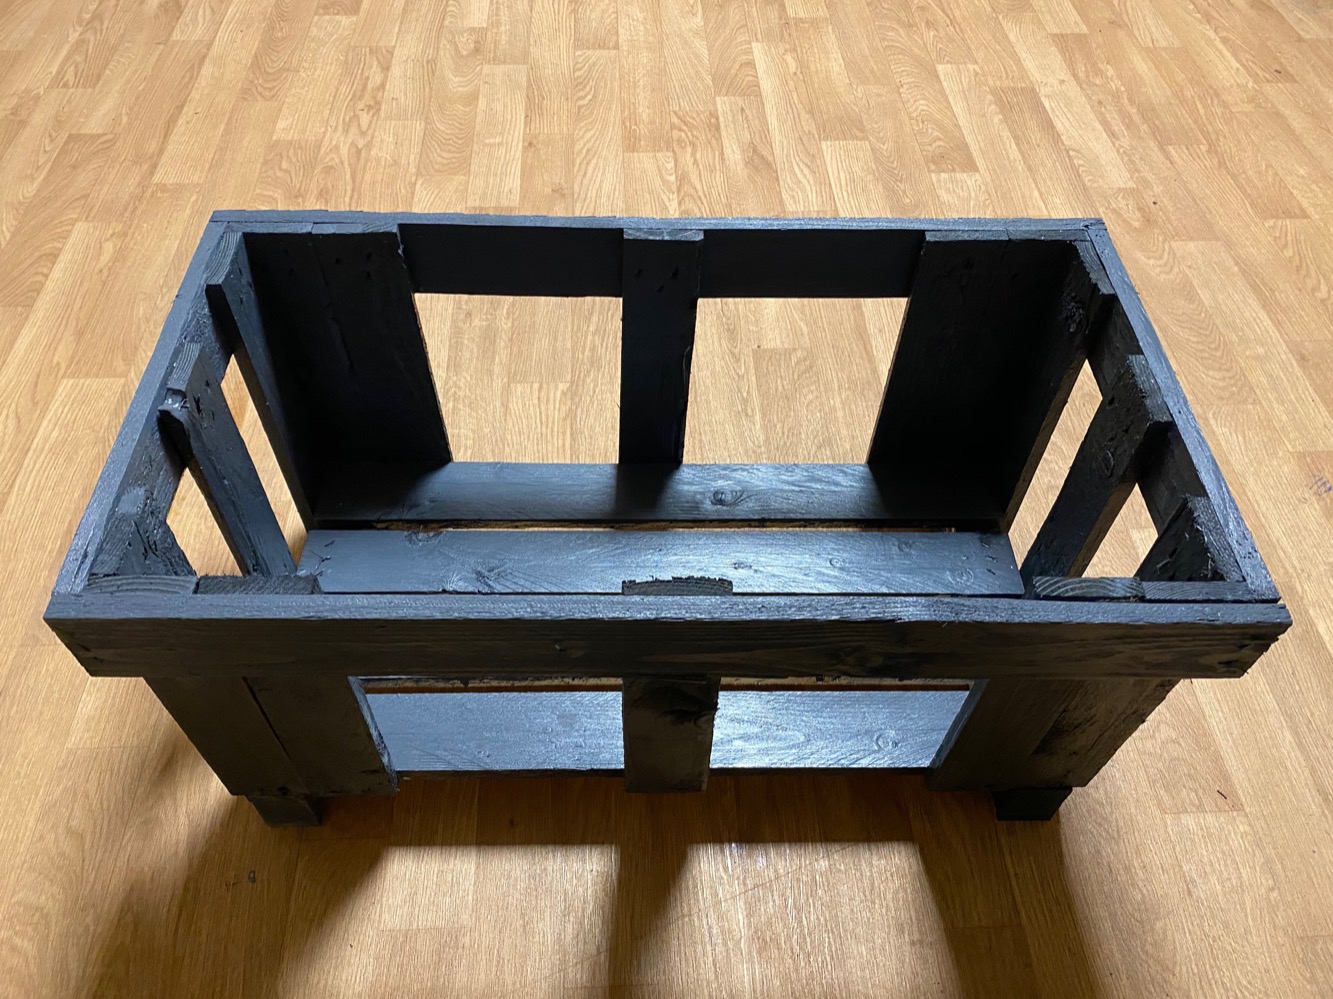
Be sure to make an opening where the projector will be placed :
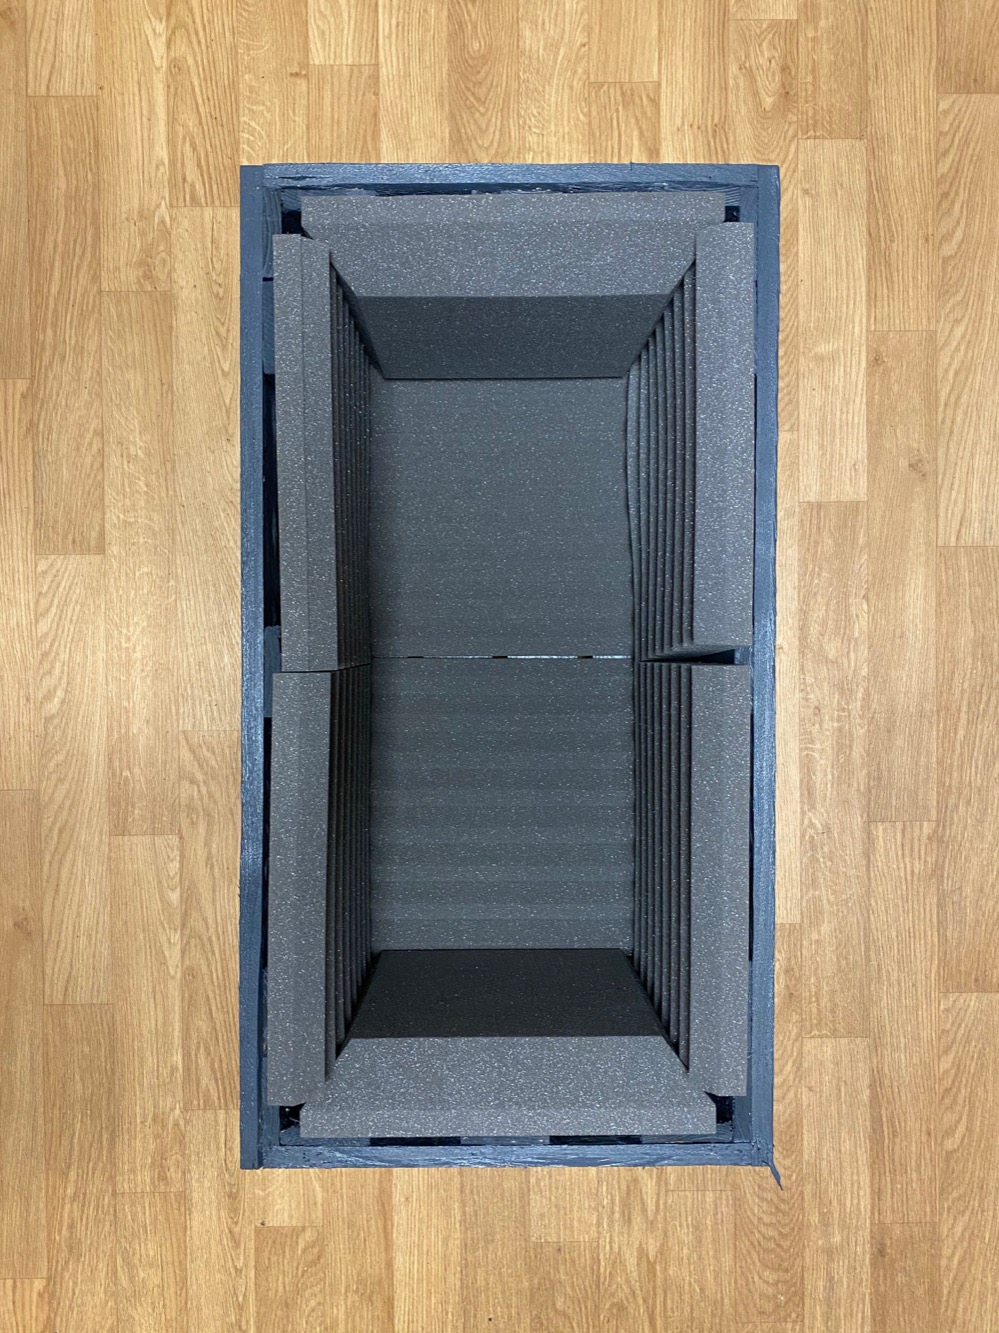
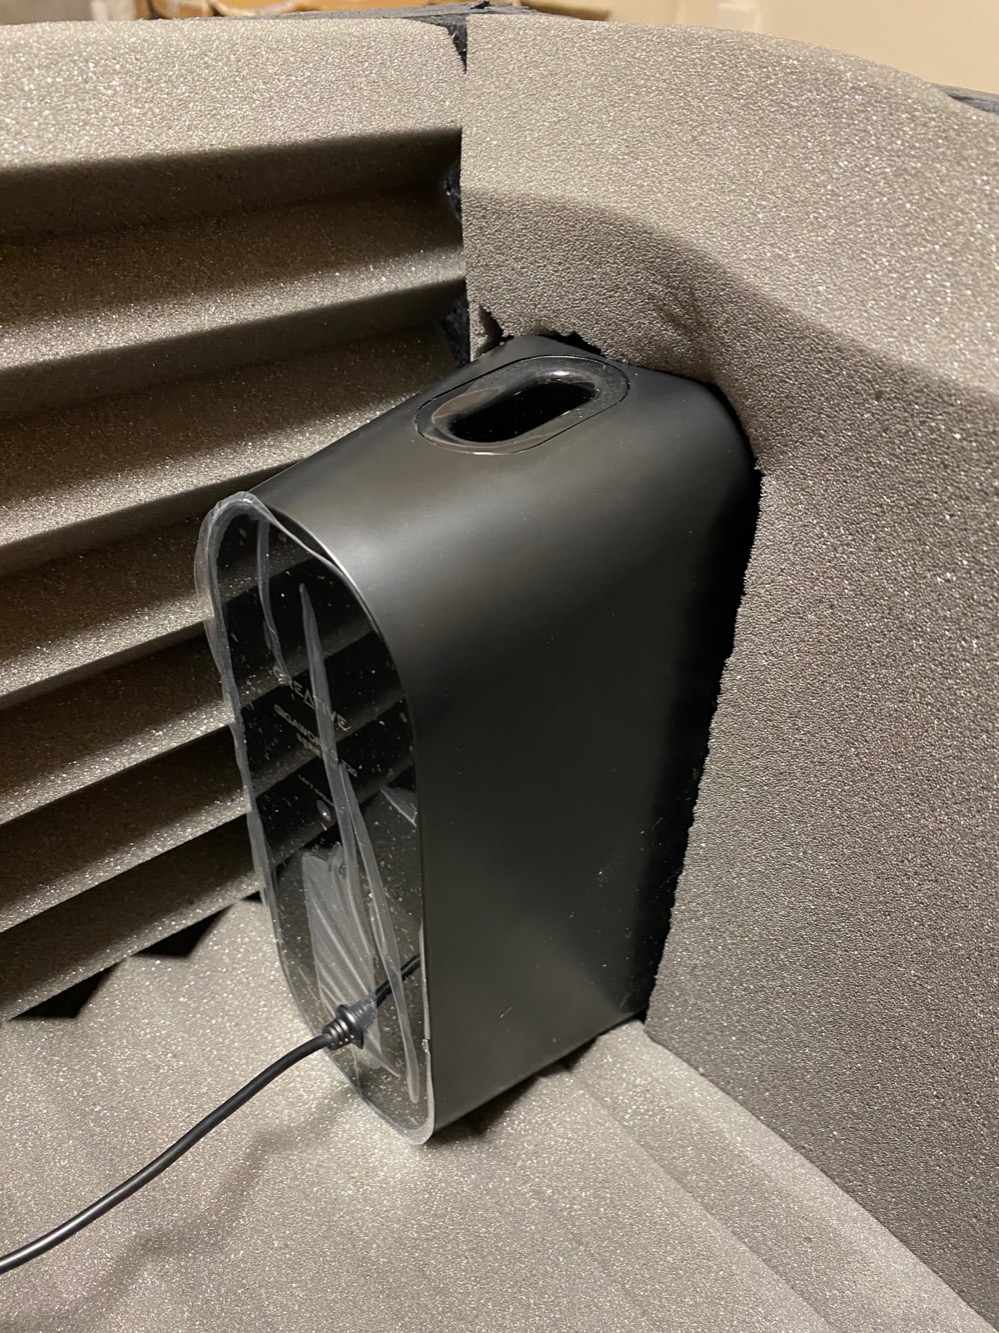
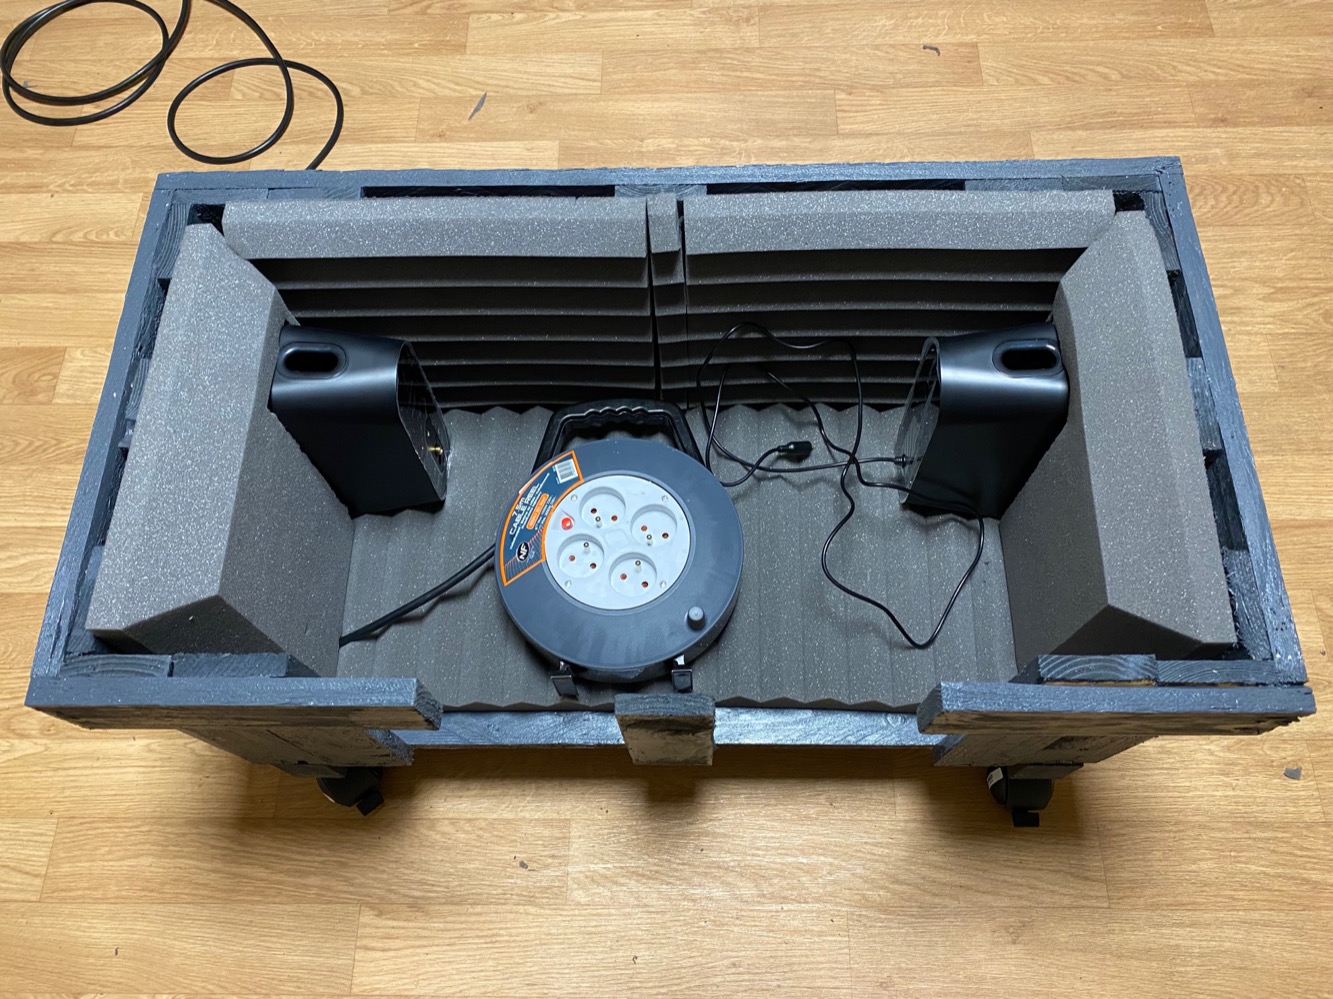
After few hours to let the paint dry correctly, we can start to soundproof the box. After that, we install the acoustic panels trying to maximize the usable space inside:
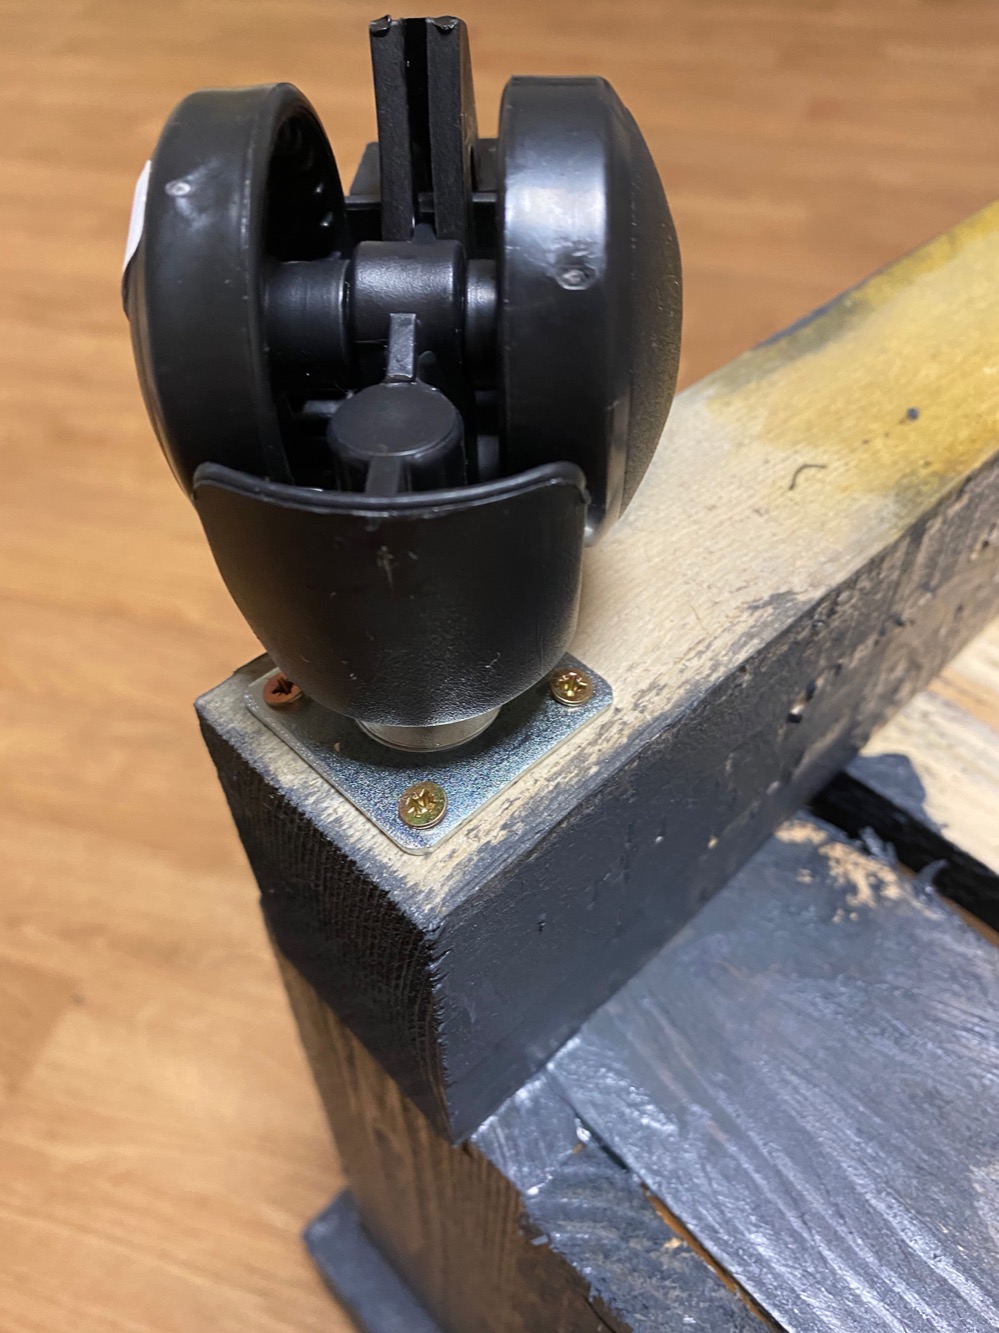
Turn it upside down and attach the wheels. It’s easy to find plastic or rubber wheels with incorporated brake, just be sure to match your table color whenever its possible.
Be sure to mark and cutout the speakers exit. You want the speakers to direct the sound to the sides.
Installing the electronics
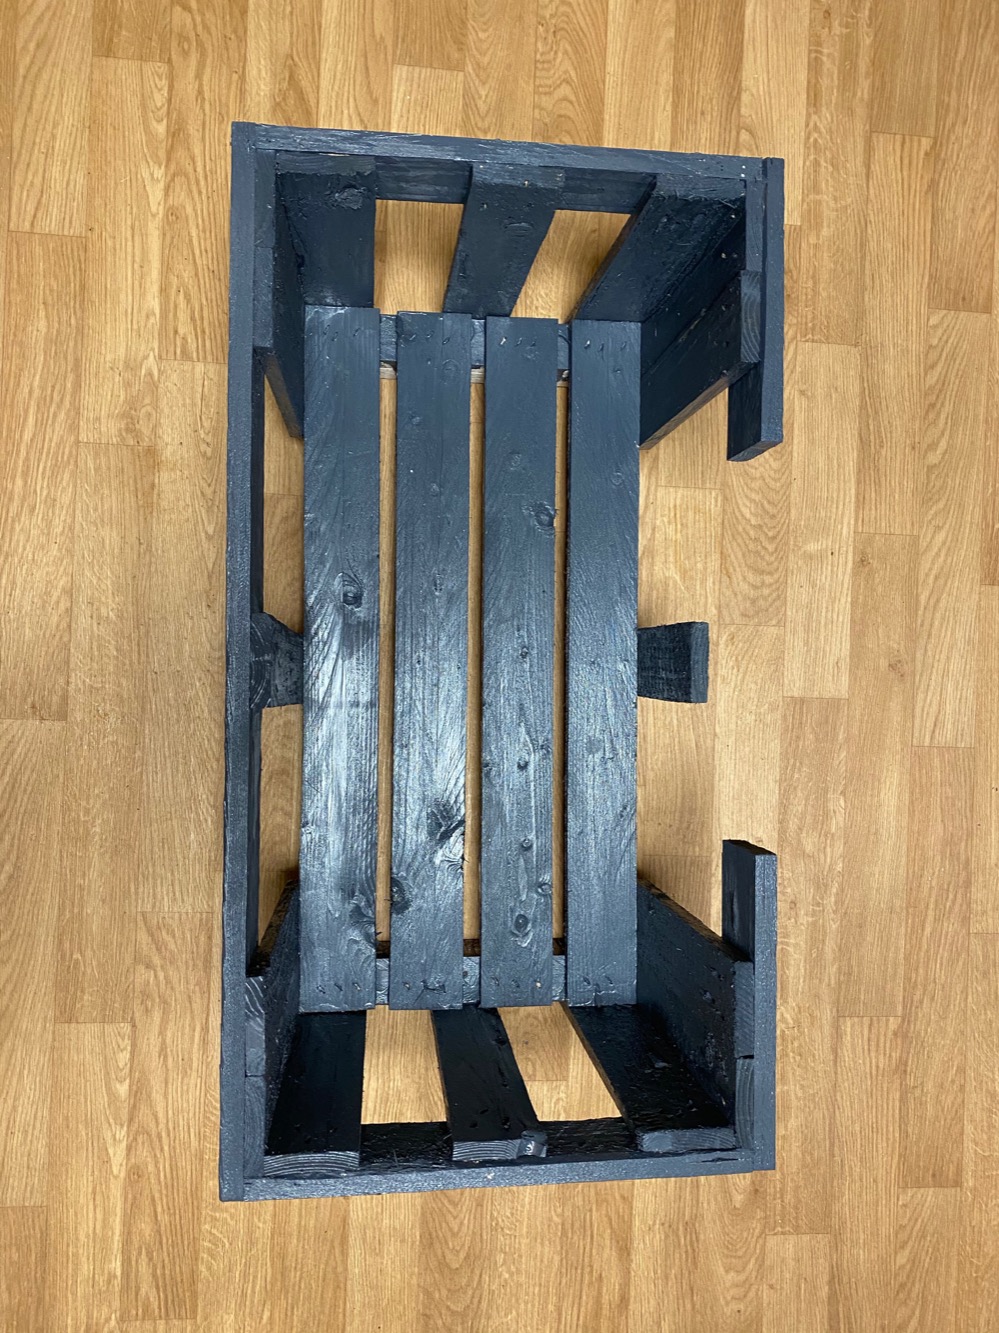
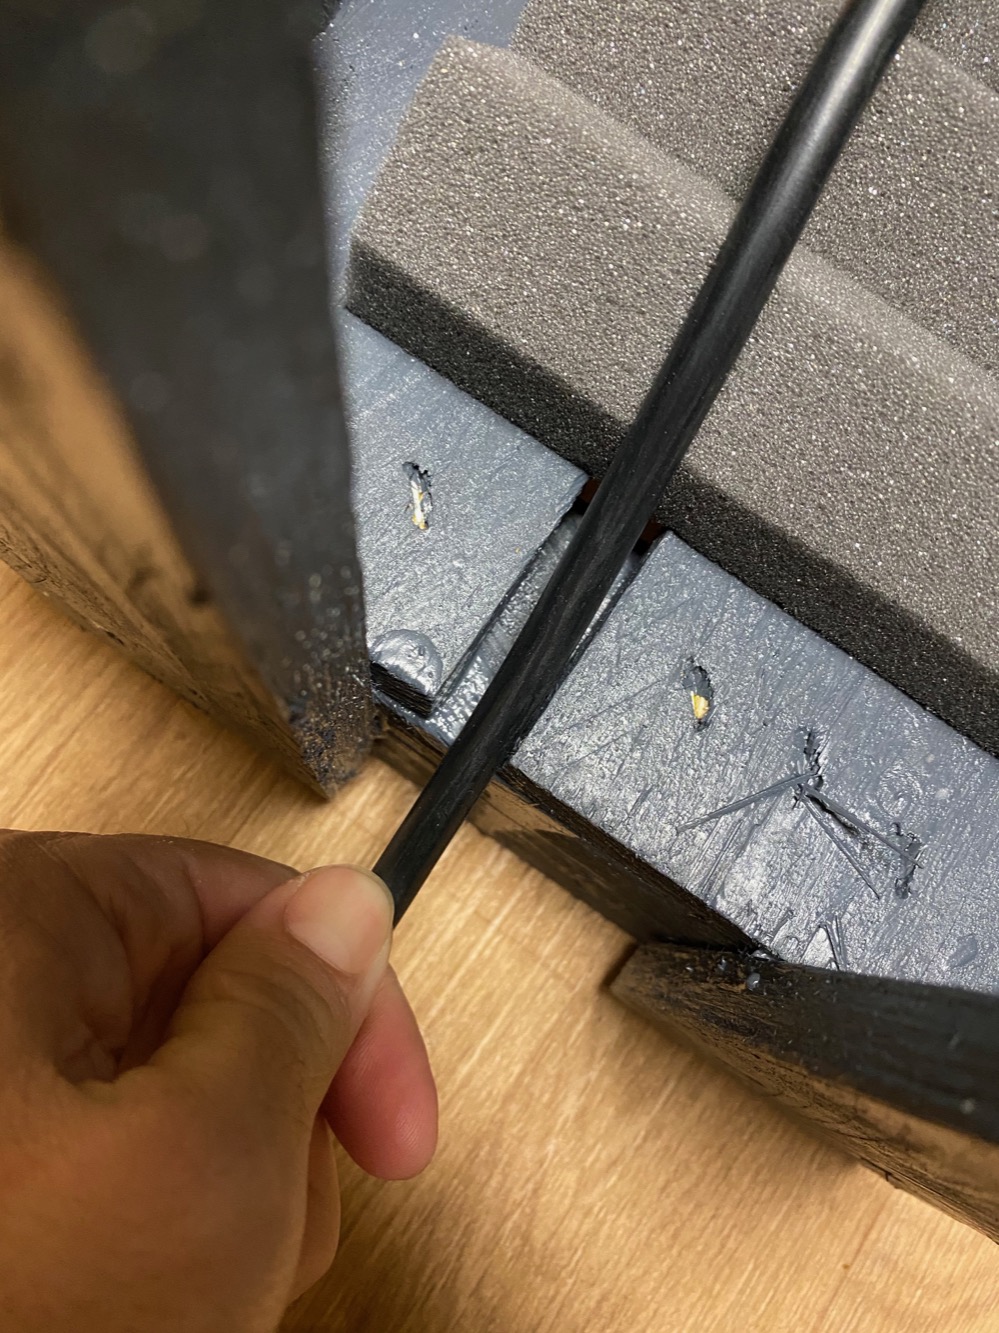
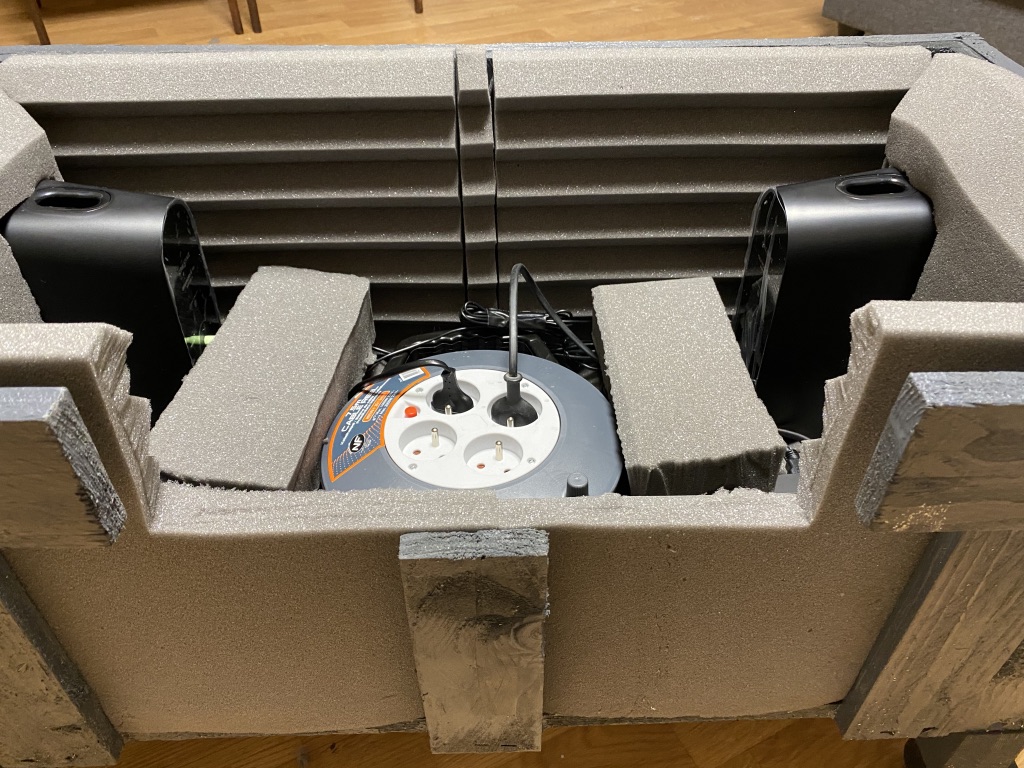
Place inside the power surge. If you opted for a pallet table, will be easy to squeeze the cable in between the wood slats.
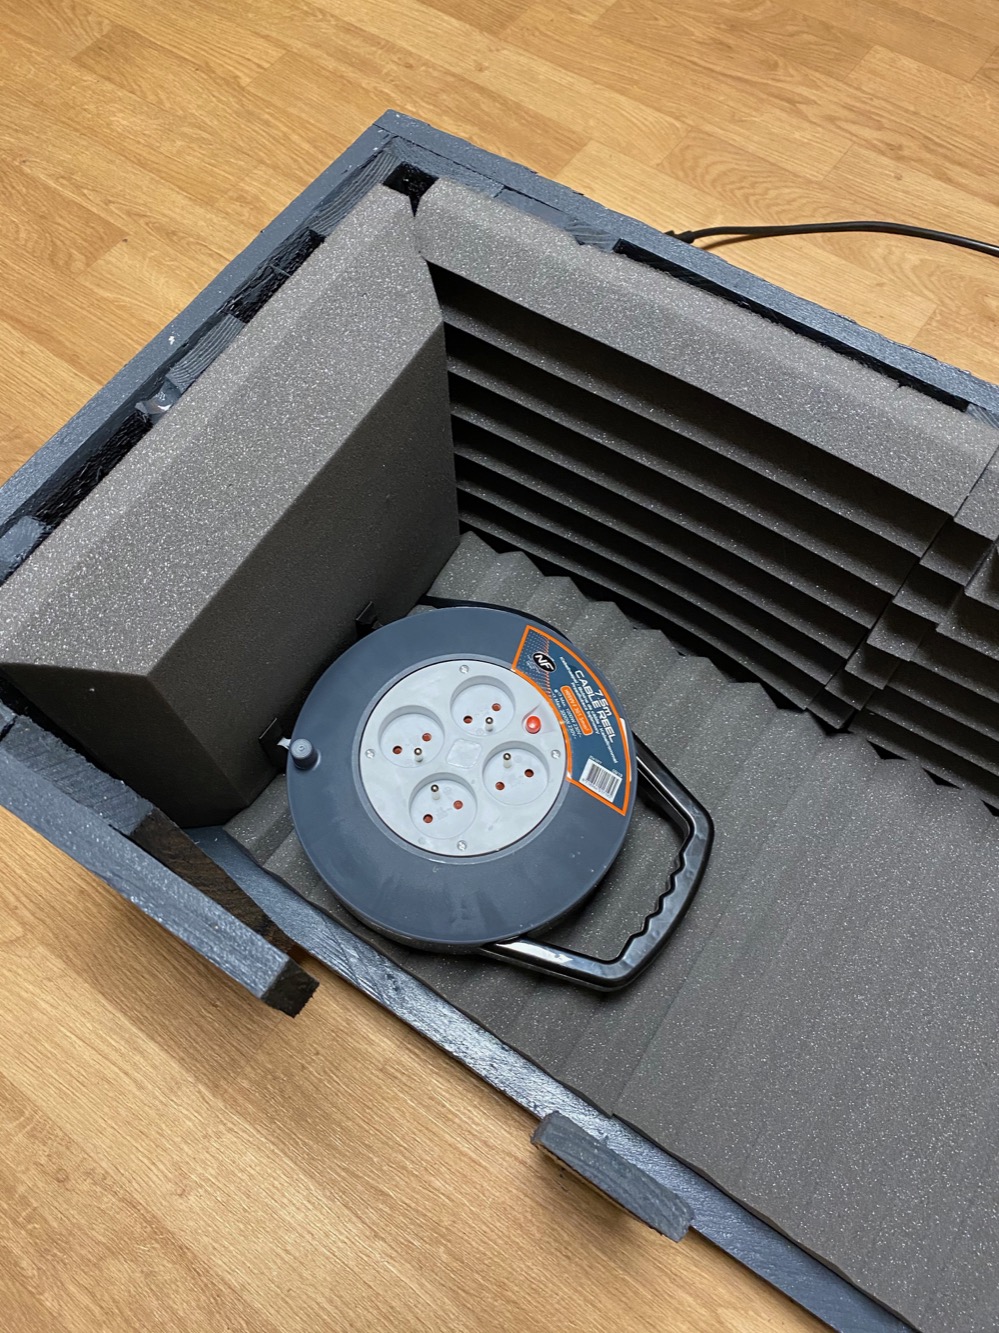
Once you are done with the speakers and power surge you will still have plenty of room:
It’s the moment to install your TV box, Apple TV or Android TV set. However, if you are using a metal box, be sure to open a cutout to allow signal from the remote control.
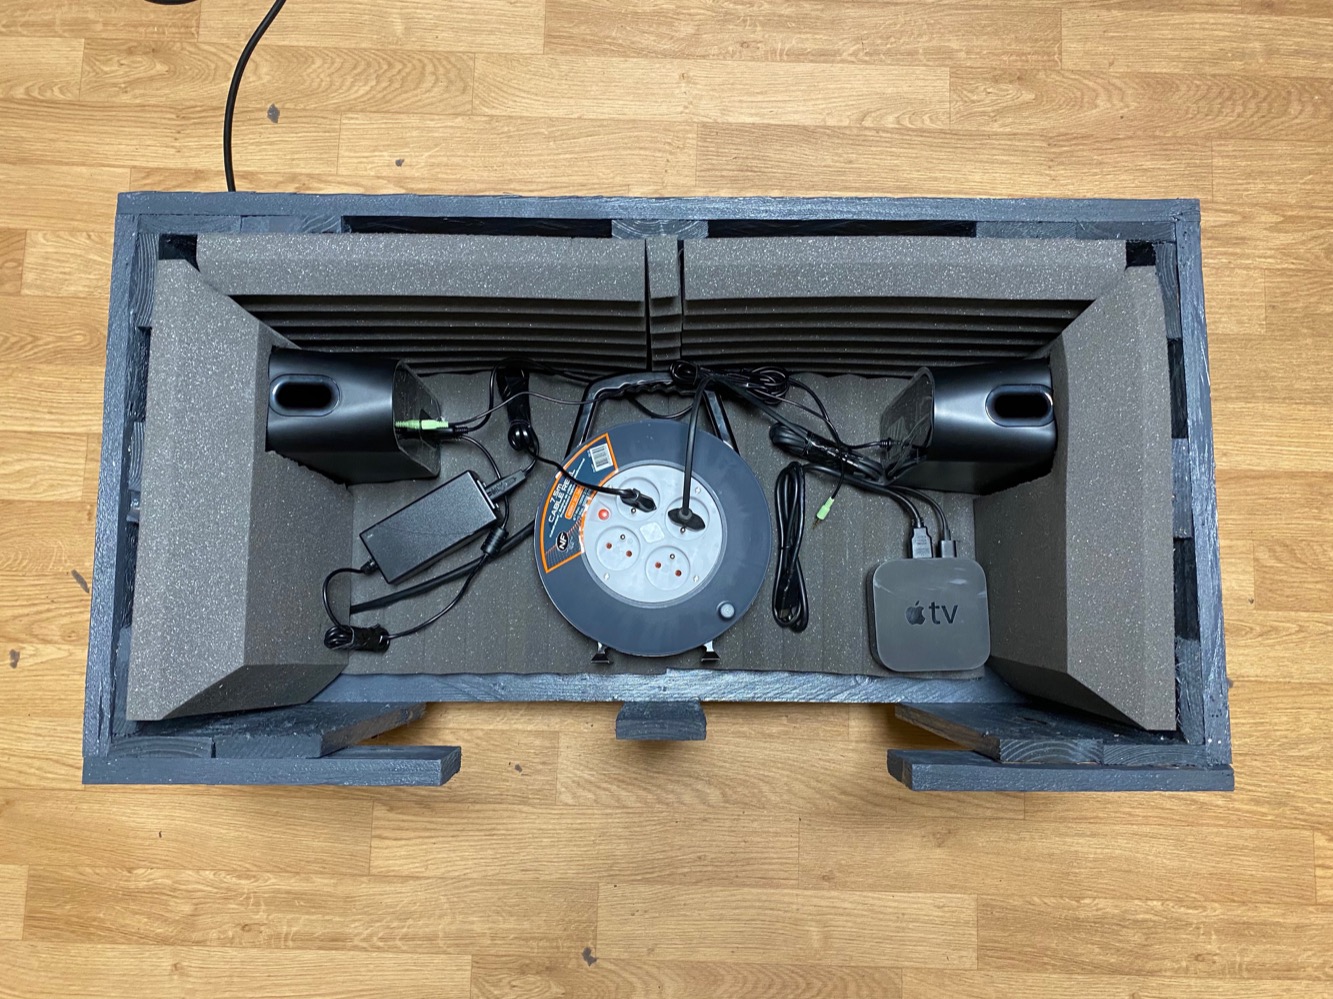
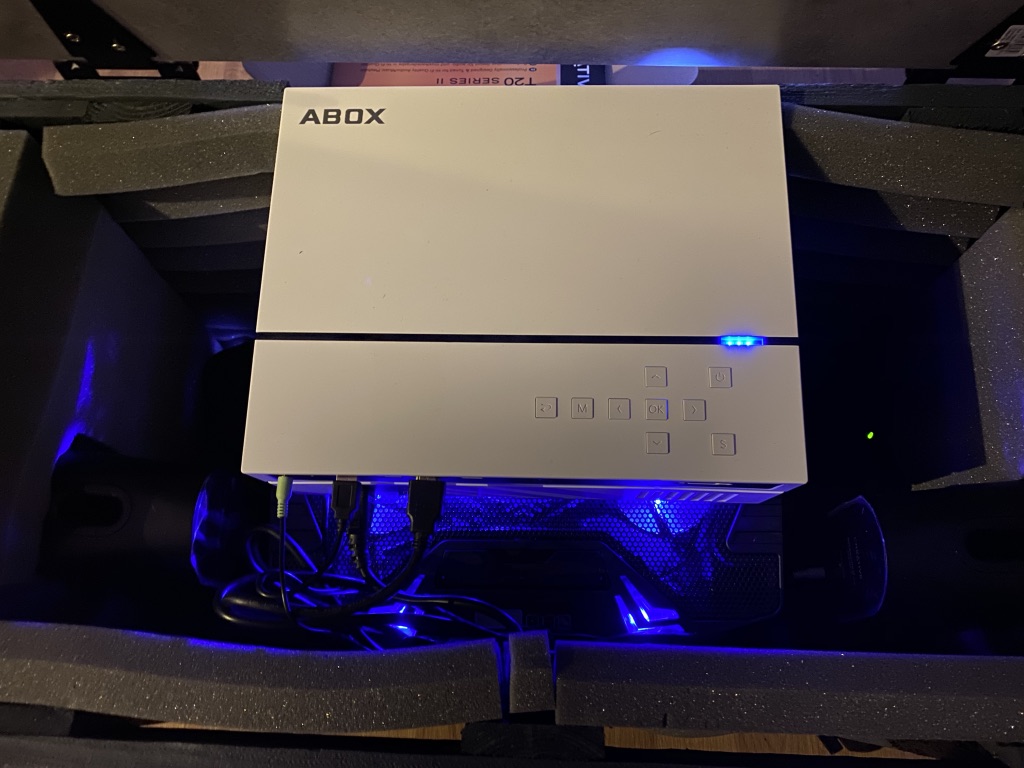
You can now place the missing acoustic panels and use the leftovers to create a plane surface to place the projector.
If you opted for a laptop fan, it’s the moment to install it.
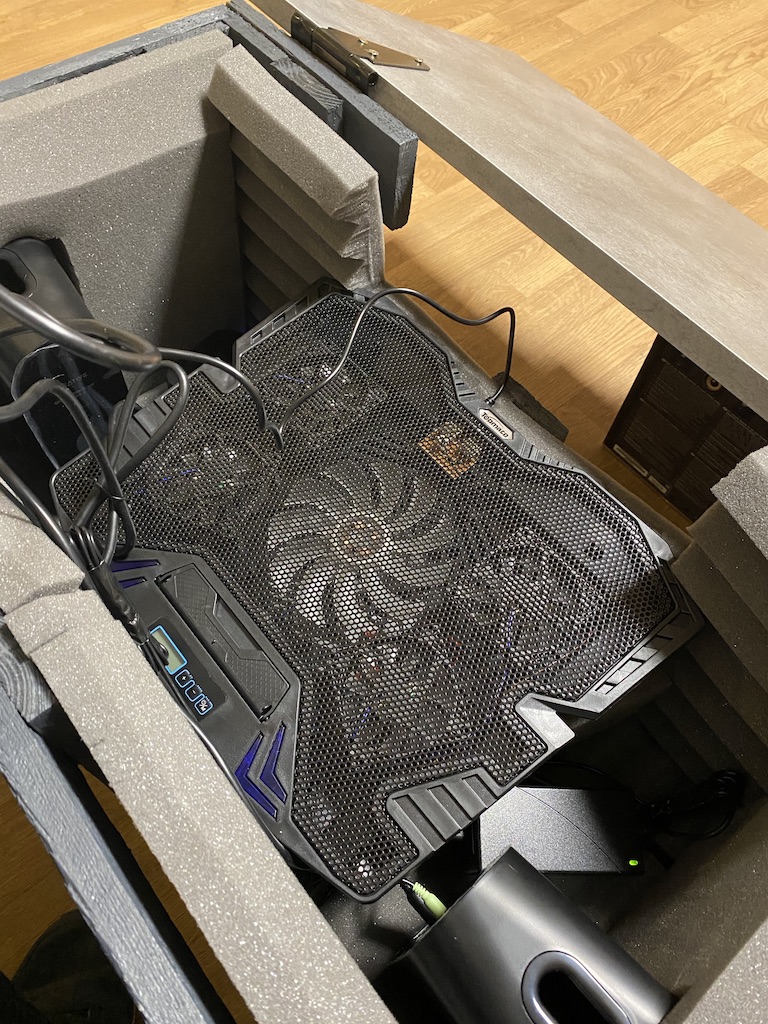
Most of this laptop fan solutions have different incline options, which make them perfect to allow us to control the projection in different places when we move our coffee table around the house.
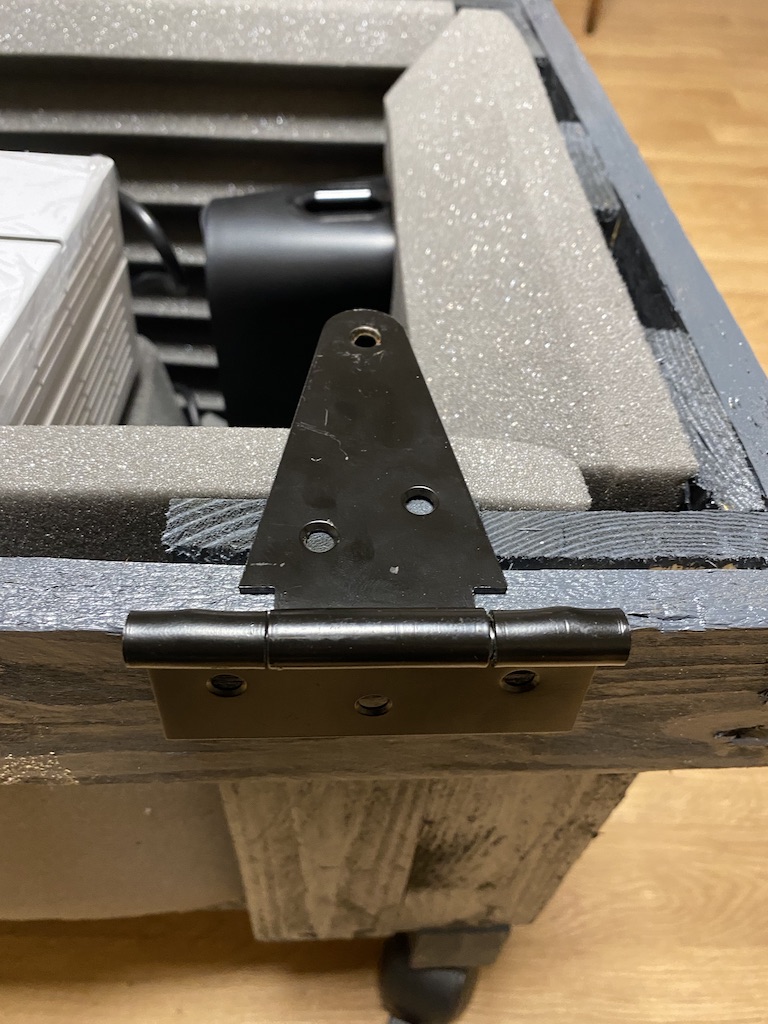
This is the best moment to install the surface of the coffee table. Depending on what kind of box you are using you may have that already. In our case we choose to replace the pallet top with a laminated wood panel that we attached with two hinges.
Connect the TV box, speakers and laptop fans to the projector. Some TV sets (like Apple TV) they have a wake up function on their remote that allow us to turn on the projector automatically when the TV box starts. This is very helpful as the fans will also start together.
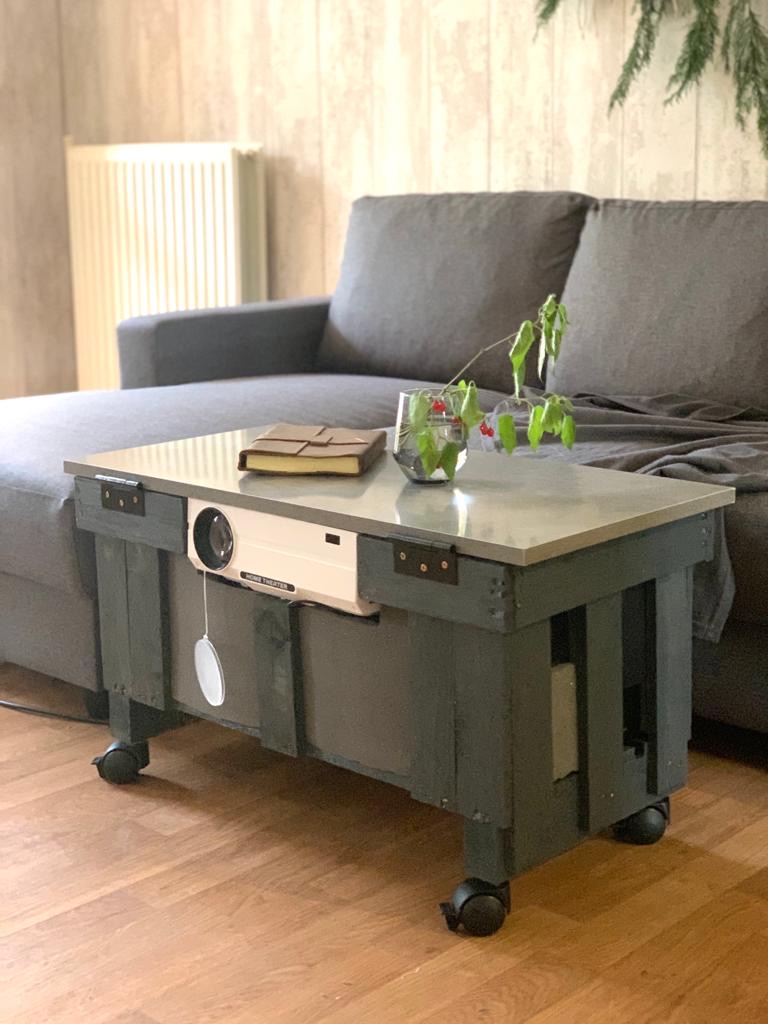
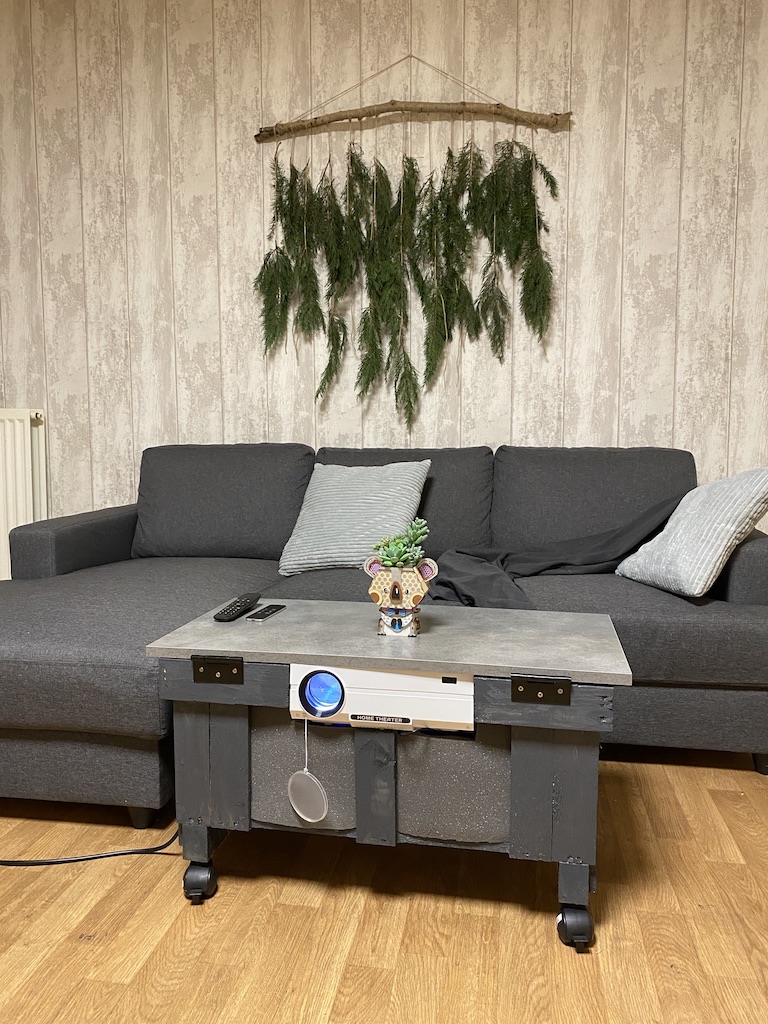
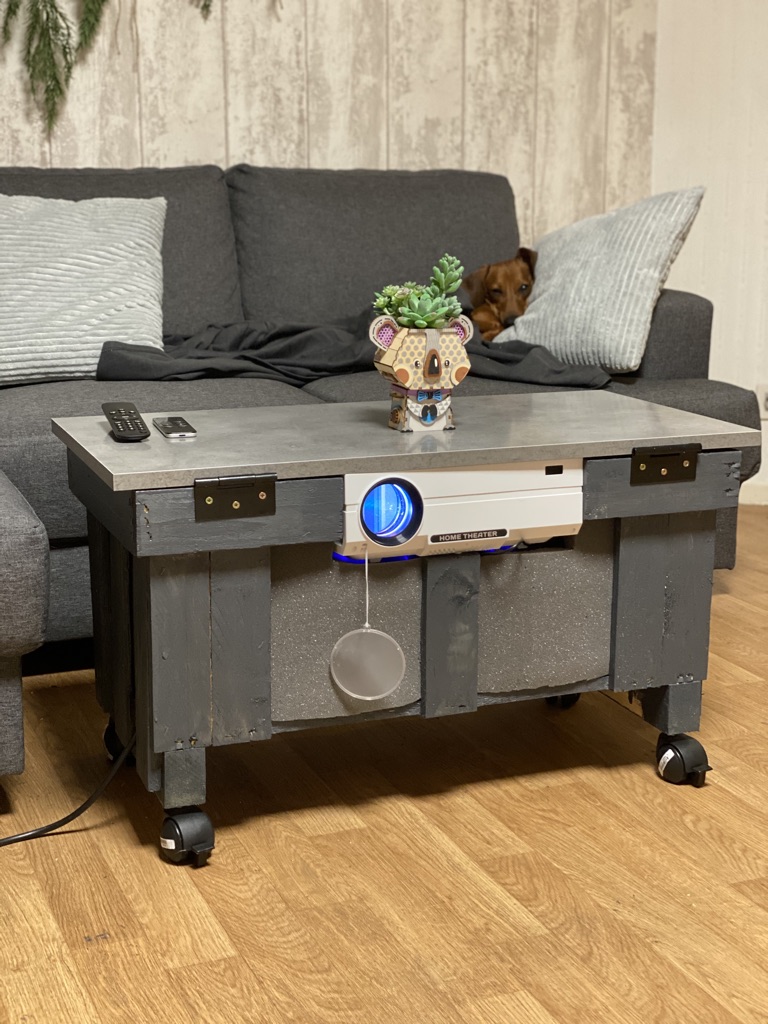
And that’s it ! Our coffee table has been turned into a portable Home Cinema on wheels !
The final result
On this DIY project we tried to give you a maximum of freedom on the materials, colors and implementation of the Home Cinema Coffee Table.
We wanted you to feel free to adapt it to your current decoration, or simply make this DIY your way. In our case the Coffee table matches our sofa.
Do you have any questions or you want to share your build? We wait you in the comments section !
For more interesting projects for this winter, check out our DIY section.