Step-by-Step Guide to Building a Carport
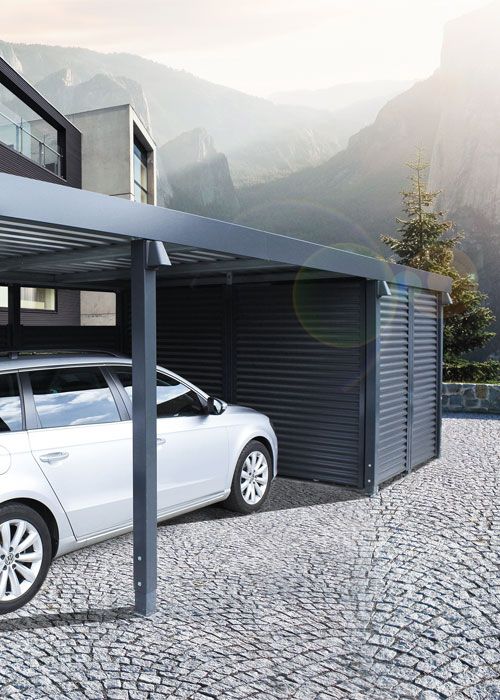
A carport is a great addition to any home, whether you have a garage or not. It can protect your car from the elements without the hassle of opening and closing doors and leaving yourself vulnerable to the elements.
But, what you may not have realized is that it is possible to build your own carport, and it’s not as difficult as you may think.
Pick Your Spot
The first step is to decide where you’d like the carport. You’ll need to check if there are any power lines or drainage points running under the ground, you don’t want to dig into them when building your carport!
You’ll probably want the carport as close to the house as possible.
Get Permission
In most places, the carport will be classed as a permanent structure which means it needs to conform to local planning regs. You’ll need to verify with your local office what these are and then get the necessary planning permission.
Set Your Space
With everything in place you and mark the perimeter of your carport. A standard carport is 3m by 6m but you can choose your size, just make sure that’s what you put in the planning application.
Put small pieces of wood into the ground to mark the edge of the carport and then tie a string between each piece of wood. This will ensure you have the positioning right and will show you where the corner posts should go.
Start Digging
You’ll need to dig a hole at each corner of your carport. The exact dimensions of the hole will be covered in your planning permission and will depend on soil type and the materials you’re using.
You can sink the posts into the ground but the normal practice is to create concrete post footings, the post footings can then be bolted to these to ensure the carport is sturdy.
That means each hole needs to be filled with concrete and the top must be level, ready for the posts.
Mount The Posts
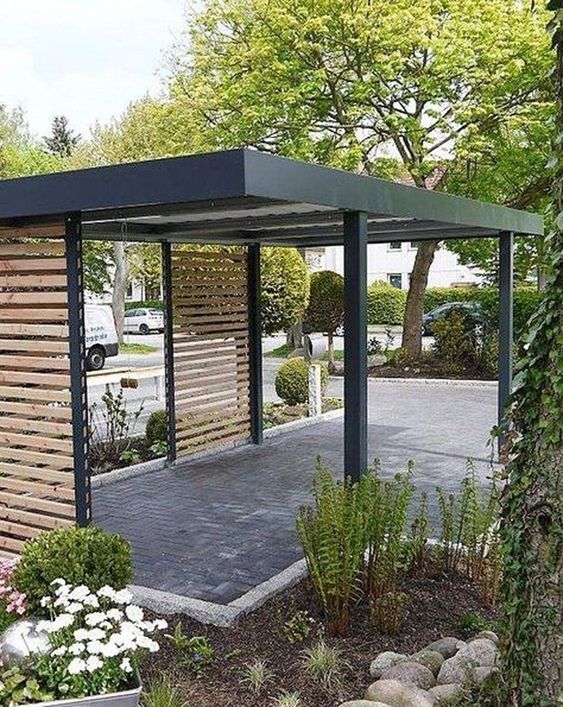
You can now add the post mounts and the posts. It’s best to do two and then secure the posts together with a top beam before moving onto the next post.
You should end up with 4 posts all connected to each other at the top. This should be strong enough but you can add bracing bars if you like.
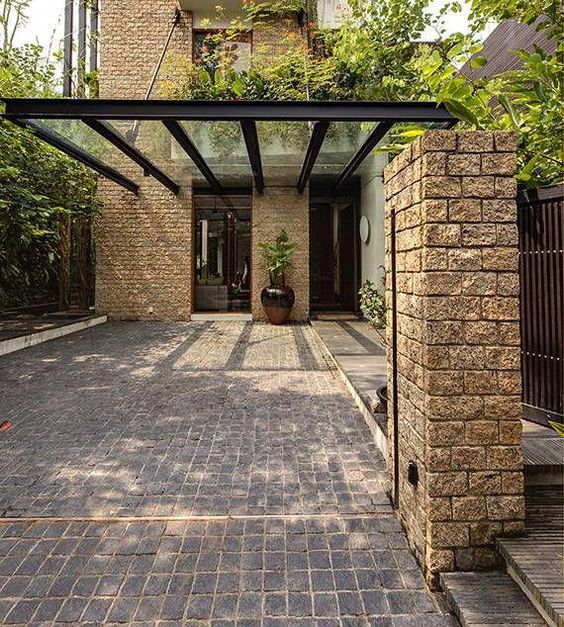
Move To The Roof
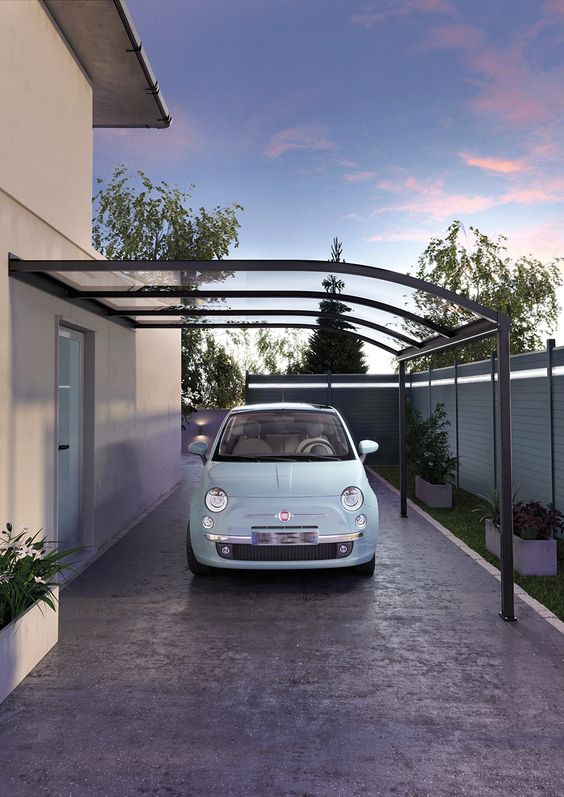
You can actually purchase roofing kits that will make this stage very easy. In essence, you’re creating a row of beams to support your chosen roofing panel. You can choose any type of material for the roof, in-line with your planning application. However, it should have a slope to encourage rain to flow away from the carport.
You should also consider the level of maintenance required, less is definitely better!
Guttering
The guttering can now be fitted to capture the rainwater coming off the roof. This will need to be directed down the downpipe and ideally into a rain collection barrel. You can use the collected water for a variety of purposes.
That’s it, you’re ready to drive your car in.