5 Tips for Learning to Weld
Welding can be a useful skill to know for homeowners and DIYers. The process may seem as simple as joining two pieces of metal together through extreme heat. However, welding takes practice and involves a range of different techniques. You can’t just wake up one day and start to weld.
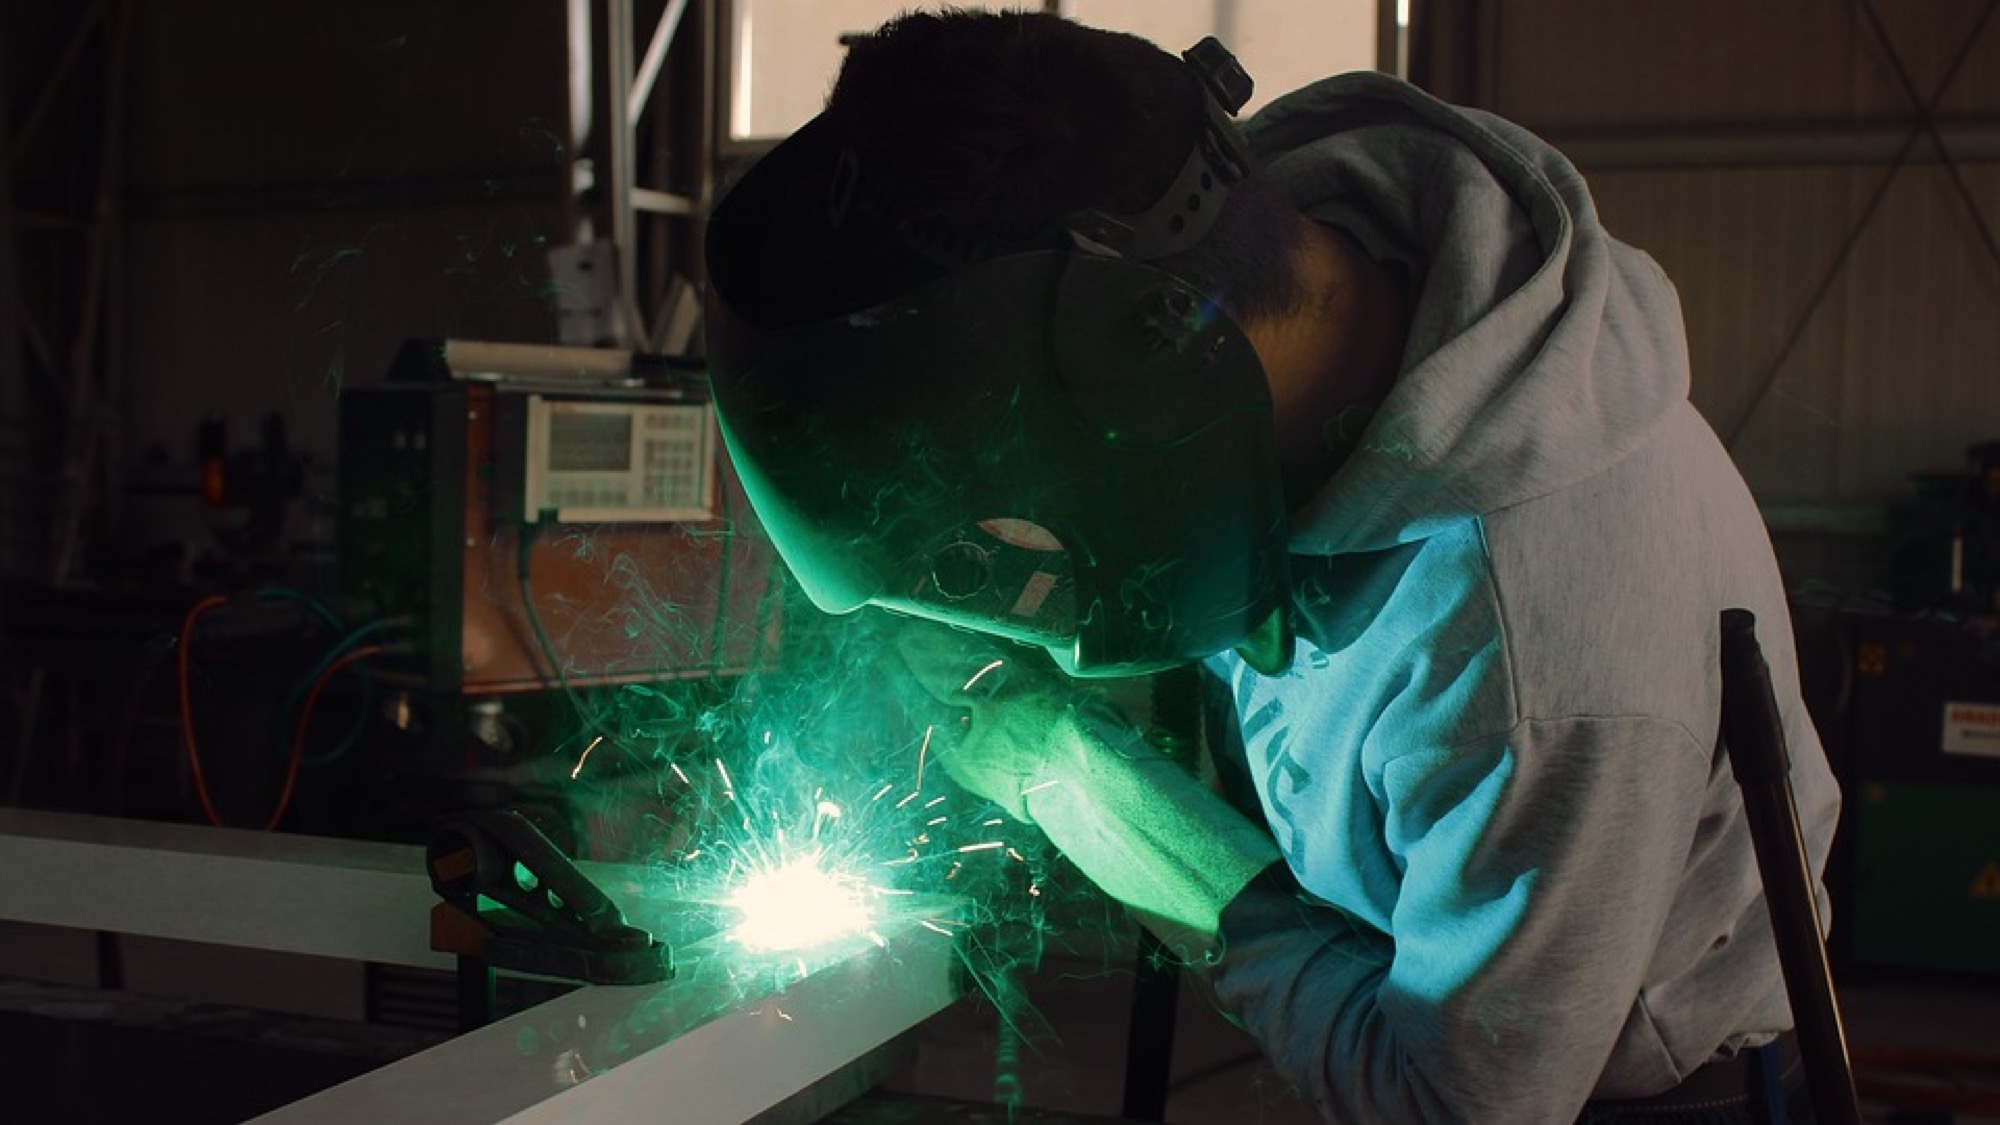
Watching YouTube tutorials to get a project done will not do when it comes to welding. You need to have the proper tools, knowledge of basic welding, and practice to successfully complete welding projects in the future. The following are 5 tips to get you started on your journey to learn to weld:
1. Get the Right Tools
The very first step you want to accomplish before starting any welding project is gathering the tools that are needed. You’ll need to purchase a welder machine as it is the most important tool for the task.
Welders are pricey tools. This piece of equipment is the main reason people choose to hire someone to do their project instead of completing it themselves. Purchase a welder if you’re truly dedicated to learning welding for current and future projects. You can find the best models by reading reviews and buying guides online.
You should also buy:
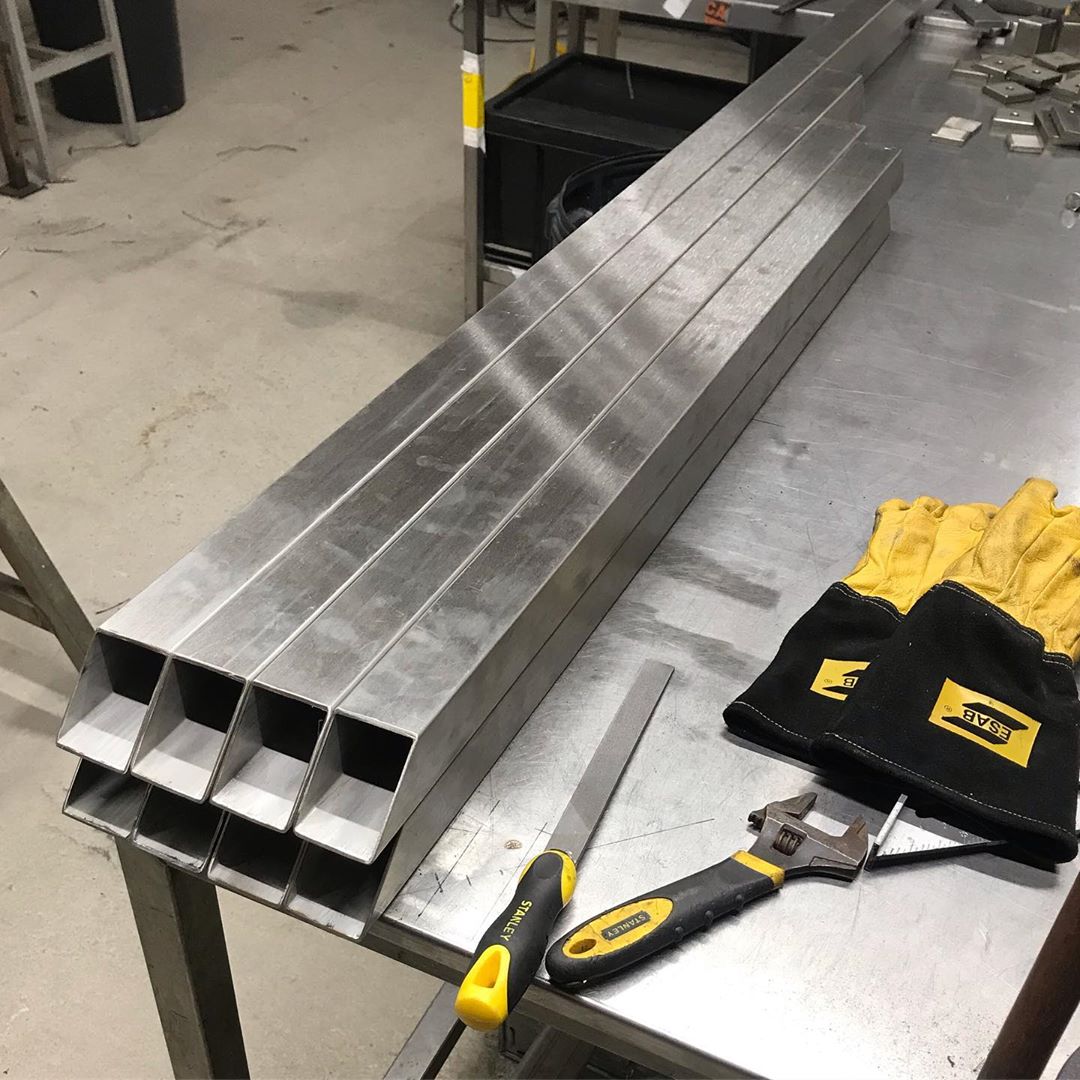
- Gloves
- Boots
- Secure helmet
- Welding rod
The rod will work as a joining agent, similar to a soldering wire that people use when working with electronics.
2. Practice with Scrap Metals
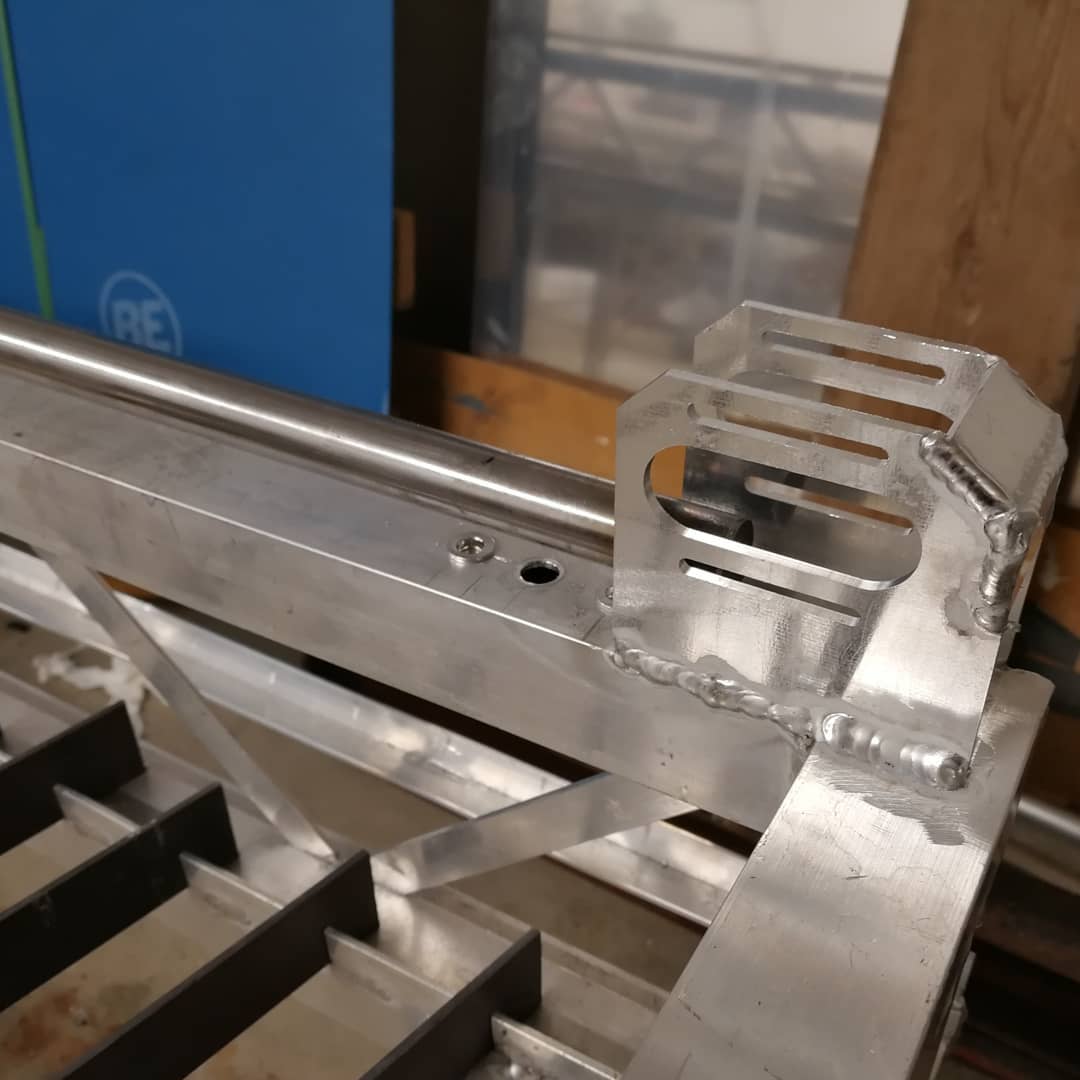
Practice makes perfect. Before you get started on your real projects, you should grab some scrap metal from around your garage or a junkyard and practice. This will help you really learn welding basics and allow you to develop the confidence needed to successfully complete actual projects.
Before starting your practice piece, and any piece, be sure that you ground your welder. To do this, your grounded cable should be tapped from the welder machine and connected to the bench. Grounding reduces the chance of electrocution to 0%.
3. Learn to Hold the Welding Gun
Learning to hold the welding gun is essential to weld successfully and safely.
To properly hold your gun, raise it a bit higher than the project that you’re working on. More precisely, you should have it above at a 20-degree slant so that you can properly see the surface you’re working with.
Once in place, push the power switch trigger. Then, you should ensure the hot iron tip rotates on the joint of the two pieces you want to join. This will cause the formation of beading, which should continue throughout the whole process.
4. Configure Welder Polarity to DC
To achieve the best results, you should keep your welder polarity at direct current. For your basic welding needs, direct current guarantees smoother beads than alternating current. On top of that, you should also confirm that the amperage of your welder is the same as that of your welding rod. Also, ensure that the rod is clipped firmly to the gun so that it doesn’t fall off when you tap it against a metal plate.
5. Weld at Right Speed
When it comes to welding basics, the most important technique to achieve highest quality is the speed of your arc. If you keep the arc to rest on the pieces for too long, it can damage the piece by burning through it. Moving the arc as a slow speed will not allow the filler material to penetrate deep into the surface, resulting in weak joints.
The Bottom Line
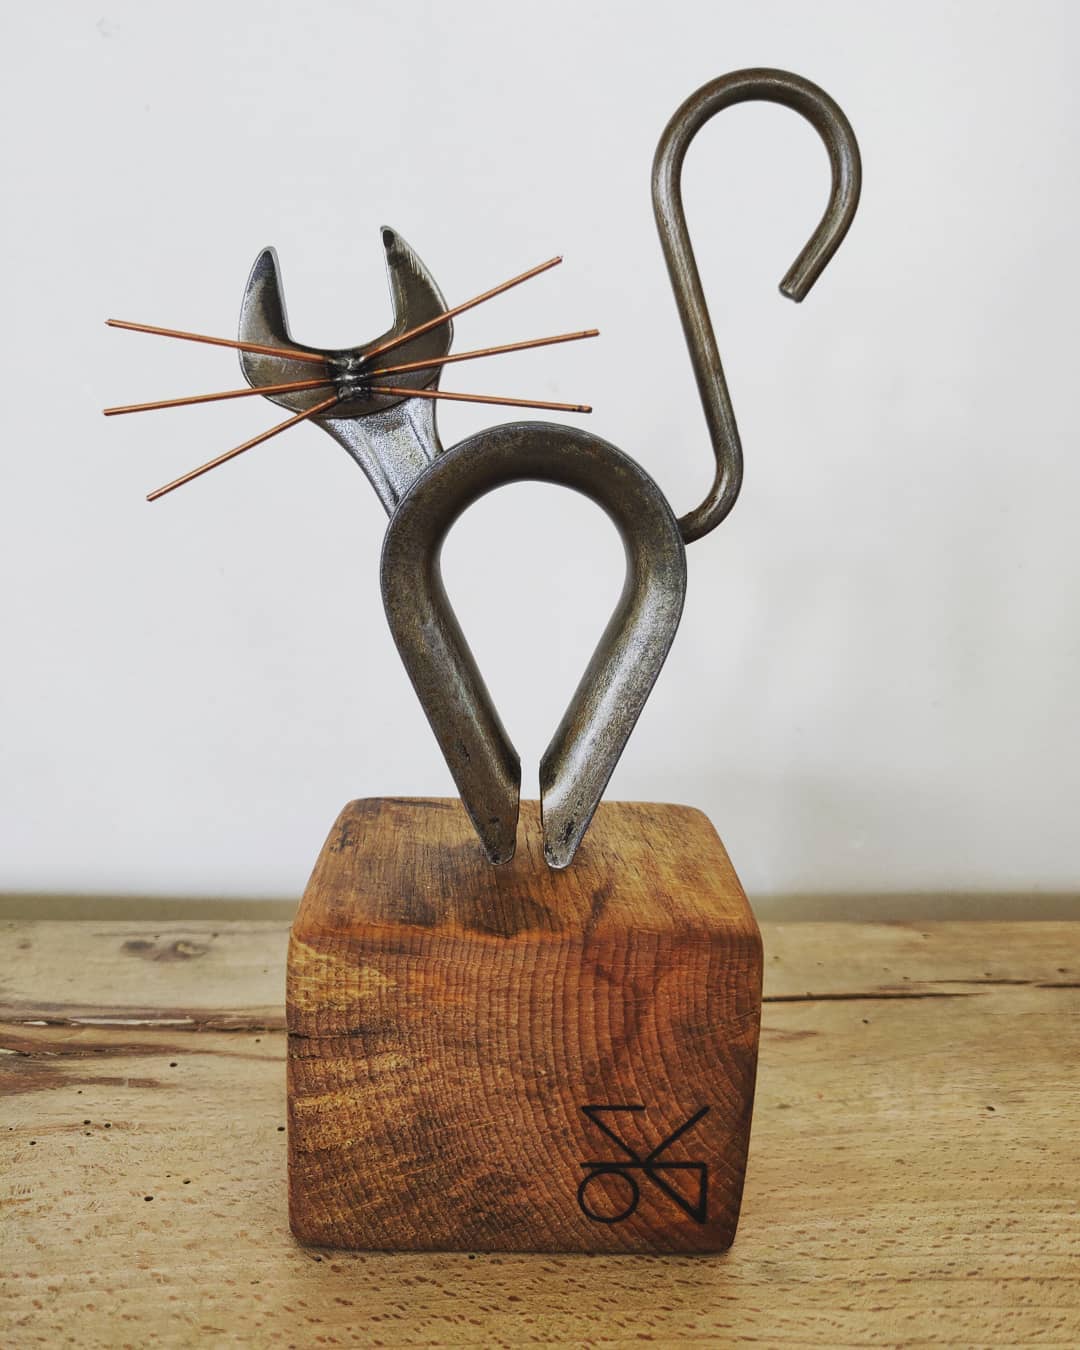
Welding metals together can result in something magical. It can produce something strong, durable, and useful. Welding is a combination of construction, art, and creation. Anyone can learn this craft with the right tools and a little bit of knowledge of welding basics- study up before you weld anything!


