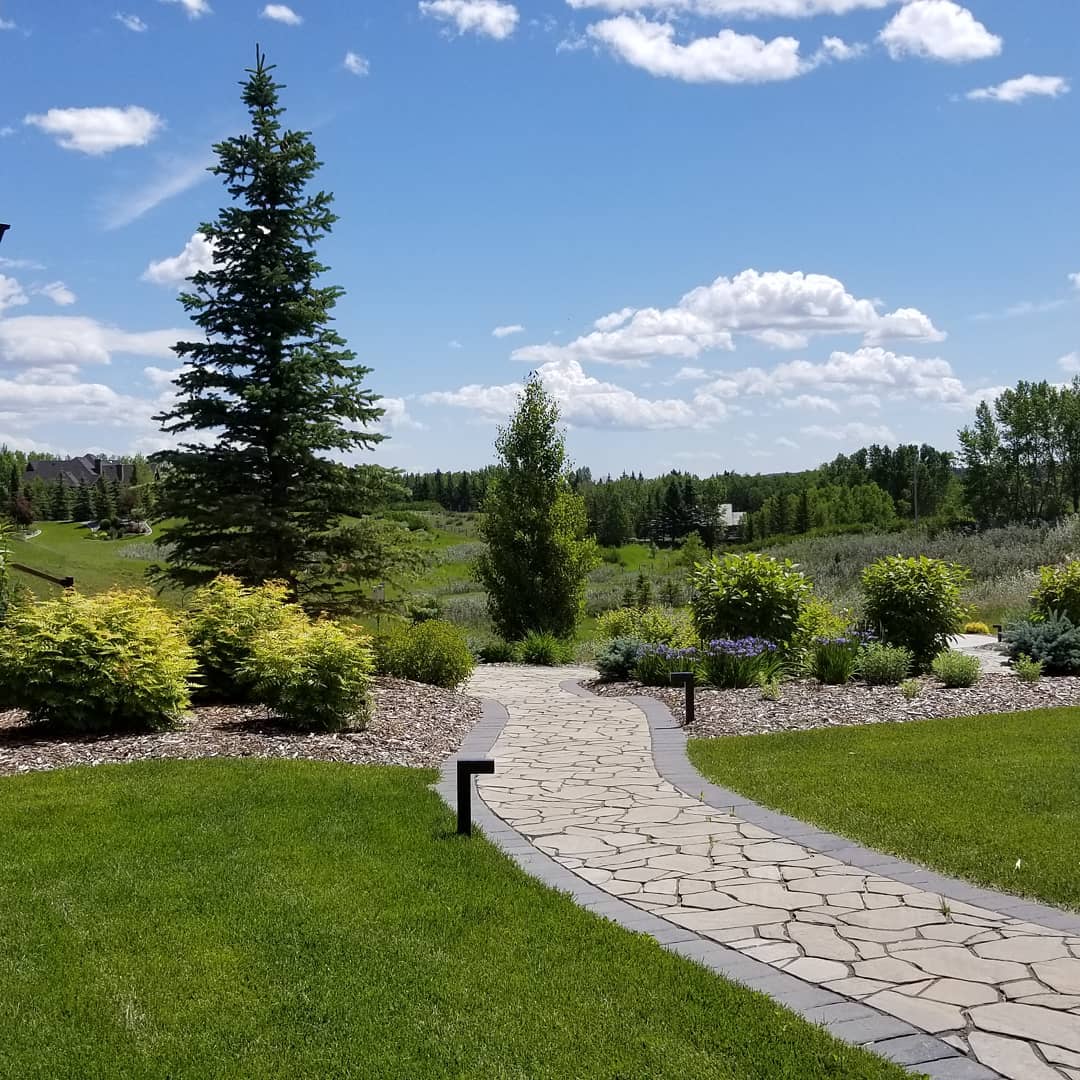
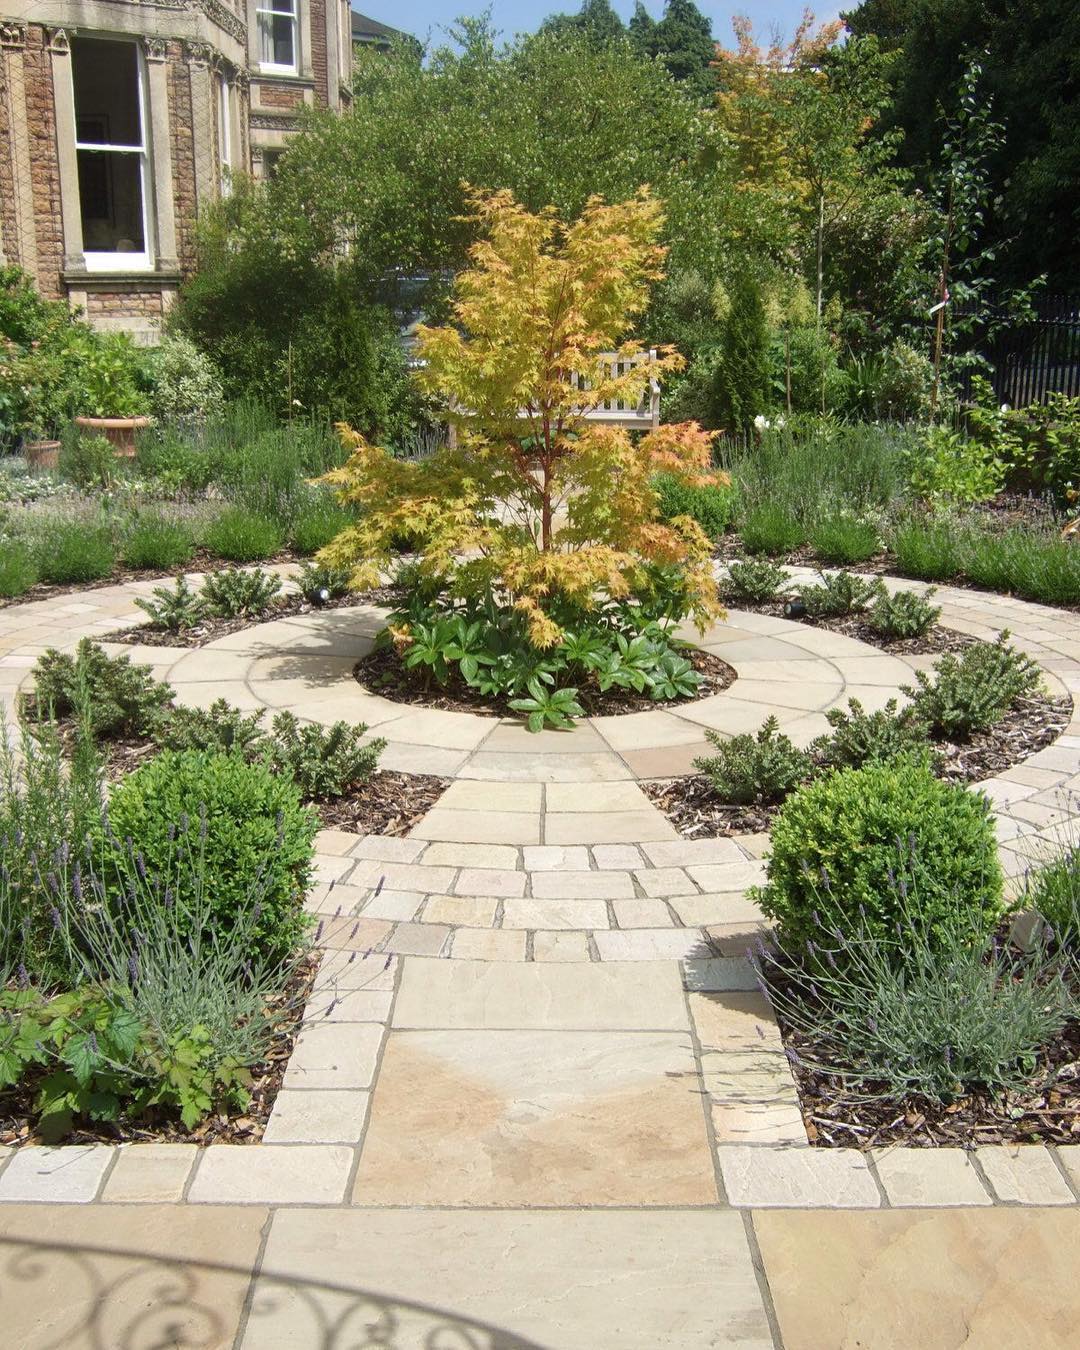
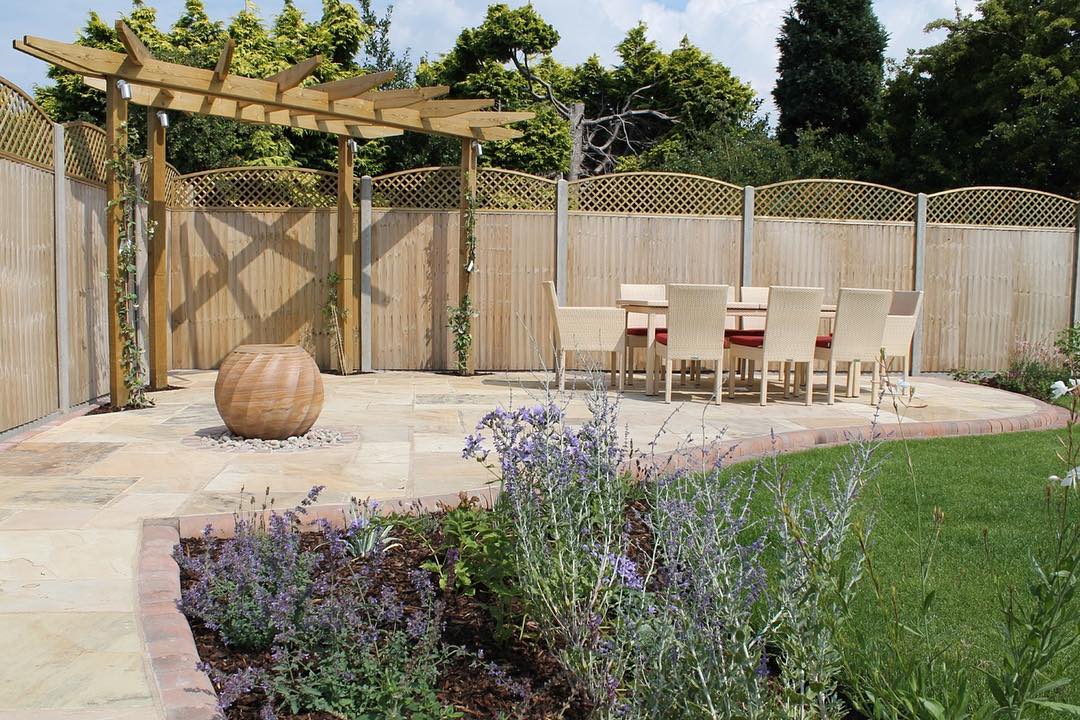
How To Pave A Garden On A Budget
There are many aesthetic benefits of paving your garden, but what if the renovation is too costly for you right now? Truth be told, going the DIY route isn’t the worst idea if you know the basics. Here’s a relatively simple way to pave your garden.
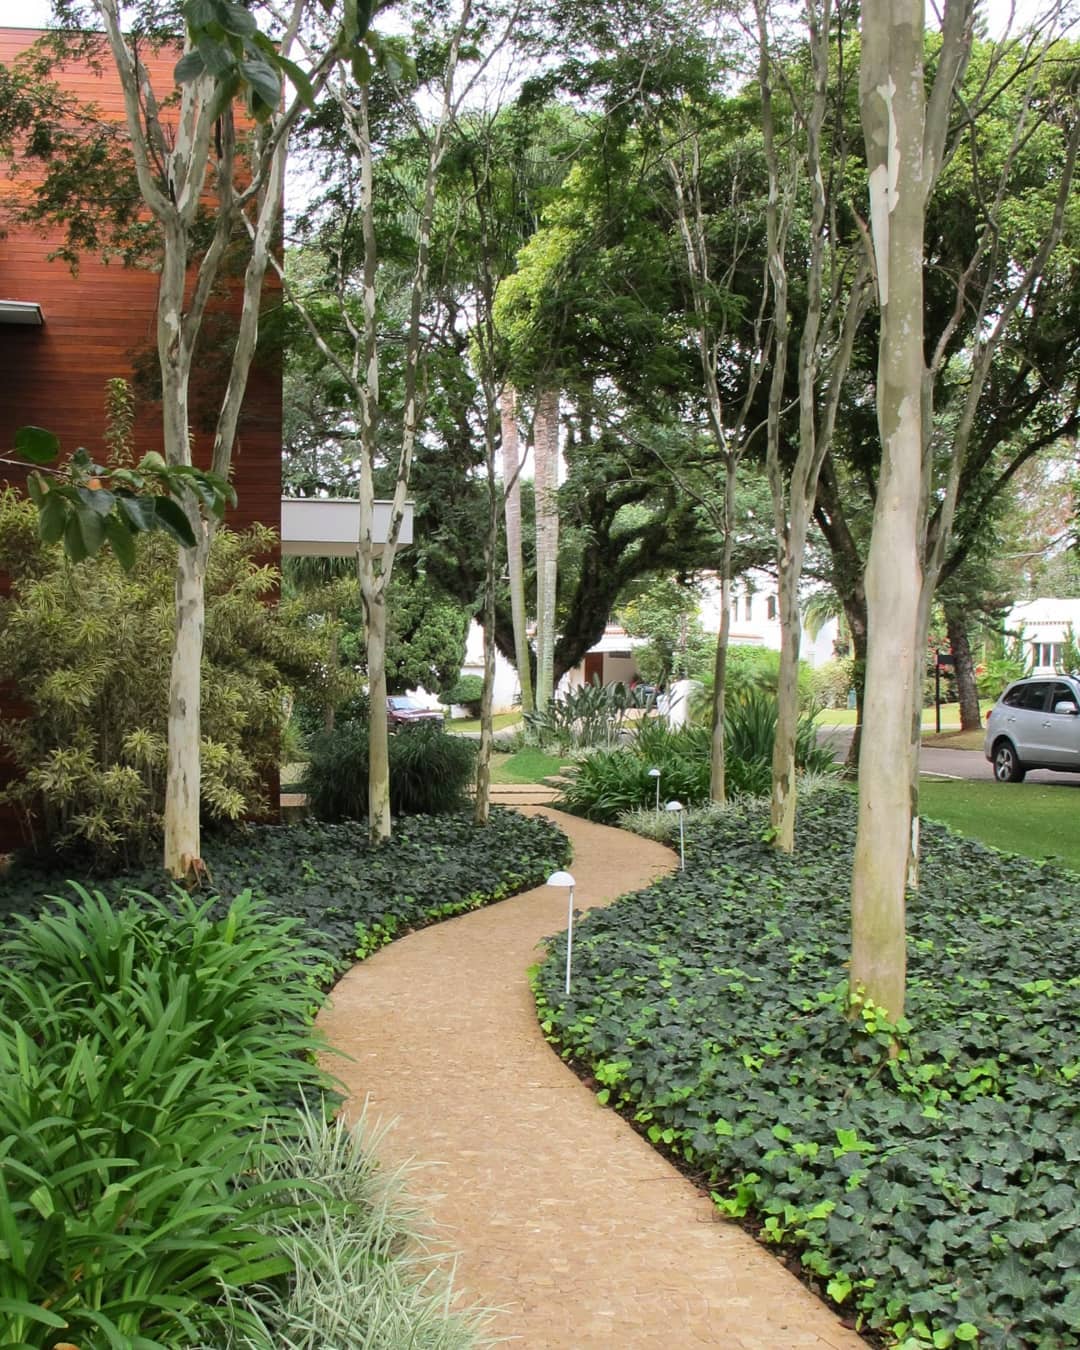
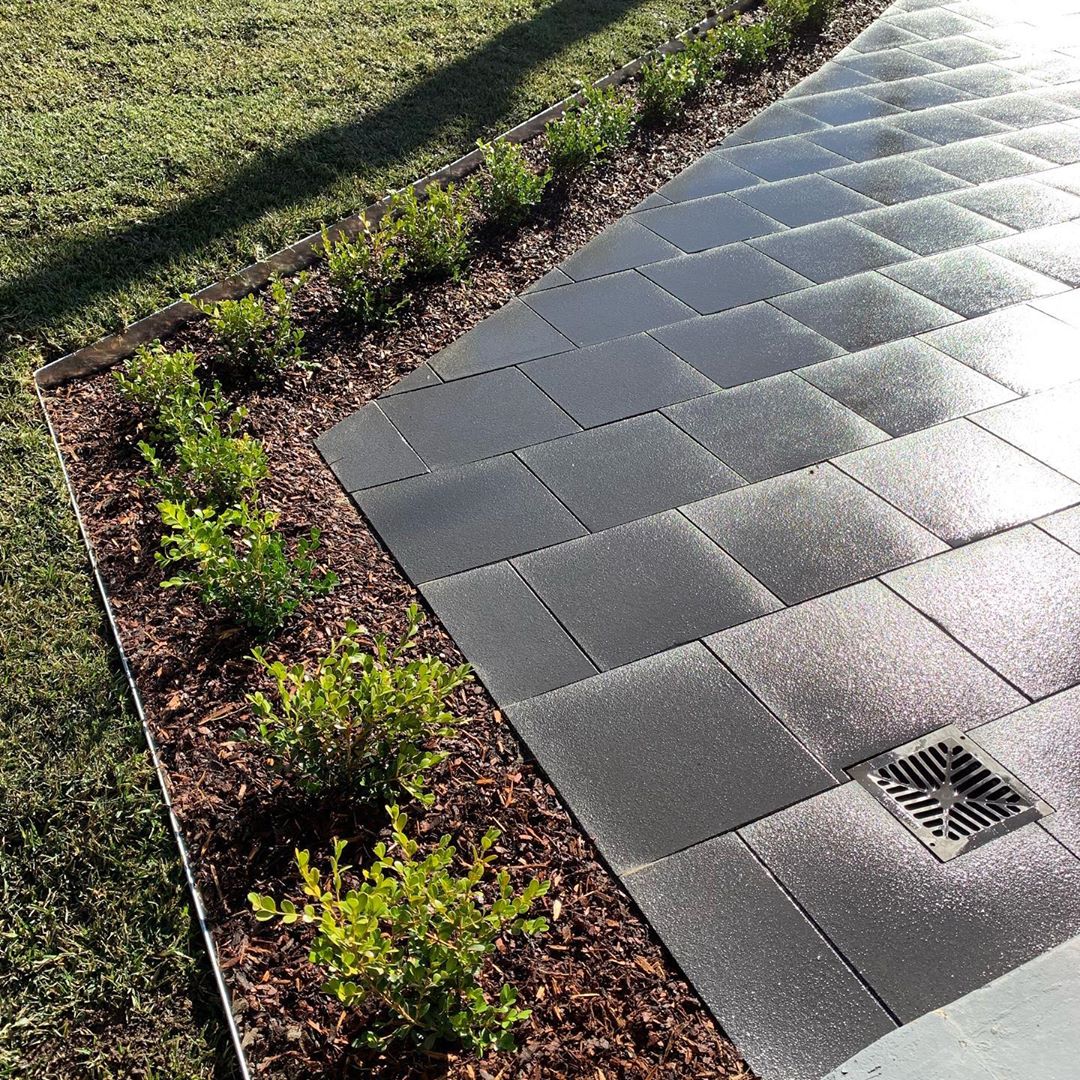
Create a Pathway/Pattern
To begin, create the outline for the pathway or pattern, this starts by laying down a solid foundation. Lay down around 50mm of crushed rocks on your desired pathway. You can create a border using tape or by laying down wood. This will prevent the brick paving from moving.
Mix Sand and Cement
There’s no easy or mess-free way to get this done – mix in the sand and cement. You’ll have to bring out your dust masks and gloves for this. To create the mixture, pour in three bags of paving sand on the foundation you’ve just laid out. Now mix in a handful of cement. Remember to wear gloves!
Create a Straight Edge
Making a straight edge is necessary to ensure the cement and sand mix is levelled. Make a straight edge by cutting a piece of timber. The timber needs to be the same width as the pathway. If you want the sand and cement mix to be of a certain height, hold the timber at the same height and mark it down with a pencil. Now, hammer nails where you have marked your reference. Also, if you want to have a clean and aesthetic view of your garden pave, make sure that you use a lawn edger to cut the grass around it.
Screed the Mix
The next step is to screed the mix. Start from the beginning of the path. This is crucial to level the mixture. Repeat if the mixture isn’t flat.
You might want to visit this website for more helpful tips.
Lay Down the Pavers
Once the mixture has been levelled, it’s time to lay the pavers. Follow your desired pattern. Lay the pavers according to the width of your pattern. Check to see if they are leveled correctly. If it is low, remove the paver and add in some more sand and cement mix. If it is higher than you wanted, scrap out the extra sand.
Keep laying down more pavers until you have made your desired pathway or pattern.
Set Everything in Place
Once you have laid the pavers, it’s time to make sure everything’s set into place. You can do this by mixing a bag of sand and about a quarter bag of white cement. You can adjust the quantity according to your needs. Spread the mix over the pavers to target any cracks that may have been left behind. Use a broom to seep the mix into the cracks. Now, use a hose and gently spray it over the path. This will harden the mix on the cracks. Repeat the process to fill any holes in between.
Safety First!
As much as we want your garden to stand out, safety always comes first. Here are some safety measures you ought to take before you get started:
- Wear gloves and sturdy footwear. You may be sitting in your garden but gravel and stone can poke right into your flip flops. Wear the right shoes that will withstand the damage. We recommend you wear steel toe-capped boots if you are working with a wacker plates. Either way, play it safe!
- Use a dusk mask to protect yourself against dangerous materials that could result in air-borne illnesses. Safety goggles are also a must when working on construction.
- Keep in mind that cement may cause irritation or even burns. Wear gloves and cover the skin. Don’t rub your eyes or make contact with others.
- When working with heavy materials alone, consider calling someone for help. You can ask your neighbor or call in a professional altogether.
- Keep children and pets away from the sight. You’ll be working with dangerous tools and equipment that are not suitable for young children and animals.
So there you have it. Paving your garden isn’t so difficult, after all. But in case the job seems out of your territory, call in a professional. While this may be a little costly, it will save you the time and hassle.
For more tips about gardening, please check here.