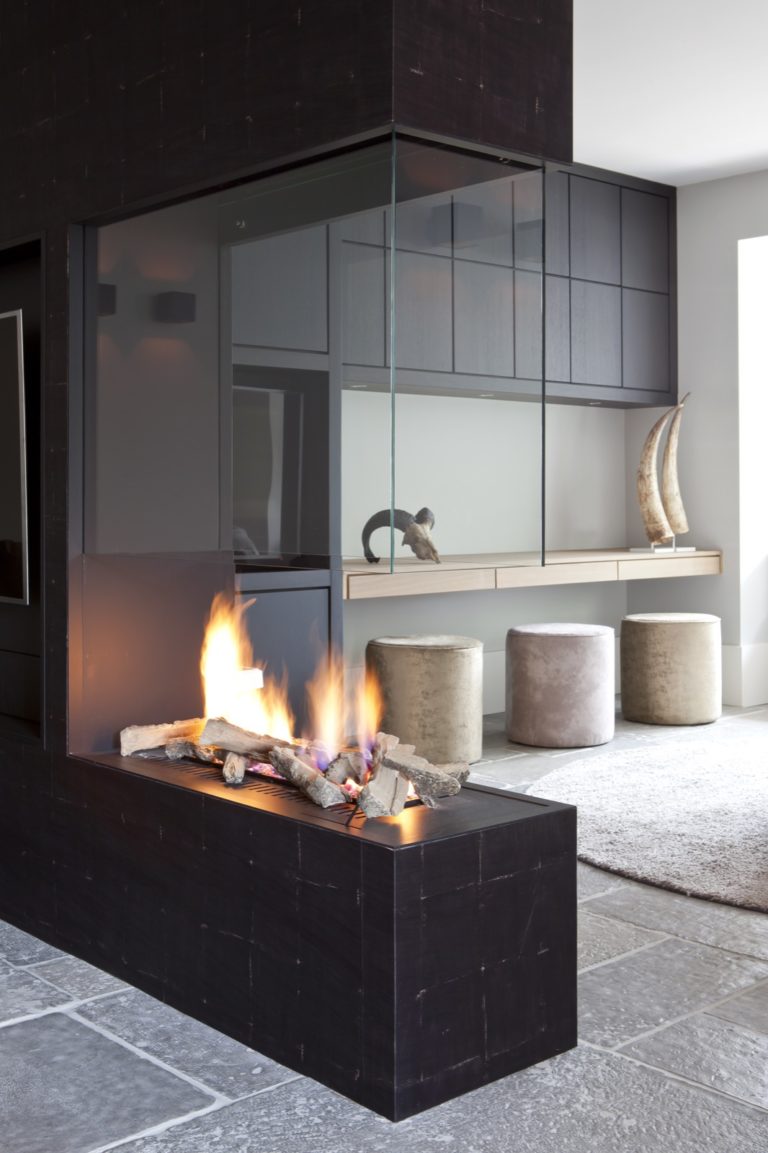
How To Install A Freestanding Fireplace: 5 Easy Steps
Freestanding fireplaces add a charismatic or rather a charming touch to any home and it’s no wonder many homeowners are opting for it. Freestanding fireplaces come in all sizes, shapes and models, but one thing remains common—the simplicity and installation procedures. With the necessary information and skills, installing this fireplace should be a one-weekend project. The steps below illustrate how you can correctly and safely install a freestanding fireplace.
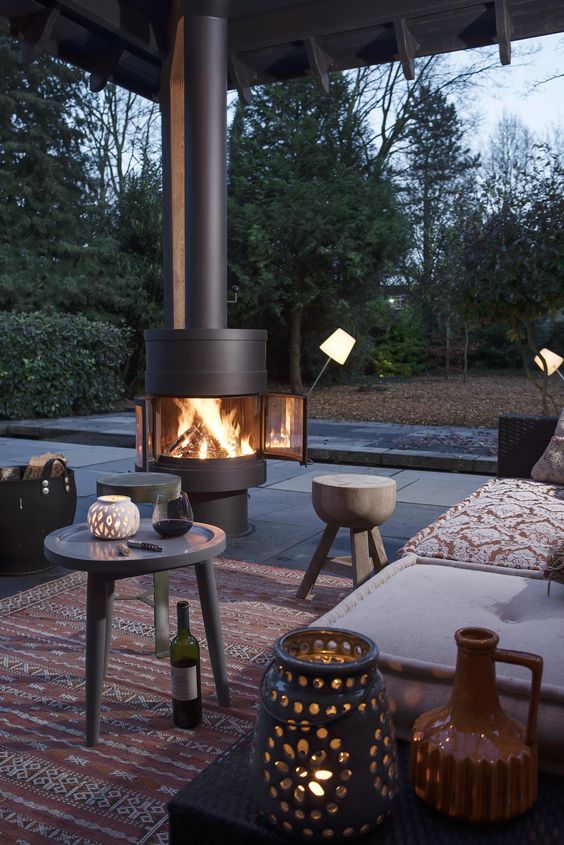
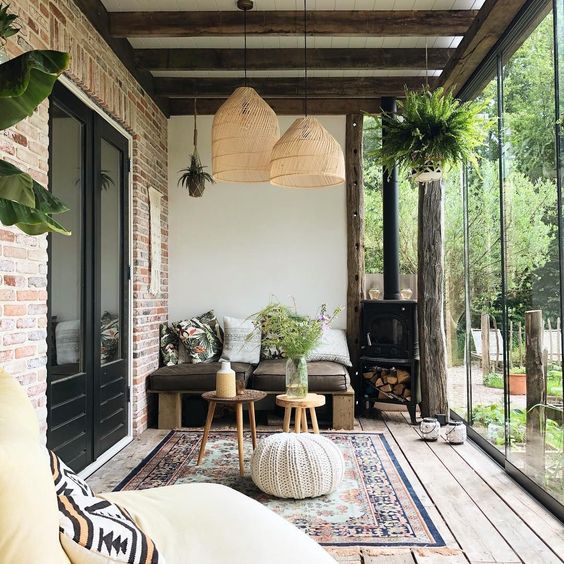
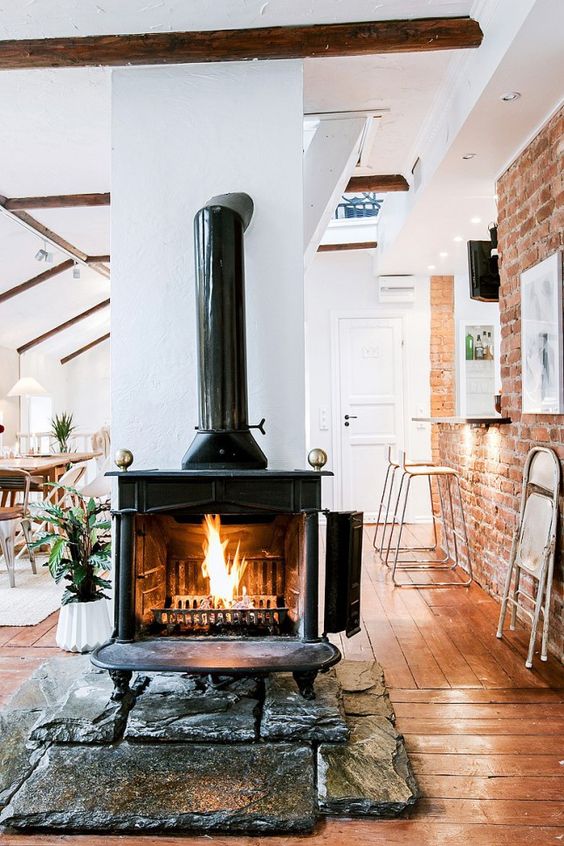
Choose Appropriate Location
It may seem obvious, but coming up with a strategic location to install your freestanding fireplace is usually overwhelming at times. Consider several factors before deciding the exact location. One, you’ll want the fireplace to complement the design and beauty of your room, but also the place needs to be close to the exhaust or electrical circuits that are already installed to minimize installation costs.
It is always advisable to install a freestanding fireplace, whether gas or ethanol on an outside wall. This will make designing the vent pipe very easy as you will only require studs to support the venting pipe on the outer wall.
Order The Fireplace
Here you have many options. You can order one online or visit a reputable store to see all designs, sizes and models in person. The latter enables you to take measurements of the stoves and compare them with your house and the chosen place to see if they fit perfectly. Feel free to ask a sales representative to help you order every part that you will need. For example, the exhaust pipe needs the outside pieces, the pipe between the wall and the fireplace and the chimney cap.
According to https://modernethanolfireplaces.com/, you are supposed to request the manufacturer’s manual to see if all the components are there regardless of whether you are buying in person or through an online platform. Additionally, any reputable company should take back and compensate their client in case their product fails to live up to the promised performances.
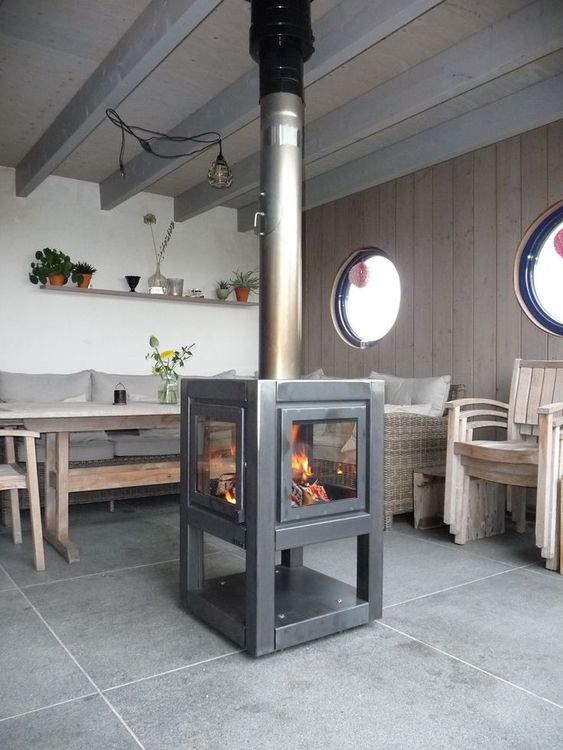
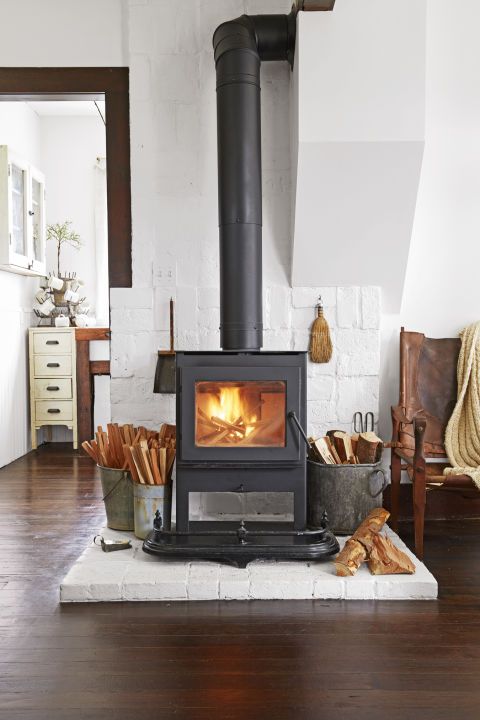
Start Building And Assembling The Piping
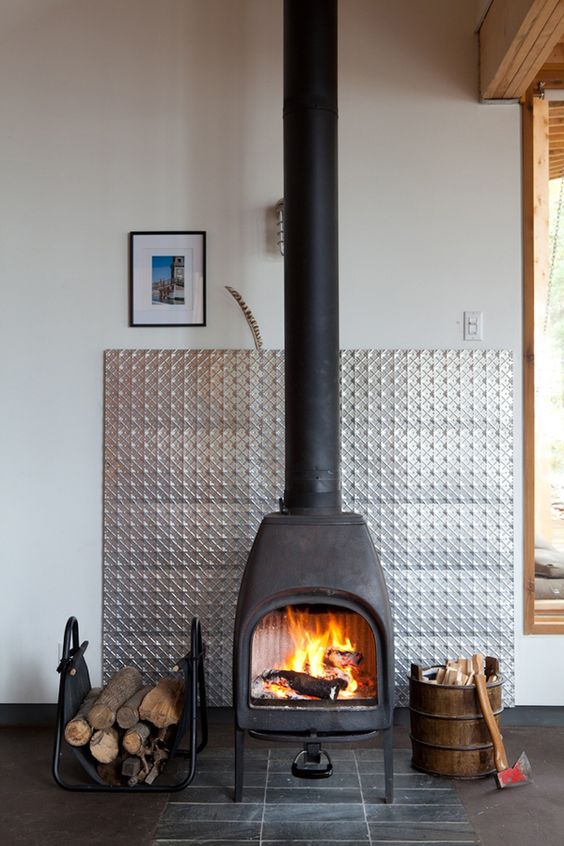
Once you have the stove home, it’s time to start building. It is not safe to place the fireplace directly on the floor. Build a platform first using masonry or tiles as you don’t want the platform to catch fire. You have an option to buy a pre-made platform from the manufacturer too. Be sure to clear the surrounding of any combustible material, which will always be stated in the manufacturer’s manual.
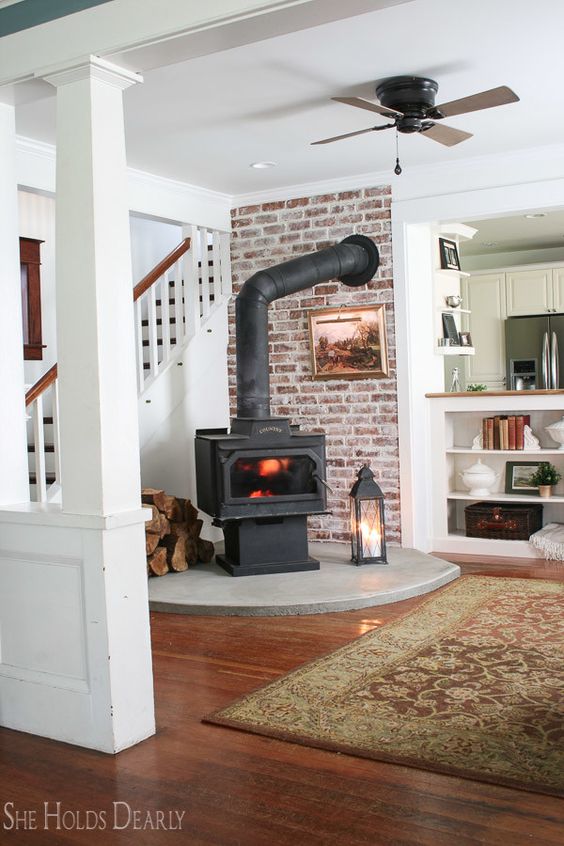
Cut The Ventilation Hole
To be honest, this is the most demanding step. Take the venting pipe and fix it at the back or top of the stove depending on your model. Connect as many pieces as possible of the exhaust pipe as doing so will help you precisely determine where the hole will go through on the wall. Once you have the place, take a pencil or marker pen and trace the perimeter of the pipe on the wall.
Make sure to check there are no electrical connections in the spot where you are making the hole as this can be very dangerous. Use a drywall saw to make a square-hole that traces your markings. Use lumber to furnish and frame the inner walls and edges of the hole. Be sure to check the manufacturer’s manual for the size and material that should be used to perfectly insulate the wall.
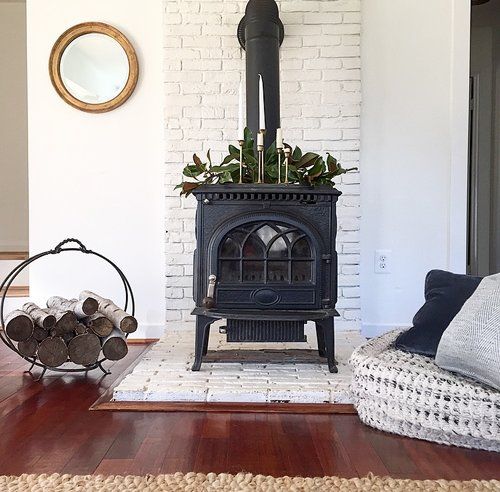
Time To Hook Up The Fireplace
Position your stove perfectly on the stand. Depending on your model, have the exhaust pipe connected either at the top or rear of the stove. Use screws to fix the stove on the already built platform. Once this is done, unlock the tank by pressing the open button. Use a funnel to fill the tank. A beep sound will warn that you are about to overflow the tank. Place the cap on the opening and lock the hatch. Press the remote control and enjoy your day’s work!
It is no secret installing a freestanding fireplace calls for patience and hard work. But with the above steps, you will be able to DIY. Be sure not to mess with the measurements as they are the ones that are going to determine the success of your day’s hard work and investment.