How to Choose & Install Hardwood Floors: A Complete Guide
Get the right hardwood flooring and it won’t just look fantastic, you’ll also have a floor that will give you years of life. Perhaps, most importantly, you’ll have a floor that is warm, insulating, and practical in every room of the house.
Choosing The Right Floor
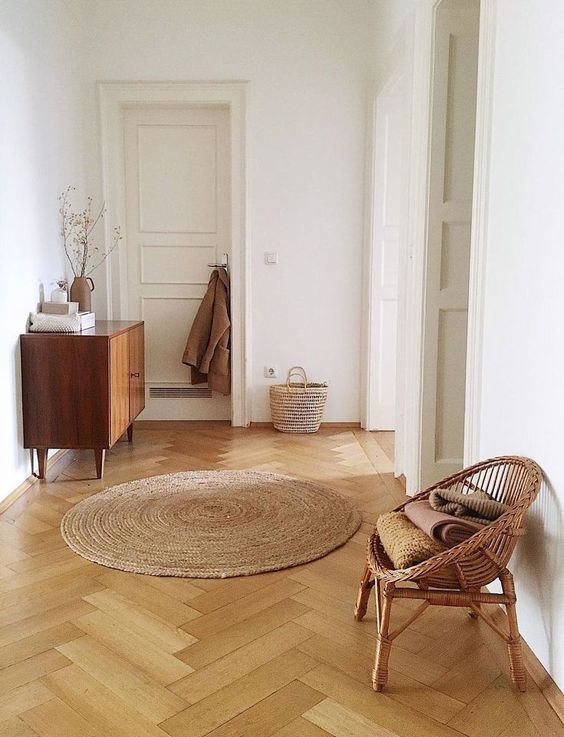
There are hundreds of design options available when you come to choose your new hardwood floor, whether you want herringbone flooring or laminated, there is a pattern and style to fit every budget.

Traditional hardwood flooring is simply planks of timber, this is still an option today but you may prefer the engineered flooring options. These have thin hardwood tops which are bonded to the other layers of the floor, creating a flexible yet strong flooring option.
An engineered floor is less likely to move as it expands and contracts. However, you should be aware that the lower quality engineered flooring options will have a top layer so thin that it cannot be sanded to remove blemishes and stains. Higher quality engineered floors can and will last for longer looking like new.
It is worth noting that traditional solid wood flooring will raise the height of the floor, especially if you’re installing in a basement where it will need to sit on a plywood base. The engineered floor can be put straight down or placed on top of the insulation.
Site Finish
Most people purchase pre-finished flooring, this means the look you see in the showroom is exactly what you’ll get at home. However, it is possible to purchase a site finish option. This allows for customization although you may not get the exact color you decide unless you have professional help.
Installing Your Hardwood Floor
Your approach will depend on the type of wood flooring you’ve chosen. Traditionally hardwood floors are put down with nails or staples that secure it to a subfloor. In contrast, an engineered floor can be fastened into position at the edges or simply left as a floating floor; allowing for expansion and contraction throughout the year.
It’s worth noting that engineered floors are relatively easy for an experienced DIYer, but, hardwood floors really need the assistance of a professional.
Acclimatize
A hardwood floor needs to be at the same temperature and humidity as the room it’s about to be installed in. In practice, this means putting the opened packages into the room where they are going to be used. You should leave the packets in there for several days before starting the install.
You need to lift the boards off the ground to allow moisture acclimatization.
Prepare Your Space
You need to clear the room and look at the existing flooring. Engineered wood can be put over ceramic tiles, marble, vinyl tiles, or even existing hardwood floors. You just need to verify the underfloor is well attached;
You’ll now be able to lay out your insulation/underlay. This should roll across the room and any joints should be taped.
Installing The Floor
You’ll need to use spacers to ensure the flooring isn’t touching the walls, it needs room to expand. To install you’ll simply need to follow the manufacturer’s instructions, they usually work on a clip system which is surprisingly easy to do.


