DIY: Fold Up Wall-Mounted Bar Table
Short on space but big on style? A Wall-Mounted foldable bar table can be the new addition to your garden or terrace for this summer. They can be very useful in a small kitchen saving space while providing a breakfast area on demand.
Bar tables encourage casual conversations and social life. Those seating remain very close to eye level to others standing in a very natural way.
So if you ever think about this, but struggle to find one that could fit your needs in terms of style or size, we are here for you with this DIY project that can be completed in a couple of hours.
What do I need?
The materials we need for this project are easily found in any local shop. We are looking for the following:
- A wood plank of the desired size of the bar table. We are using 120 cm (47″) long by 40 cm (16″) wide, 3 cm (1,20″) thick.
- A wood bar that matches the desired wide and it’s at least 4 cm (1,6″) thick. In our case, a 40×8×4 cm (16×3,2×1,6″) wood bar.
- A wood bar or 105 cm (41″) long, square or round shaped, with 10 cm (4″) diameter.
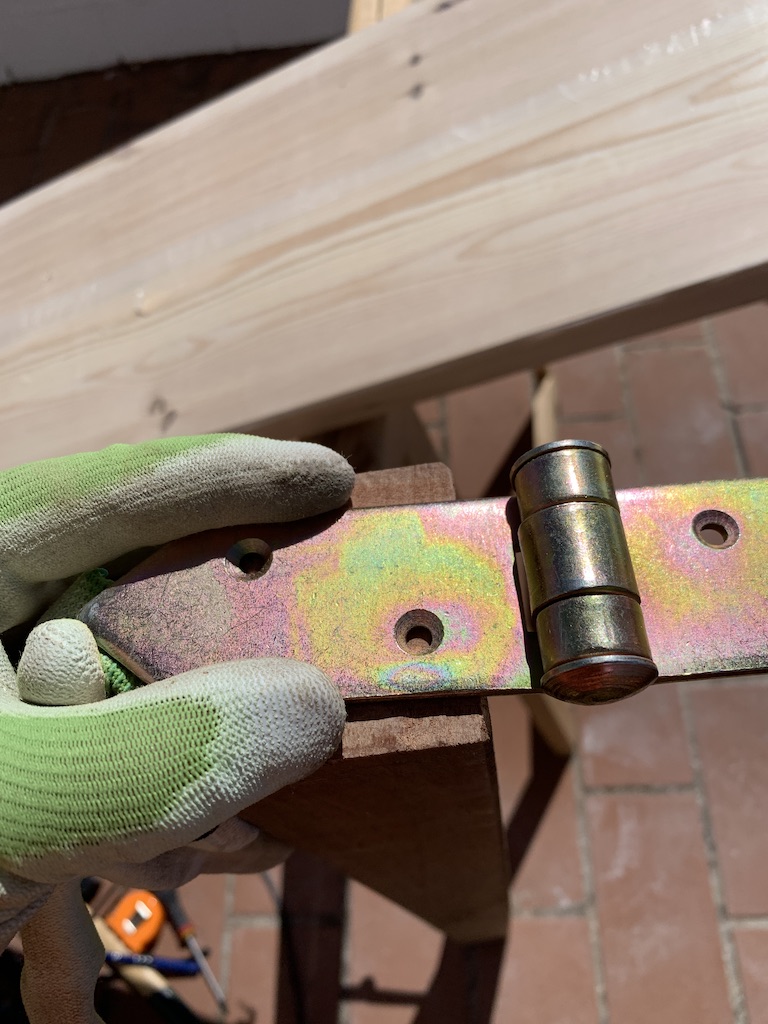
- 2 big, strong metal T-hinges.
- 1 medium-sized metal hinge.
- 2 large screws, at least 10 cm (4″) long, with 2 matching anchors.
- 2 medium screws, at least 5 cm (2″) long, with 2 matching anchors.
- A pack of small wood screws of 2 cm (0,80″) long. (At least 16pcs).
- 1 Open hanger screw with his matching anchor.
- 1 Closed hanger screw with his matching anchor.
- A pack of metal split ring lock washers, 1 cm (0,4″) diameter.
- 1 metal split ring lock washer, 2 cm (0,8″) diameter.
- A driller, screwdriver and a pair of pliers.
Getting started : Drilling
Once we have decided where the foldable bar will be, we have to be sure that it will not hit anything when folded up. The desired height of a bar table is 110 cm, around 43 inches.
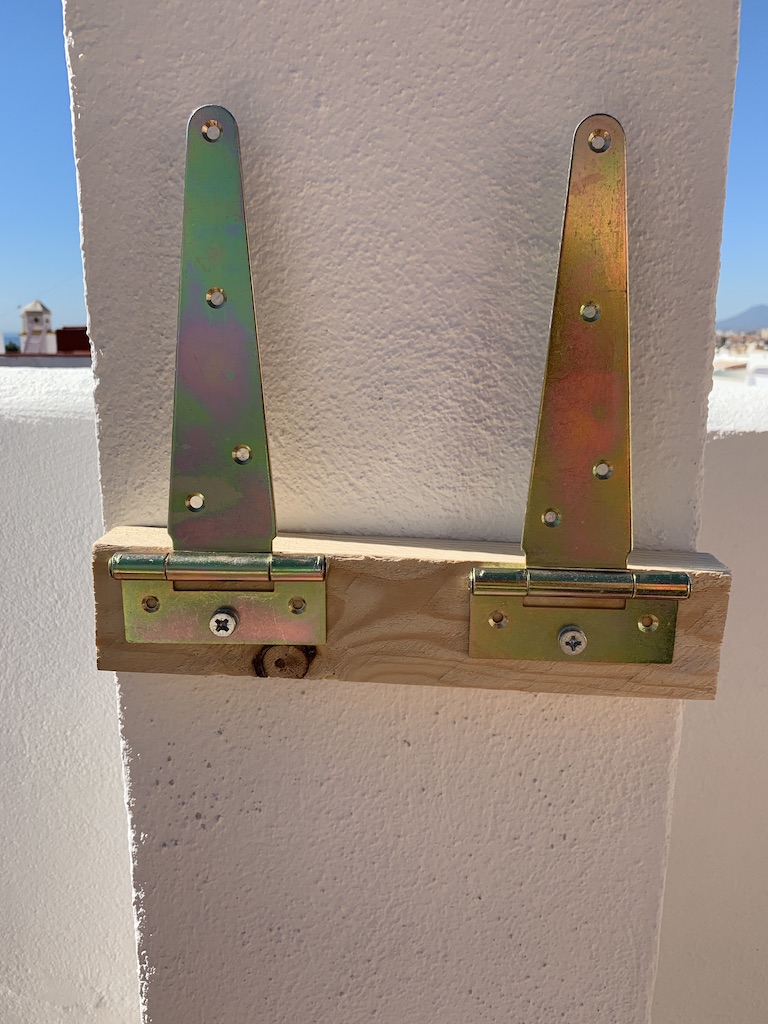
Using the wood bar and the 2 large screws, we will mark the drilling holes on the wall and proceed.
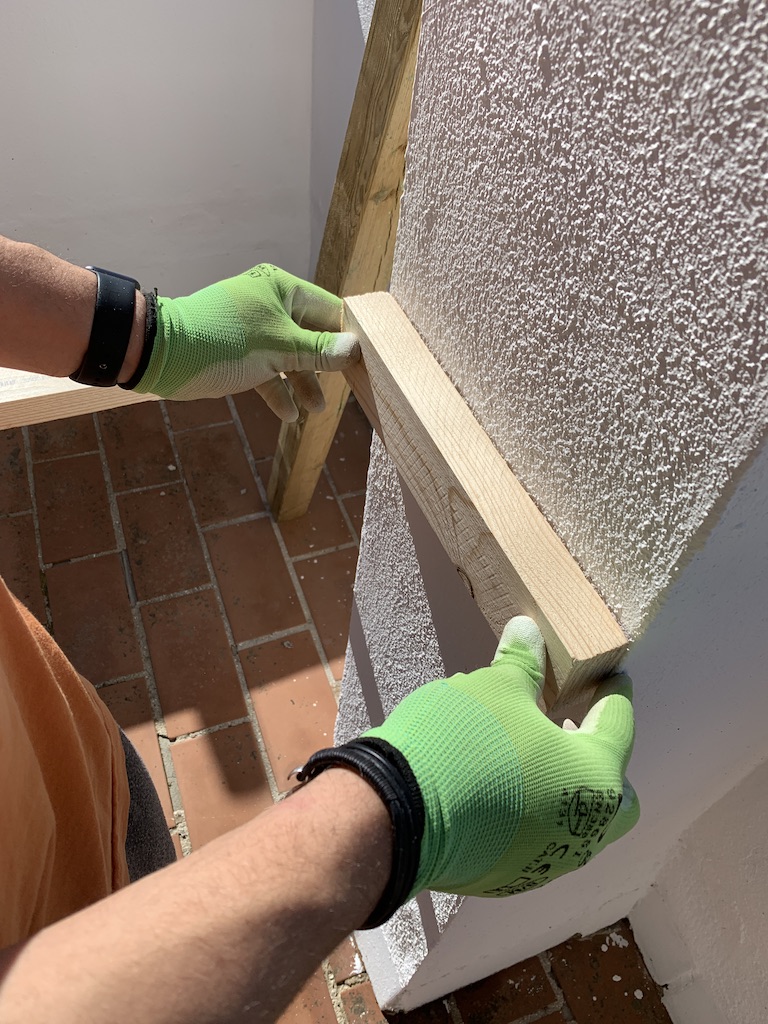
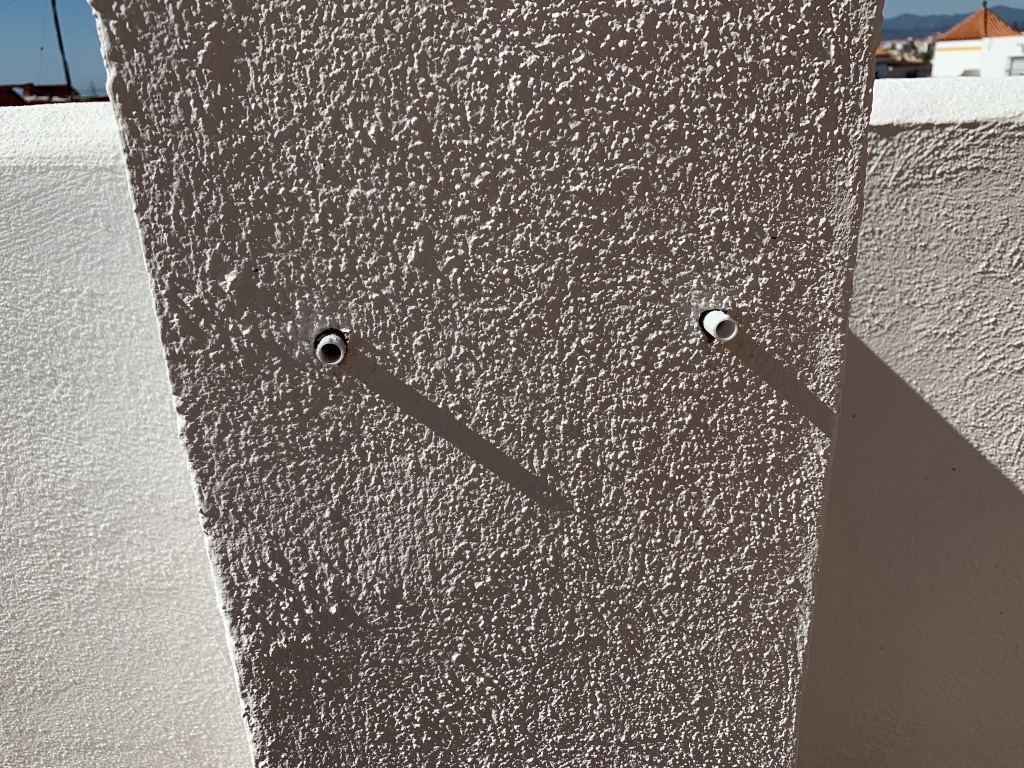
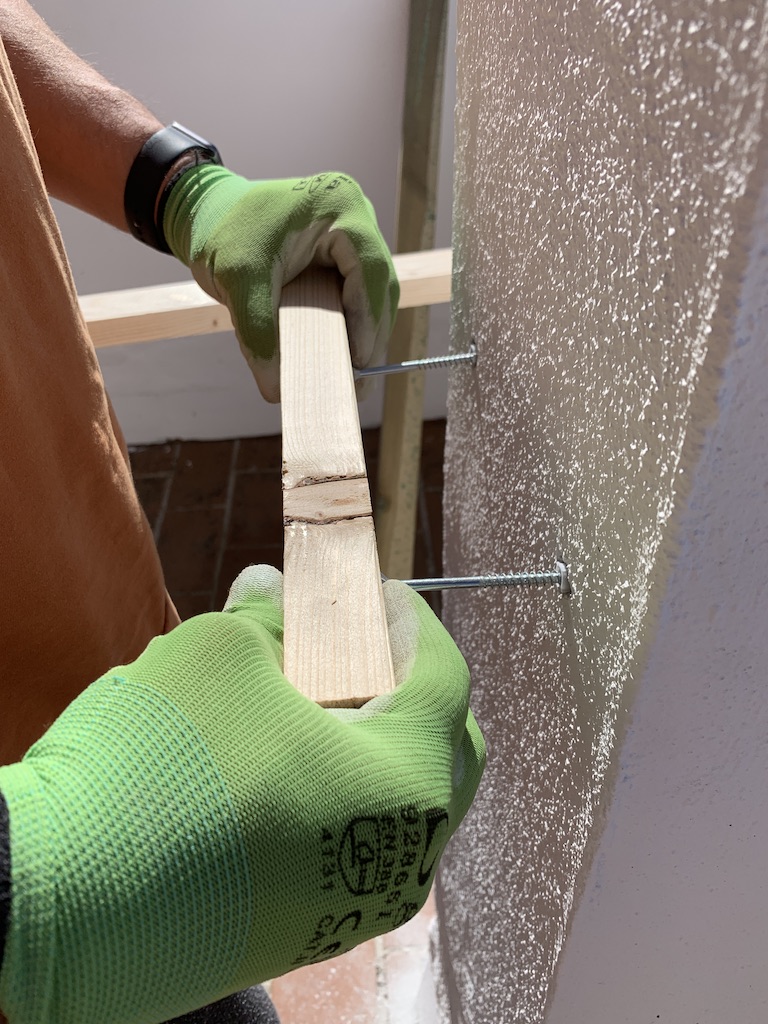
This two holes will be used to hold also the T-hinges. So be sure that the edge of the wood matches with the hinge fold as seen on this picture.

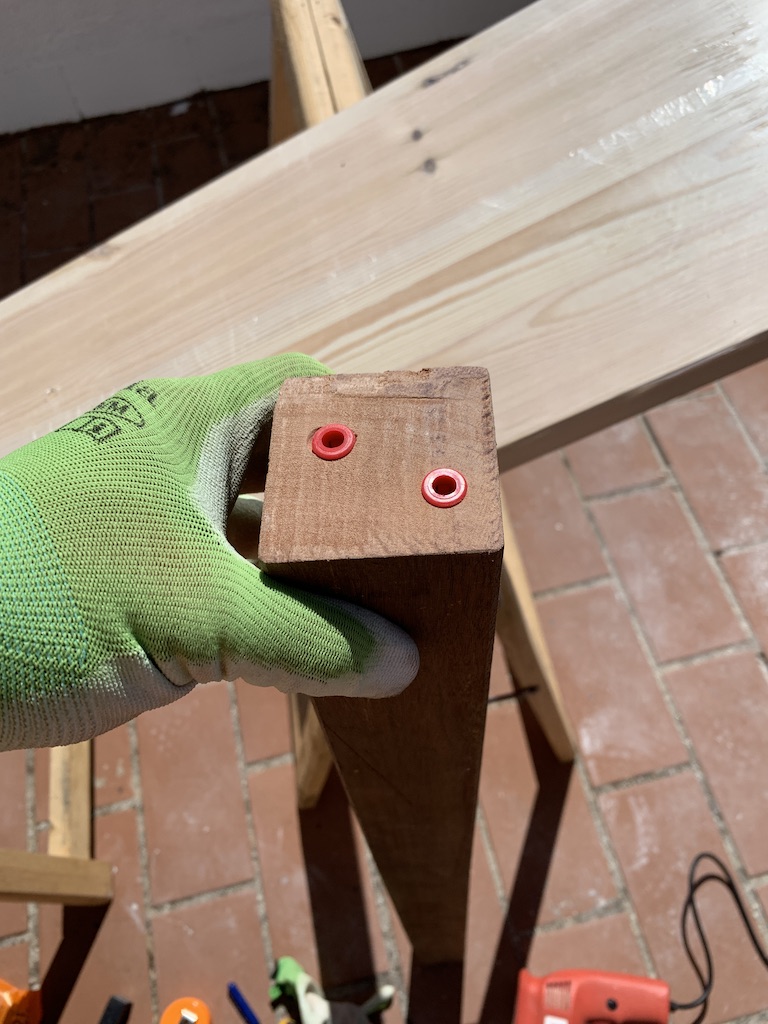
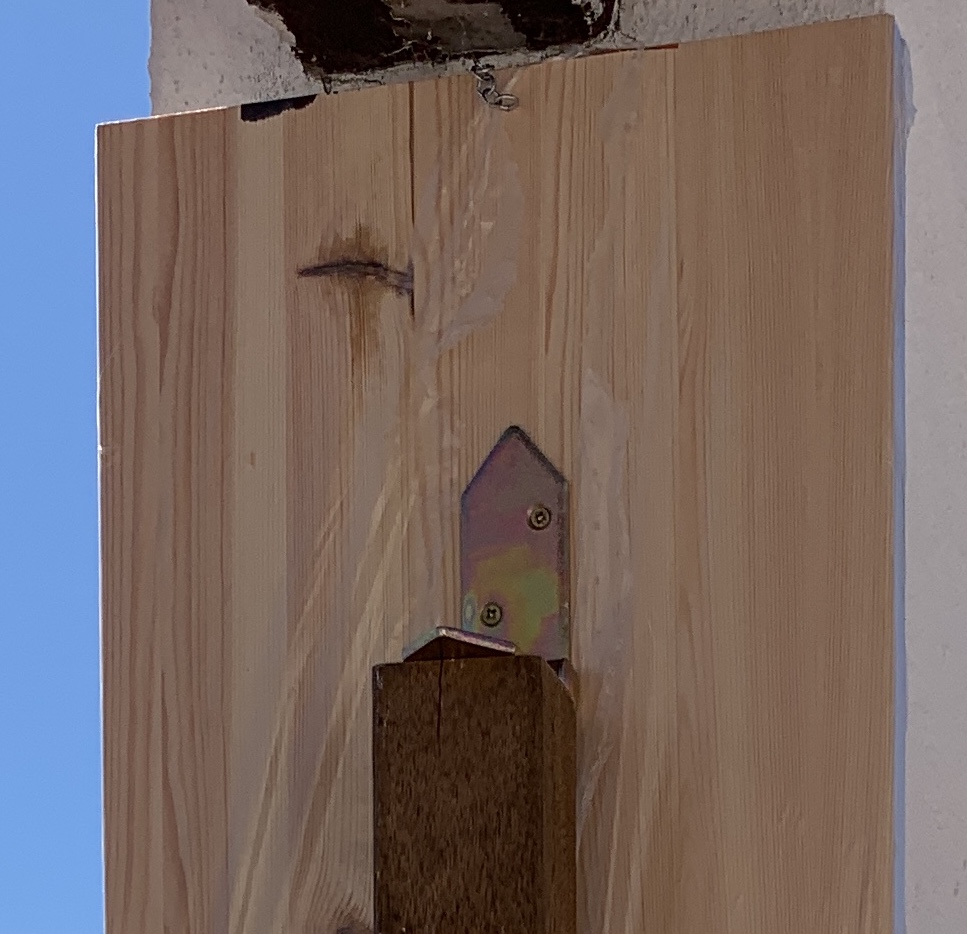
On the square (or round) wood bar, we will drill two holes to host the 2 medium screws of 5 cm (2″) long.
Assembly
We will attach both T-Hinges to the wood bar, using the long screws and then proceed to mount it to the wall.
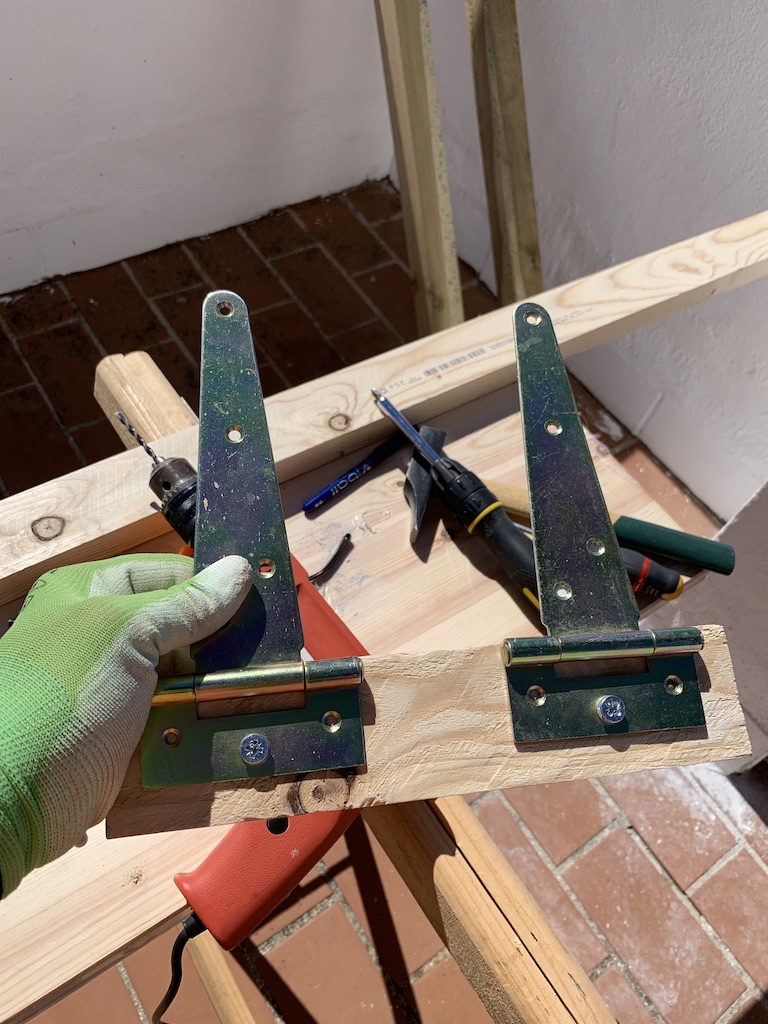
Using the small wood screws we will secure the T-hinges to the woodbar.

We continue by couple the square (or round) wood bar to the wood plank. The best location it’s in the middle, around 30 cm (12″) from the edge.
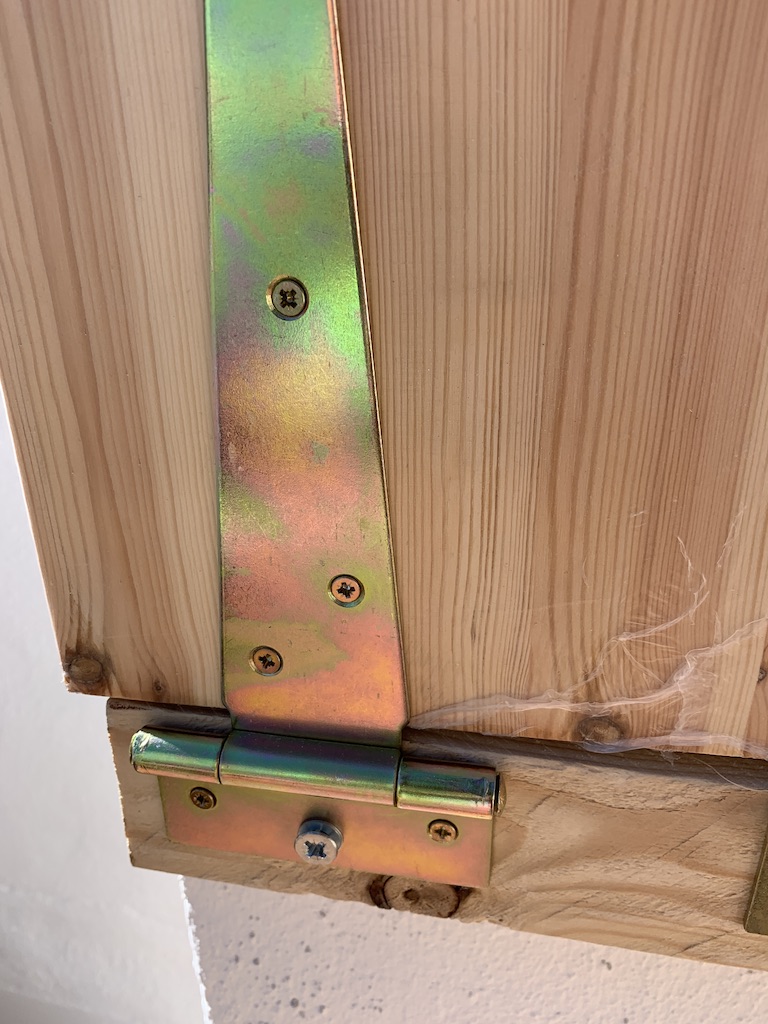
We continue by attaching the wood plank to the T-hinges using the small wood screws.
At this moment our bar it’s fully functional, but we still need a way to attach it to the wall so it doesn’t open by accident.
Security chain
Using the metal split ring lock washers and the hanger screws, we are going to create a security chain that will hold our bar up.

Using the pliers, we will open the split rings and make a chain.

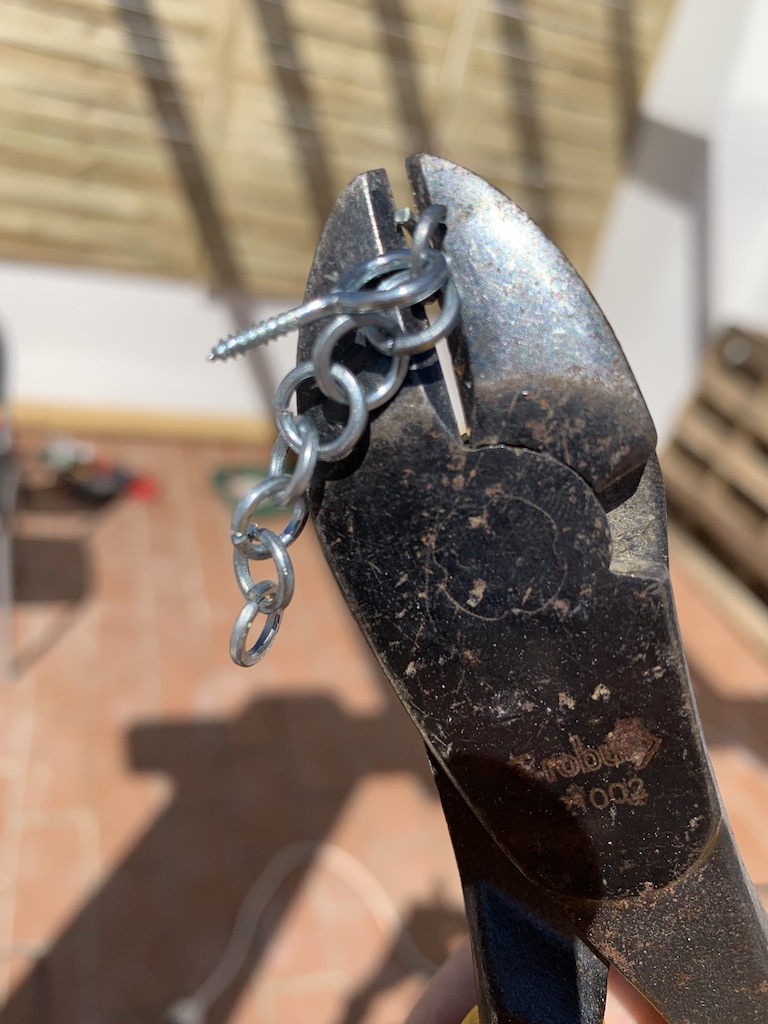
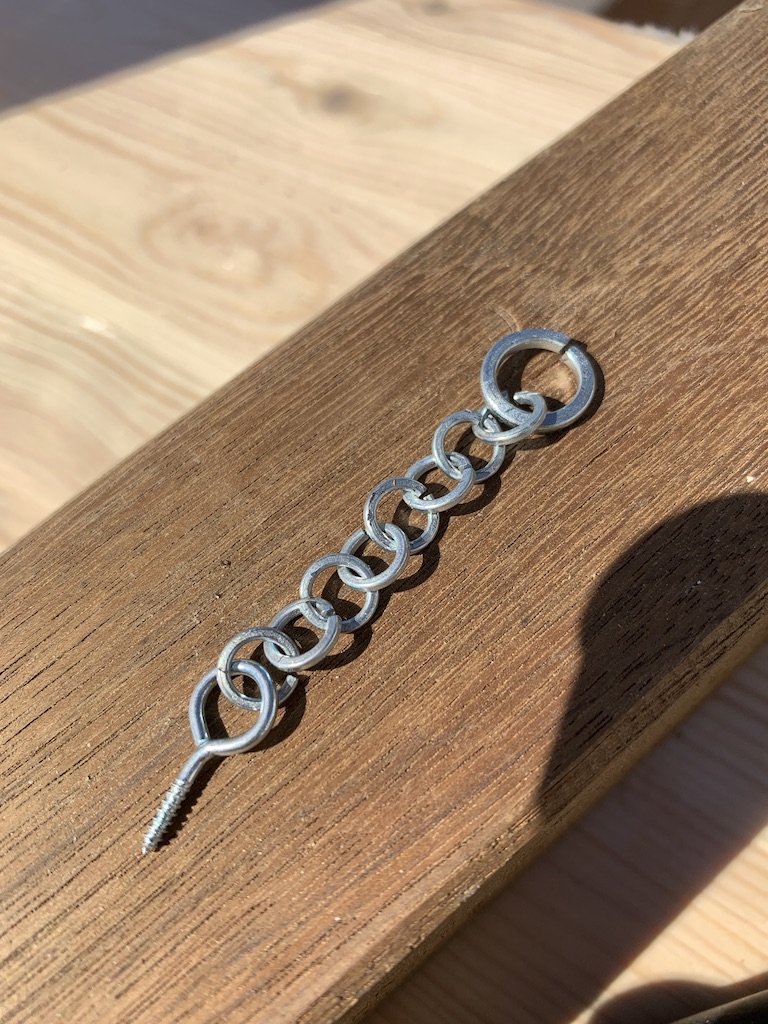
Be sure that the first chain link it’s the closed hanger screw, it’s the one that we will attach to the wood plank.
In the other side of the chain, use the big diameter split ring as the last link. Here is our finished chain:
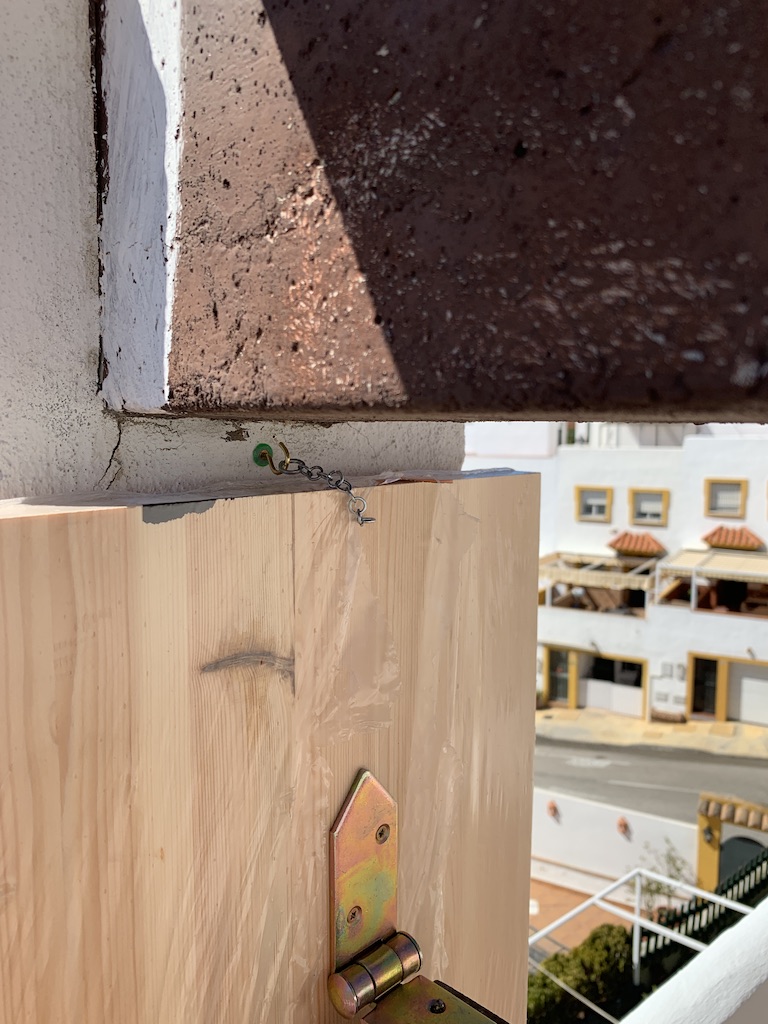
Attach this chain to the edge of the wood plank, on the same side that the leg it’s been fixed.
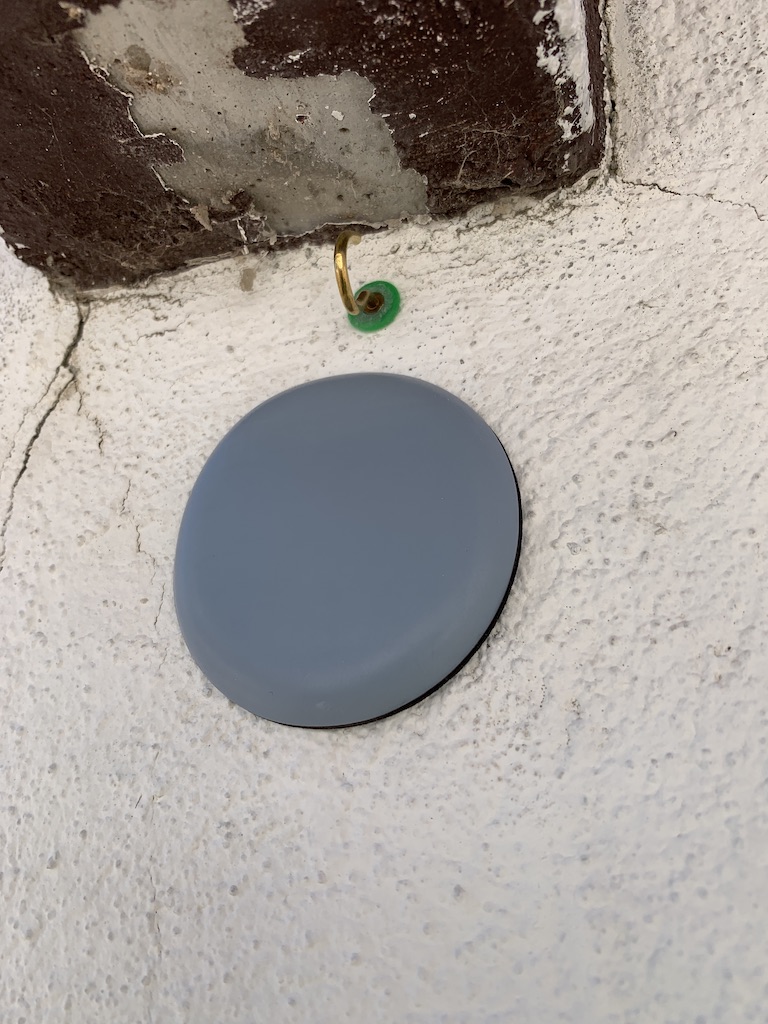
Last step, just drill a hole on the wall to attach the open hanger screw, in a distance that can be reached by the chain.
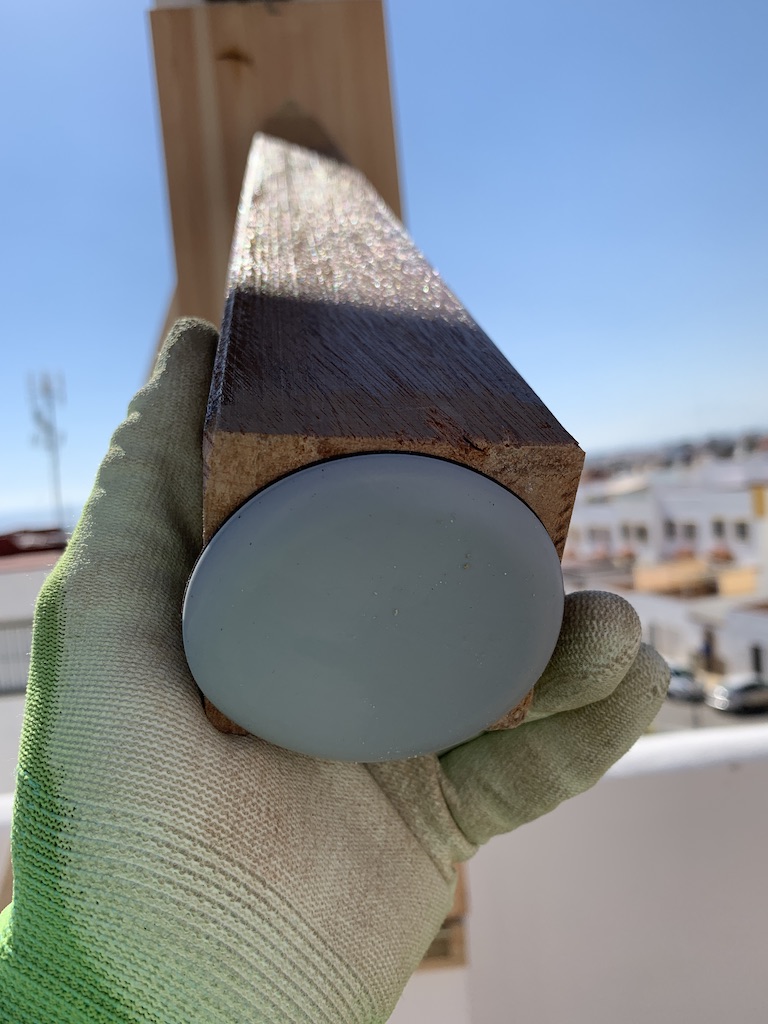
To prevent any damage on the wall, floor and the wood, we will use the rubber pads on the bottom of the wood leg, and on the wall just below he open hanger screw.
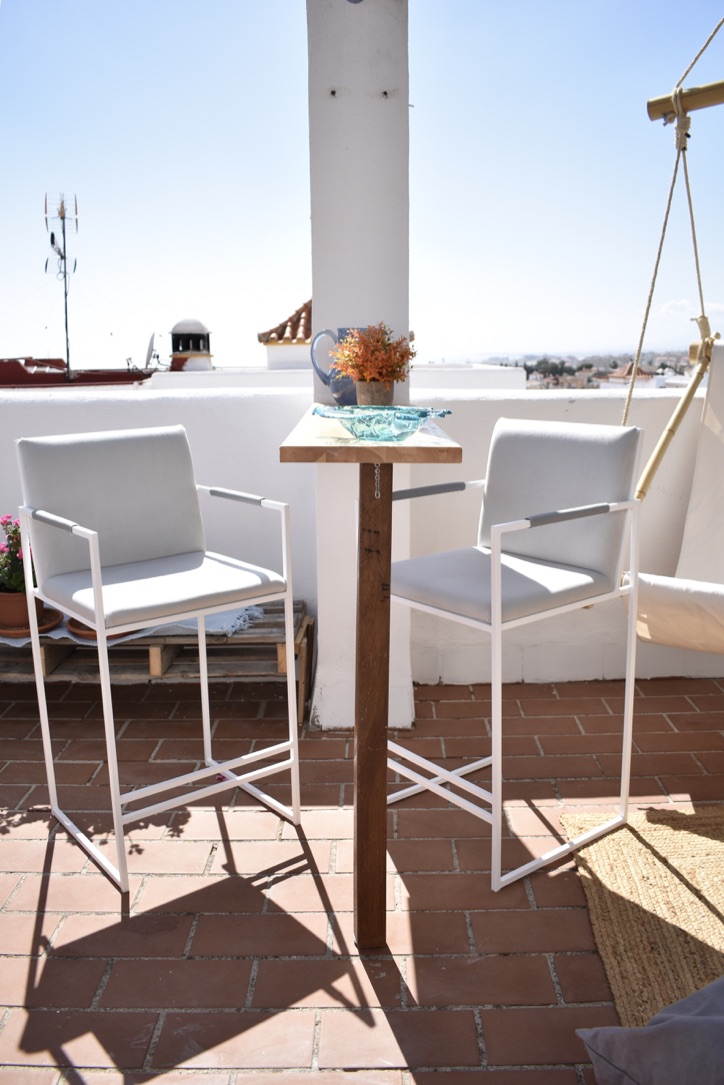
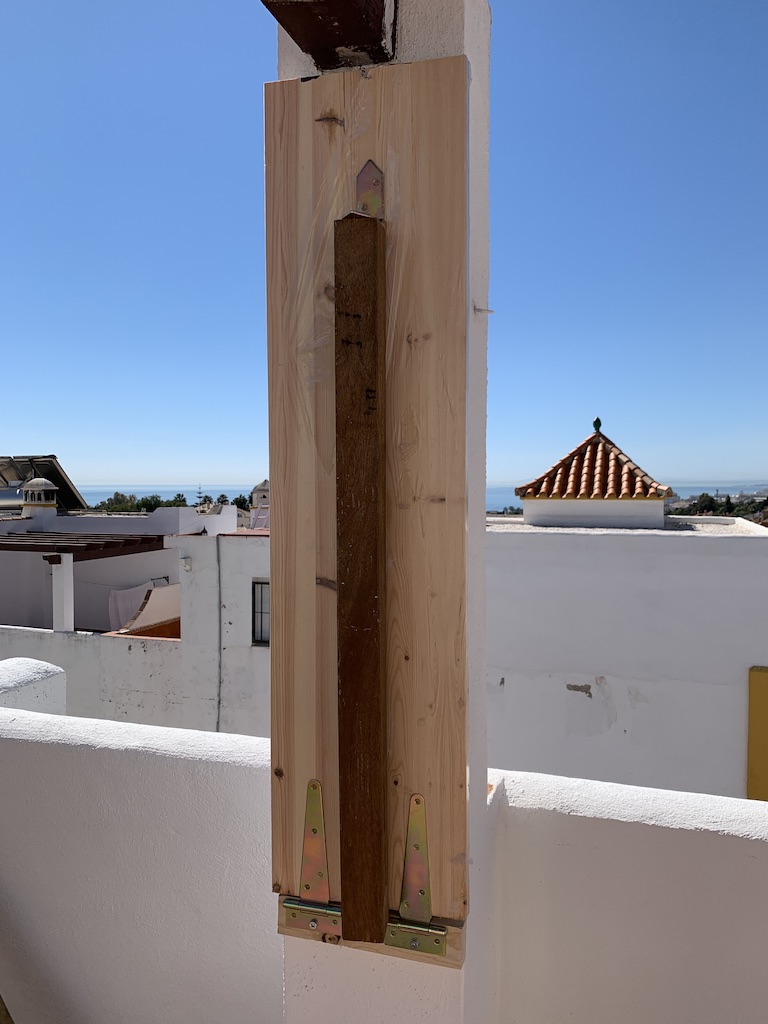
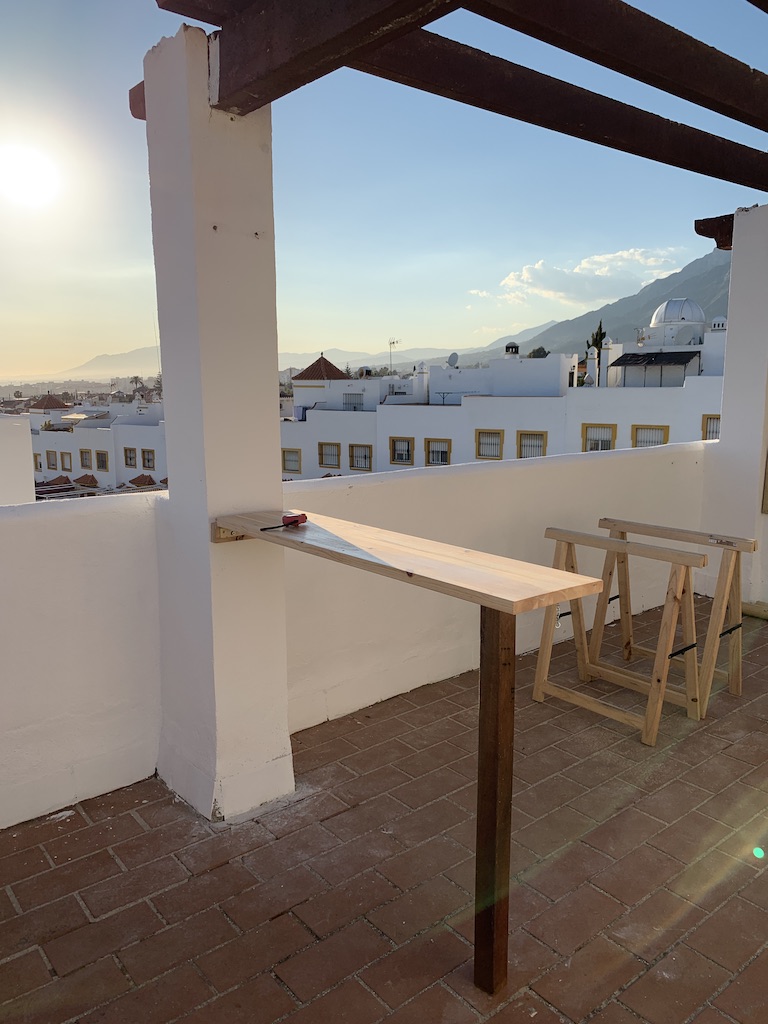
Final result
Depending on the placement of your bar, you may need to style the bar table. Remember to polish and varnish the wood if you are going to use it outdoor. If you are doing this project as a kitchen table, painting the whole table in a solid color may be the best option.
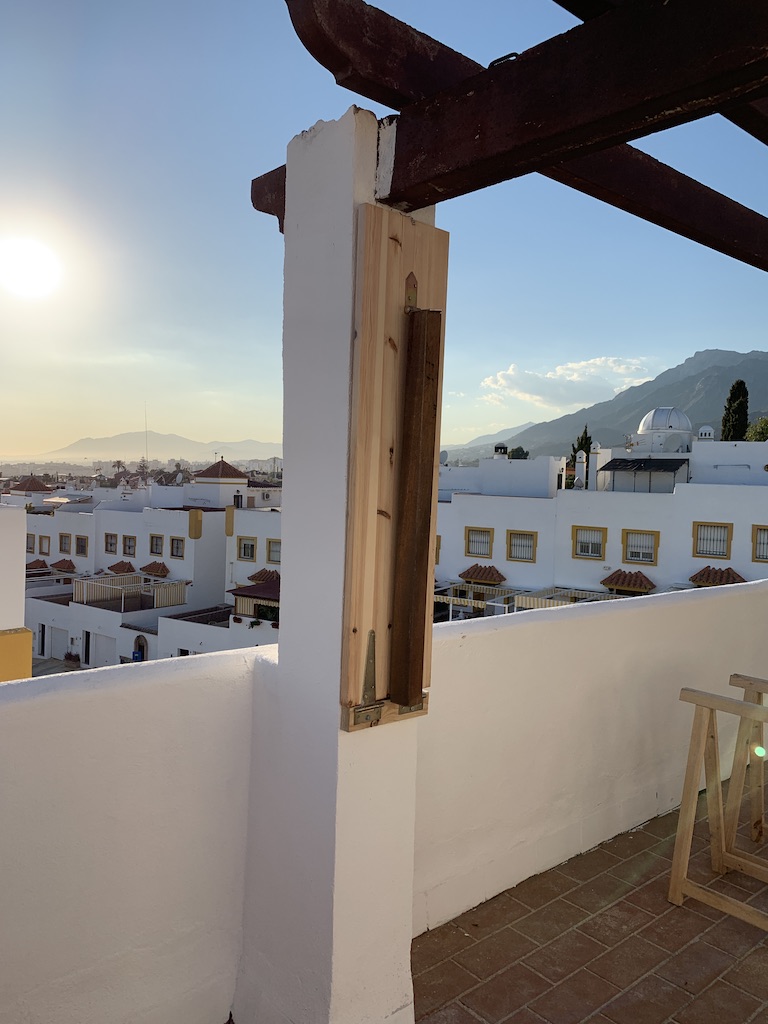
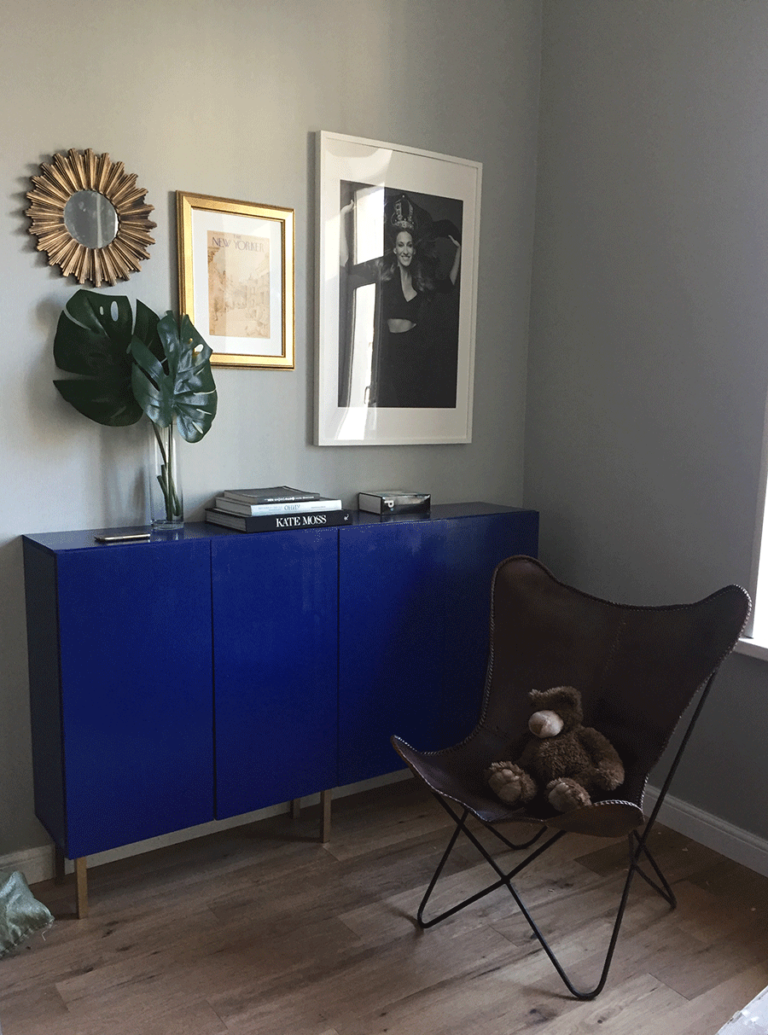
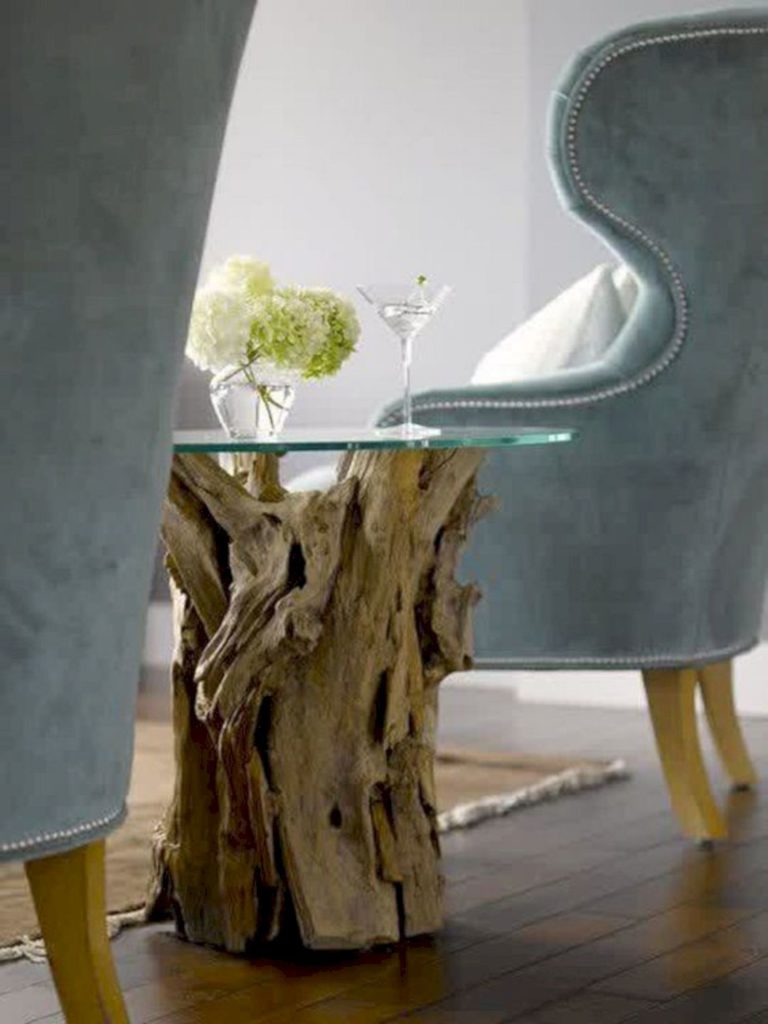
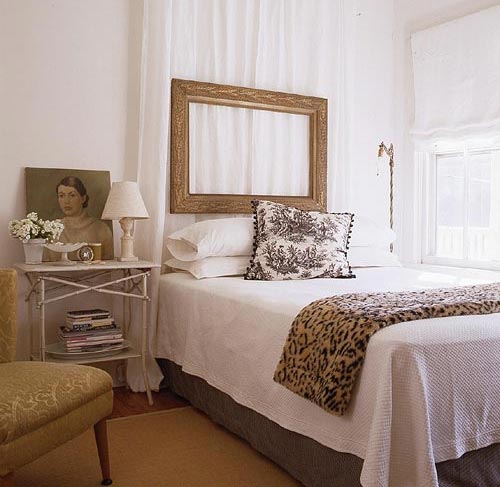
Now you only need to decorate your table and surroundings, but keep in mind that as an extra table, most of the time will be just folded up. Here are some ideas: