Furniture Upcycling: 6 Steps From Trash to Treasure
When it comes to decorating your home with beautiful furniture and accessories, it’s never usually a case of ‘money no object’. However, unless you go down the bespoke designer route, how are you going to find all those quirky one-of-a-kind pieces that really reflect your personality and make your home stand out from the rest?
If you’re looking to personalize your home with unique accessories you could make your own cushion covers, decorate your lampshades, or even make your own canvas print. You don’t have to be a carpenter to build your own furniture. However, if you don’t have the skills or machinery to build from scratch this can prove quite tricky.
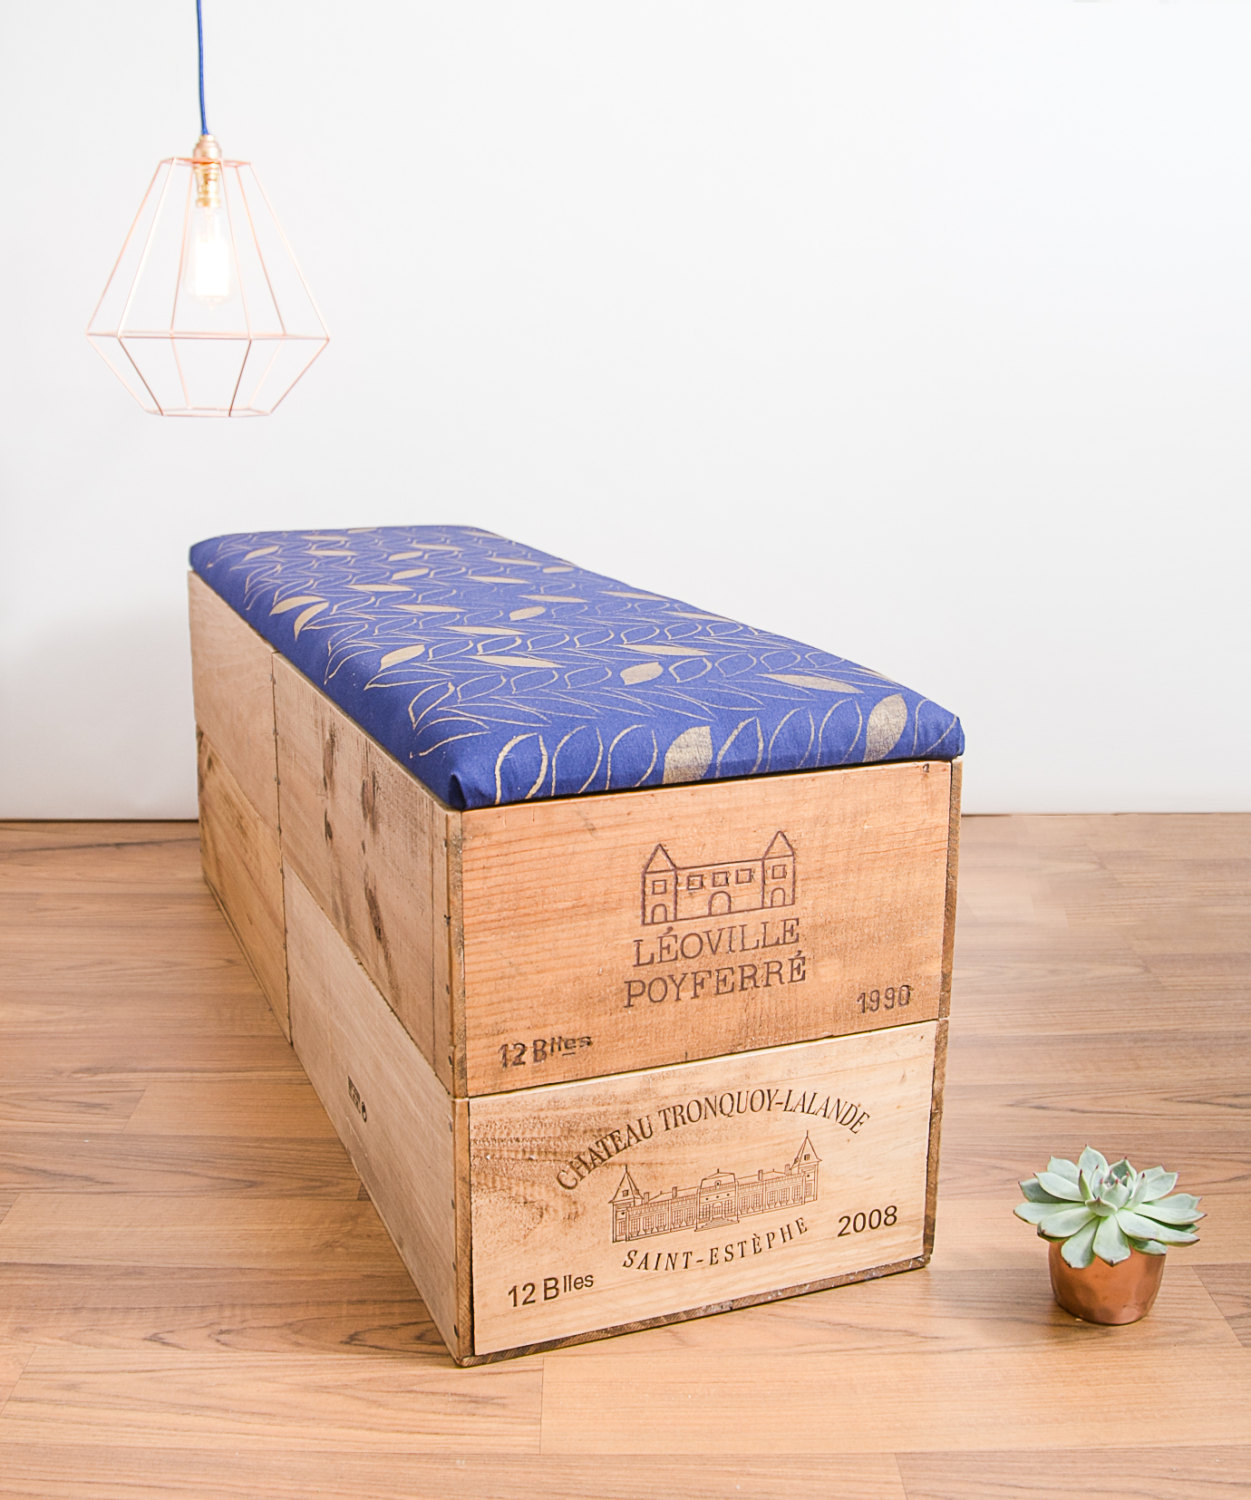
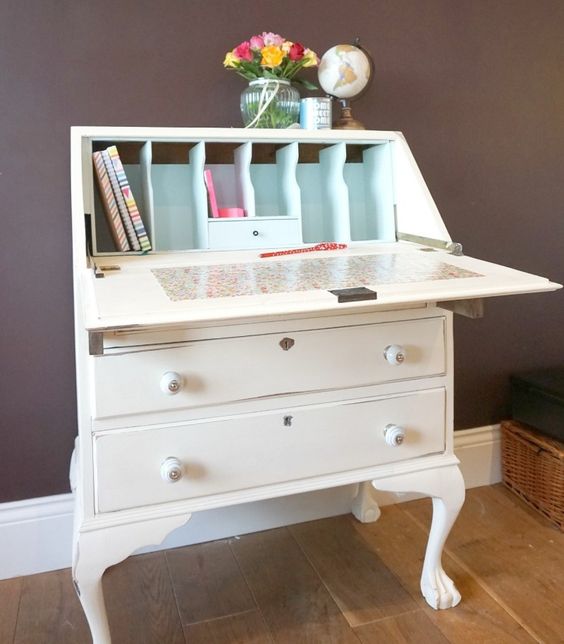
This is where you should get familiar with the concept of upcycling: transforming a tired antique or unloved vintage piece that was once stunning and, crucially, could be again. Discover your own powers of creativity and resourcefulness, add a dollop of elbow grease and a long weekend and, hey presto, you can produce wonderful, unique pieces for your home at a fraction of designer prices.
If wood furniture restoration is not something you’ve done before, you may be daunted by the process and scared that you will get it wrong. Strip, sand and paint may not be words that are part of your everyday skillset or even vocabulary, but don’t worry, it really isn’t rocket science.
Let’s take a look at the basic steps involved, ready for the next weekend when you can have a go yourself.
Go out and find it
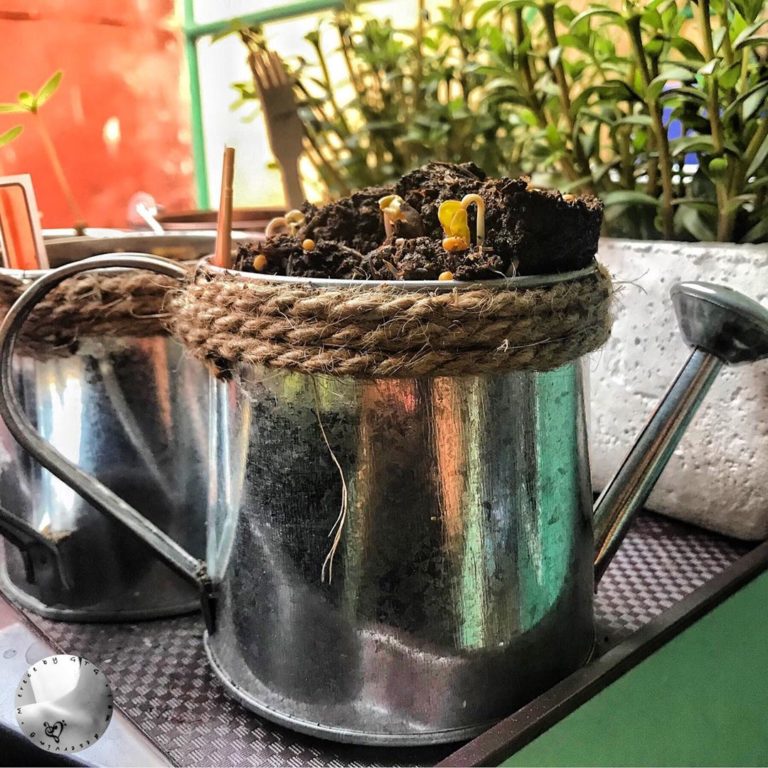
If you like rummaging around at flea markets and boot sales, love a charity shop or antique market, that’s a good start. This is where you are most likely to find suitable antique or vintage pieces that may have lost their obvious sparkle (and with that their financial worth!) but certainly not their potential to give them a whole new lease of life.
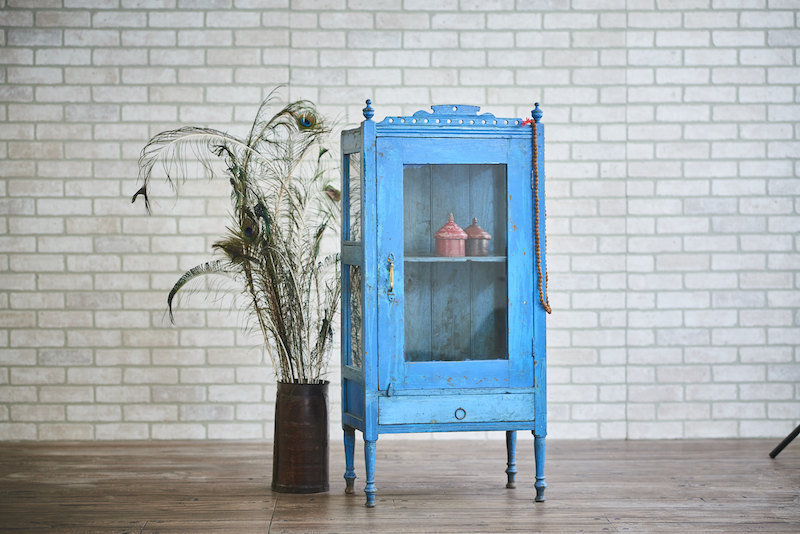
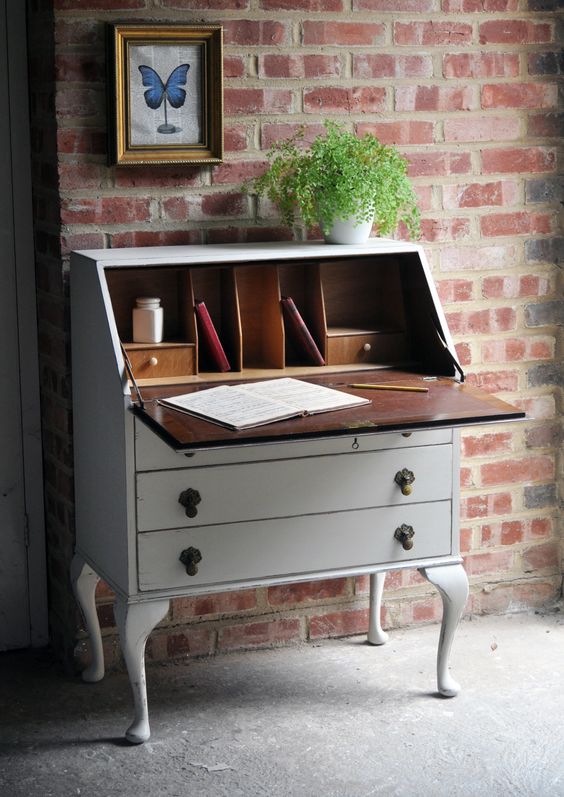
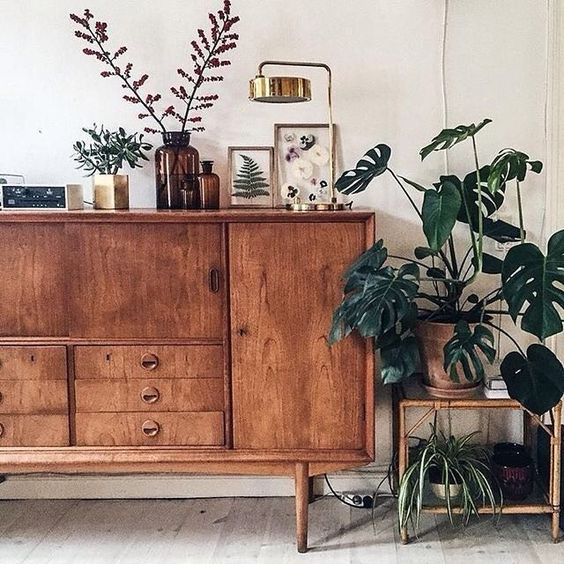
Whether you’re looking for a Mid Century teak coffee table or grand Art Deco sideboard, a Victorian oak dresser or an Art Nouveau mirror, it’s only a matter of time before you spot the right thing – you’ll know by the fact that your eyes will have lit up and your heart will have started to beat faster! Don’t let it show – be cool as a cucumber and use your negotiation skills to get your little gem for a good price (including delivery) and get it home.
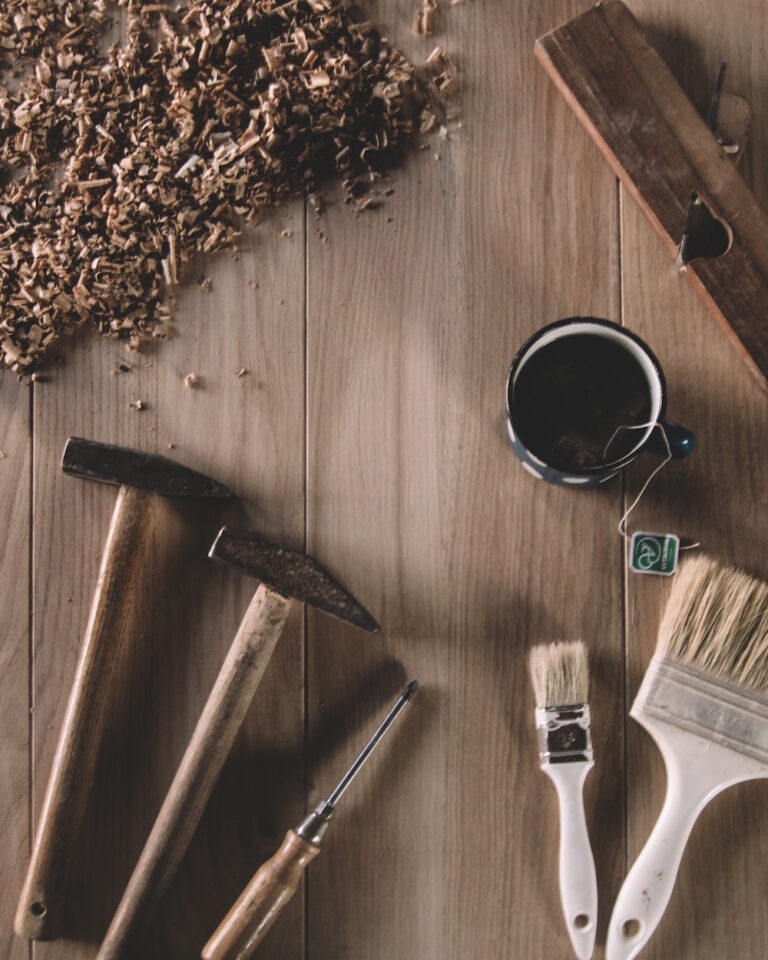
Sand it or strip it
Whatever preloved wooden furniture you’ve bought, it will have been painted, stained or oiled. Whatever treatment is on it, you need to get back to bare wood and start again. Before you can even think about priming or repainting your vintage find, you need to ensure that the surface is completely clean, dry and free from any surface contaminants, so that any fresh paint will achieve a good key.
Sanding is an absolute must. All surfaces should be sanded with 150 grit sandpaper. You can do this by hand but it will take ages and tire you out, likely to make you lose your motivation before you get to the good bit of the upcycling process. Our recommendation is to buy an orbital sander with variable speeds to do the hard work for you. Be careful not to damage the surface – the object of the exercise is to remove old, flaky paint and a key for the new paint to adhere to. If you’re sanding heavily painted or varnished furniture, start with a 60-80-grit sandpaper and work your way up to a finer finish.
For heavily painted or varnished items – think Jacobean style dark oak finishes – that you want to transform completely, you may wish to strip it instead. Paint stripping is a messy job involving the application of a toxic liquid that then need to be painstakingly removed with a specialist tool, taking the old paint with it. Unless you’re practised at this or your item is small, we would recommend using a professional paint stripping company to do the donkey work.
Wash it and prep it
Whatever wood treatment you’ve chosen to apply to your upcycling project, and regardless of whether you’re priming bare wood or applying paint direct, you should always start with a clean, grease-free surface that the new paint can easily adhere to, for best results.
Once all the old paint treatment has gone, wash your furniture piece thoroughly with a hot water and liquid detergent solution, then rinse off any soapy residue with clean warm water. When the surface is completely dry, give it a wipe with a non-fluffing cloth or tack cloth – any lint-free material will do – dampened with white spirit or methylated spirit.
To prime or not to prime
Whether or not your item requires priming will depend on your surface, the exact finish you are trying to achieve and the paint you are using. Some chalky finishes and sprays can be applied direct, without the need to apply a primer first. Check the label if you’re unsure. That said, don’t skimp on primer if your surface needs it – its job is to seal the surface, provide a uniform base and a good key for the paint for a great finish and maximum durability. There are different primers designed for different types of material including wood, metal plastic and ceramic surfaces.
Primer can be applied by brush or foam roller; the right tool depends on whether you’re painting a relatively flat surface or an ornate piece with lots of hard-to-reach areas. Once dry, check the finish and sand away any imperfections with fine 220-grit sandpaper, then wipe over with a lint-free cloth dipped in white spirit.
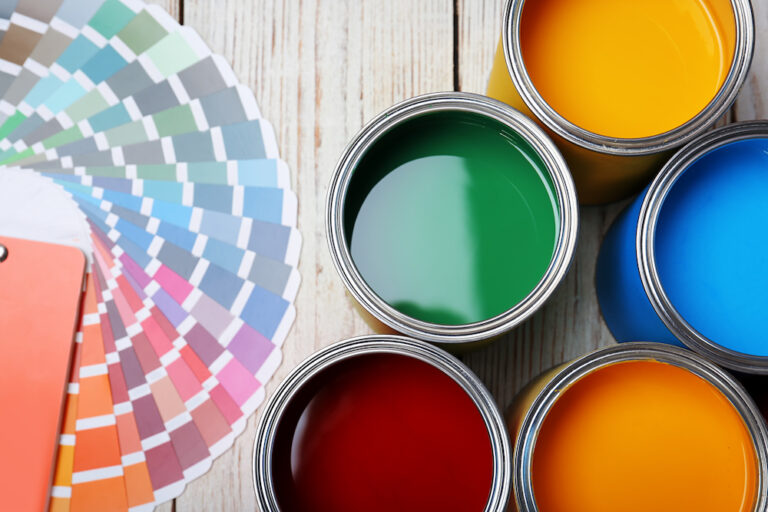
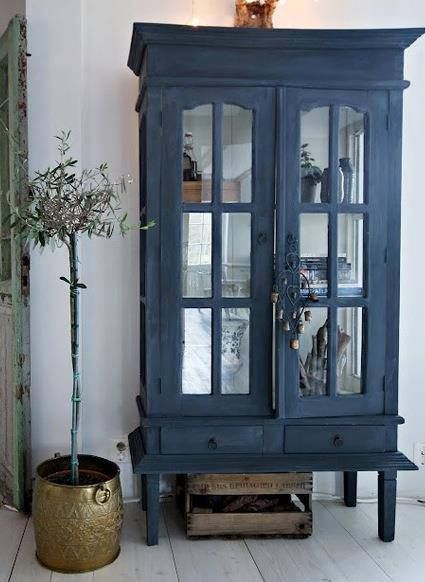
Time to paint it!
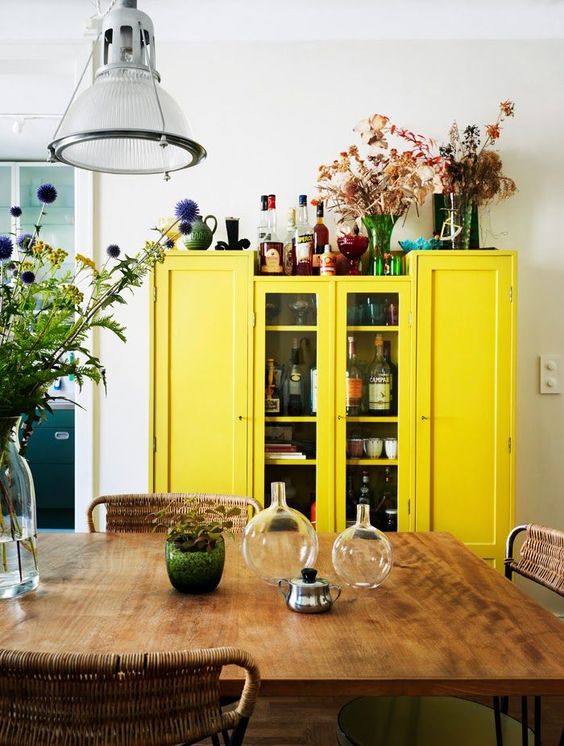
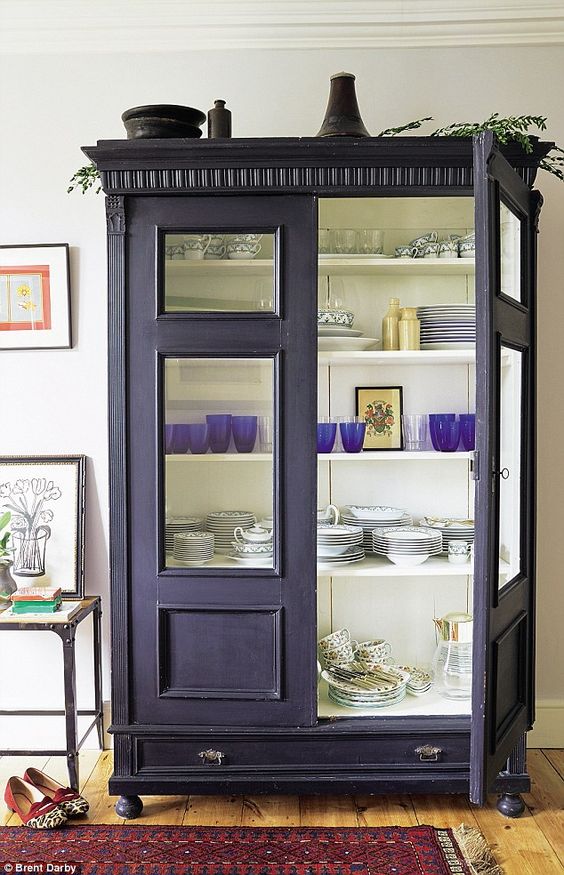
Now comes the fun bit – choosing the right paint and your preferred colour and finish to transform the unloved junk shop find into the centrepiece of your home. Are you after a sleek gloss or shabby chic matte finish? A solid colour or distressed look? One very useful insider tip is to always try out the colour out beforehand – any old timber offcut will do.
Also check whether you can paint straight onto your prepared (primed or unprimed) surface or whether an extra undercoat will be required. Sometimes, the colour change between the primer and top coat is too great and an undercoat in a colour close to the final finish can bridge the gap, while adding additional toughness to the final finish. Some paint colours can be painted as several layers, others are designed to be a top coat only.
Add a final protective finish
To protect your handiwork and prolong the lifespan of your revamped furniture, it’s a good idea to apply a clear protective coat over the top. Use a fresh mini roller or brush and apply a thin layer of a water-based protectant to the painted surface. When you’ve finished, go over the still wet surface carefully and very lightly with the roller to get rid of any bubbles that may have formed.
Finally, allow at least 72 hours for everything to dry completely before moving your new favourite piece into position, to avoid any risk of stickiness.