5 Kitchen Cabinet Painting Tips – Making an Old Kitchen New Again
As the heart of the home, the kitchen is one of the busiest and messiest spots. Cabinets get a good beating between cooking grease and grimy hands, and old appliances start to look outdated. It’s the room that first shows the sign of aging and as far as renovations go – the kitchen can be an expensive and time-consuming project.
The good news is though, if you’re not ready to invest in a brand new kitchen there are a few touches you can make to give it a refresh. For a fast and cost-effective update, you can’t look past a few coats of paint. Painted kitchen cabinets add a touch of colour to your kitchen and change the dynamics of the space by transforming a dull looking room, into one that is vibrant and new. We take a look at few painting tips to get your kitchen looking alive again.
1. Deciding Between Oil and Latex Paint
After selecting a colour scheme for your kitchen that reflects your style and layout, you need to consider if you’ll use oil or latex-based paints. For a more user-friendly option, latex paints are popular because they dry quickly and clean up with water. Latex paints can be painted over oil-based paints for improved stickability, but you need to ensure the surface is cleaned and sanded thoroughly or the adhesiveness will be compromised.
While latex-based paints are renowned for their sticker variant and convenience, it’s recommended to paint the inside of your kitchen cabinets with oil-based paints. This leaves out any possibility of kitchen items inside the drawers and cabinets sticking to the doors when opened. The problem with oil-based paints however, are they have the tendency to yellow over time but are easily able to be cleaned once applied. A general rule of thumb is oil-based paints work best on rougher surfaces, while latex-based paints need to be applied on a surface that is smooth to ensure there is no cracking or peeling down the track.
2. Prep Work is Everything
With any great paint job or renovation project, prep work is vital. Before doing anything, you’ll need to remove all doors from the base, wall cabinets and hardware. It’s a good idea to mark a spot on the bottom edge of each door and drawer to avoid any mix ups later.
Next, you’ll need to find a flat surface to work on – this part really determines the success of a repaint so find a surface that is stable too. Don’t try and paint the cabinets whilst they are still attached; not only will the paint job be unsuccessful but you’re more likely to experience the headache of drip marks.
Kitchen cabinets need to be cleaned, sanded and primed before any paint is applied. Degreaser can be used to clean the front, back and sides of the cabinets and two coats of primer should be used to offer added protection. Where possible, strip the cabinets to bare wood which will eliminate any potential adhesive problems with the old paint and the new. If your cabinets have got any visible damage like dents and dings, you can fill them withnon-shrinking putty – this will be sanded back once the putty has dried.
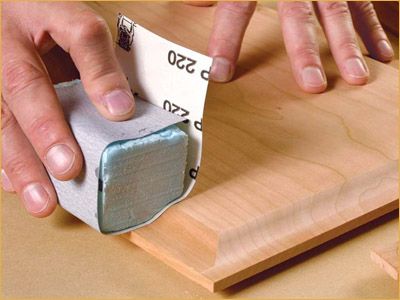
To sand the cabinets, use sandpaper that is light, 150-180 grit. Any dust from the sanding process can be cleaned with a soft damp cloth and odourless mineral spirits. It’s important all dust and dirt particles are removed properly as this will give you a smooth surface to paint on. Once the pre work has been finished, you’ll want a surface that is clean, dry and dull.
3. Organise Your Hardware
Once you’ve removed all the doors, organise the hinges, screws and knobs into separate bags. Label each bag with a permanent marker. On the coordinating cabinet place a sticky note on it so when it comes to putting everything back together; you’ll know what goes with what.
4. Have Lots of Natural Lighting
Creating a good work space involves an area that is well lit with natural lighting. Set up a spot near the window to ensure there’s a good flow of natural lighting. This will help you to see any areas you’ve missed whilst painting, drip marks, runs or spots you need go over.
It’s a good idea to consider how the paint colours you’re choosing will react to the amount of natural lighting your kitchen gets. Test paint chips in natural daylight to show its true colour or check out this post on how light affects colour choices.
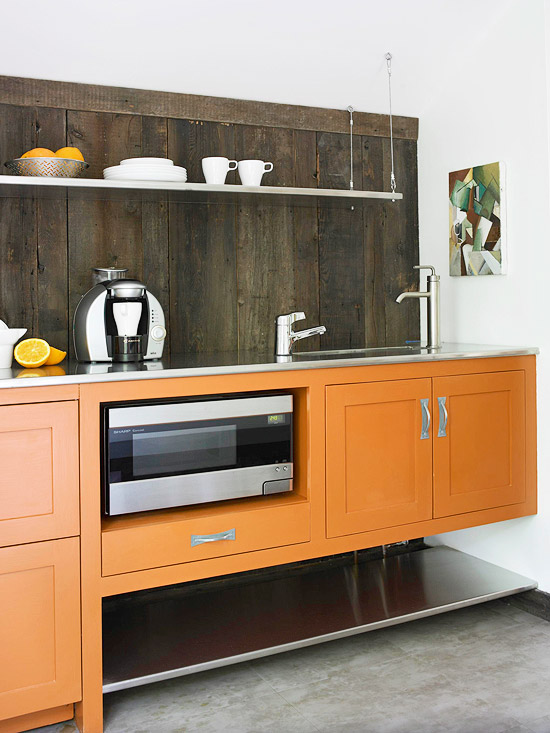
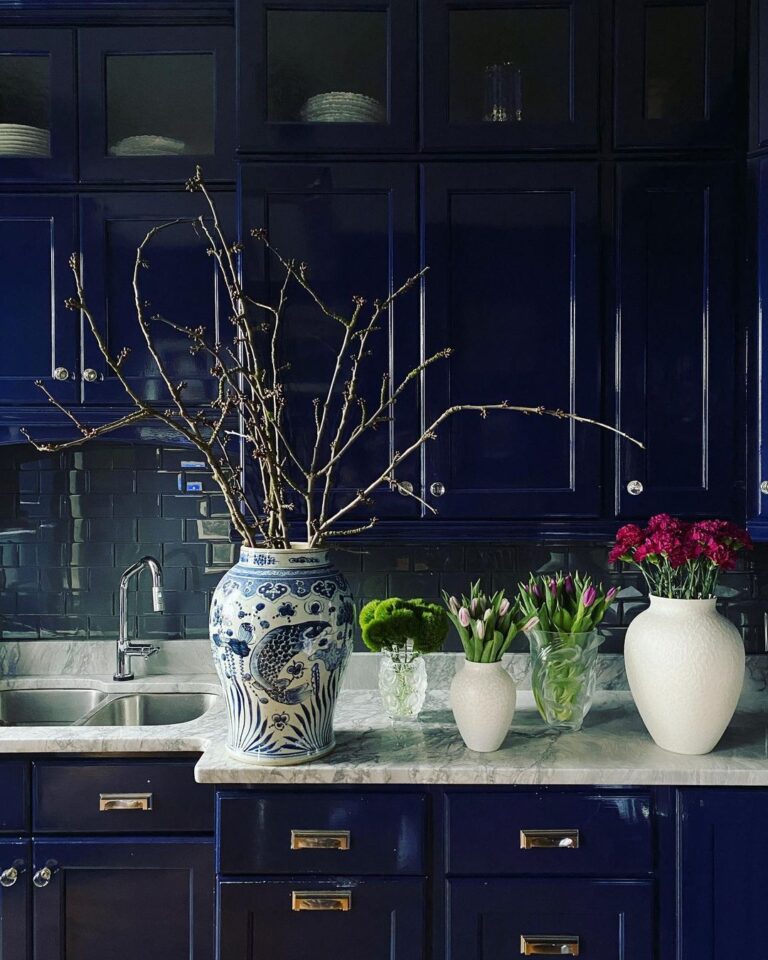
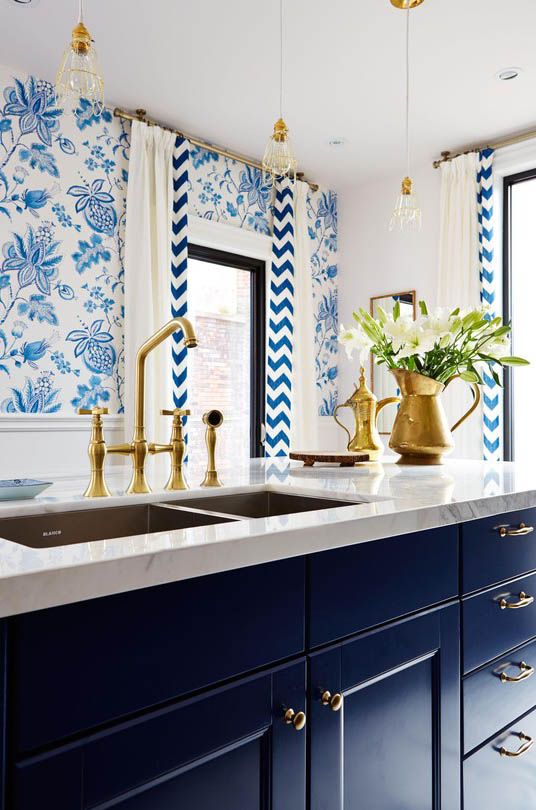
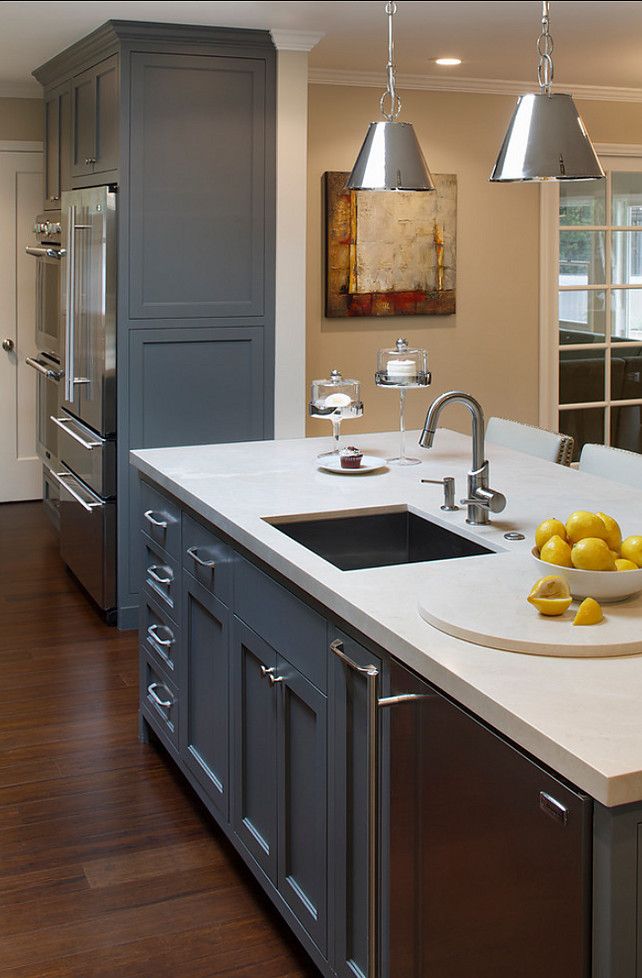
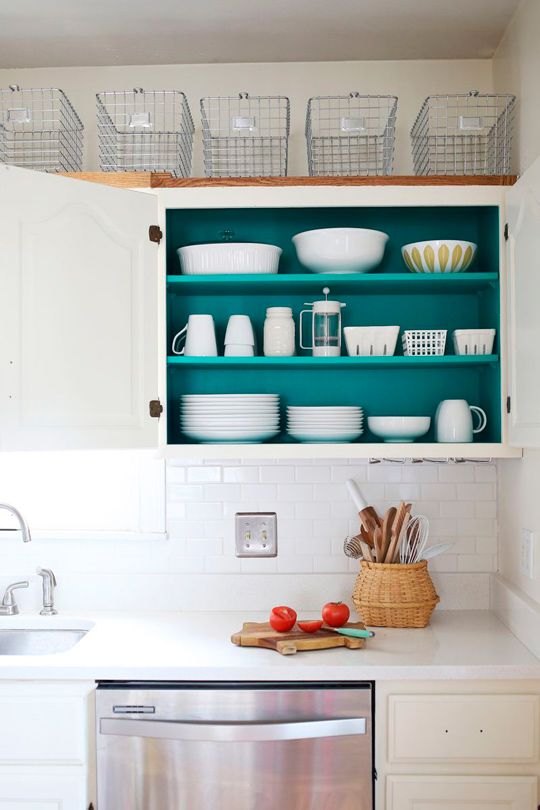
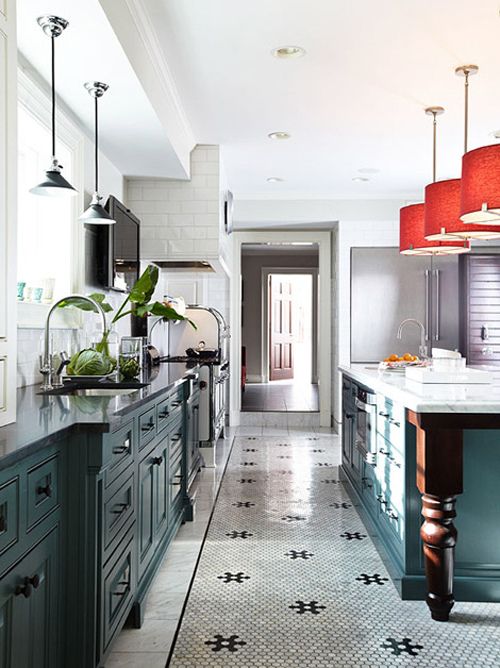
5. A Pop of Colour or Dramatic Accent
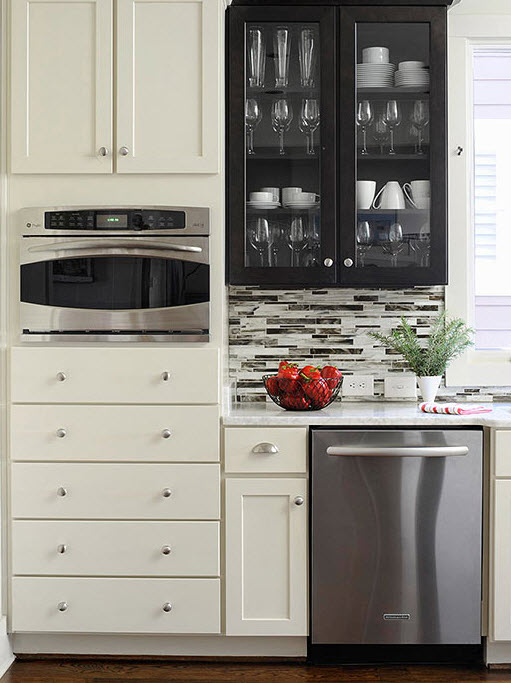
To complete the overall picture of your kitchen, think about the mood you want to create with your choice of colours and current kitchen design. A sense of drama can be added when you contrast light-colour cabinets with a darker stain, or keeping things simple with a pop of colour can brighten the space and bring it to life.
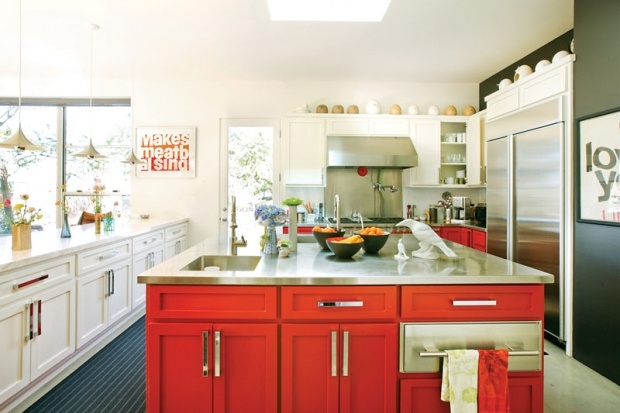
The design style of your kitchen should act as a good guide for colour choosing. Traditional kitchens can benefit from paint colours like creams and whites whereas contemporary, modern designs thrive on bright tints like vibrant reds or gentle yellows. Using light base tones allows you to experience with pops of colour and help to contrast with everything else in the kitchen like your appliances, countertops and hardware.
Author Bio
This article has been written with the assistance of Trevor Skeels who owns and operates Dianella Polishing, in Perth Western Australia. Contact Trevor to help you with your all your kitchen renovation needs, including kitchen cabinet painting, custom staining and finishes.