Behind The Scenes: Pottery-Making Secrets
When buying handmade items I always wonder how they were made, want to see the person who created them and find out all the secrets and tricks of the process.
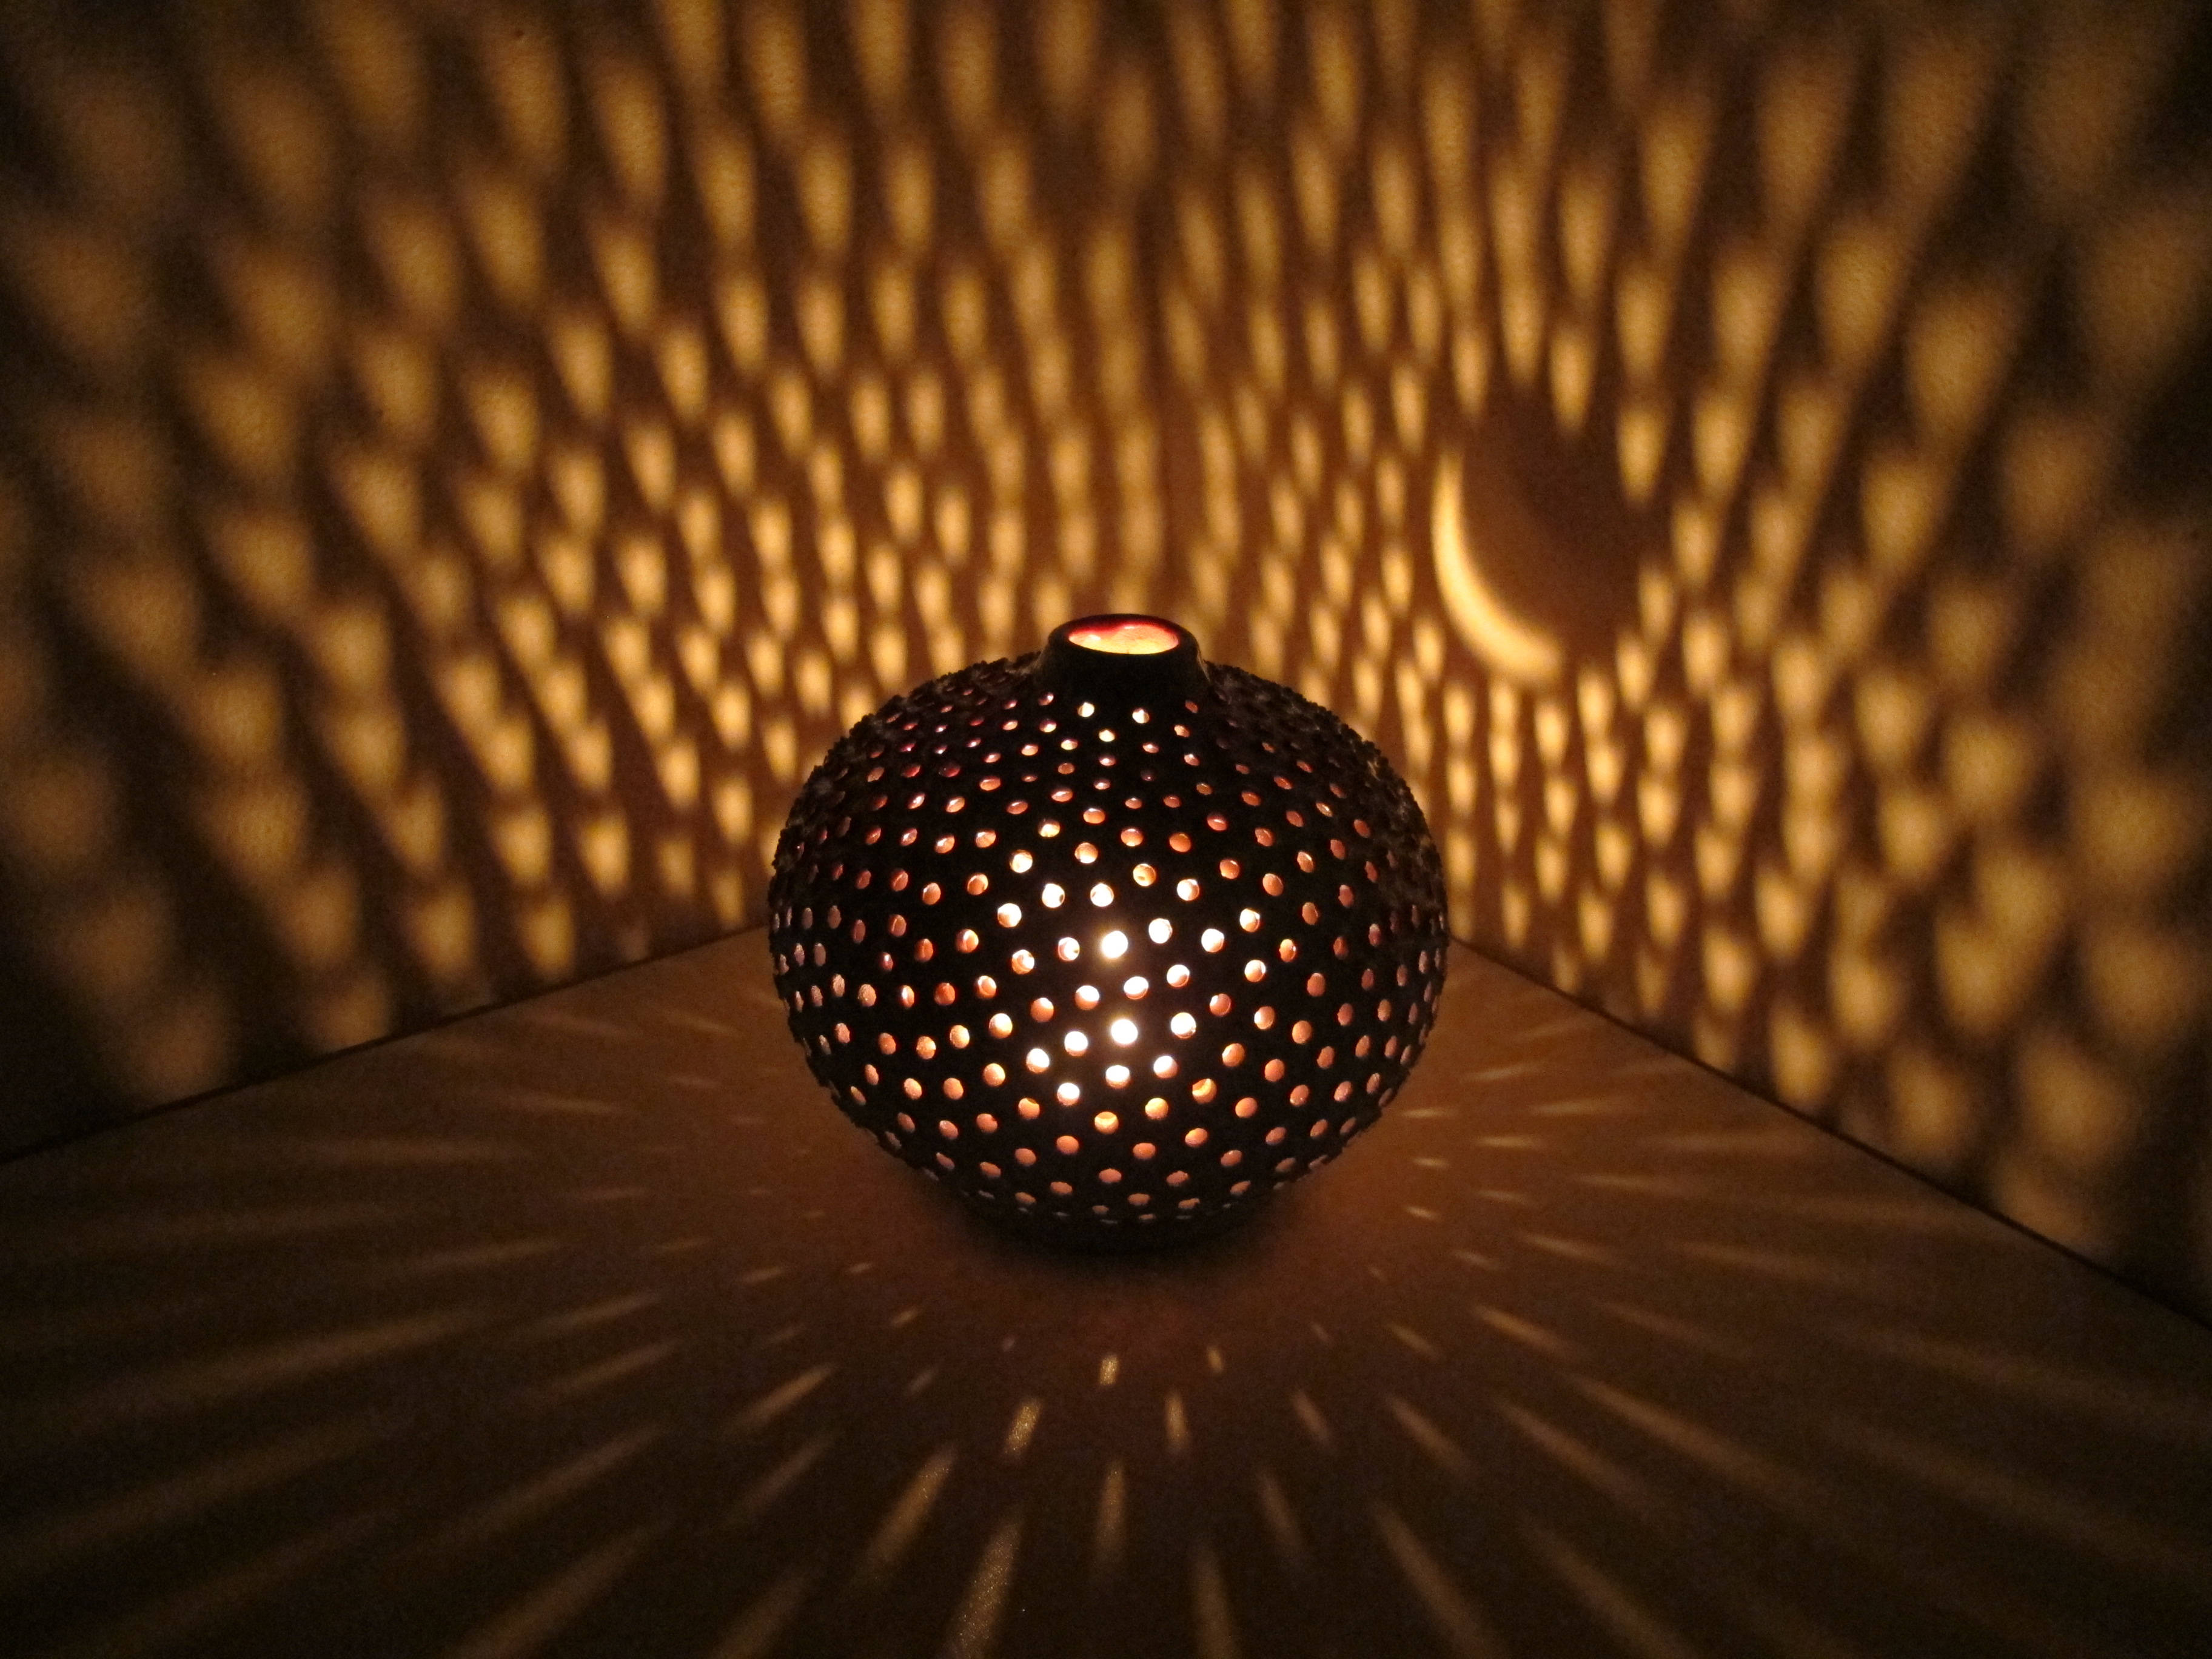
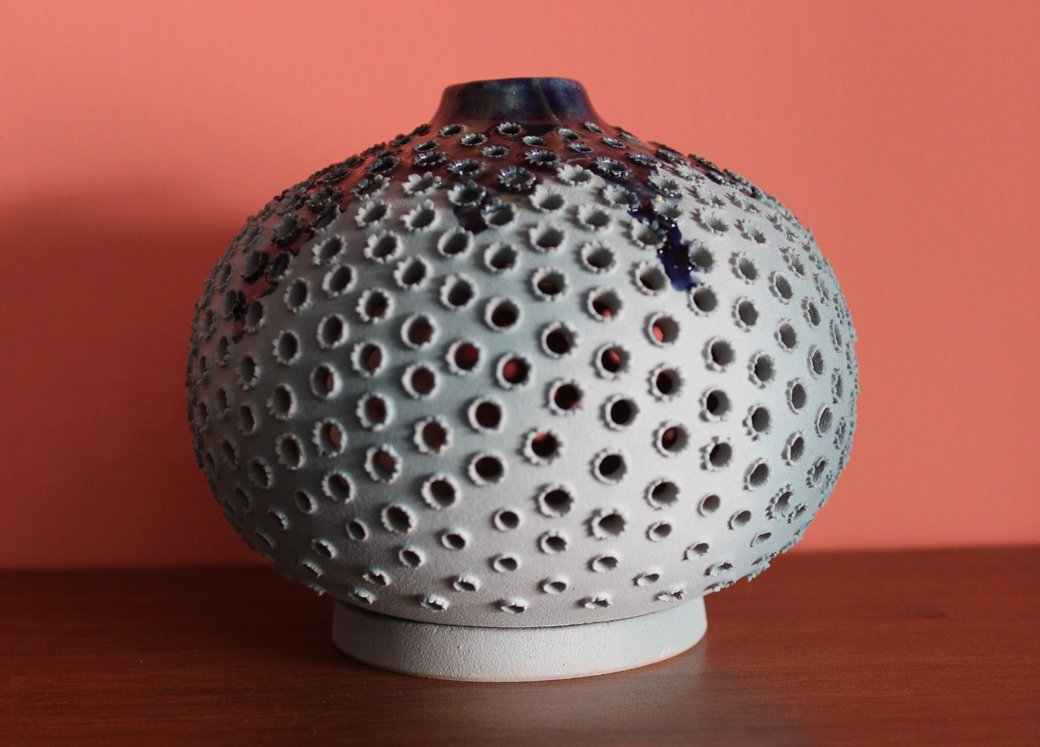
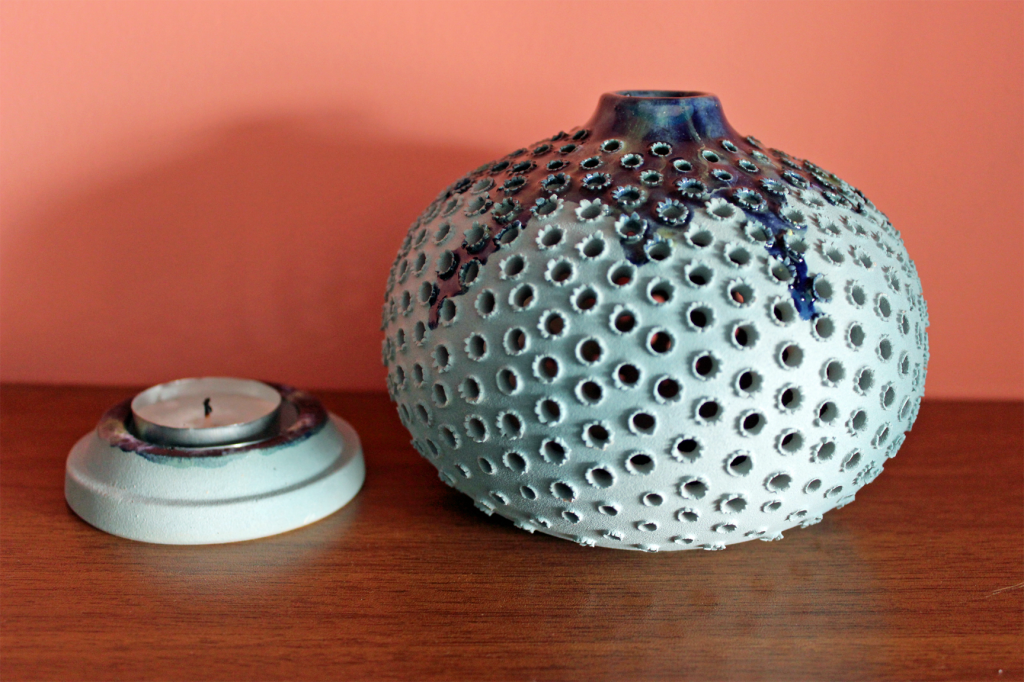
As you might know in my boutique I sell only handcrafted home decor objects. One of my most favorite pieces is the ceramic lantern “Stars and Moon” and today I want to invite you behind the scenes and see how this beautiful object is made. We will make an exciting journey to the world of ceramics and reveal all its secrets. We will watch how red clay transforms into beautiful objects by involving four elements of nature: water, fire, earth and air.
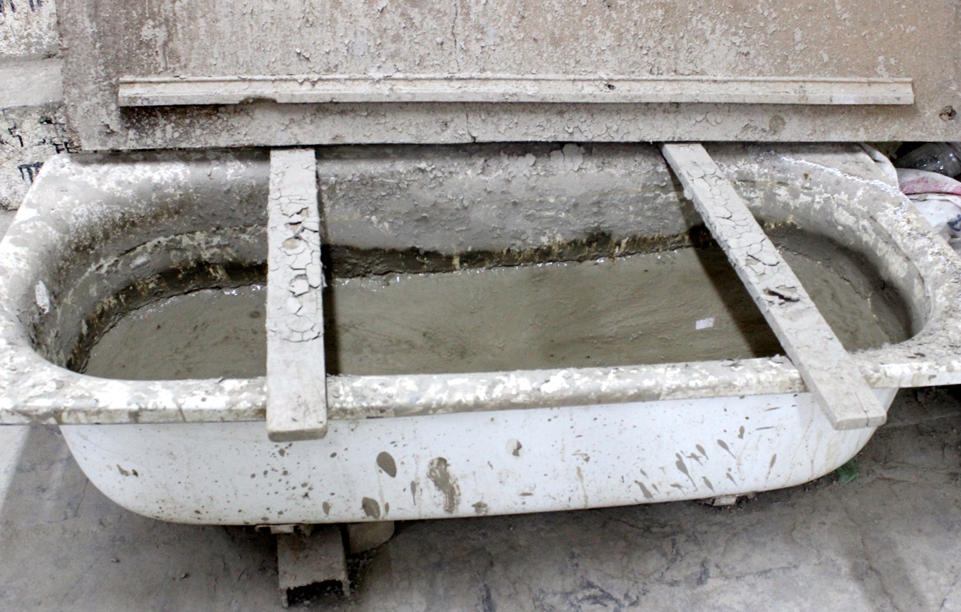
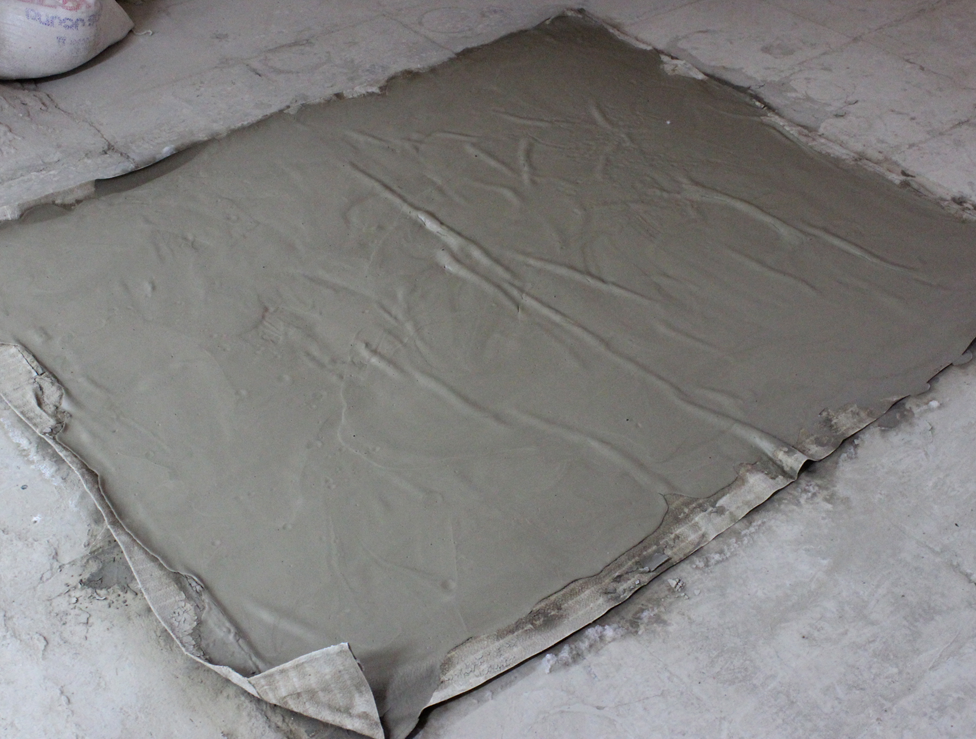
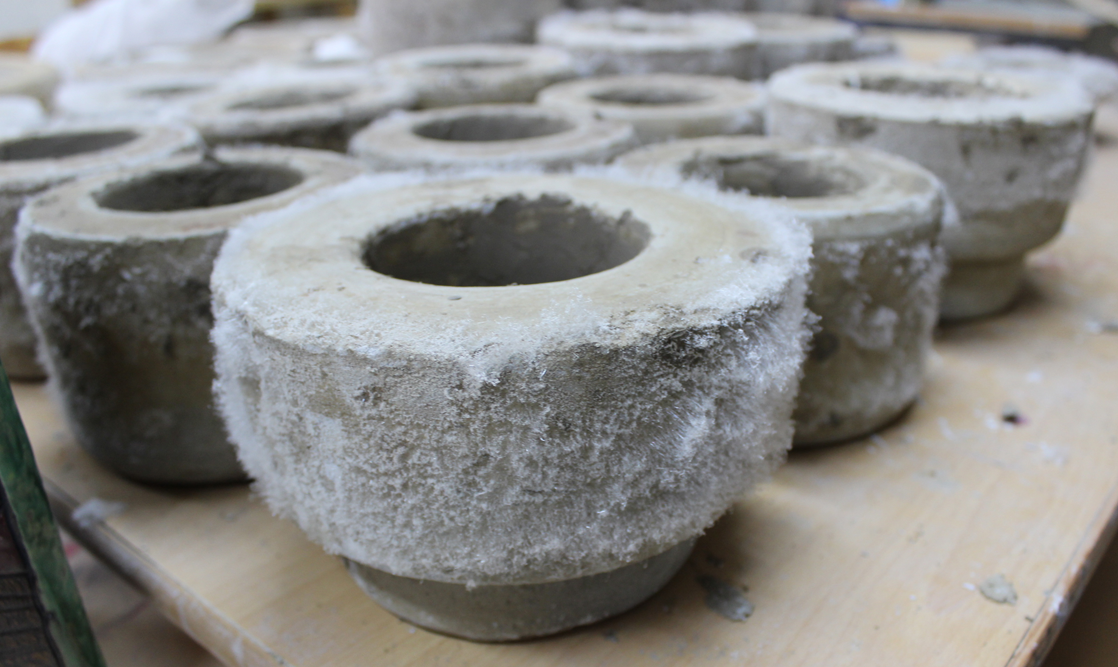
I met with Arman Harutyunyan, the artist who makes “Stars and Moon” in his pottery studio to see and record the whole process of pottery-making. First of all Arman showed me the clay preparation room.
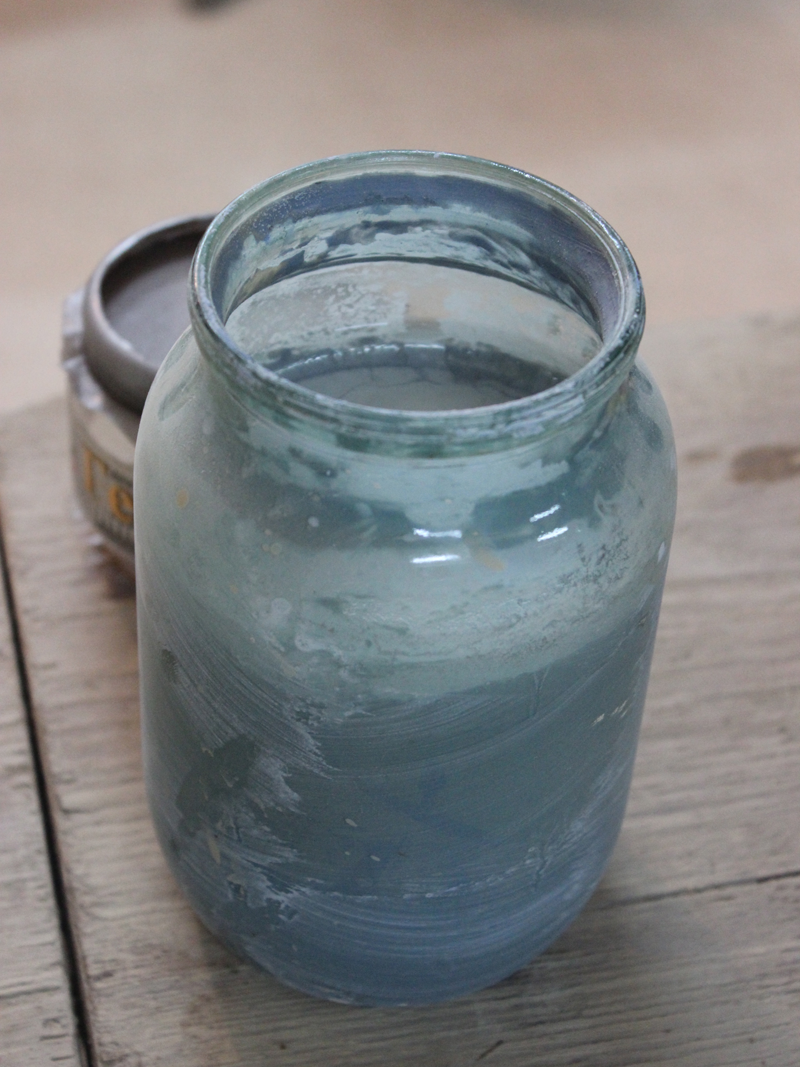
Now it is time for decoration and painting. The glaze is a mixture of pigment and glass and during the firing, the last one starts to melt. The difficulty is to find the right proportion of various pigments as after firing the colours look completely different from when they are raw. For his lanterns, Arman uses matt blue covering as the base and the topping is made of glaze. I asked him to make the lantern with soft turquoise tones, that’s why he added yellow pigment in the blue paint which he usually uses:
On his lanterns, Arman creates beautiful “ombre” effect using two shades of the same colour. He has spied this effect from nature, when he noticed that clay objects when getting dry have beautiful uneven colour, somewhere lighter and somewhere darker.
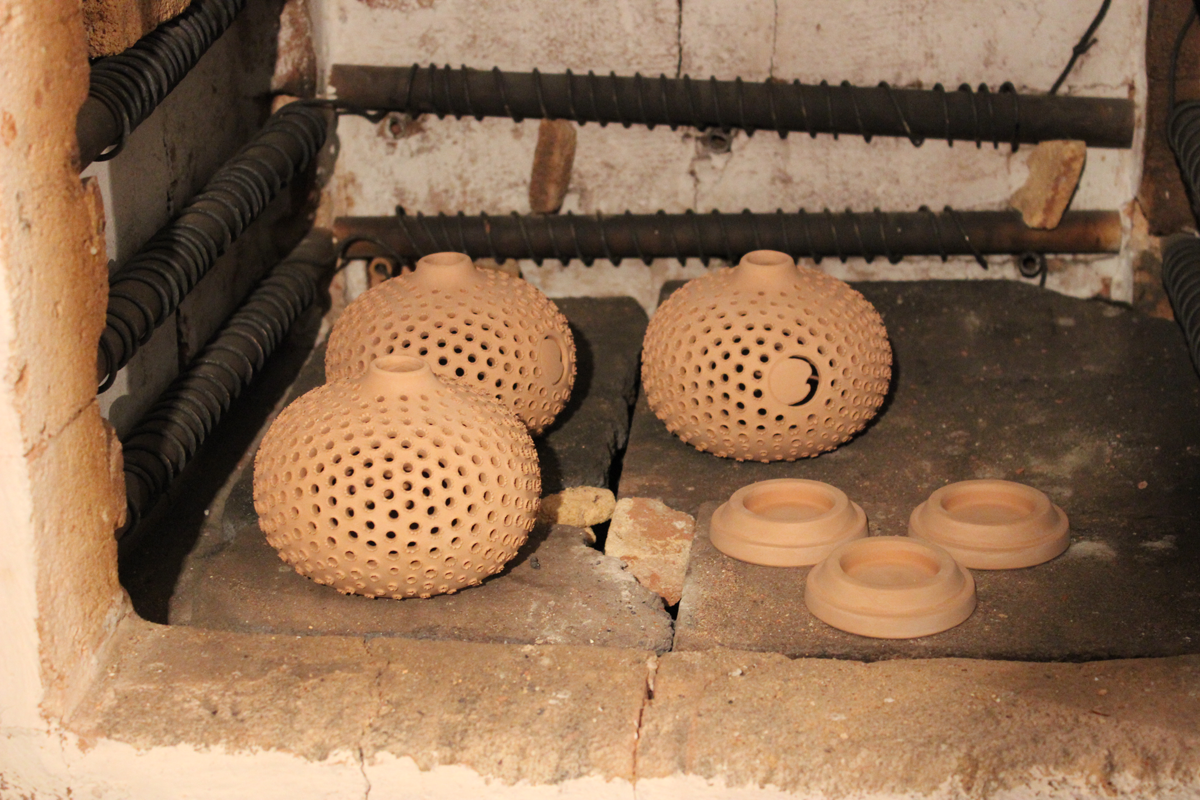
Now it is time to make the topping and send the lantern to the kiln for the last firing.
Finally, after one week of meticulous work these beautiful ceramic objects are ready. I asked Arman to start a series of “Starry Sky” lanterns, so this one doesn’t have a moon, only stars on a soft turquoise background. The topping can be malachite green, dark blue or deep red:
I hope this journey to the enigmatic world of ceramics was interesting for you! What do you think about this product? Looking forward to hearing your comments.