How to Create a Sample Board for Interior Design Project
I finally received the feedback on my second KLC project and it showed that several months agonizing over it were not spent in vain!
Some time ago I was writing about how I made a Personal Style Board for my first project. This board reflected my style in terms colours, textures and forms and this is how it looked like:
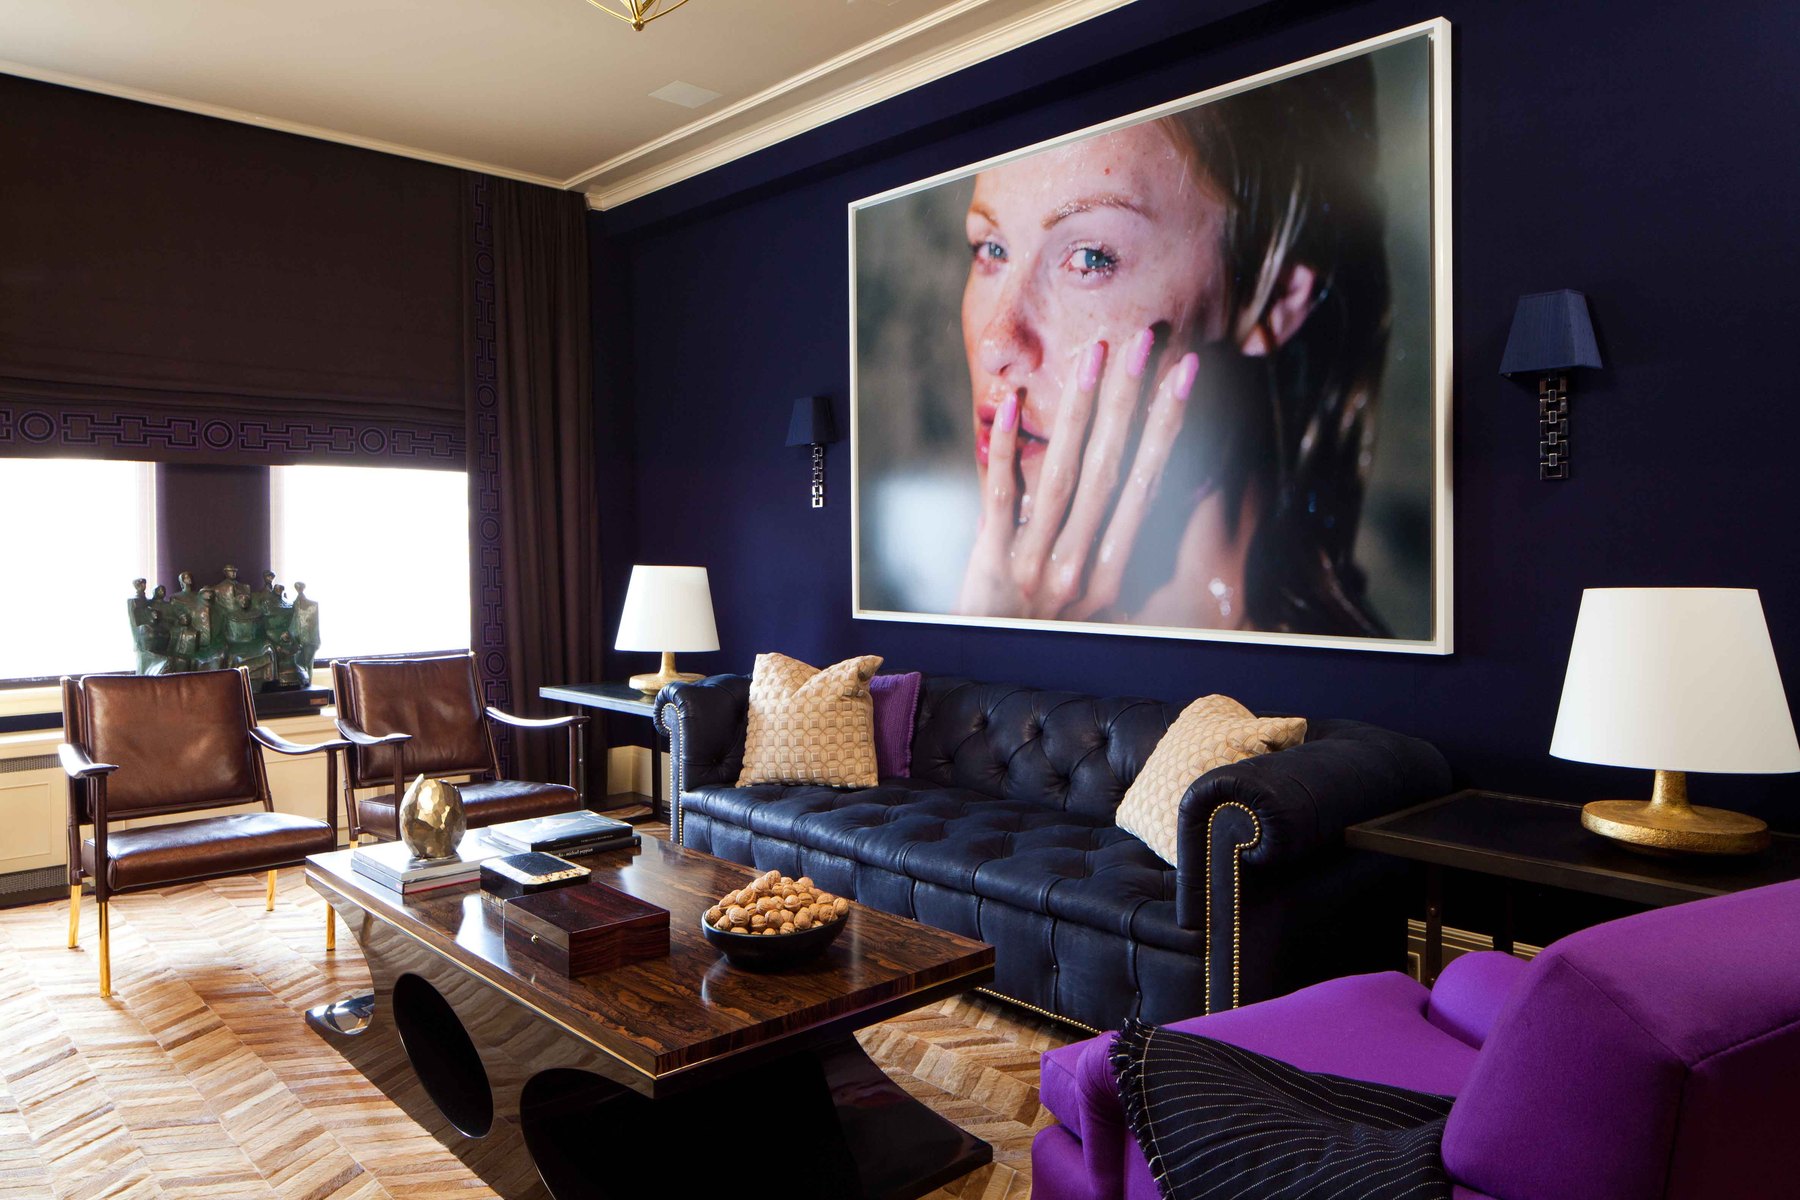
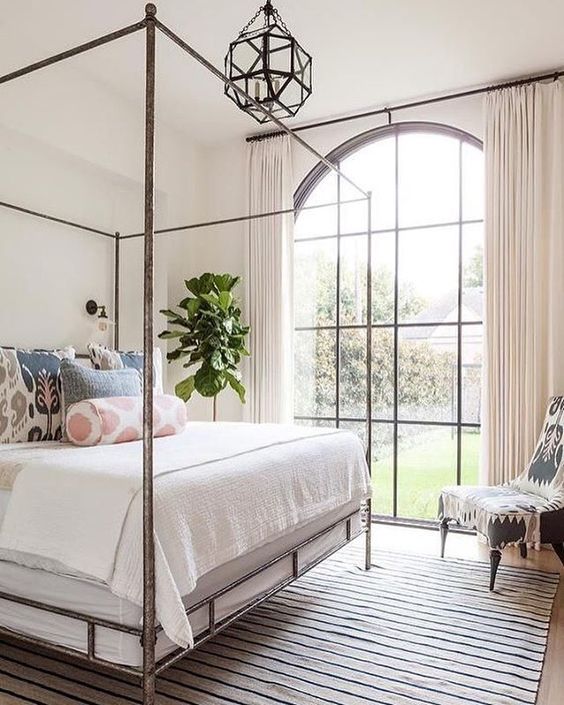
Now for the second project I was asked to create a Design Scheme to decorate any room using my Personal Style Board as a concept. To present it I needed to produce a sample board which is basically a collage of proposed materials, fabrics, colours, images of furniture and accessories. It is one of the visual tools which helps to sell designer’s ideas to a client, so excellent presentation is crucial here.

A step-by-step guide on making an interior design sample board
1) Considering the layout of sample board
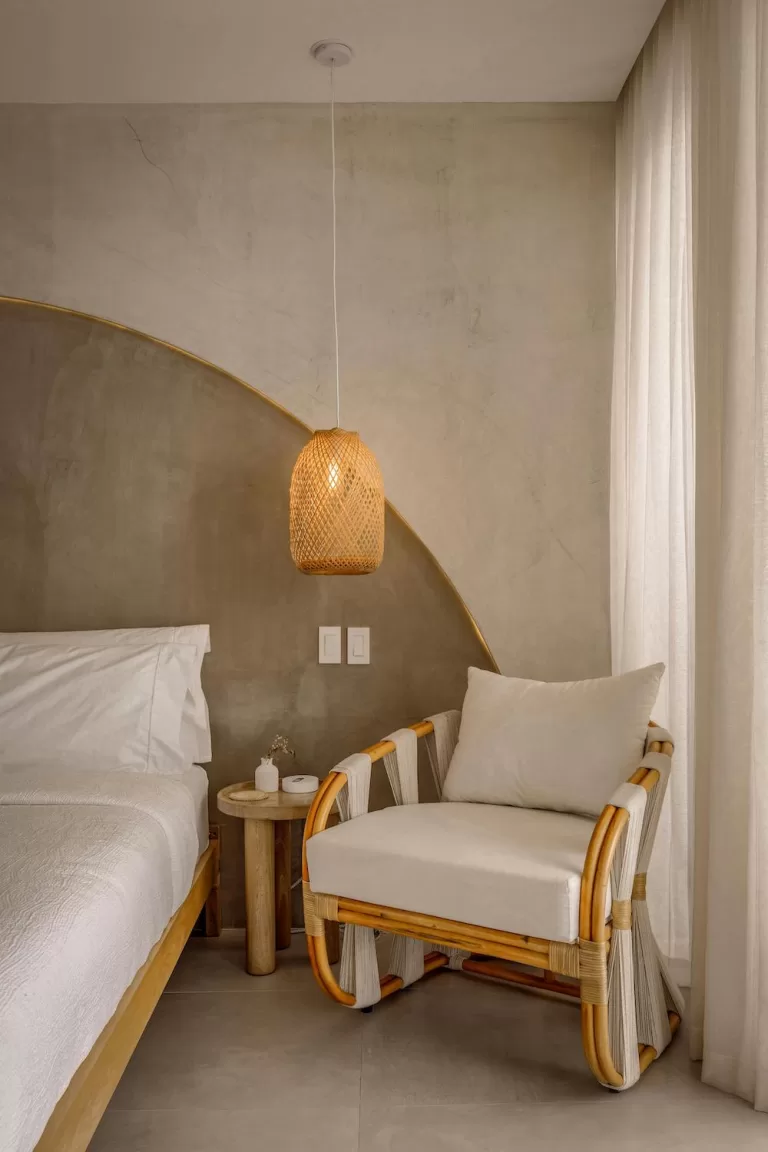
This was suggested by my concept: I wanted to create a spacious and minimalistic look, that’s why I preferred to use symmetrical and balanced layout. I have chosen A2 size presentation board which allowed me to allocate all the samples and images in a very uncluttered and well-proportioned way. Before starting to attach any samples I have thought on several possible ways to position them on the board. I was trying to place them in a way they will relate to each other in a real room: fabrics for cushions I put on the sofa upholstery and curtain sample next to it. The size of the samples was determined by their proportions in the actual space: the biggest for walls and flooring, then curtain and upholstery fabrics and the smallest for cushions and accessories.
2) Making a border
For the sample board to look neat and professional a border needs to be left from all sides. I left around 20 mm from each side and about 40 mm at the bottom to place the tags with project name and designer’s name.

3) Printing and mounting images
I have selected the “key” pieces of furniture and accessories for my sample board. All the rest will go to the furniture book. I used the glossy photo paper, high-resolution images and a quality printer. I decided not to mount images directly on the board but glue them first on the cards. I used Stanley knife and metal cutting pad to cut them and Photo Mount to fix them. When using Photo mount the images can’t be repositioned so I had to be very careful to put them correctly from the beginning.

As a result, I have made very neat image cards with no paper peeling at the edges and very straight angles:
4) Creating paint sample card
I cut the pyramid board to the necessary size and then covered it with a white emulsion that I have chosen for walls. I used the little roll to evenly apply it and I painted both sides of the board to avoid it curling when drying. After I attached the sample to the board with double-sided tape.

5) Mounting fabric samples
Upholstery textiles for sofa and cushions I wrapped around recycled cards with some padding put inside. This allowed to hide the unattractive edges of the fabric and show the beautiful texture of it with light reflected at different angles. To secure the edges on the reverse side of the card and to mount it on the sample board I used the double-sided tape which was very effective.
8) Attaching flooring samples
I decided to mount them on the reverse side of sample board to hide the unattractive edges and then make windows on the face of the board to see them. Wooden plank was mounted using velcro tape as it was very heavy and I didn’t want to deform the board. The sisal rug sample was first attached to the card and then glued with “No Nails” to the board. The most challenging part was to make a neat window on the board: I managed to do it with scalpel and metal cutting pad:
7) Caption labeling
When all the samples were finally attached to the board I had only to make put labels on them. I printed the little figures which were then attached to the samples with double-sided tape. The “Key box” with annotations was placed on the top right corner.
Voila! My sample board was ready:

As I mentioned, the sample board includes only key pieces of furniture and accessories. All the rest items I presented in my Furniture Book:
Do you make sample boards for presenting your design proposals to a client? Please share your ideas and tips in the comments section.
Check out my eBooks for interior designers: