DIY project: Vintage clock
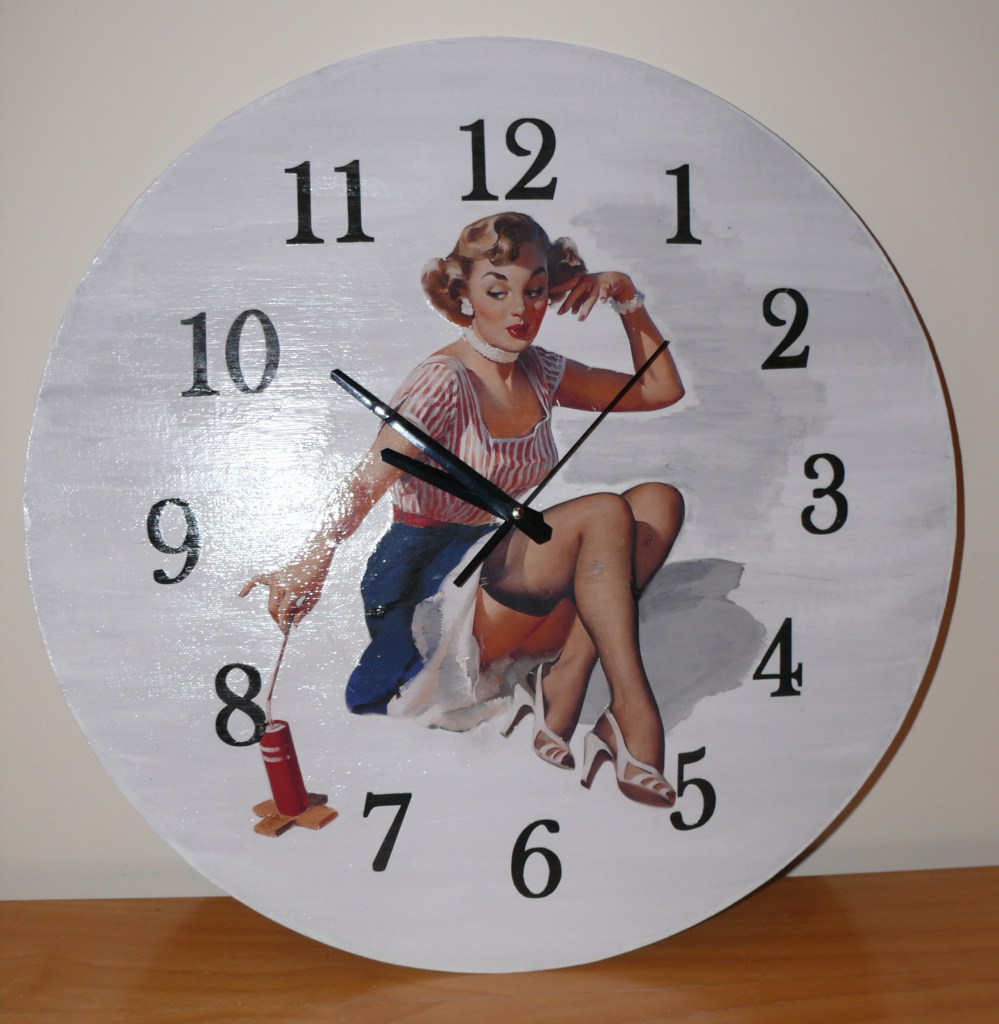
Do you remember Gil Elvgren pin-up girls? Our friend gave as a wonderful gift – a calendar with Brown & Bigelow reproduction paintings. My husband and I got so used to the company of these pretty girls that we felt really pity when year 2012 was over. That’s when we decided to make a do-it-yourself project using our favorite images.
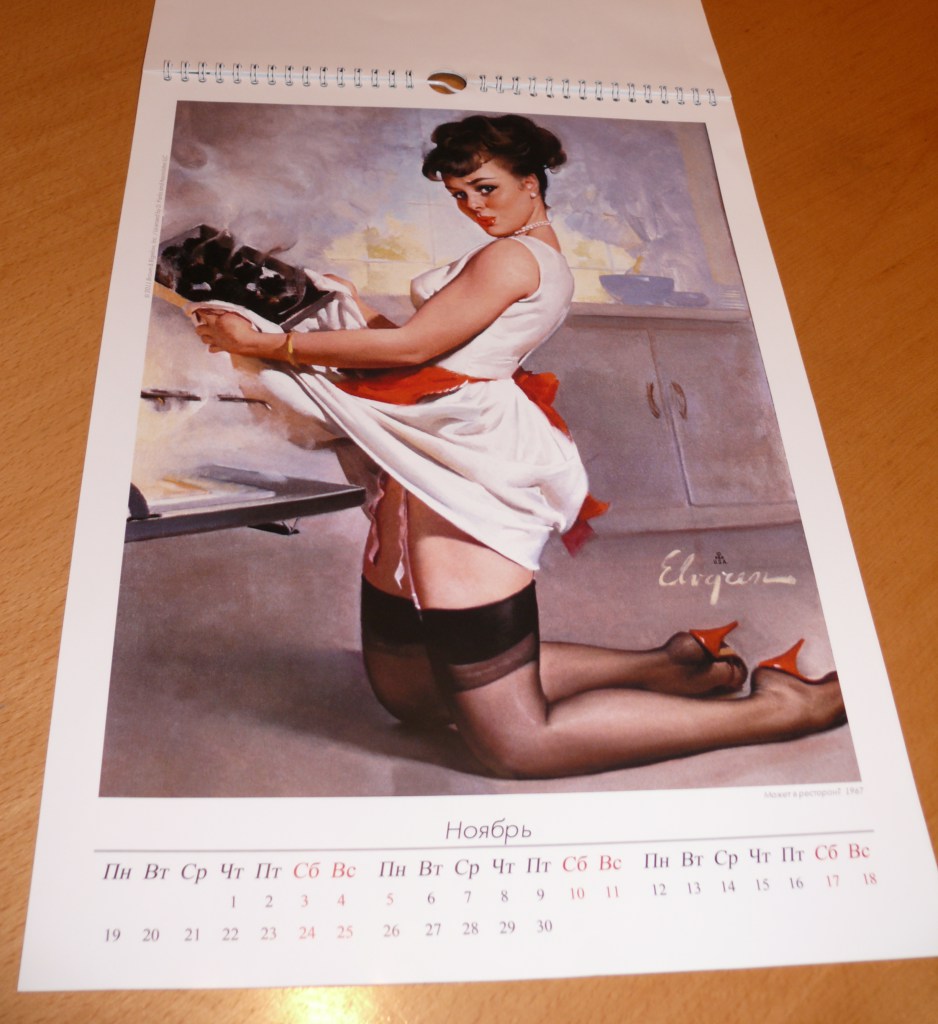
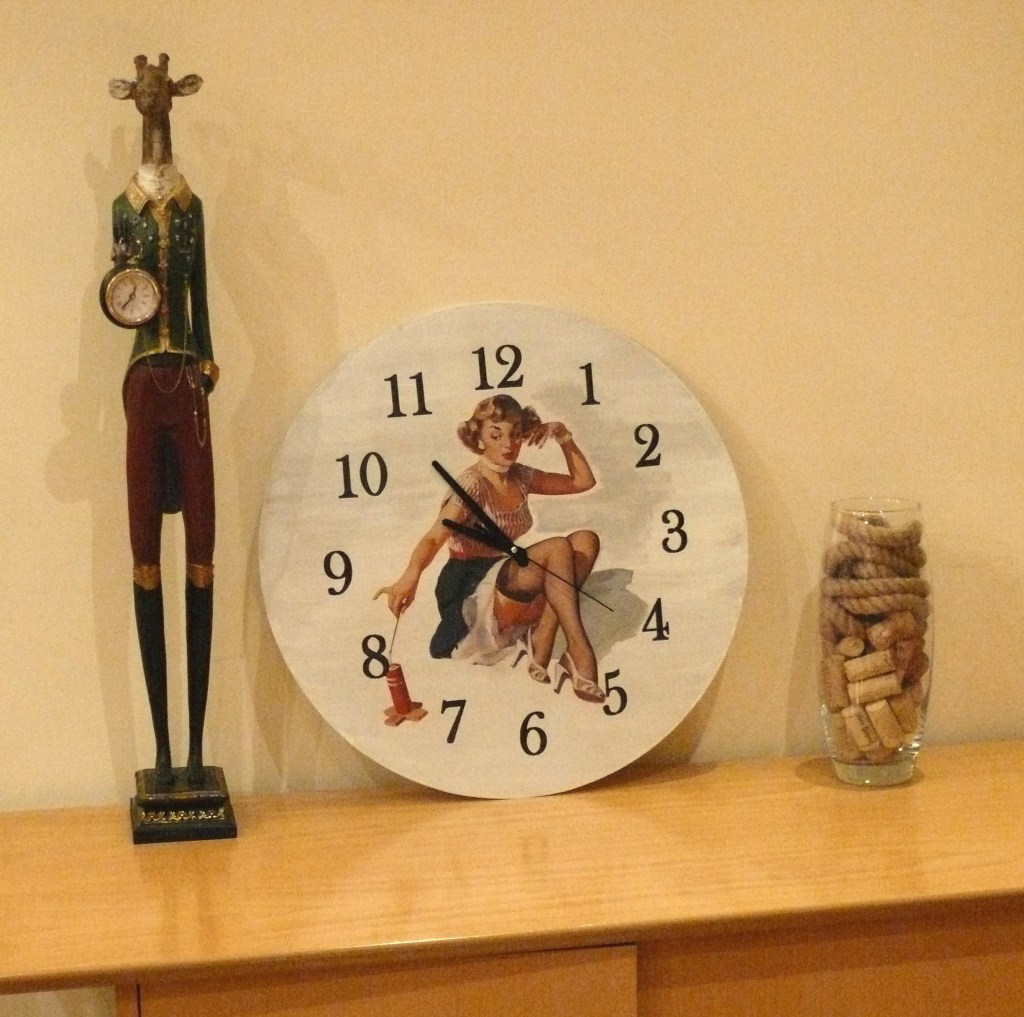
We decided that overscale vintage looking clock might be a good idea. If you like it – you can use Elvgen girls as well or you can use any of your favorite images printed out on Laser Jet printer.
You will need:
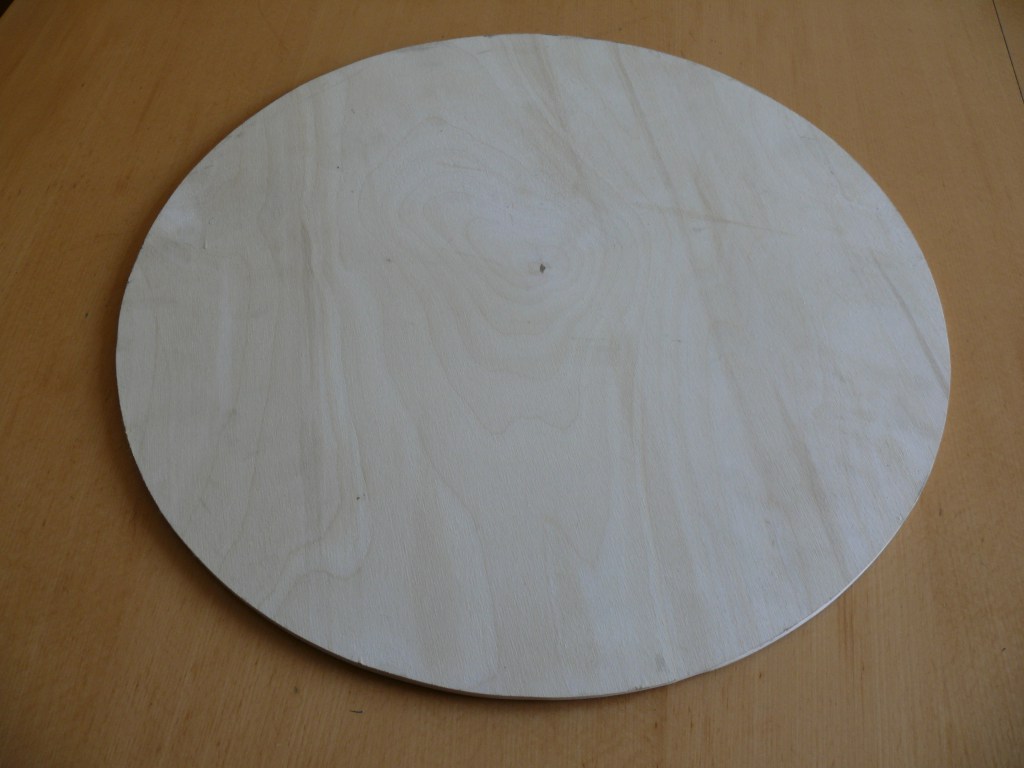
1) a circular wooden board or a cardboard ( I used canvas on cardboard sold in the art shops)
2) clock mechanism ( I found one in the clock repair shop)
3) acrylic paints – I used only black and white
4) decoupage glue
5) acrylic varnish
6) numbers printed out on Laser Jet printer
Instructions:
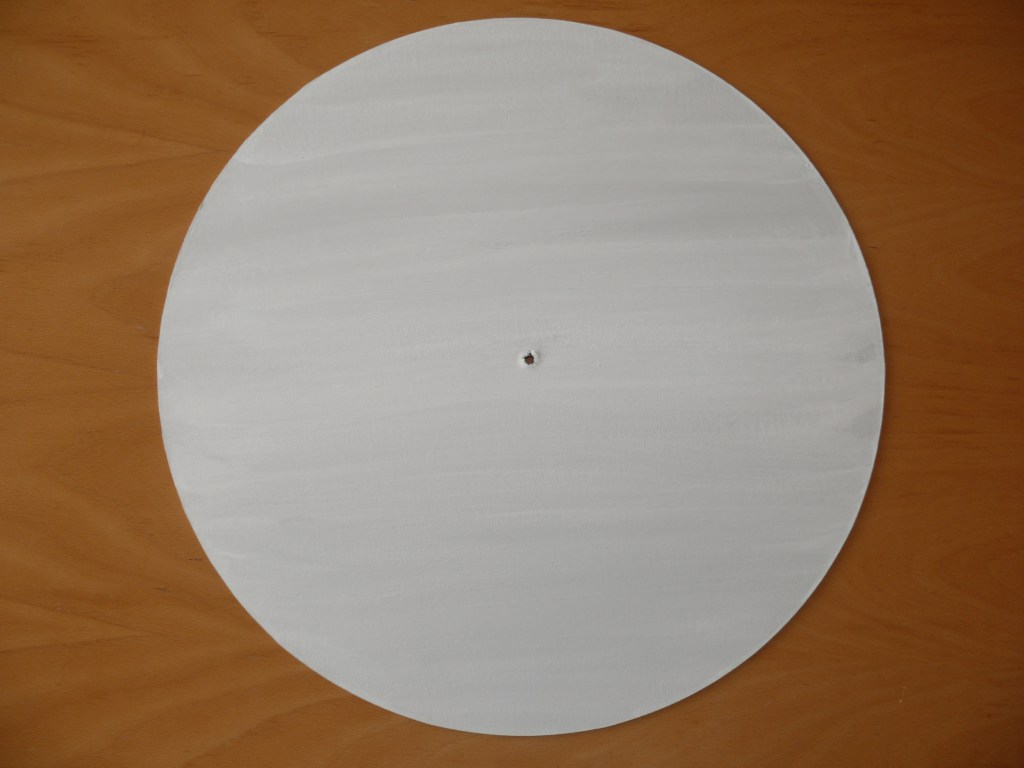
1) Make a hole in the middle of the board (find out the required size by checking the clock mechanism).
2) Paint the board with acrylic paints – I made a neutral greyish background.
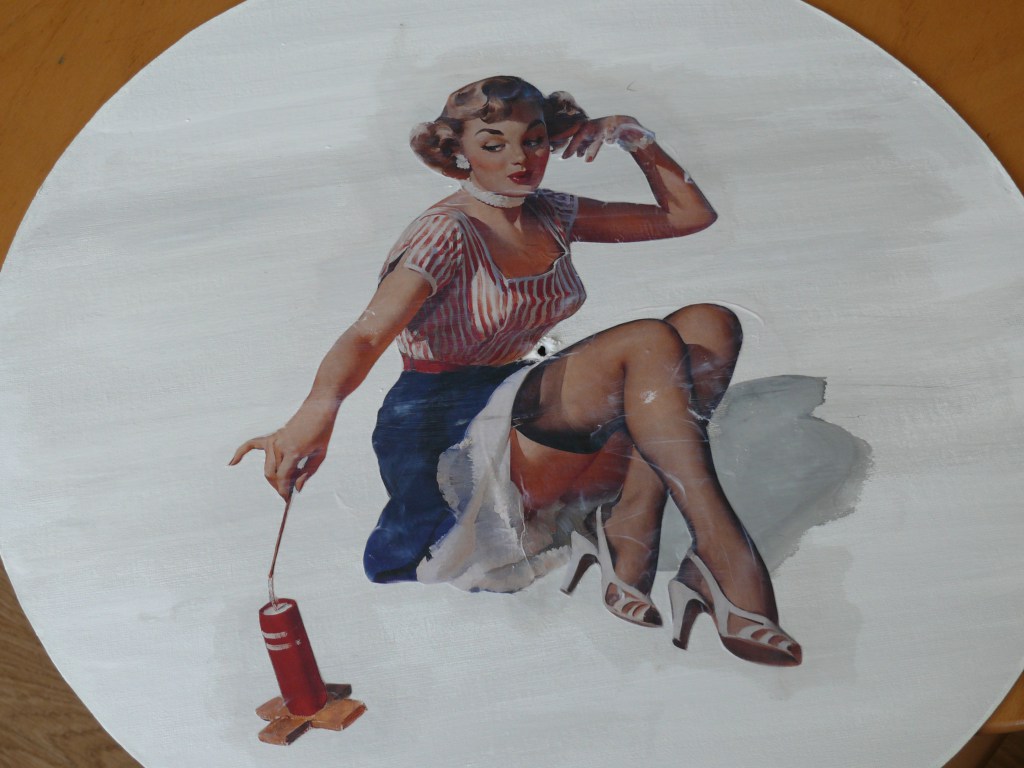
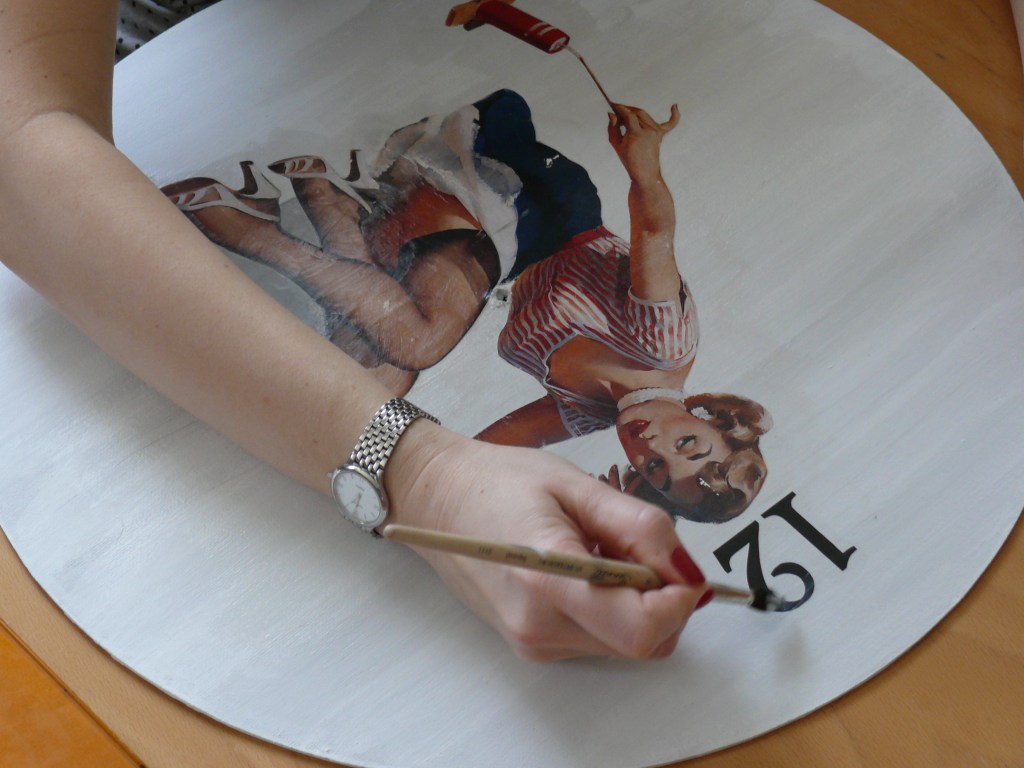
3) Cut out the image and place it on the desired area on the board. Cover it with decoupage glue. You need to do it little by little making sure that there is no air left underneath it.
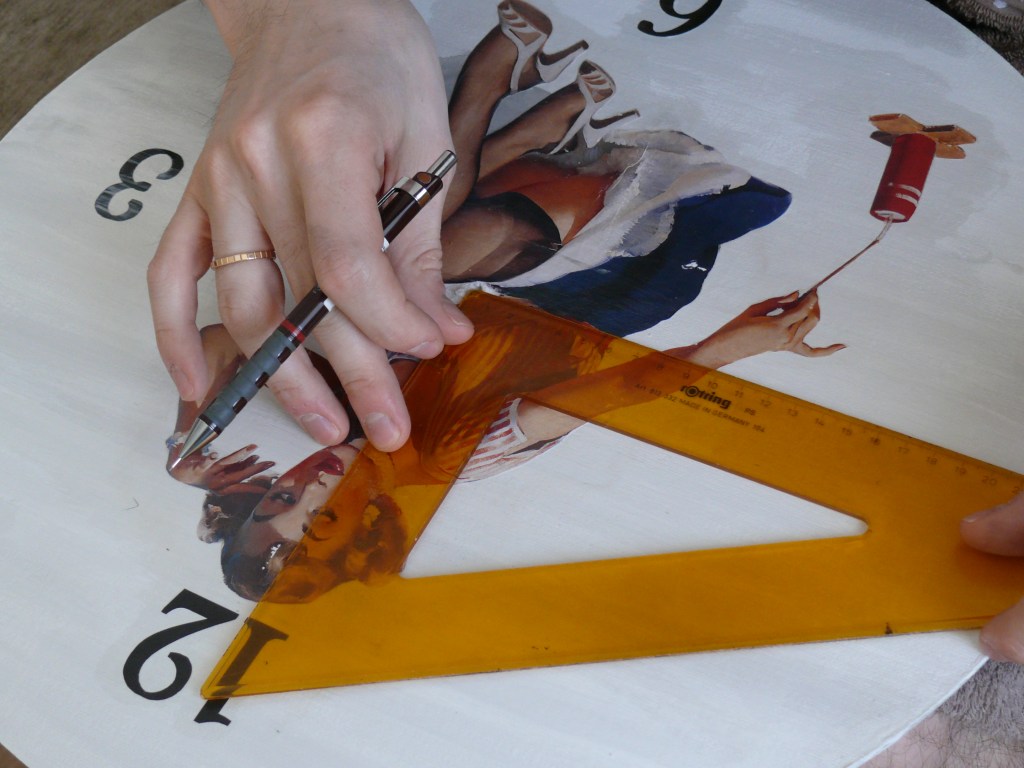
4) Cut out the numbers and allocate them on the board using ruler and angle meter.
5) Cover the numbers with decoupage glue. I covered the whole surface with the decoupage glue in order for it to look more even.
6) Let the surface dry completely. Cover it then with acrylic varnish – it will create a glossy look and also protect your creation from dust and moisture.
7) Insert the clock mechanism and put in the battery. Set the time!
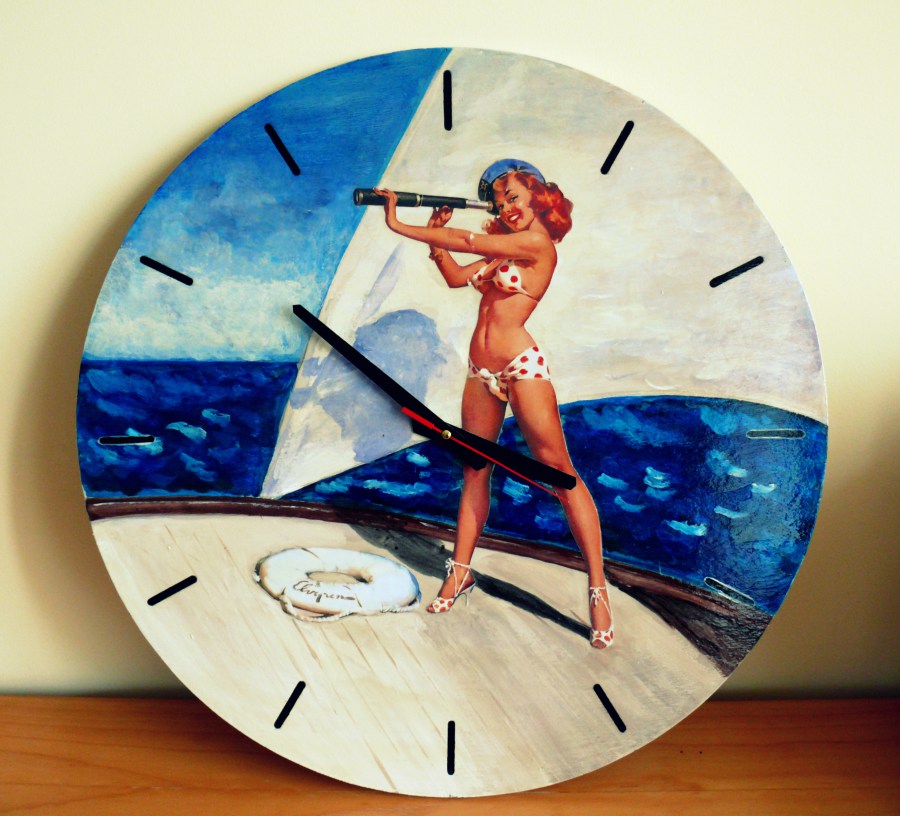
I liked the process so much that I immediately made the second one:
Check out my eBooks about Interior Design:

