Plain off-white lampshades may look so dull. My table lamps in the bedroom already started to irritate me, because the fabric on them was scratched, stained, dusty and so boring. I decided to refresh them by doing this easy do-it-yourself project. For those, who are like me, live in a rented apartment, it might be a quick and easy way to bring life into the space without spending a lot of money.
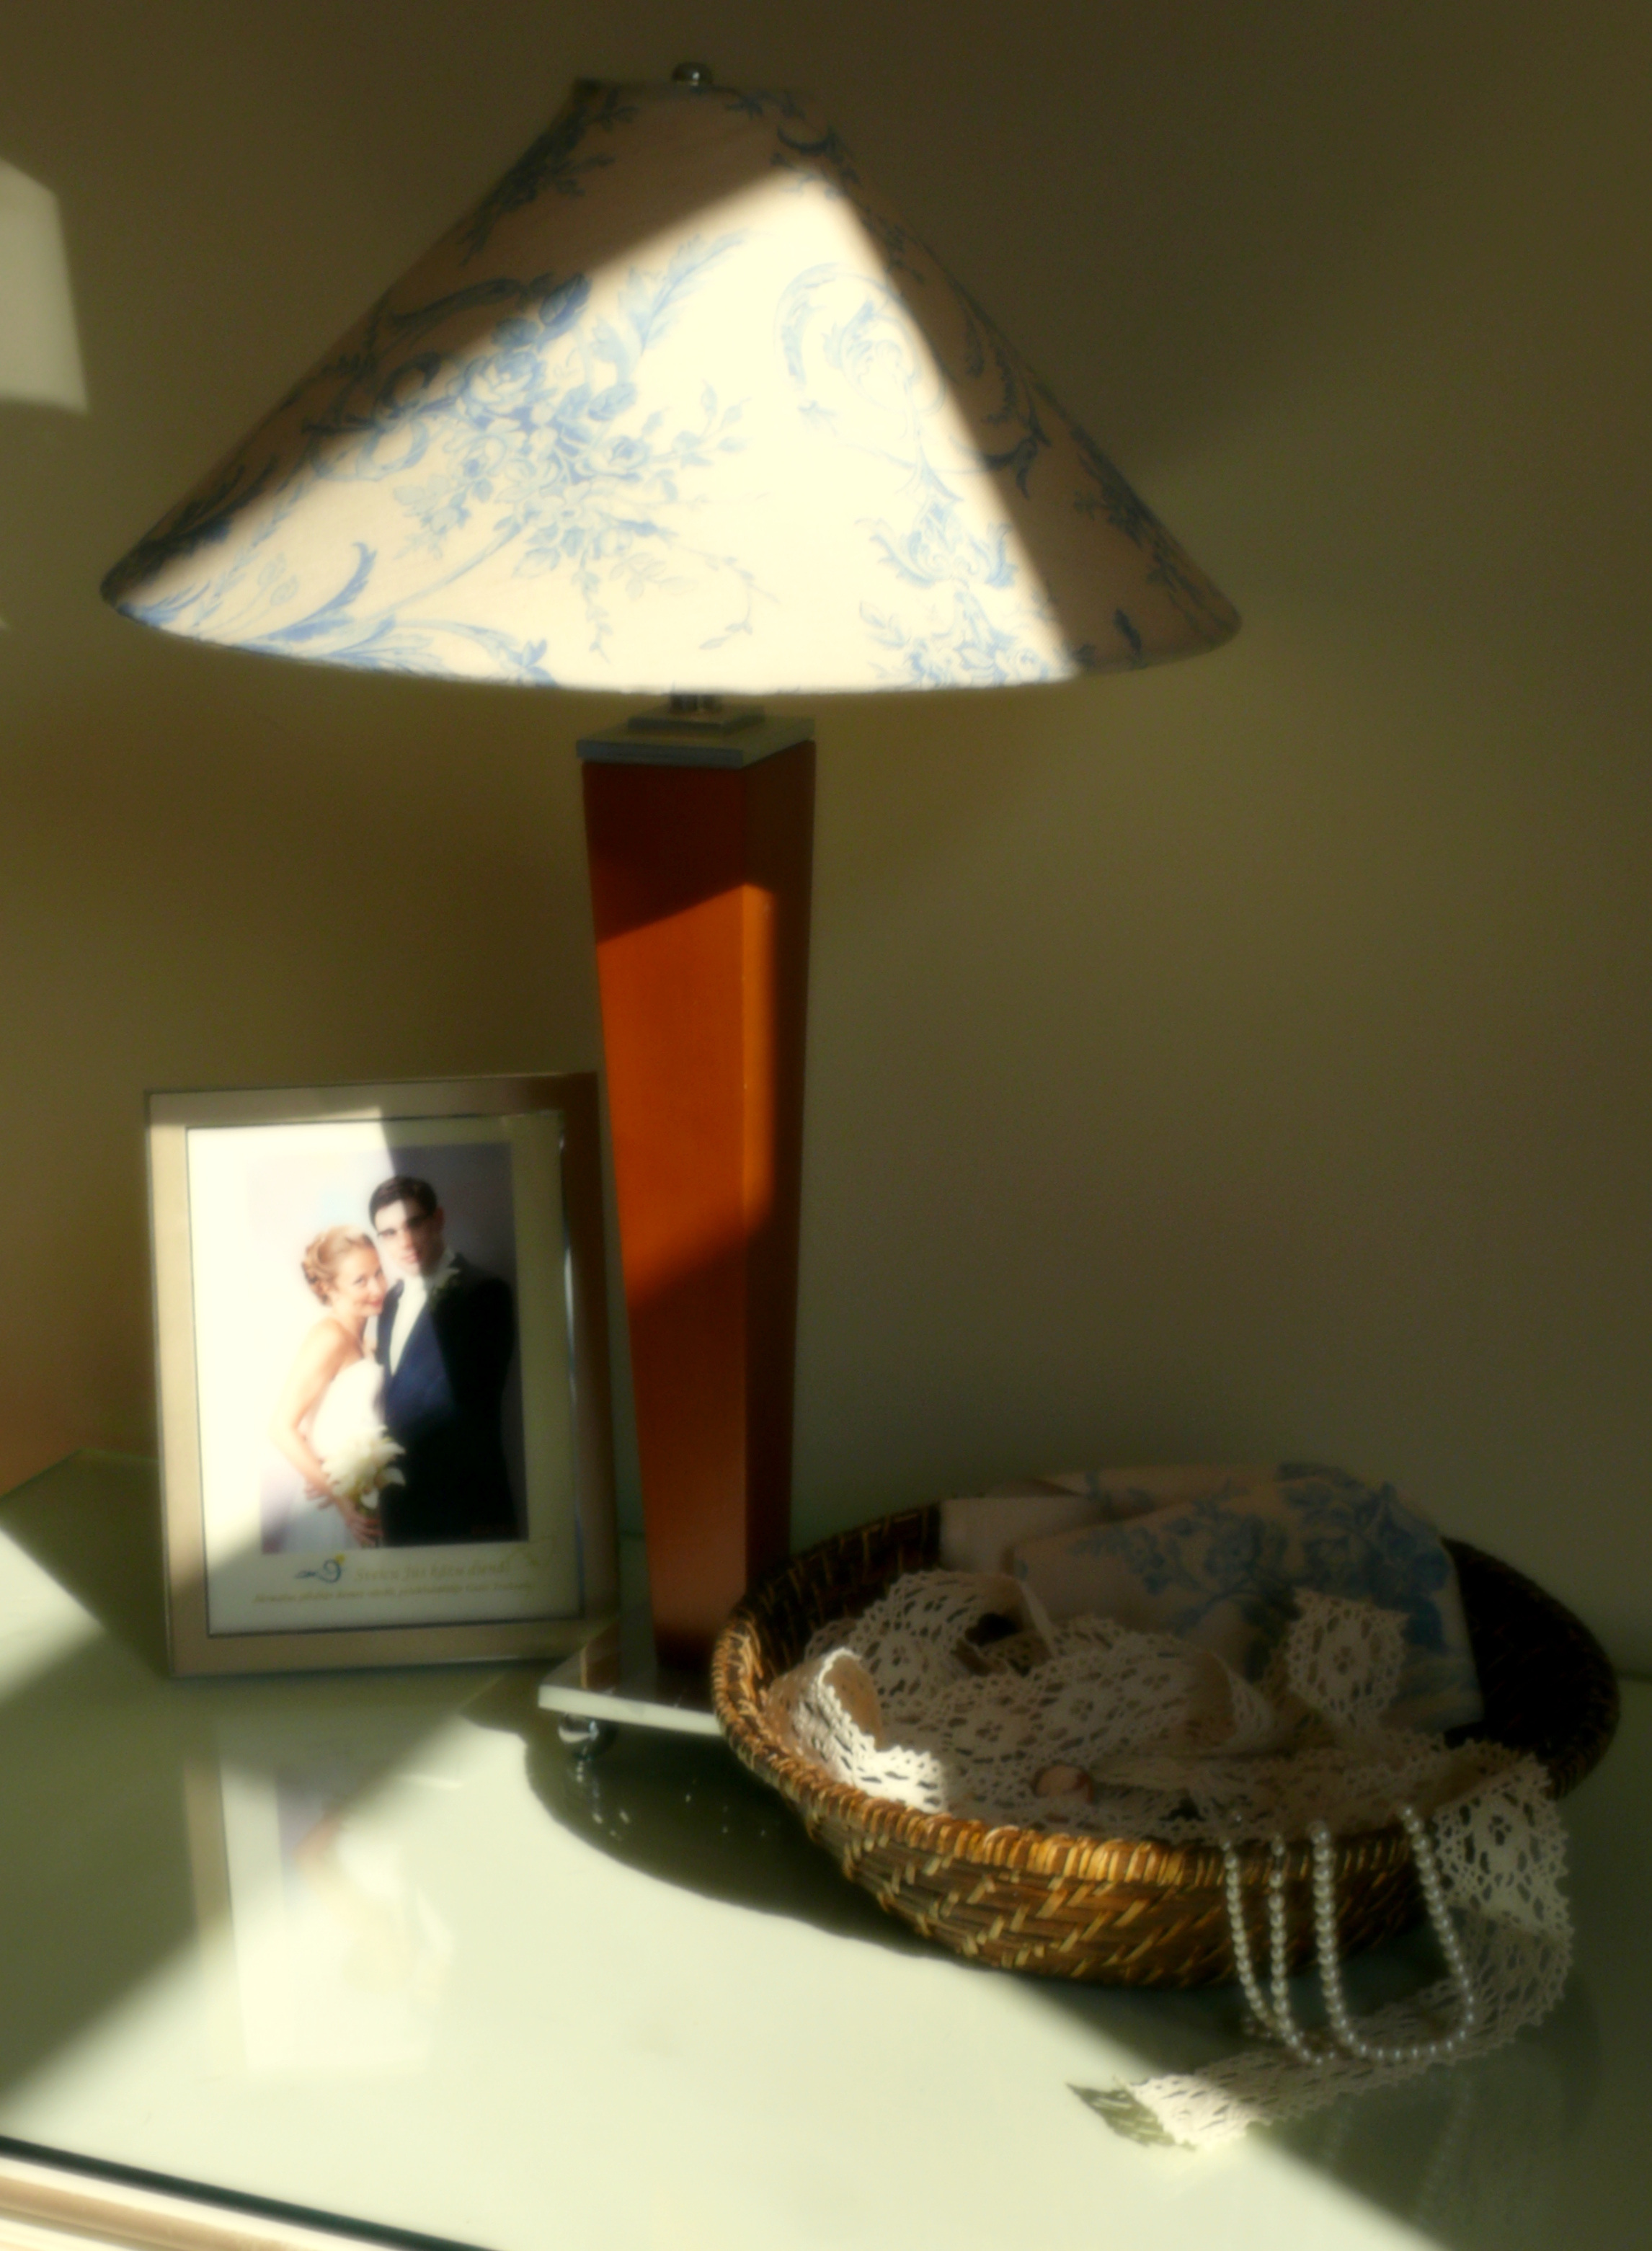
For my new lampshades I have chosen blue & white fabric by Laura Ashley which I found in the discounted textile shop in Riga. In my bedroom I wanted to create a romantic atmosphere with some vintage flavor. Actually by changing fabric on the shades you can match your lamps with an existing decor or get a certain ambiance in your room.
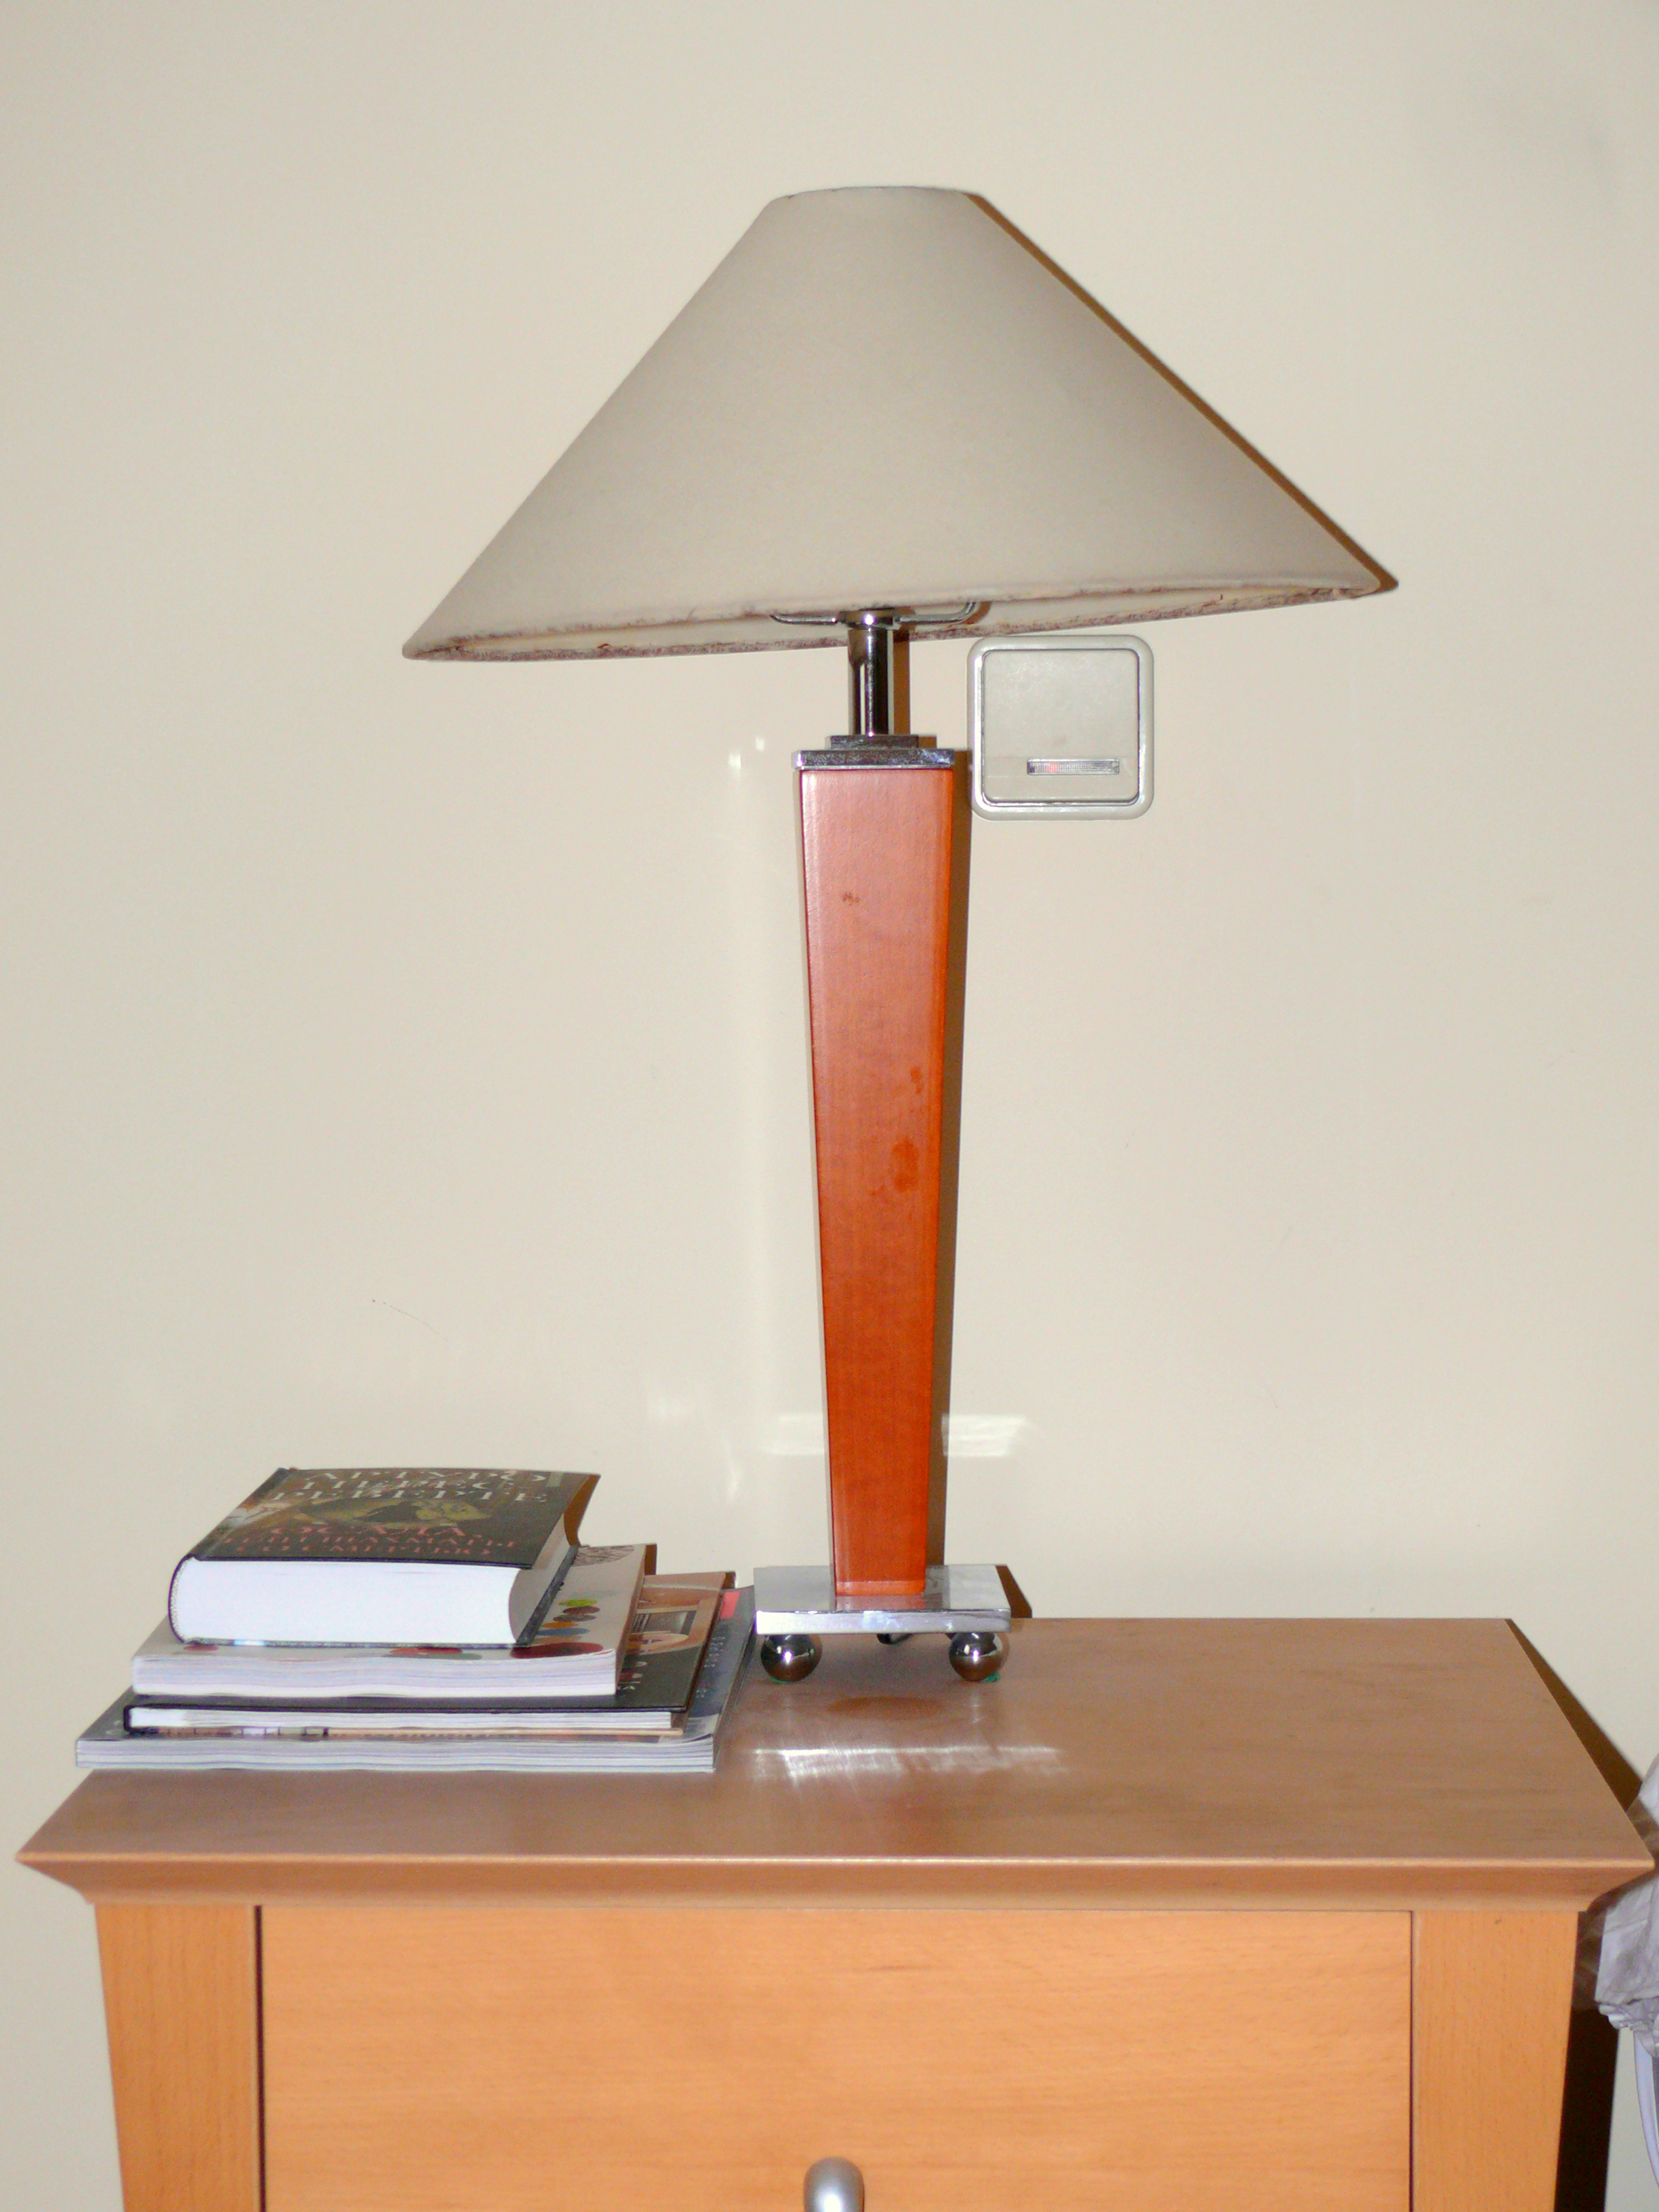
Lampshade before…
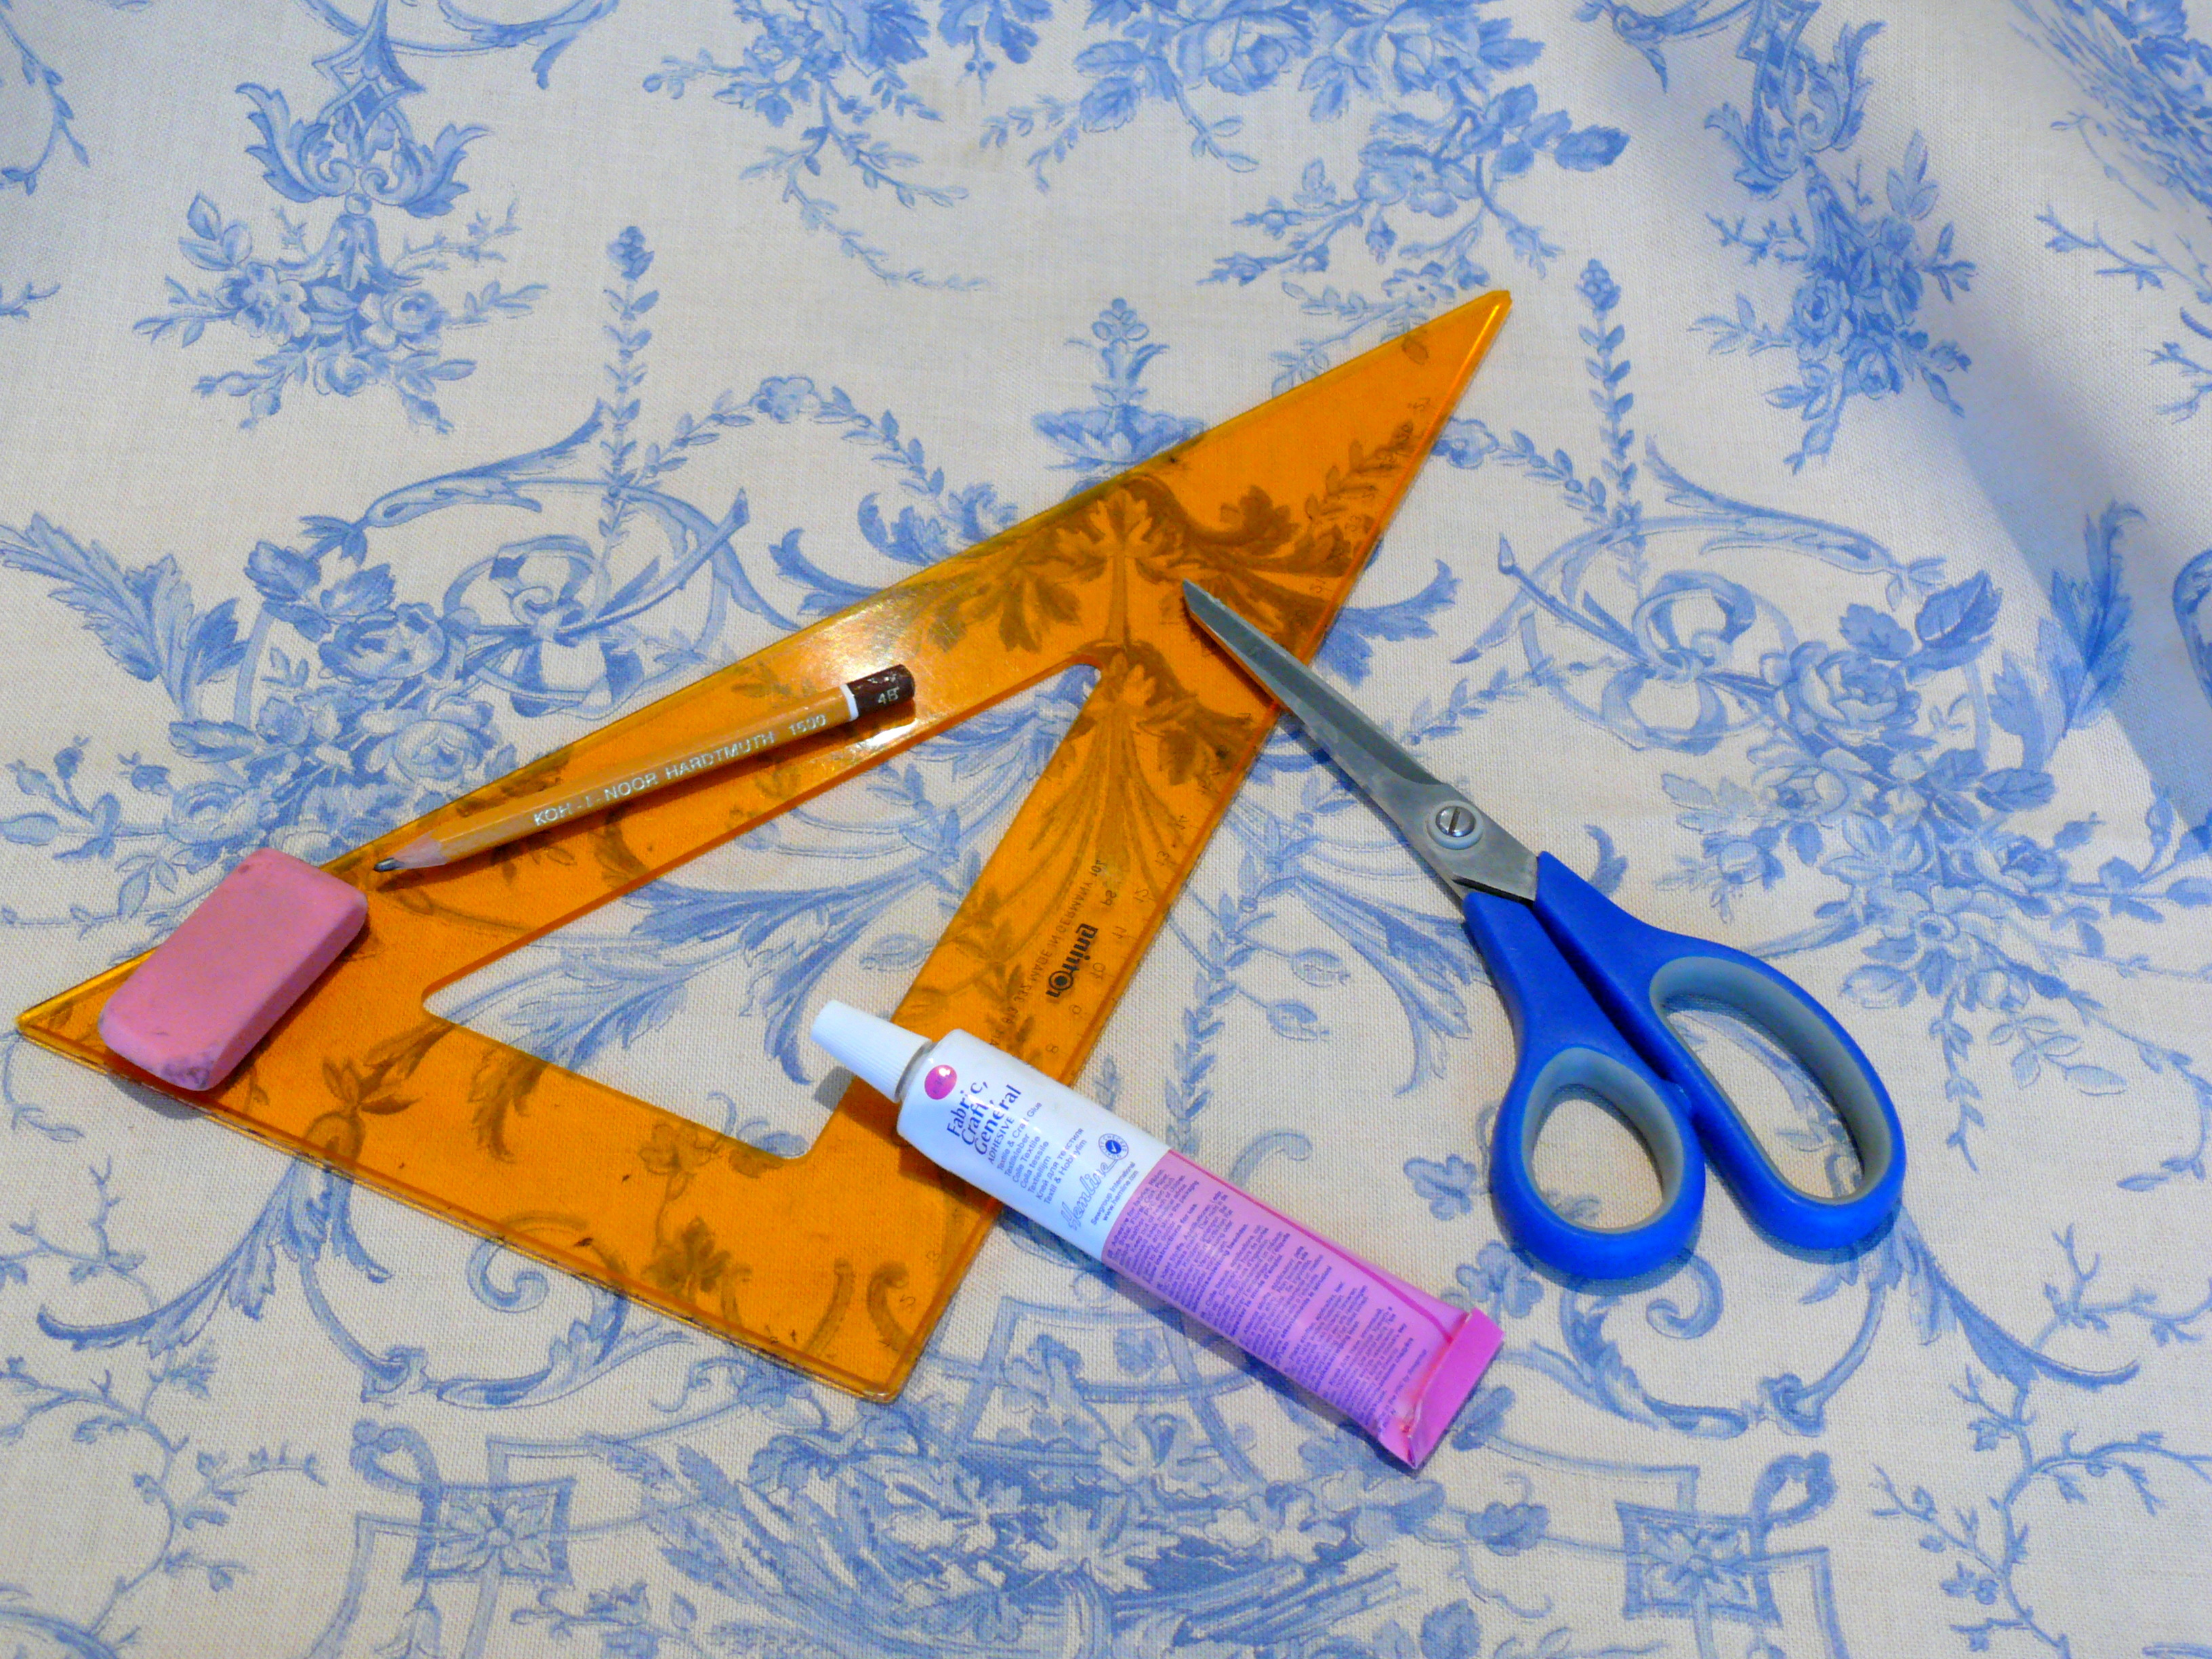
Required materials:
old lampshade
fabric (1 meter is enough for 2 lampshades)
fabric glue
pins
pencil
ruler
rubber
iron
Required budget:
Fabric Laura Ashley – I bought with discount at only 7 Eu per meter
Fabric glue – 7 Eu
Glue for plastics – 8 Eu
Instructions:
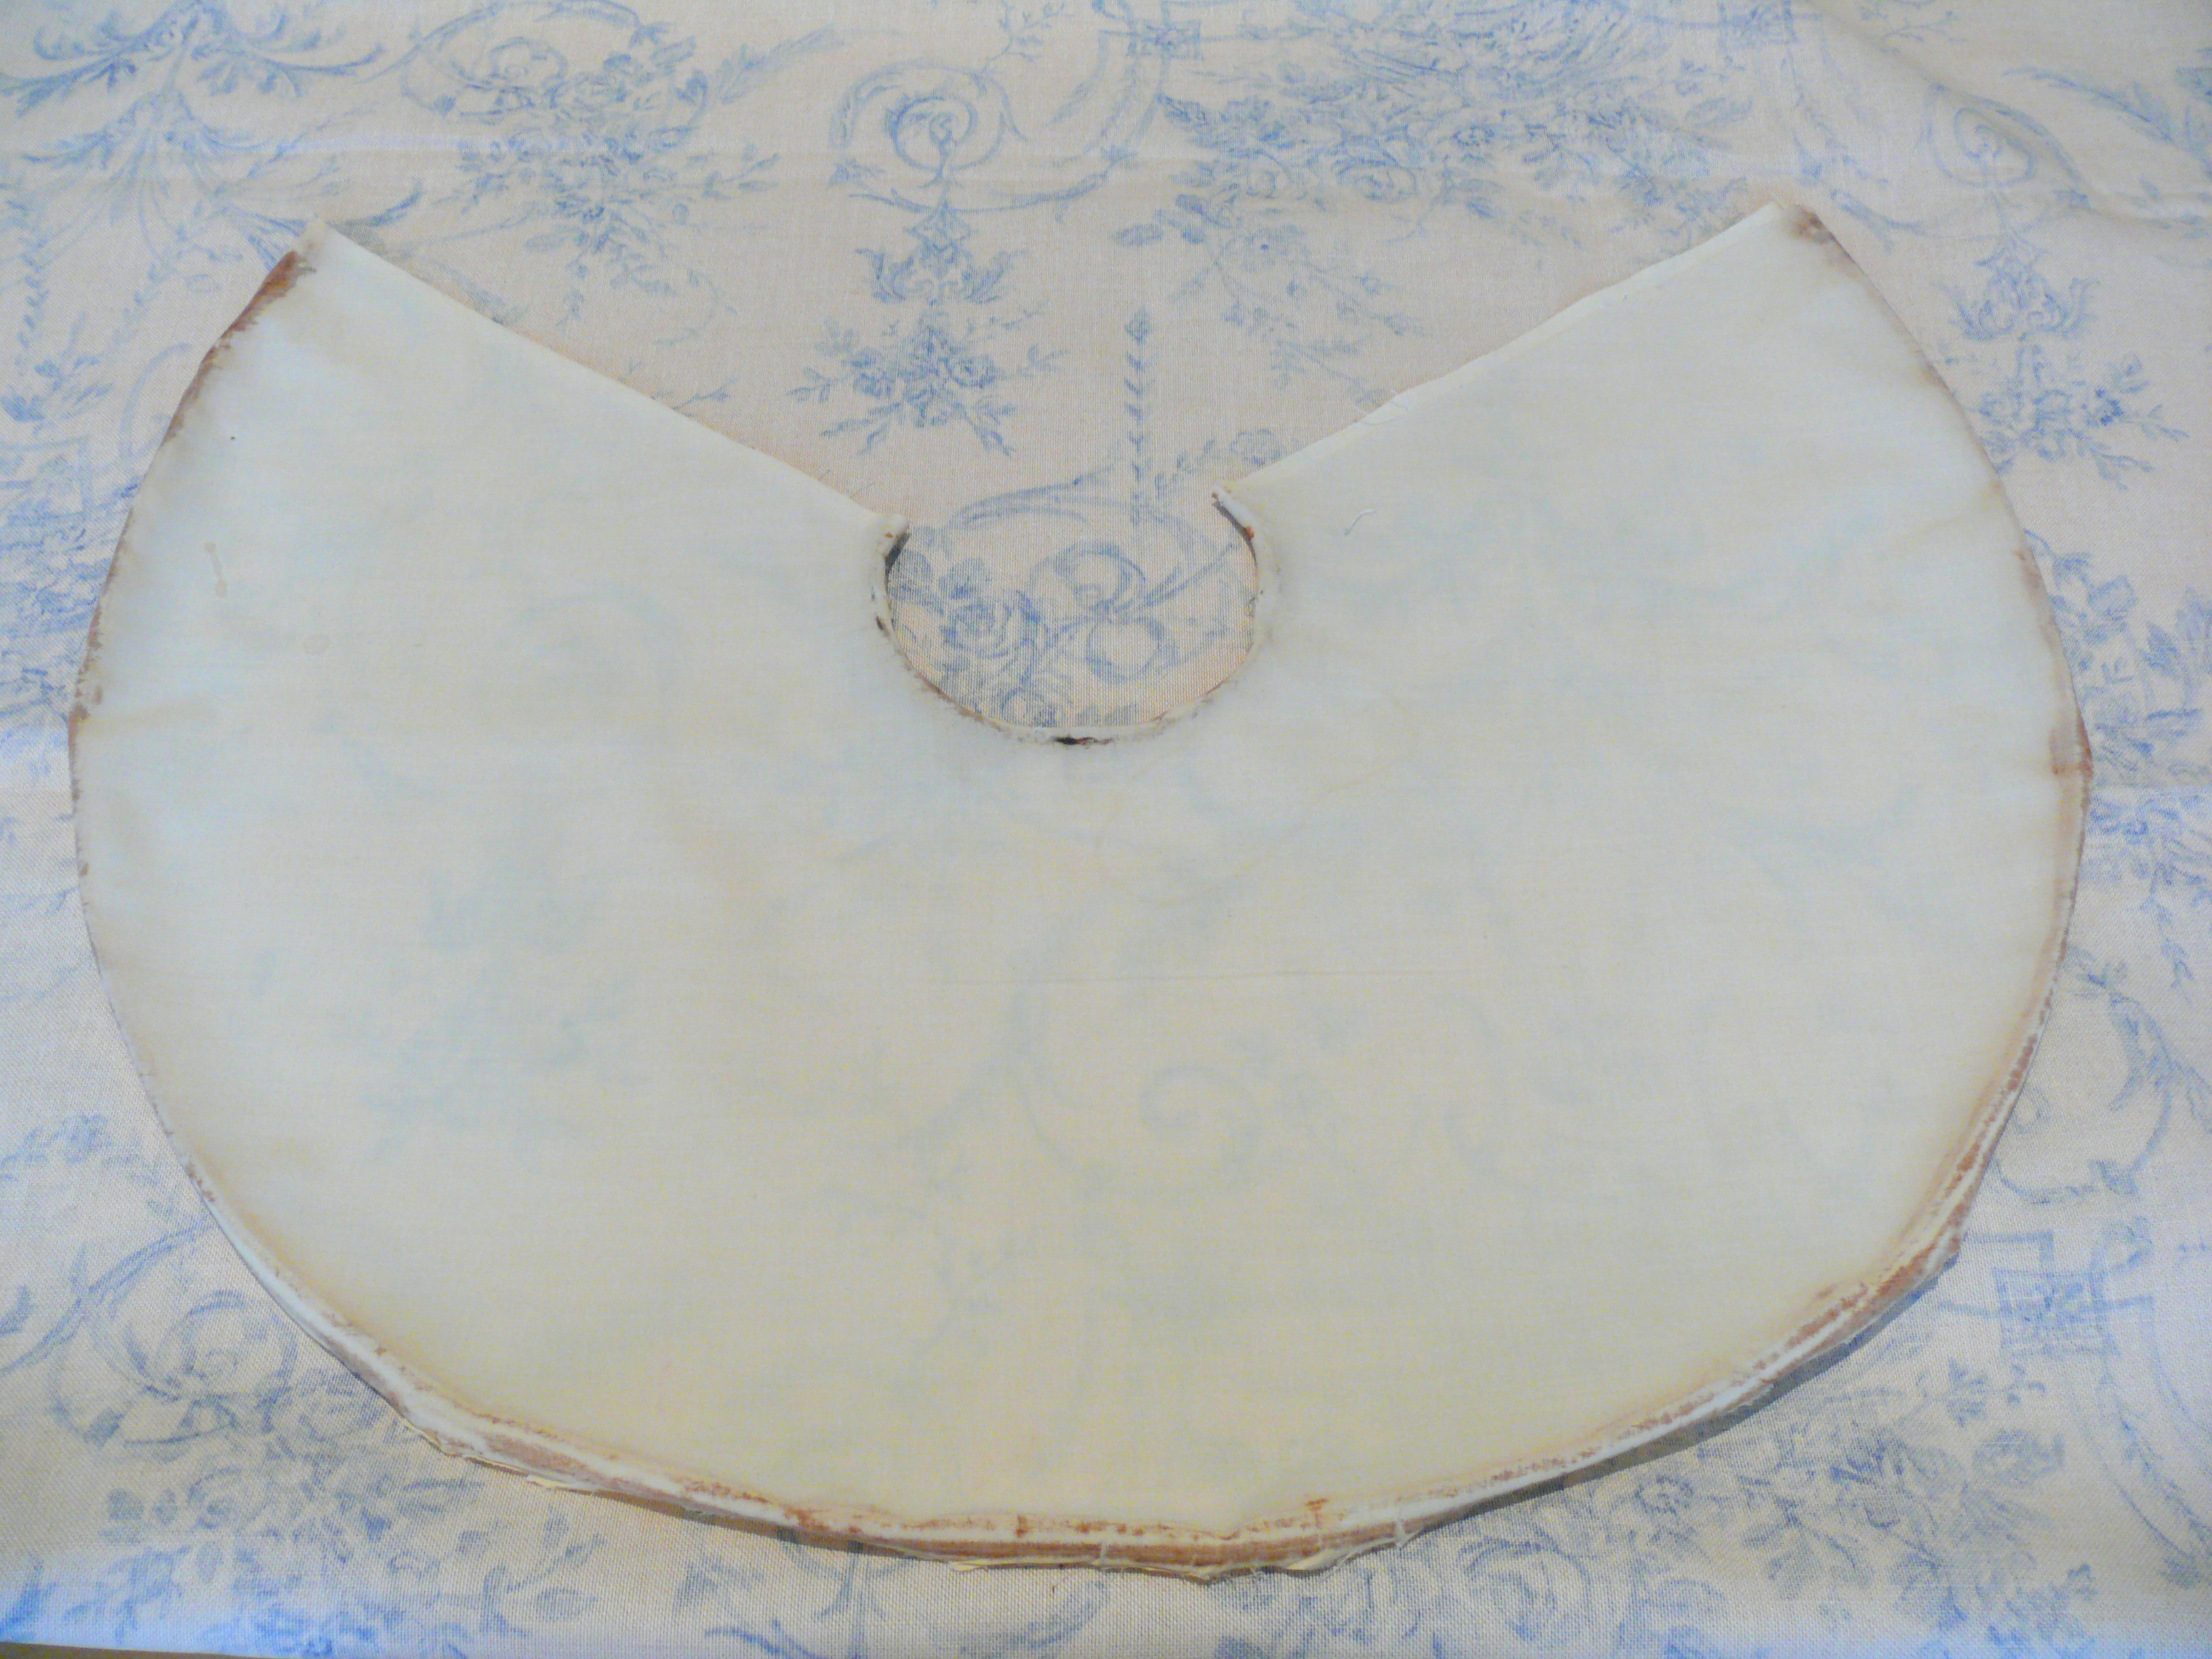
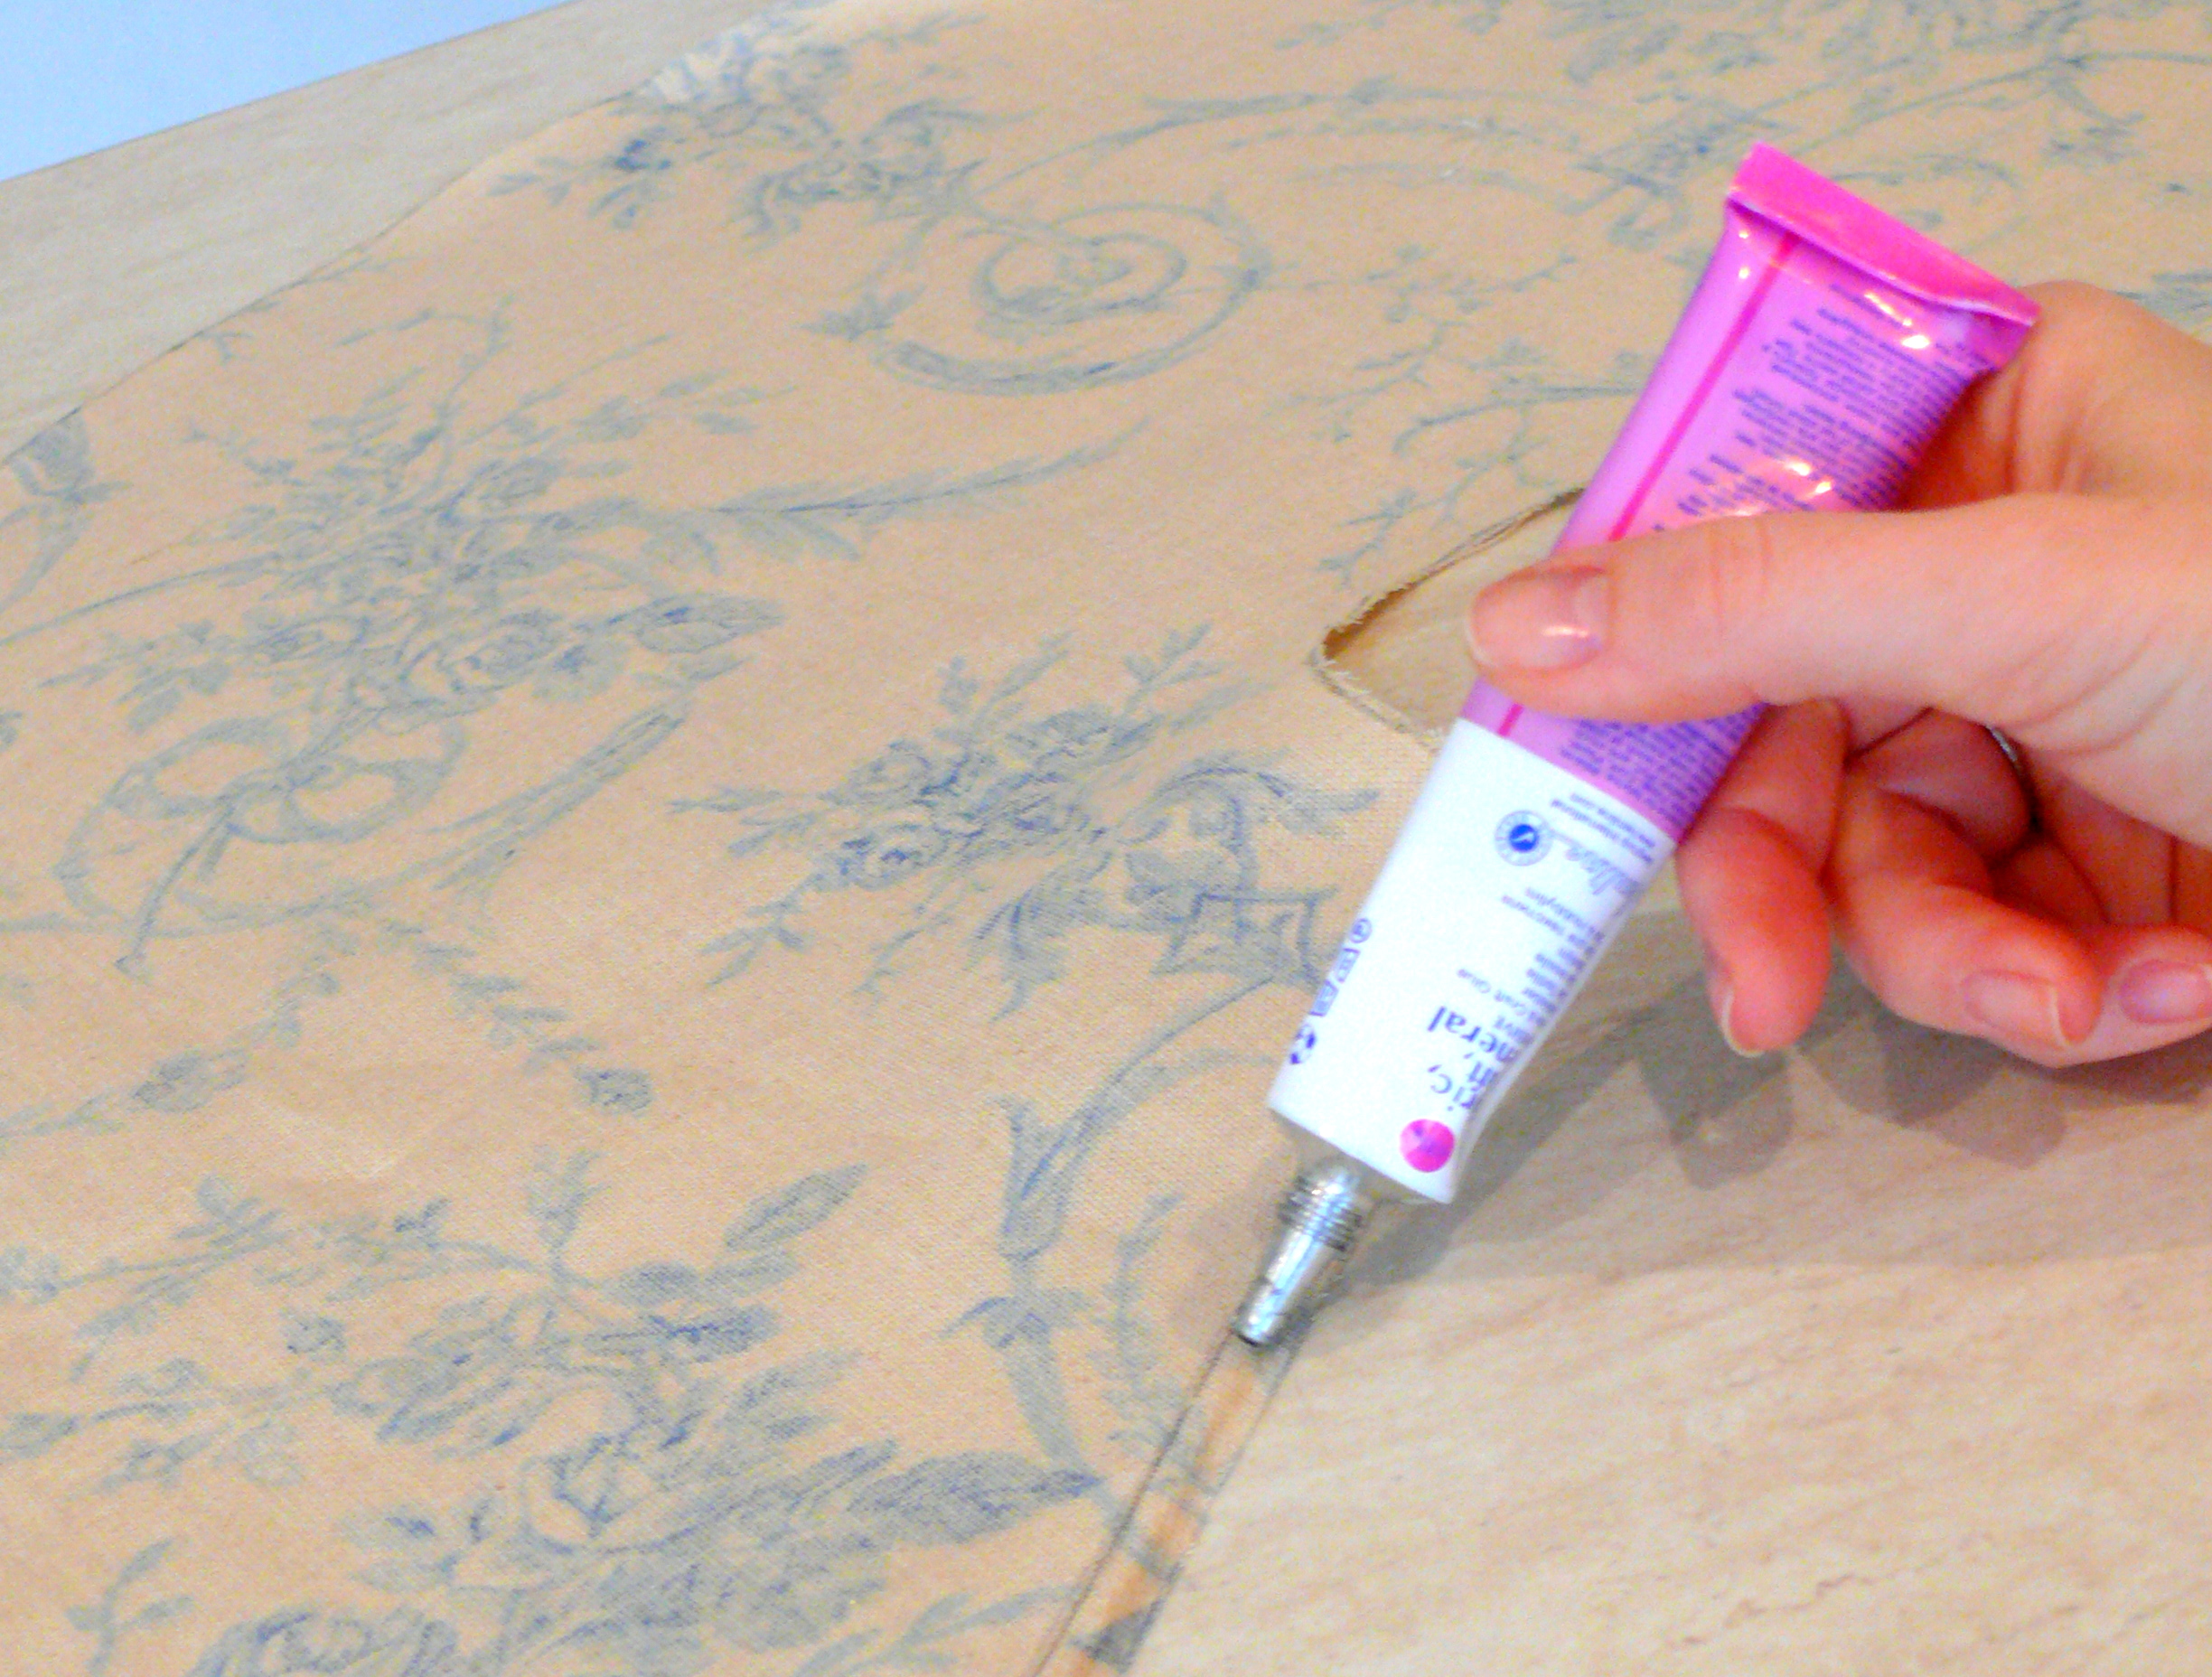
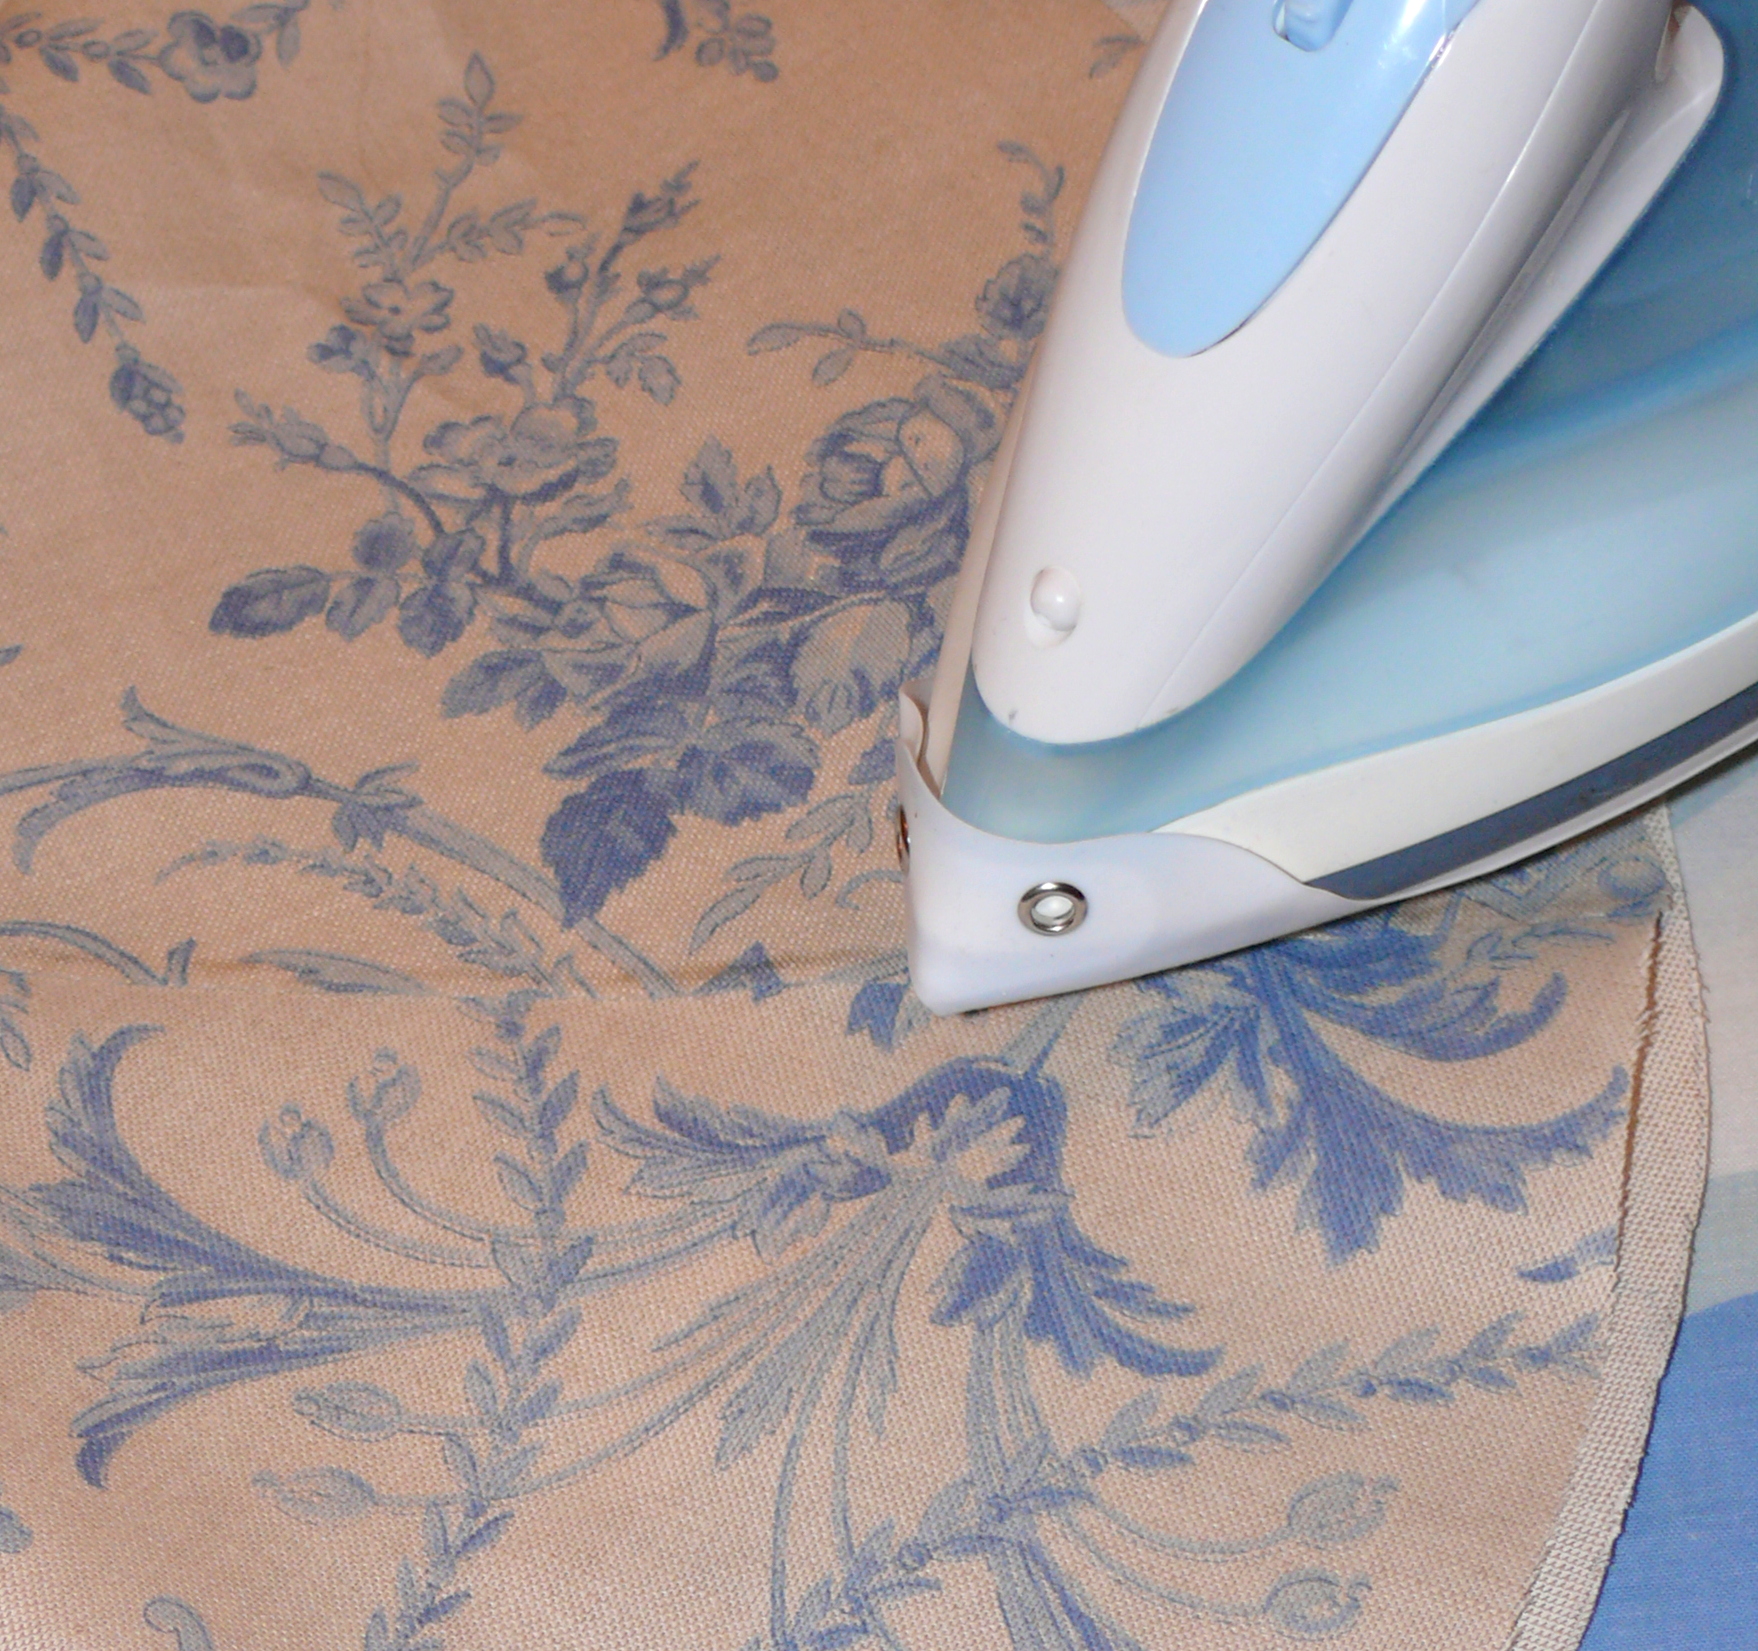
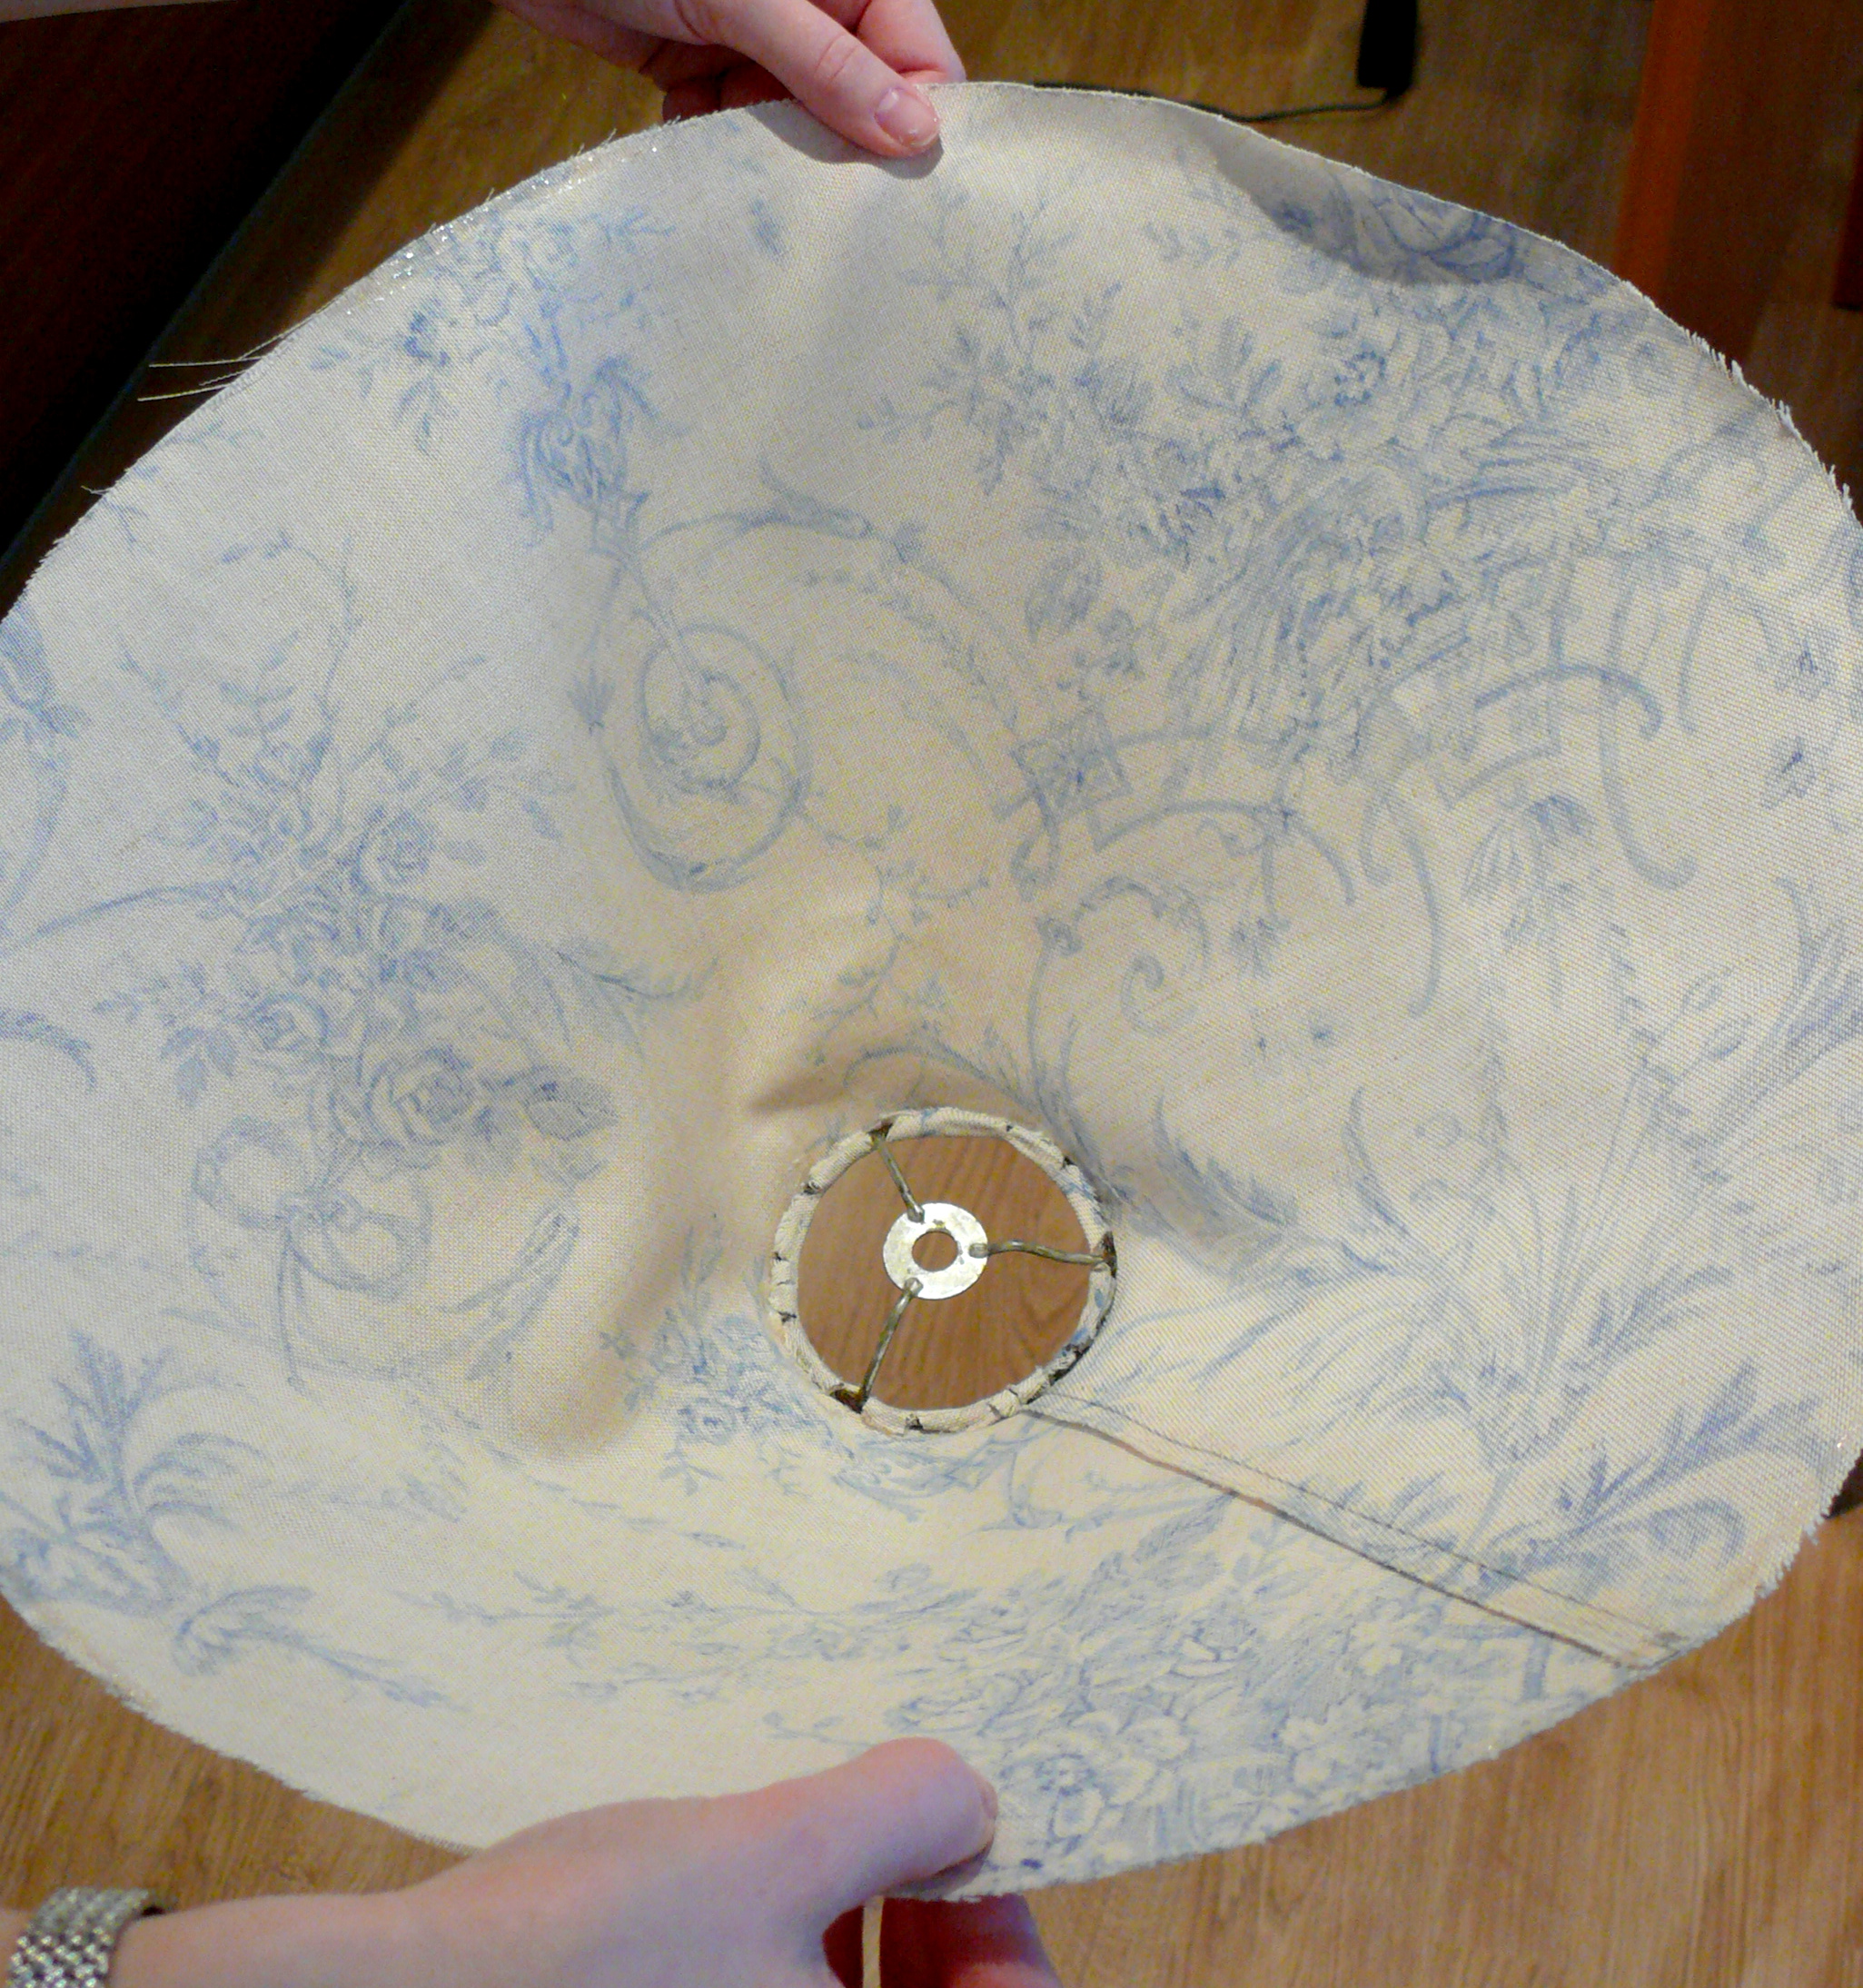
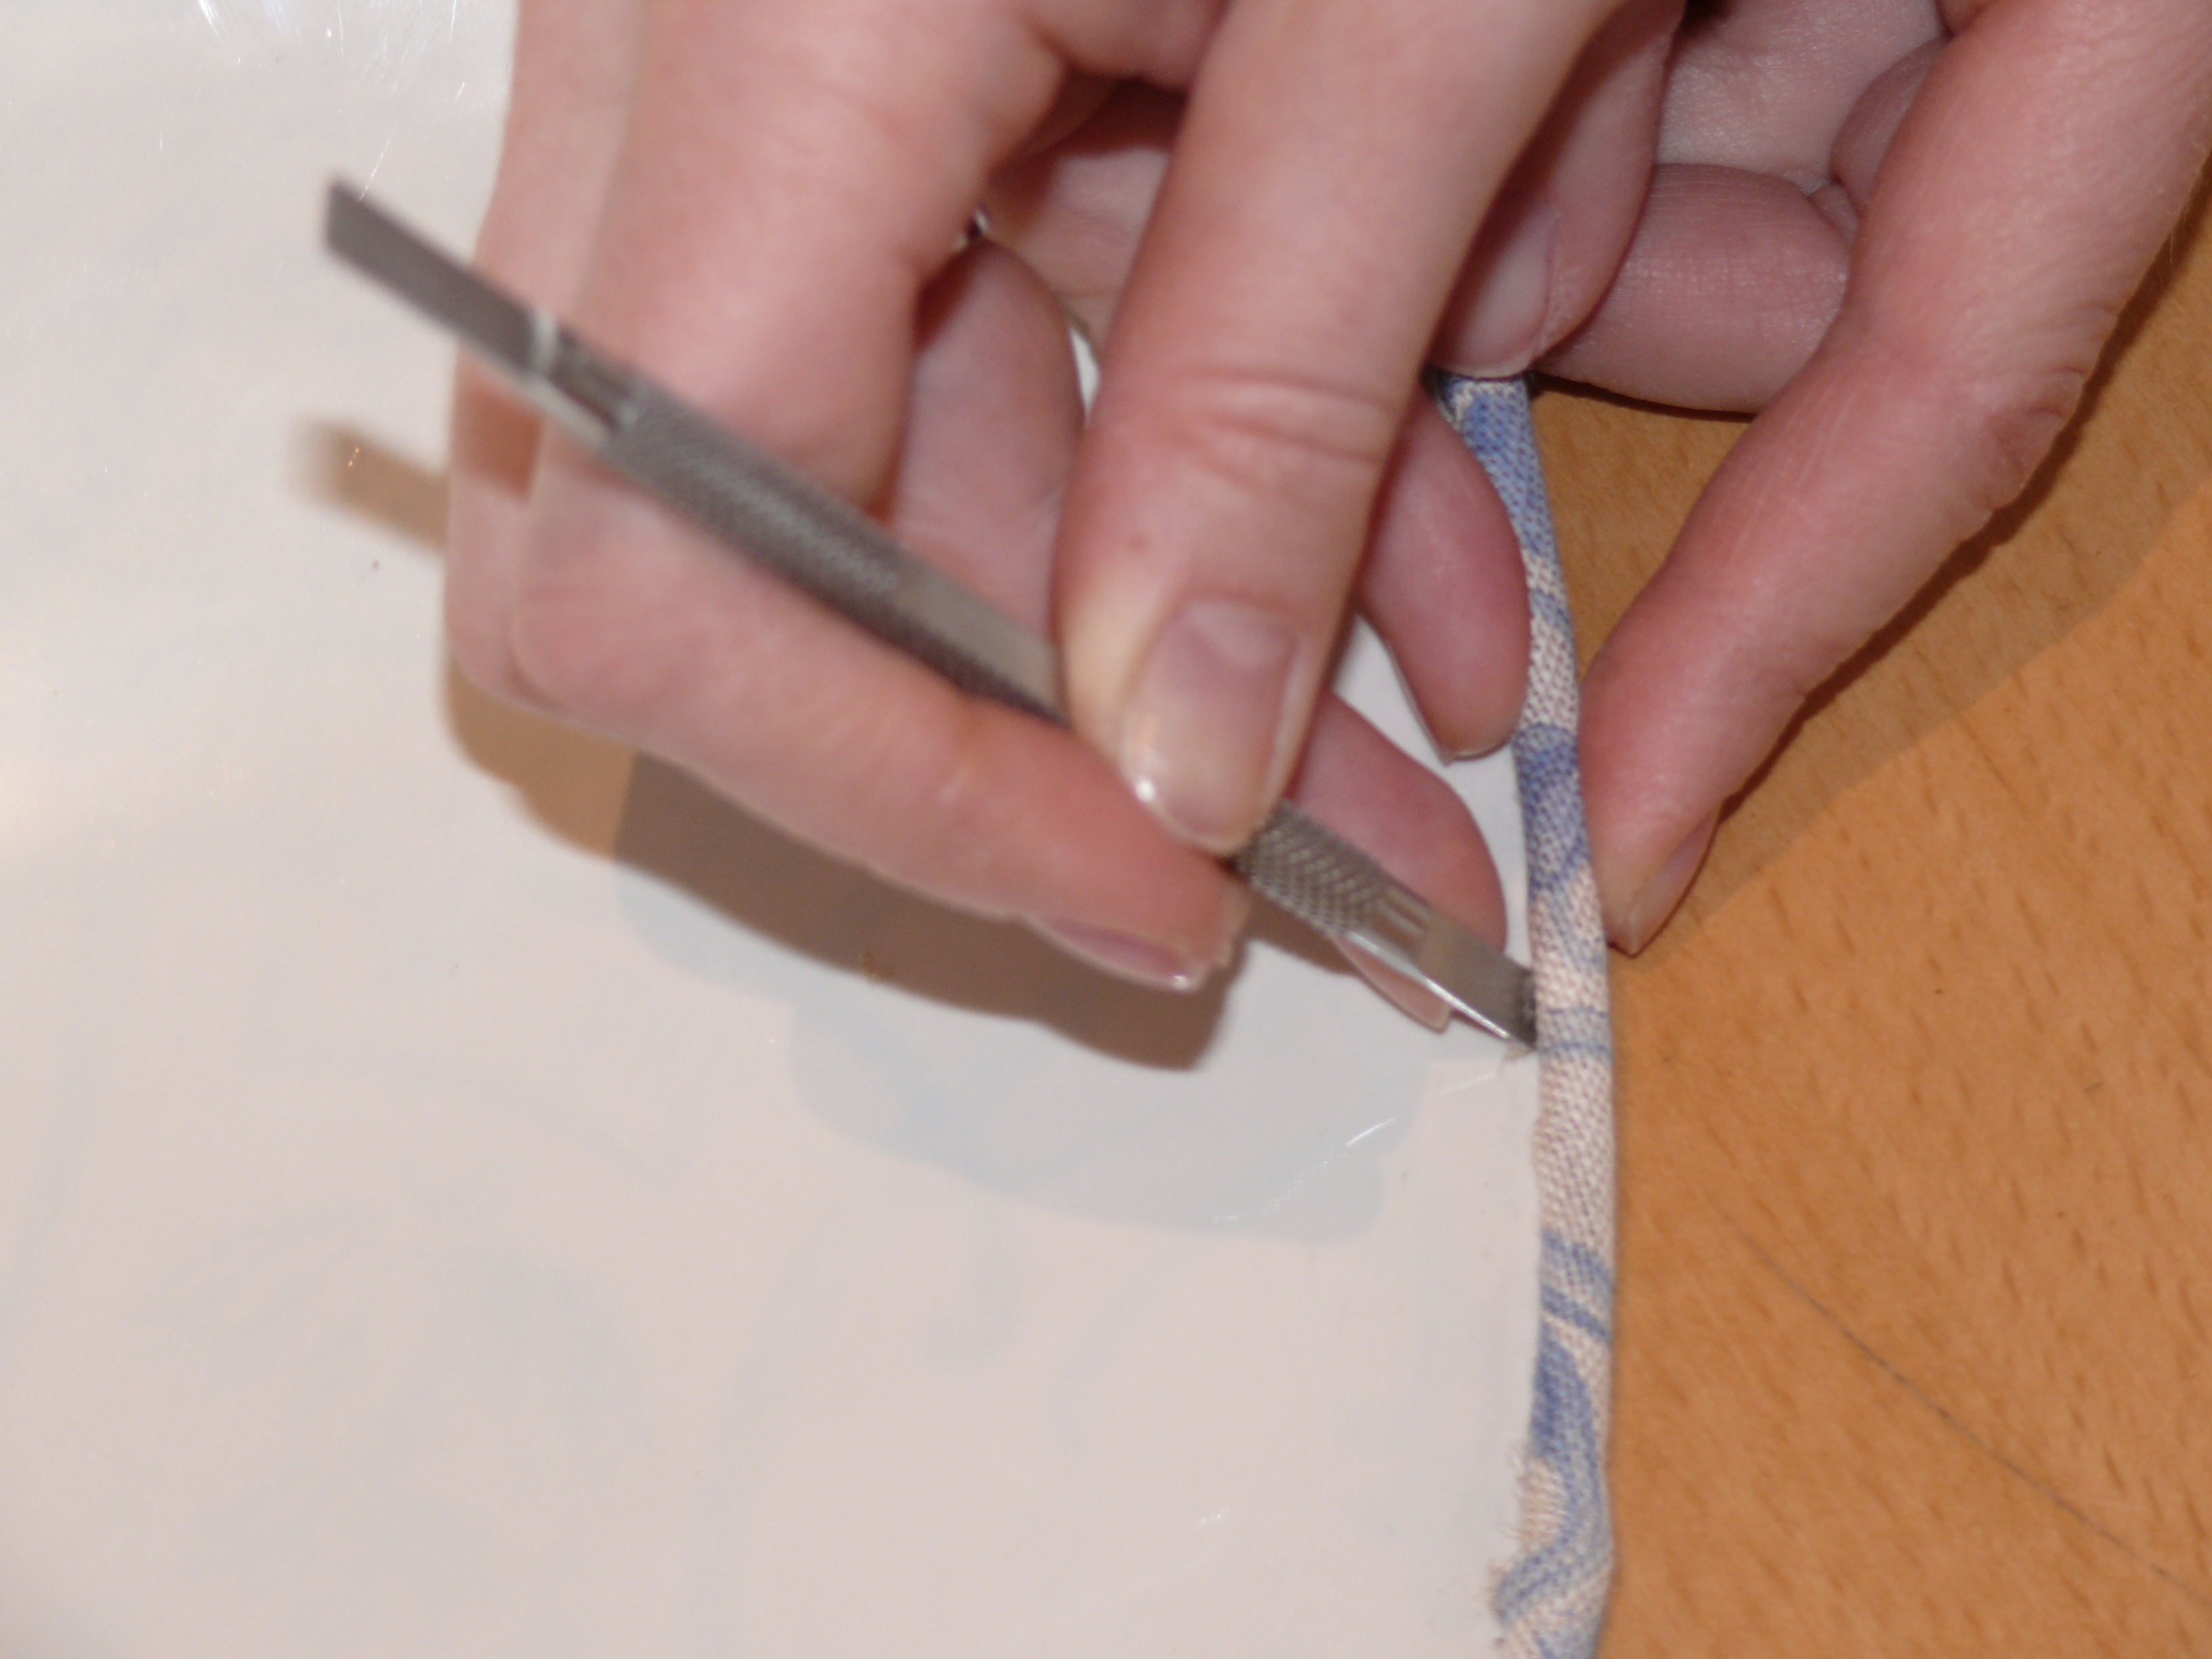
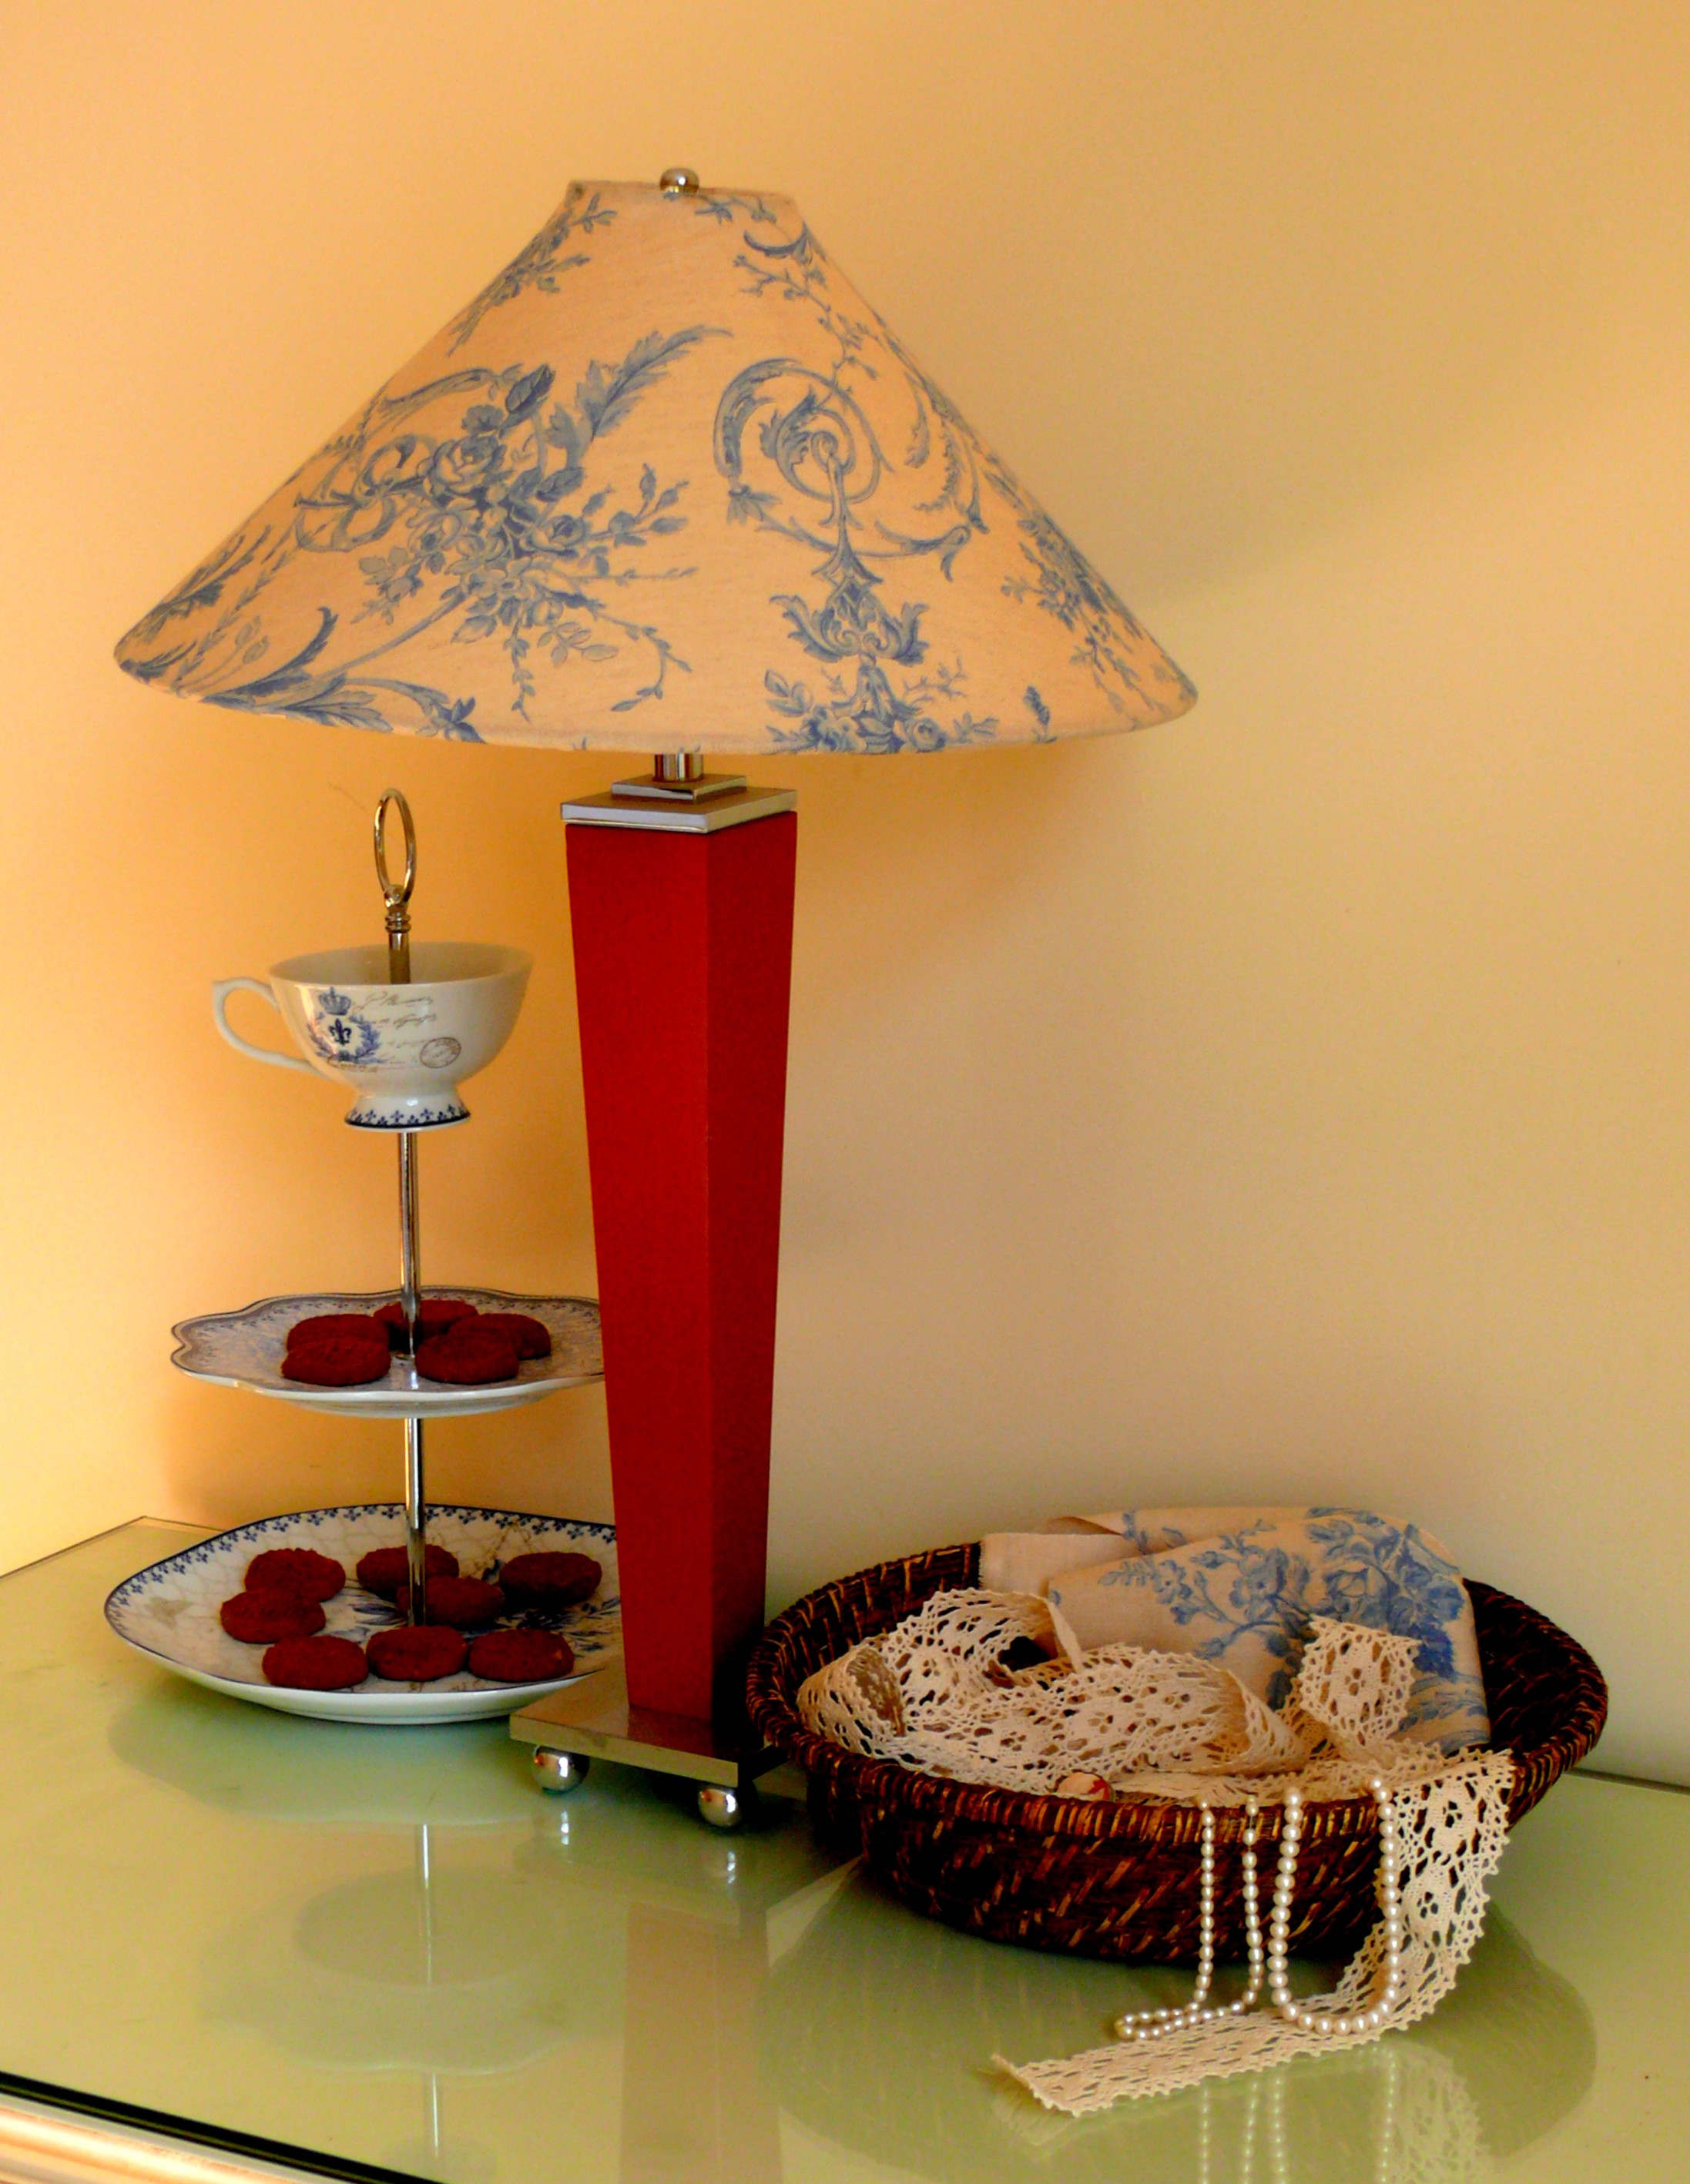
1) Accurately remove old fabric from the lampshade to use it as a template. Attach it with pins to the new fabric and draw the cutting line. Neatly cut it.2) Try new fabric on the shade and note with pencil the place where two sides join. If your fabric is thin, you might prefer to use a sewing machine to fix the joint. Since my fabric was quite thick I decided to use a fabric glue. If you prefer the second option, apply the glue to one of the edges like I did.3) Connect the joint. Some types of glue require ironing after application. When you do this, carefully press the whole fabric shade to remove wrinkles.4) Put the glue inside the top edge of fabric shade. Insert the metallic ring which was holding the plastic carcass. Fold the edges of the fabric inside the ring. You might need to make several little cuts to be able to fold it easily. Press firmly for glue to strengthen.5) Apply the glue inside the bottom edge of fabric shade. Insert the plastic carcass and fold the bottom edge of fabric underneath it. If your plastic shade got unstuck on the joint, use the special glue for plastics to fix it before putting fabric on it. Use something thin but not sharp to tuck up the fabric underneath the metallic ring. Attach the shade to the rack and your new lamp is ready!My lampshade after…
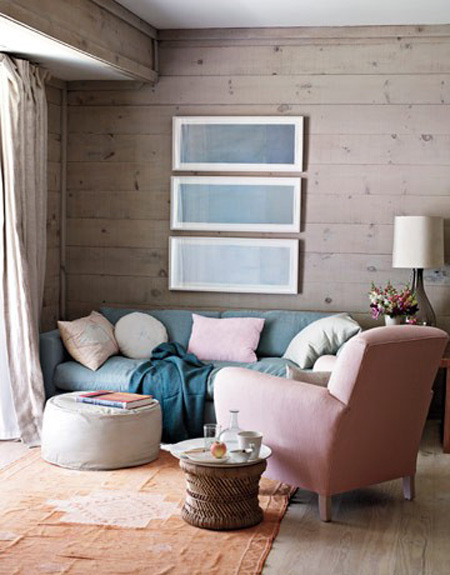
Spread the lovePastels colours are humble and calming, very feminine and soft. When the spring comes we always remember about them as they remind us of tender blossoms, bright blue sky and gentle warm sun. Pastels, in fact, are all hues on the colour wheel which are maximum close to white. They allow to create a…
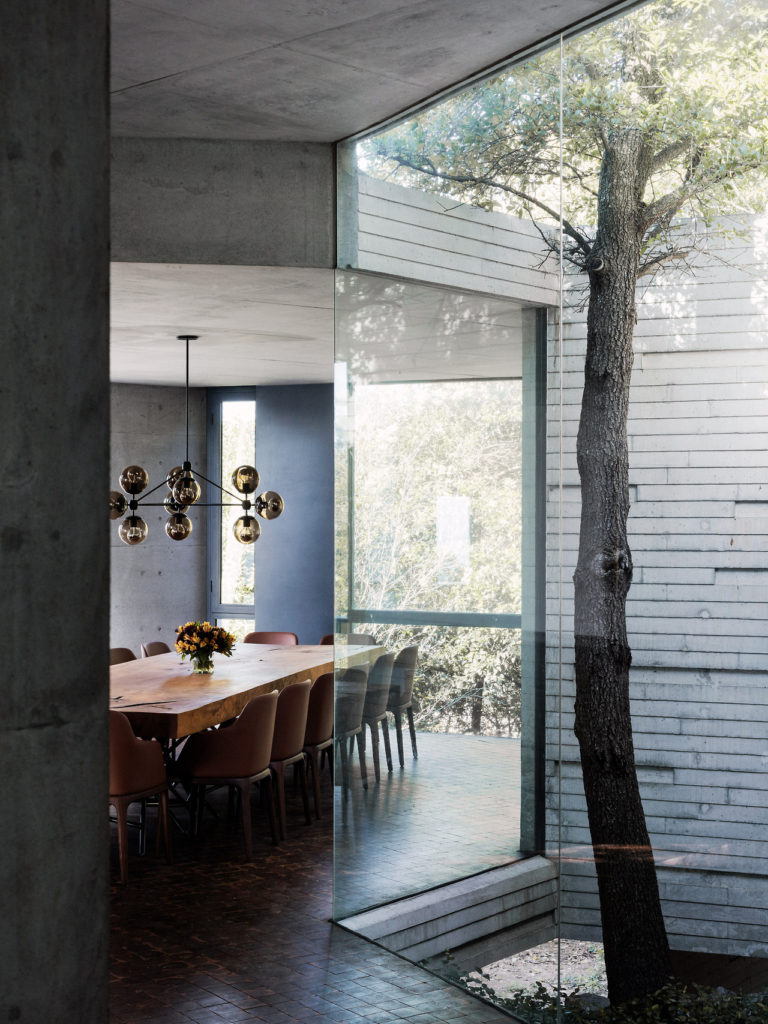
Spread the loveThe architecture of a space is as significant to its function as it is to its form, despite how often that detail may be overlooked. For example, in places that tend to receive a lot of snow, slanted roofs are utilized in order to keep the snow from building up. Otherwise, it could…
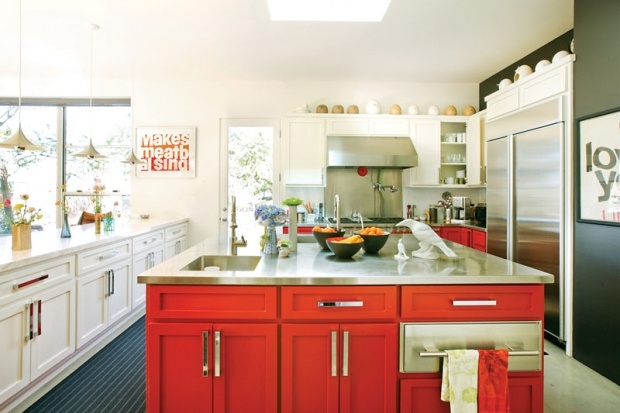
Spread the loveAs the heart of the home, the kitchen is one of the busiest and messiest spots. Cabinets get a good beating between cooking grease and grimy hands, and old appliances start to look outdated. It’s the room that first shows the sign of aging and as far as renovations go – the kitchen…
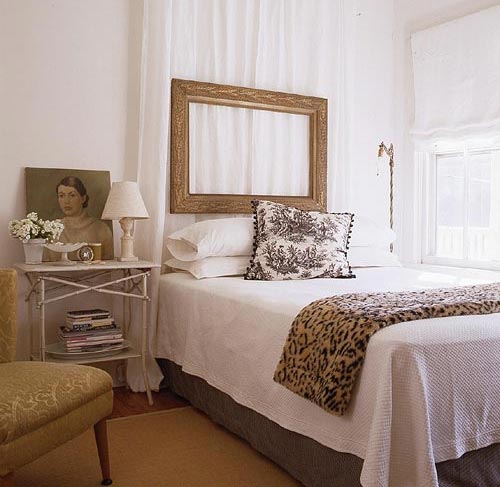
Spread the loveAs I already mentioned, I am very busy with my bedroom makeover. Now when the walls are painted and the main dirty work is done, it is time for my favourite part – decorating itself. One of my serious concerns is the bed, or the headboard to be precise. The challenge is that…
Spread the love(Updated January 2019) Undoubtedly CAD software has become today an essential part of Interior Design business. If several decades ago it was impossible to imagine Interior Designer who cannot draw, today it becomes reality: more and more Interior Design students do all renderings by means of CAD software. We can discuss long hours…
Spread the loveThe beauty of a house lies in maintenance and general improvement. A house might be fancy, beautiful, and extremely large, but if it is not well maintained, it is just as good as junk. Owning a place brings out the home improvement knack in all of us. It is essential to know a…

 Plain off-white lampshades may look so dull. My table lamps in the bedroom already started to irritate me, because the fabric on them was scratched, stained, dusty and so boring. I decided to refresh them by doing this easy do-it-yourself project. For those, who are like me, live in a rented apartment, it might be a quick and easy way to bring life into the space without spending a lot of money.