DIY Decking: How To Build You Own Outdoor Deck
An outdoor deck can be a fantastic feature to add to your backyard. Whether you’re dreaming of barbecues with friends or a quiet spot to sip your morning coffee, a deck can serve as the perfect designated area to unwind, providing a hard and even surface for furniture, while also being a value-boosting eye-catching structure.
You can hire professionals to build a deck for you. However, it can also be a rewarding DIY project (doing it yourself is also likely to be much cheaper). In this guide, we’ll explore the steps required to build a deck.
Why Build a Deck? Getting Started With Planning
Before you pick up a hammer, make sure that you’ve clearly planned out your deck. Beyond aesthetics, you need to make sure that your deck provides functionality and longevity.
Start by assessing your yard. How much space do you have? What’s the terrain like? This is where you decide between a ground level deck or a raised deck. Ground level decks are much simpler to design and build and are excellent for flat yards. Raised decks may be necessary if you have a sloped yard or want to add height to access views – these decks are more complex to build, require strong support and possibly need permits.
Speaking of permits, if you think you may need one, consider applying early. The application process can take a while and you could get heavily fined if you start building your deck before you’ve been granted your permit. You’ll need to have a fully-sketched design with measurements in place, so start visualizing the type of deck you want. This is also a good time to consider the cost of your project – set a budget and work out what materials and what size of deck this will get you.
Choosing Your Tools and Materials
The type of materials you use can make or break your deck. Begin by thinking about which type of wood you should choose? Pressure-treated lumber is typically an affordable and durable option that is rot-resistant. Cedar and redwood offer natural beauty and insect resistance, but cost more. Composite woods can mimic wood without the need for constant maintenance, making them another popular choice. In all cases, choose timber rated for outdoor use.

When it comes to fitting all this wood together, you can use nails, however galvanised deck screws are typically stronger and resistant to rust. Use 3-inch screws for joists and shorter ones for boards. Joist hangers, flashing tape (to prevent water damage) and sealant (for finishing) are other materials you’ll want to stock up on.
The foundation is important to consider too. On uneven ground, concrete deck blocks could be an effective no-dig solution. These pre-cast blocks provide stable support without pouring footings – they’re ideal for smaller decks. Place them strategically under your joists to provide even weight distribution. Gravel and landscape fabric could be useful to have too.
What about tools? You’ll need a hammer for nails and a cordless drill for screws. If you’re cutting boards and joints to length yourself, an electric saw could be useful to have too. Also consider other basics like a tape measure, spirit level and brushes (for applying sealant – although a deck stain pad is preferable). A shovel will also be needed for preparing the area.
Step-by-Step Building Guide
The deck is planned and we’re all tooled up. Time to get your hands dirty! Different styles of deck will require different steps to build. For this guide, we’ll focus on the steps required to build a standard ground deck, while pointing out a few adjustments for raised decks.

Step 1: Prepare the site
Clear the area of grass, rocks and debris. Use a shovel to level the ground, but try to provide a slight slope away from the house to encourage drainage. Lay down landscape fabric to prevent weed growth and then consider adding a layer of gravel for stability. Next, position your concrete blocks every 4 to 6 feet along the perimeter and interior, making sure that they are level. For a raised deck, you’ll need to dig post holes and set posts in concrete instead.
Step 2: Build the frame
Cut the outer frame to size – this includes the ledger, rim joists and beams. If the deck is going to be attached to your home, you’ll need to start by screwing the ledger boards to your home, while using flashing to protect against moisture. Assemble the frame over your concrete blocks, securing joists every 16 inches switch hangers and double checking that everything is square. Getting the frame right is crucial: a wonky frame means a wobbly deck.
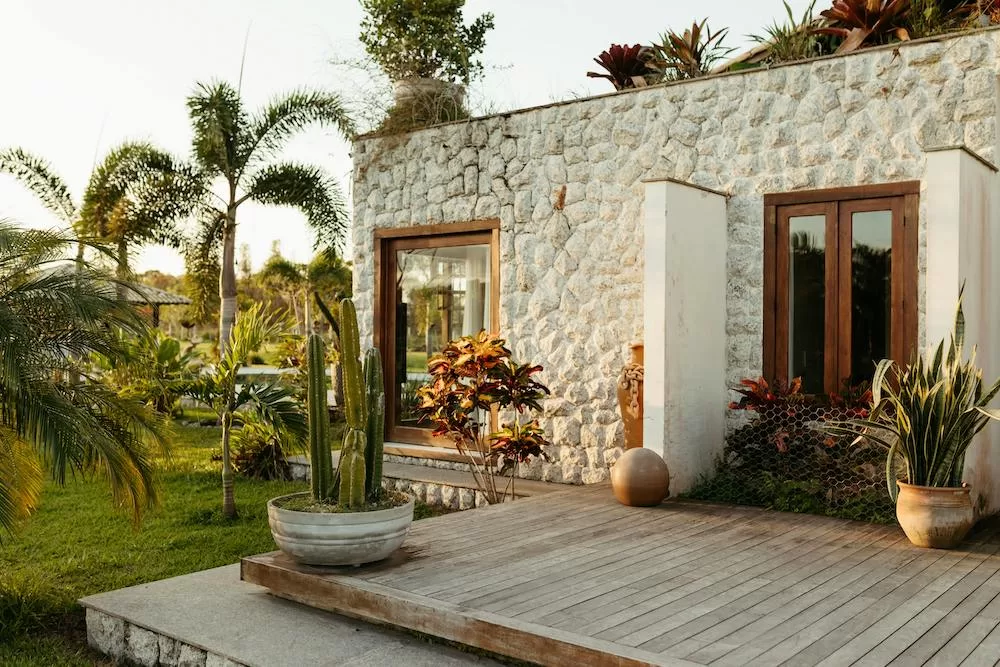
Step 3: Install the decking
With the frame in place, you can now add your boards. Lay them perpendicular to your joists, starting from the boards closest to your house and working out. Space them ⅛ inch apart to allow for drainage and heat expansion. Pre-drill holes and fasten with galvanised deck screws using two per joist end. Adding curves and patterns will require much more skill and you’ll need to mark and cut each board carefully.

Step 4: Add railings, stairs and other features
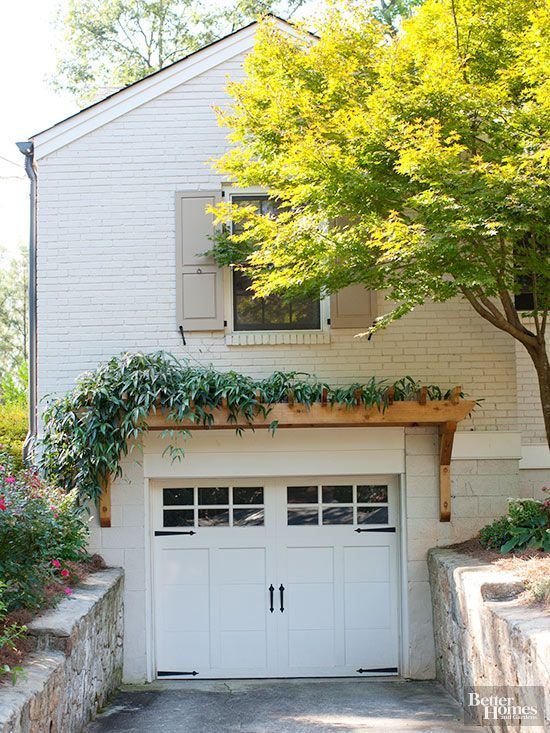
For safety, particularly on raised decks, consider installing railings. These should be 36 inches high with balusters no more than 4 inches apart. Secure the posts to the frame with galvanised screws and then add the rails. At the same time, you may want to consider building the stairs, starting with the frame and then adding treads. You may also want to consider other features if you’re feeling ambitious like a pergola or in-built wooden benches.
Step 5: Apply the finishing touch
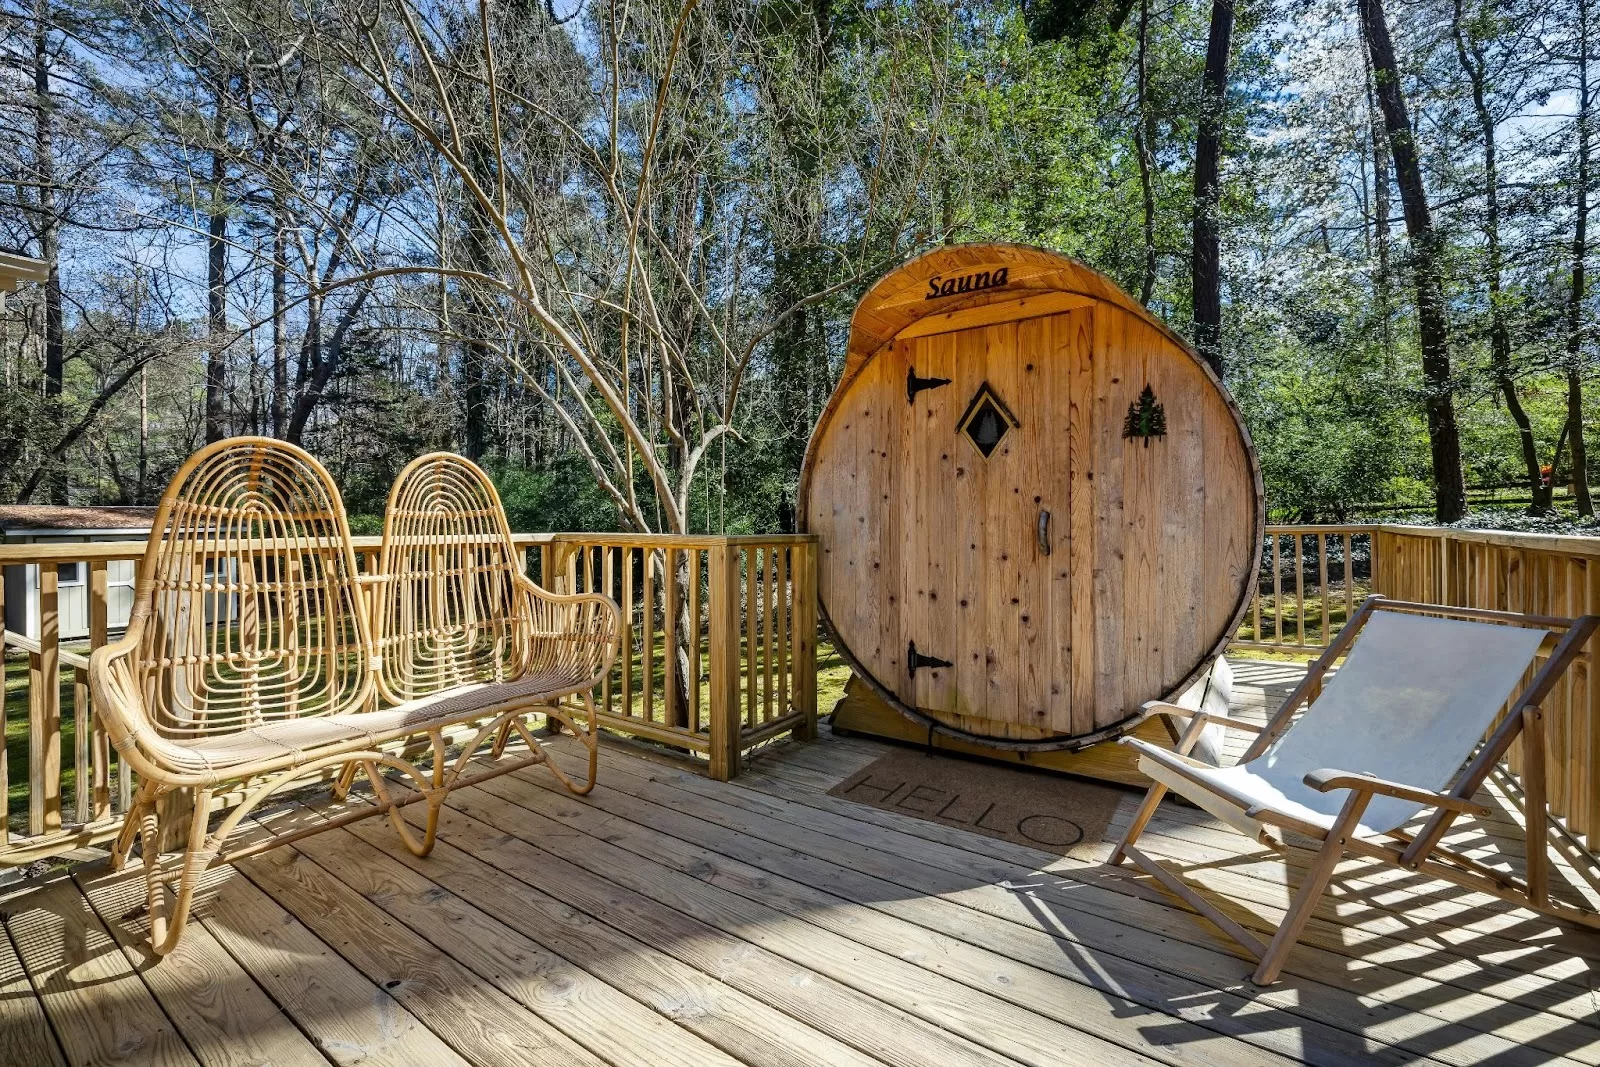
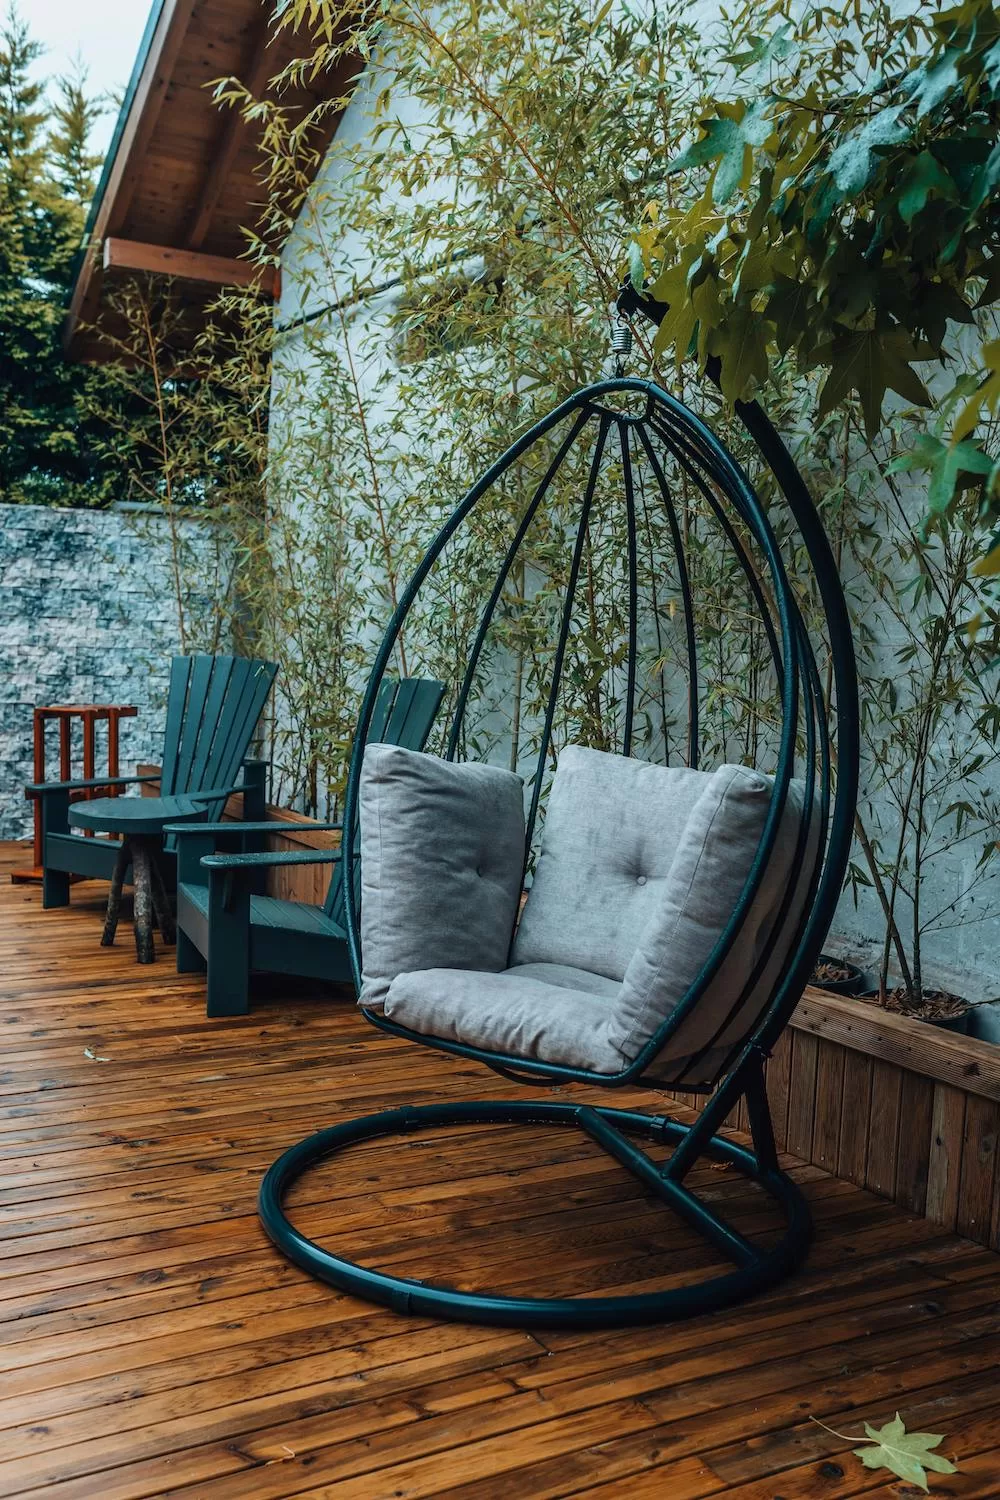
Finish by staining and sealing the wood. This will help to make your deck look more attractive and will protect it against UV and water damage. Apply two coats, letting the first dry fully before applying the second. When all dry, you can then start adding outdoor furniture, lighting, plants and any other personal touches.
Conclusion: Building a Successful Deck
Building a deck requires first thorough planning. You then need to make sure you have all the right materials and tools. Following the above steps will help you get everything done in the correct order. Of course, it’s rare that everything goes smoothly, so prepare for mistakes along the way or obstacles such as bad weather or issues with permits. Try to check everything twice to help you flag up mistakes early so that they can be more easily corrected, and don’t get impatient with steps so that you ensure everything is done properly.