Benchtop Installation 101: Tips and Tricks for a Successful DIY Home Improvement Project
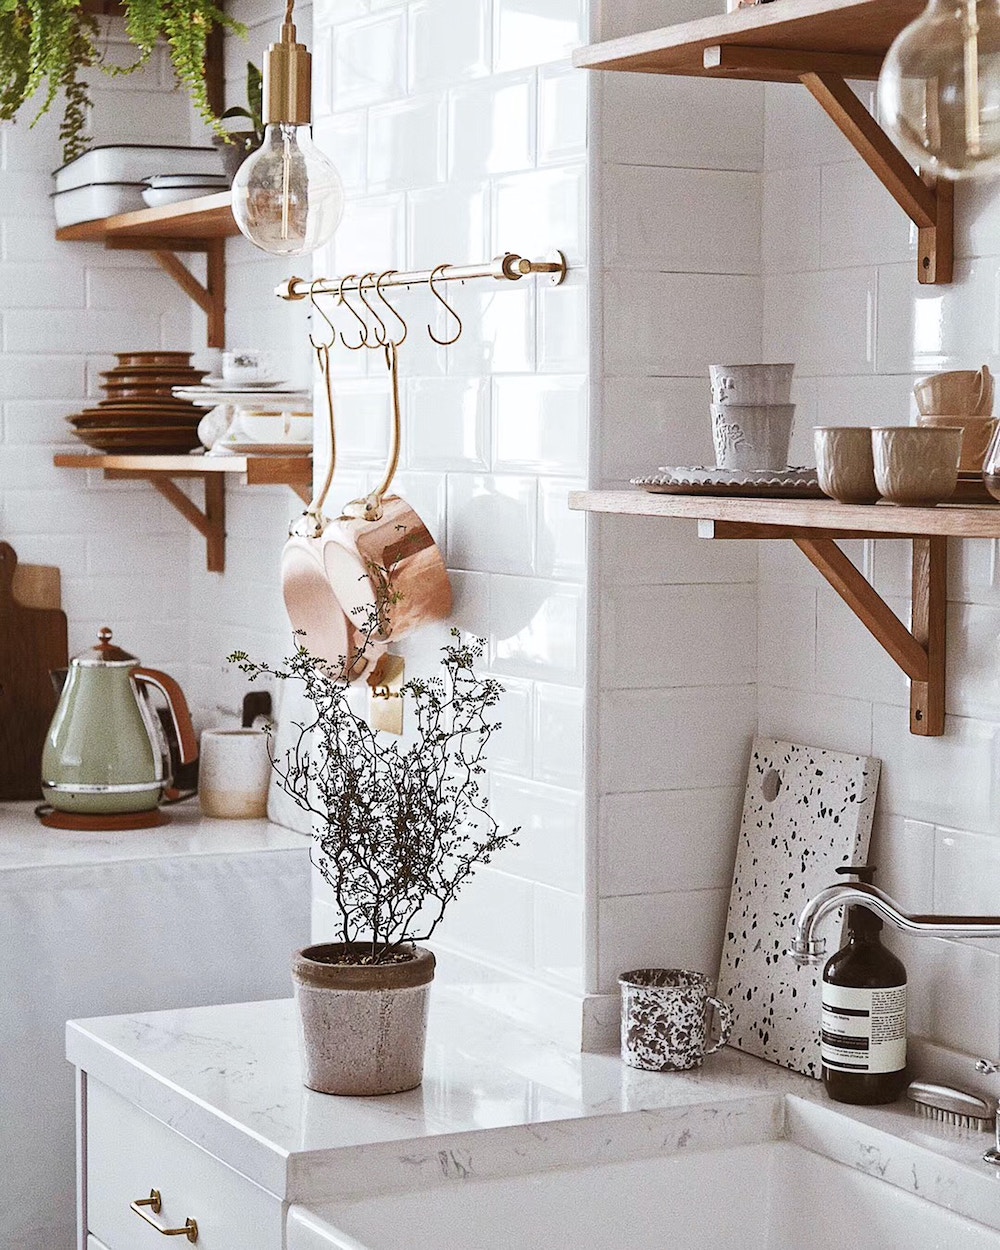
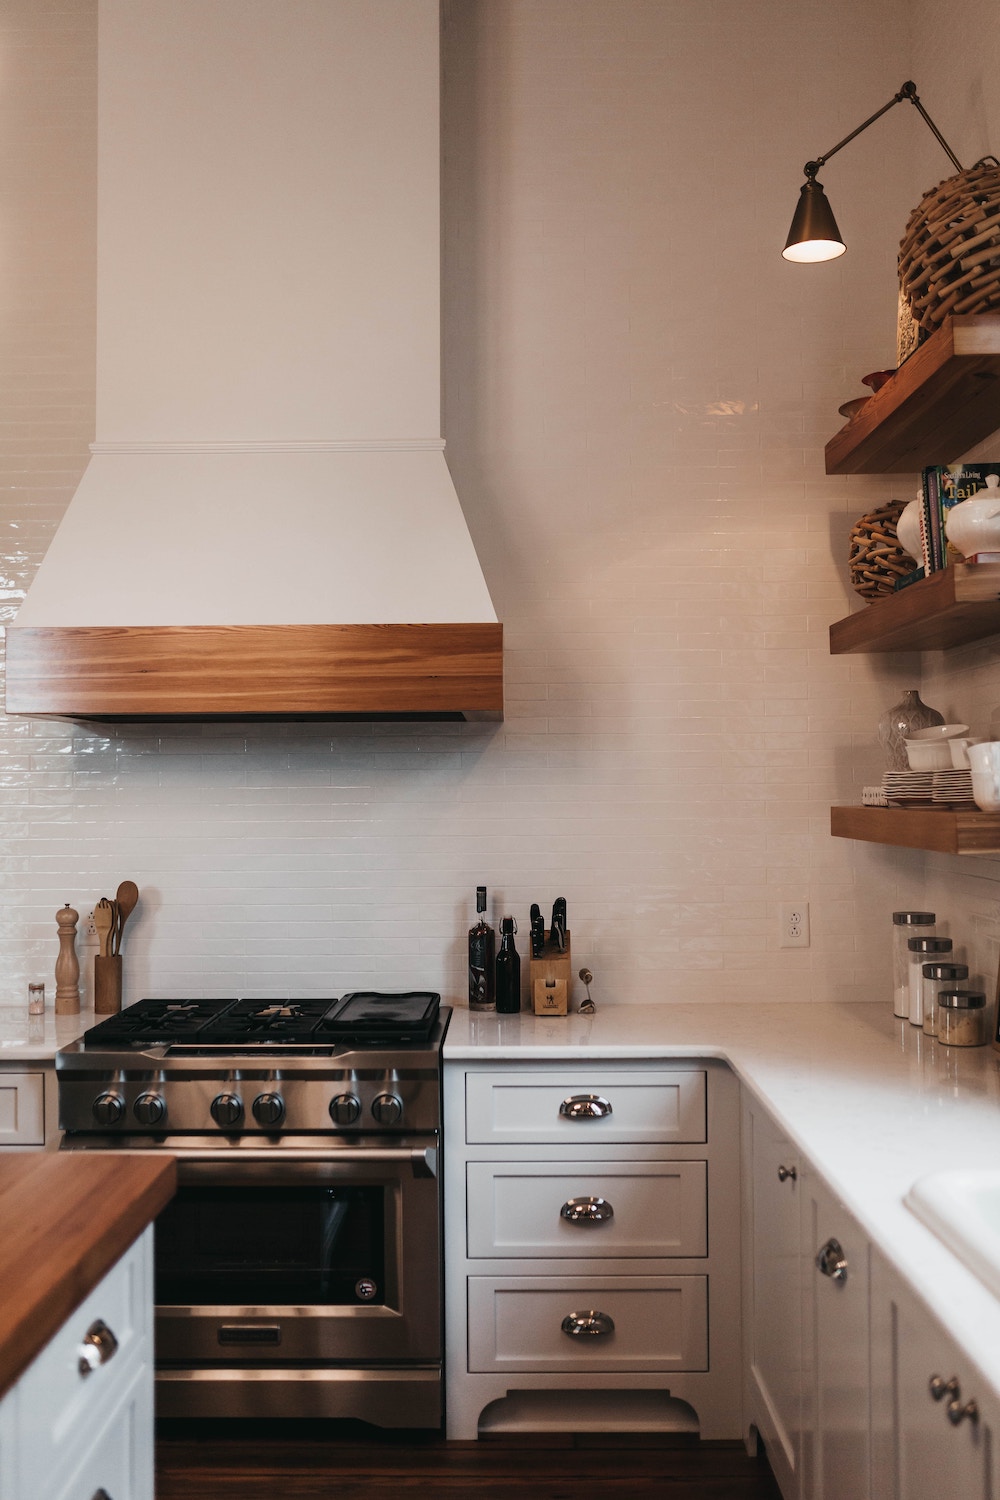
DIY home improvement projects are an exciting way to spruce up your space without breaking the bank, and one of the easiest additions you can make around your home is a new benchtop. Whether it’s to add vibrant energy through a colorful countertop, or create storage opportunities with custom shelving options, adding a sleek new benchtop in any room will not only provide extra pizzazz but also increase its overall function. Installing a fixable benchtop isn’t as daunting as it may seem – with just some creative ingenuity and basic supplies, it’s possible to do it yourself! Read on for our best tips and tricks for having a successful DIY benchtop installation at home.

1. Research the type of countertop material you would like to install in your home
Knowing which countertop material to choose for a DIY Benchtop installation in one’s home can be a daunting task. It’s important to consider factors such as price, durability, aesthetics and maintenance requirements before committing to the material. Researching the various materials available is essential to making an informed decision. Factors such as cost, appearance, strength and difficulty of installation should all be taken into account before deciding on the best one for your individual purpose. The good news is that with a bit of research you can easily find a countertop material that fits your budget and meets your needs – giving you beautiful benchtops in no time!

2. Measure the space and purchase materials that fit your budget
If you’re looking to save a few bucks by installing your own benchtop, it’s absolutely doable! But, before you get started, make sure you’ve measured your space, so you know exactly how much material is needed. It’s also important to factor in your budget when it comes to choosing materials — prices can vary widely, so do a bit of research and find an option that fits what you’re willing to spend. Once that’s taken care of, all that’s left is to buckle down and start the installation process!
3. Create a plan for laying out countertop pieces and ensure they all fit together securely
To ensure a secure fit and great results with your countertop pieces, come up with an action plan. Begin by measuring the top of the base cabinets, drawing a map so each piece fits perfectly. Select which cuts you need to make, and then double-check measurements before cutting. Finally, lay out each piece over the cabinets to ensure proper positioning before securing them with glue or fasteners. If you stick to this plan, your DIY countertop installation will be a success!
4. Consider using adhesive strips or caulking to seal joints between sections
Installing a benchtop can be an intimidating process, however it doesn’t have to be complicated. In order to finish the job successfully, using adhesive strips and caulking to seal joints between sections is really important when it comes to achieving that professional-looking finish. Sealant provides extra strength and durability for your countertop, plus it’s relatively inexpensive and easy to apply. With these trusty staples in your DIY toolbox, you’ll be able to install that beautiful countertop like a pro and give yourself an extra pat on the back!

5. Take extra care when cutting pieces to size and sanding edges for a smooth finish
When completing a DIY benchtop installation, it’s important to take extra care with cutting pieces to size and sanding down the edges for a smooth finish. A professional look requires precision, so measure twice and cut once! Choose the right tools for the job; make sure they are up to the task. Take time to gently file and sand each edge until it feels perfectly smooth, as any sharp corners will quickly stand out in your finished product. Following these simple steps will ensure your DIY benchtop installation looks its best.
Home improvement projects can be intimidating, but with the right knowledge and materials, a DIY benchtop installation is well within reach. By preparing the area correctly and selecting the right tools for the job, you will significantly increase your chances of success. With Caesarstone’s new Porcelain range you have access to an array of stylish colors and textures that are sure to bring your kitchen to life! With these tips in mind, it’s time to get started on your home improvement project—good luck!


