Bathroom Remodel From Start to Finish
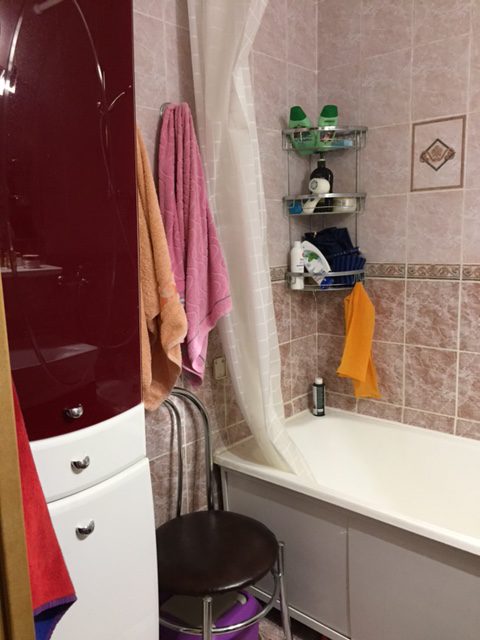
Hello friends! The bathroom remodel project that I was writing about recently is finally over and I am ready to share the final results as well as some snapshots from the construction site explaining each step that was happening. But first of all, here is how the bathroom looked like before:
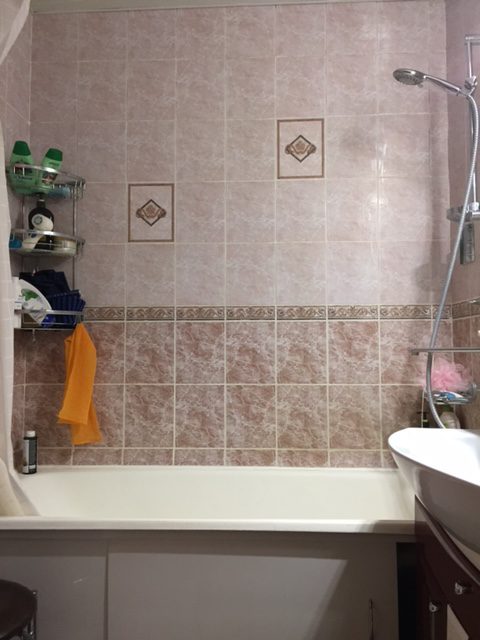
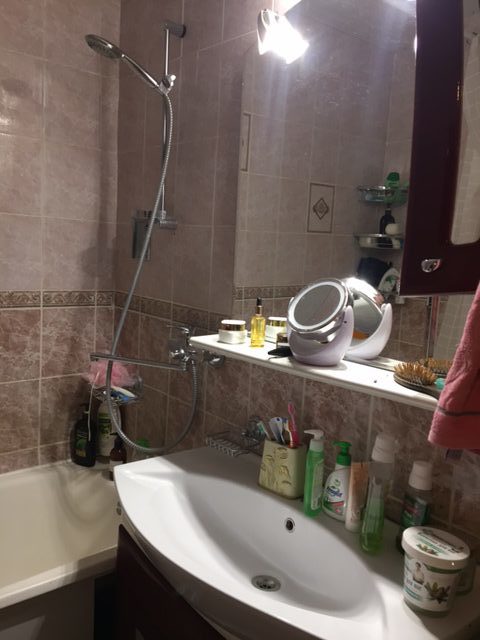
Identified problems:
- inefficient use of space
- lack of sufficient lighting
- not enough storage (cupboard has half section with built in laundry basket)
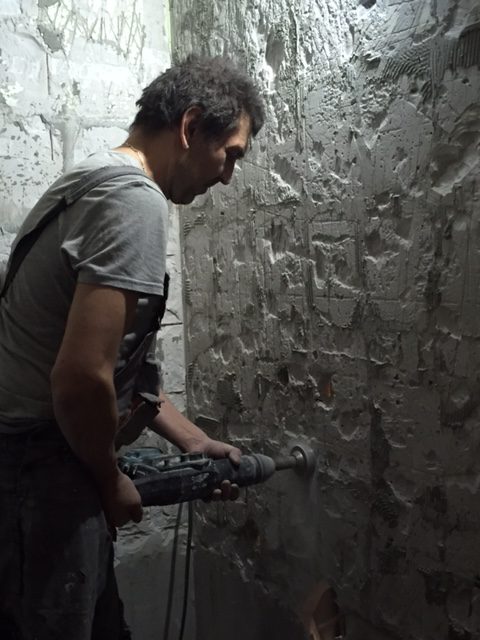
- The process started with demolishing old tiles and bathroom fixtures. There is lot’s of dust, so if you are not making renovation in the rest of the house, remember to cover the rest of the furniture with plastic film.
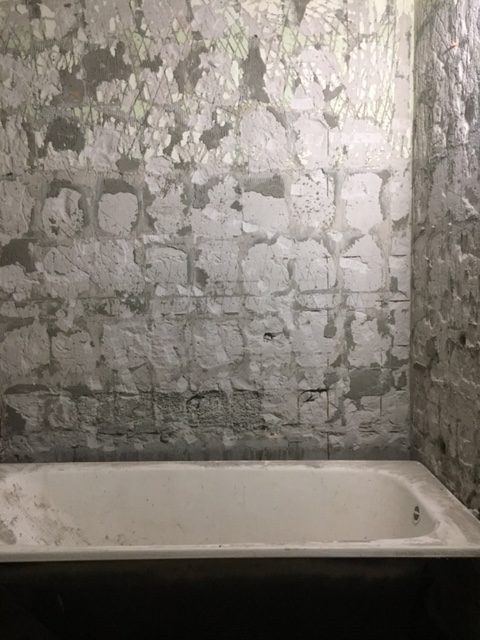
2. The next step: electrician does the wholes for the new sockets and switches so you need to be ready to show him where they will be allocated. The standard hight for switches is 1200 mm from the floor level. 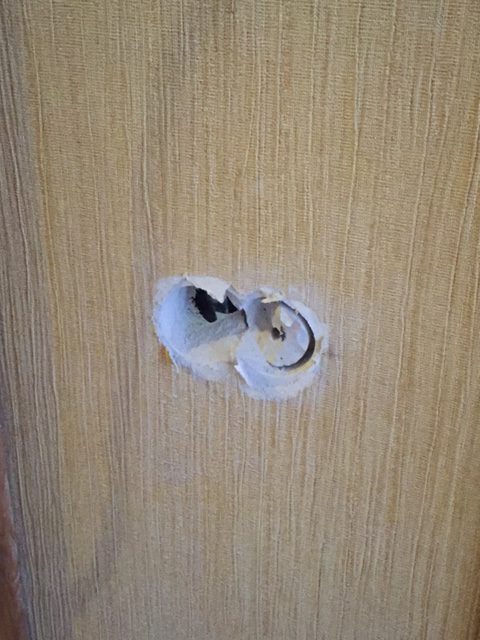
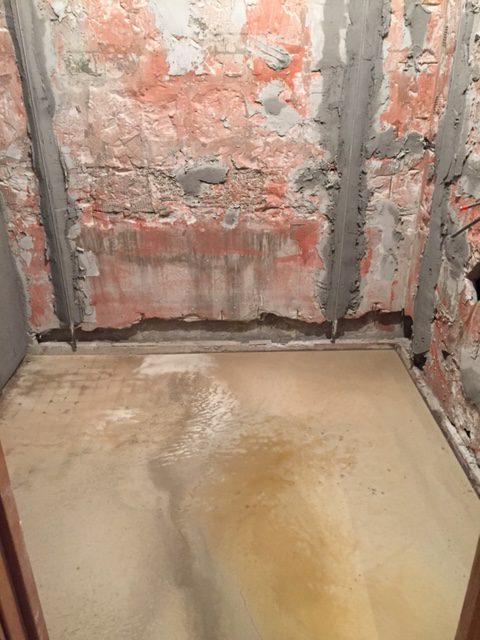
3. Then metallic guides are placed on the walls for plastering (they are allocated using laser level machine). The flooring is aligned using liquid floor screed. Important! Screed needs to fully dry before you proceed to any of the next steps.
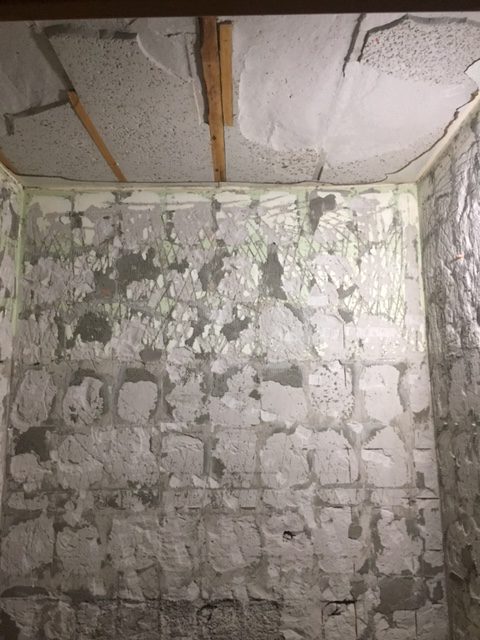
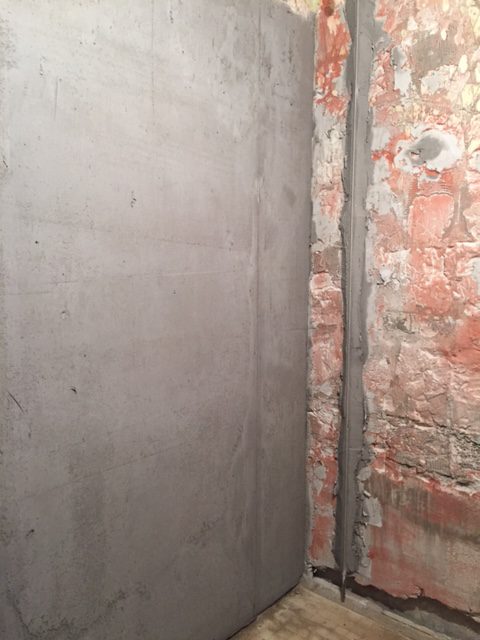
4. The next step is aligning walls. Again plastering needs to get completely dry before commencing the next step.
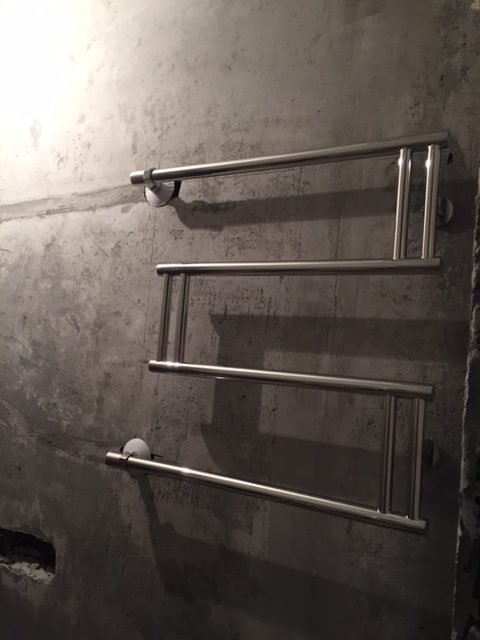
5. We tested how the water towel warmer works. On this stage is something goes wrong with it we have possibility to fix it. If you have water towel warmer you should allocate it as close as possible to the hot water supply, if you put it too far from it it might not work properly.
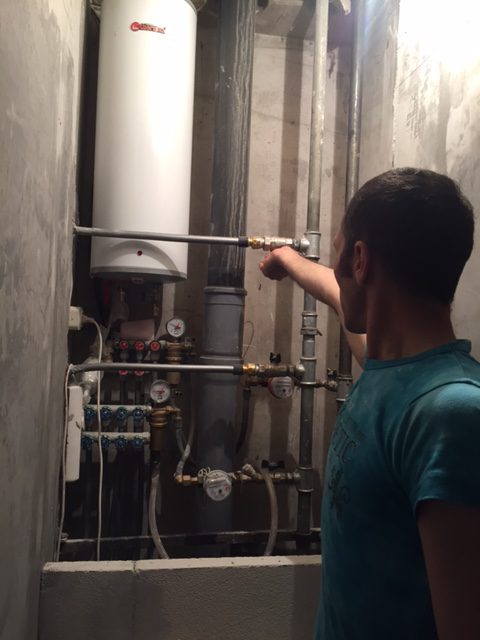
6. Installing and testing the boiler.
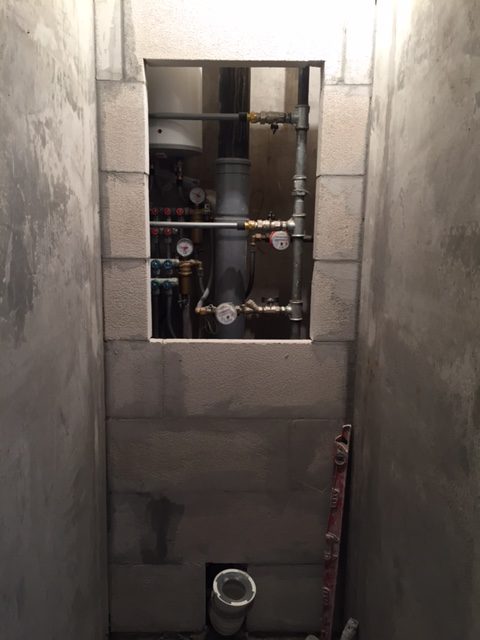
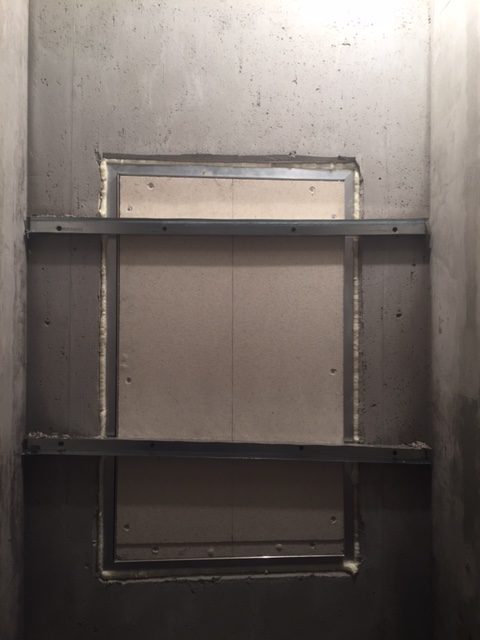
7. We have made the manhole to give access to all pipes and boiler. Later on we will hide it behind invisible access panel.
Here how it looks like (it opens with push-open mechanism)
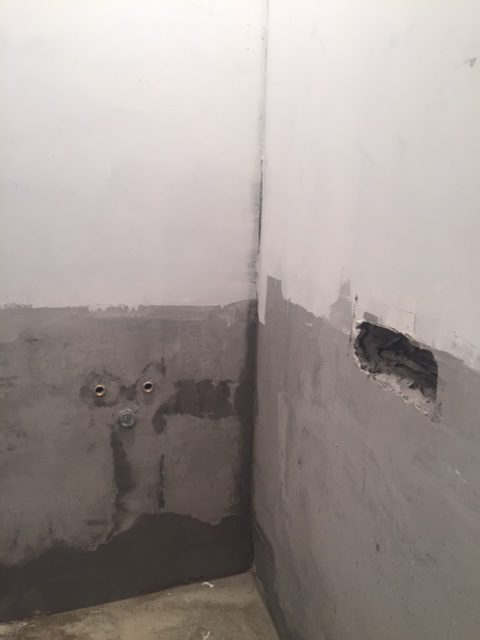
8. In my design half of the walls will be painted, half covered with tiles. We started to prepare surfaces for that:
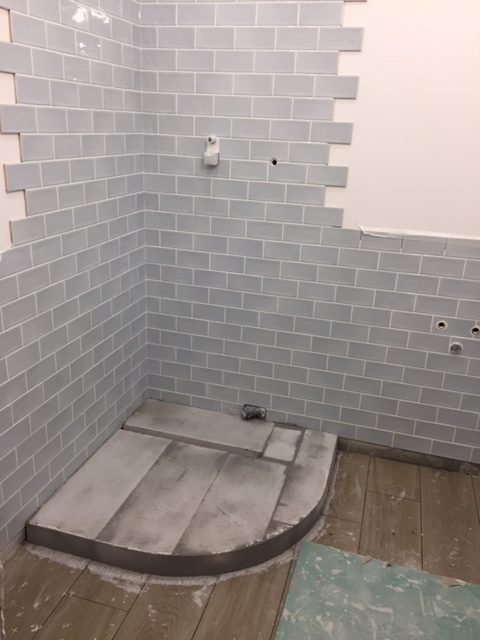
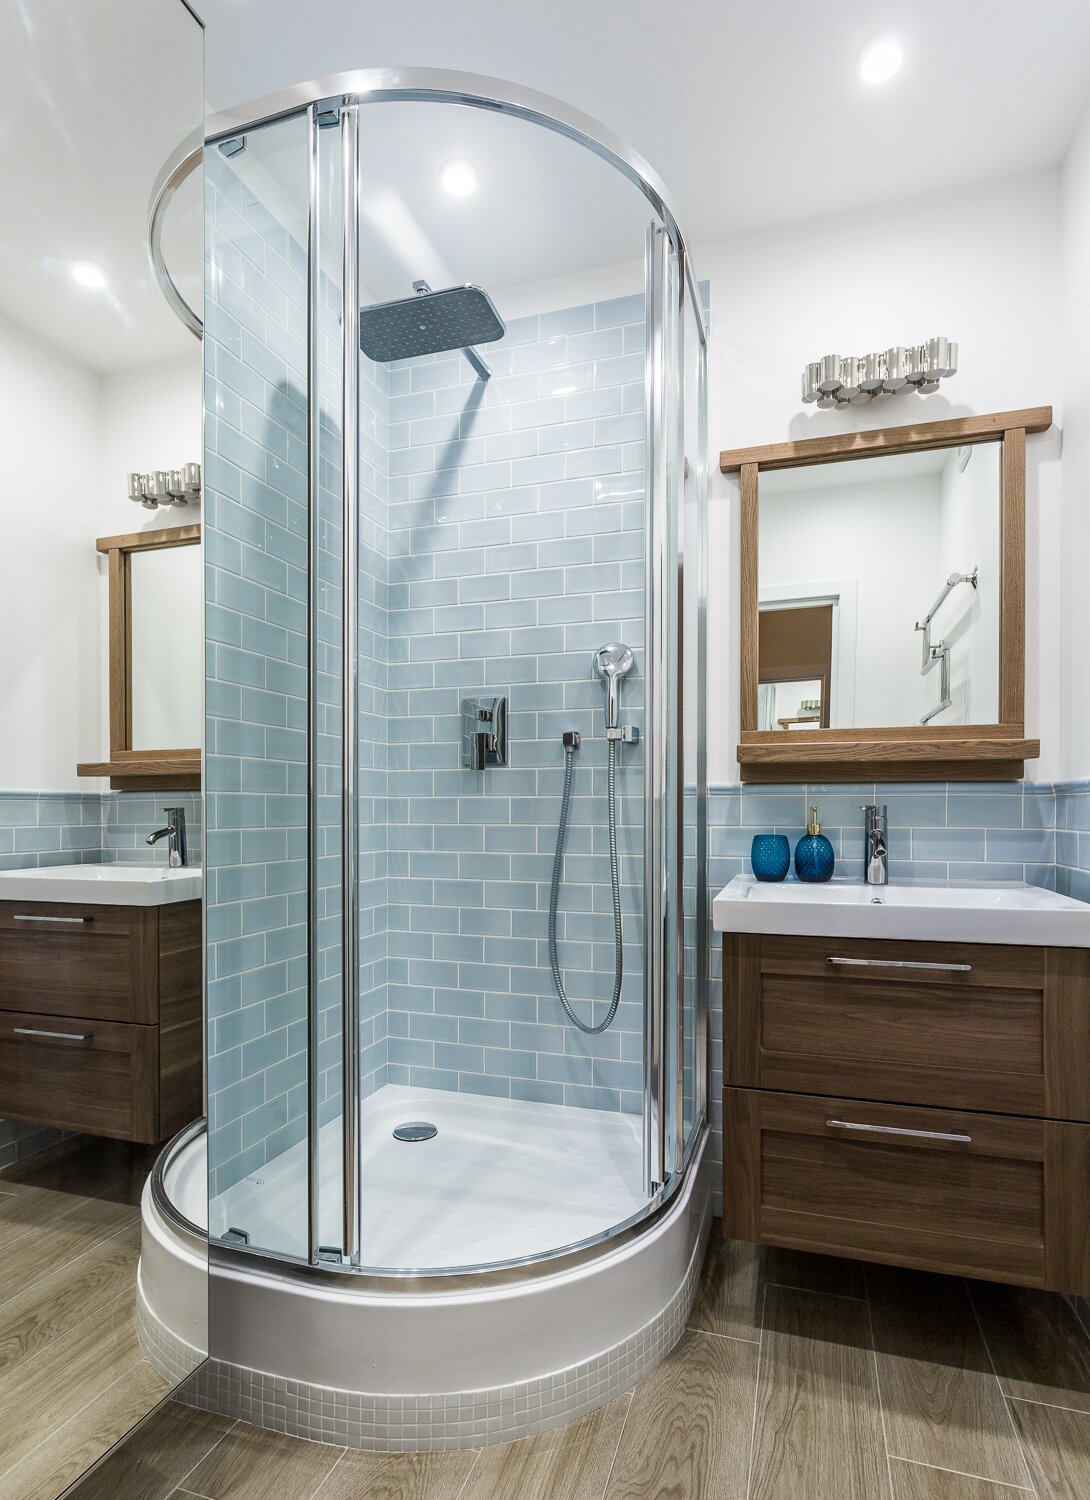
9. The next step is layering tiles: this needs to be done from top to bottom using lasel level for making an even line. Since we put the shower cabin quite far from the drainage pipe we put it on the pedestal to give enough angle for unobstructed water flow:
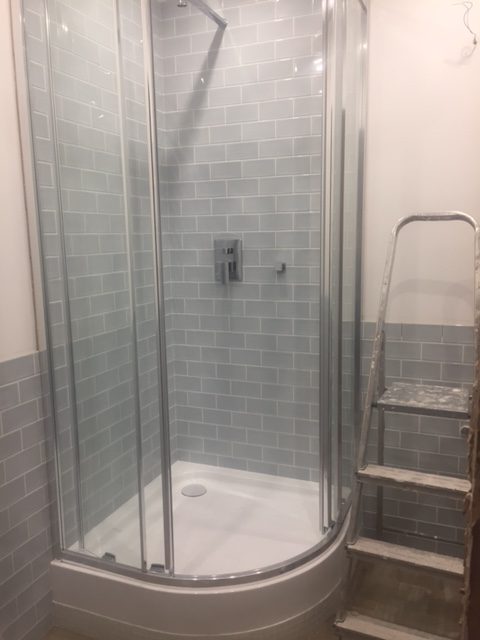
10. Finally installing all bathroom fixtures:
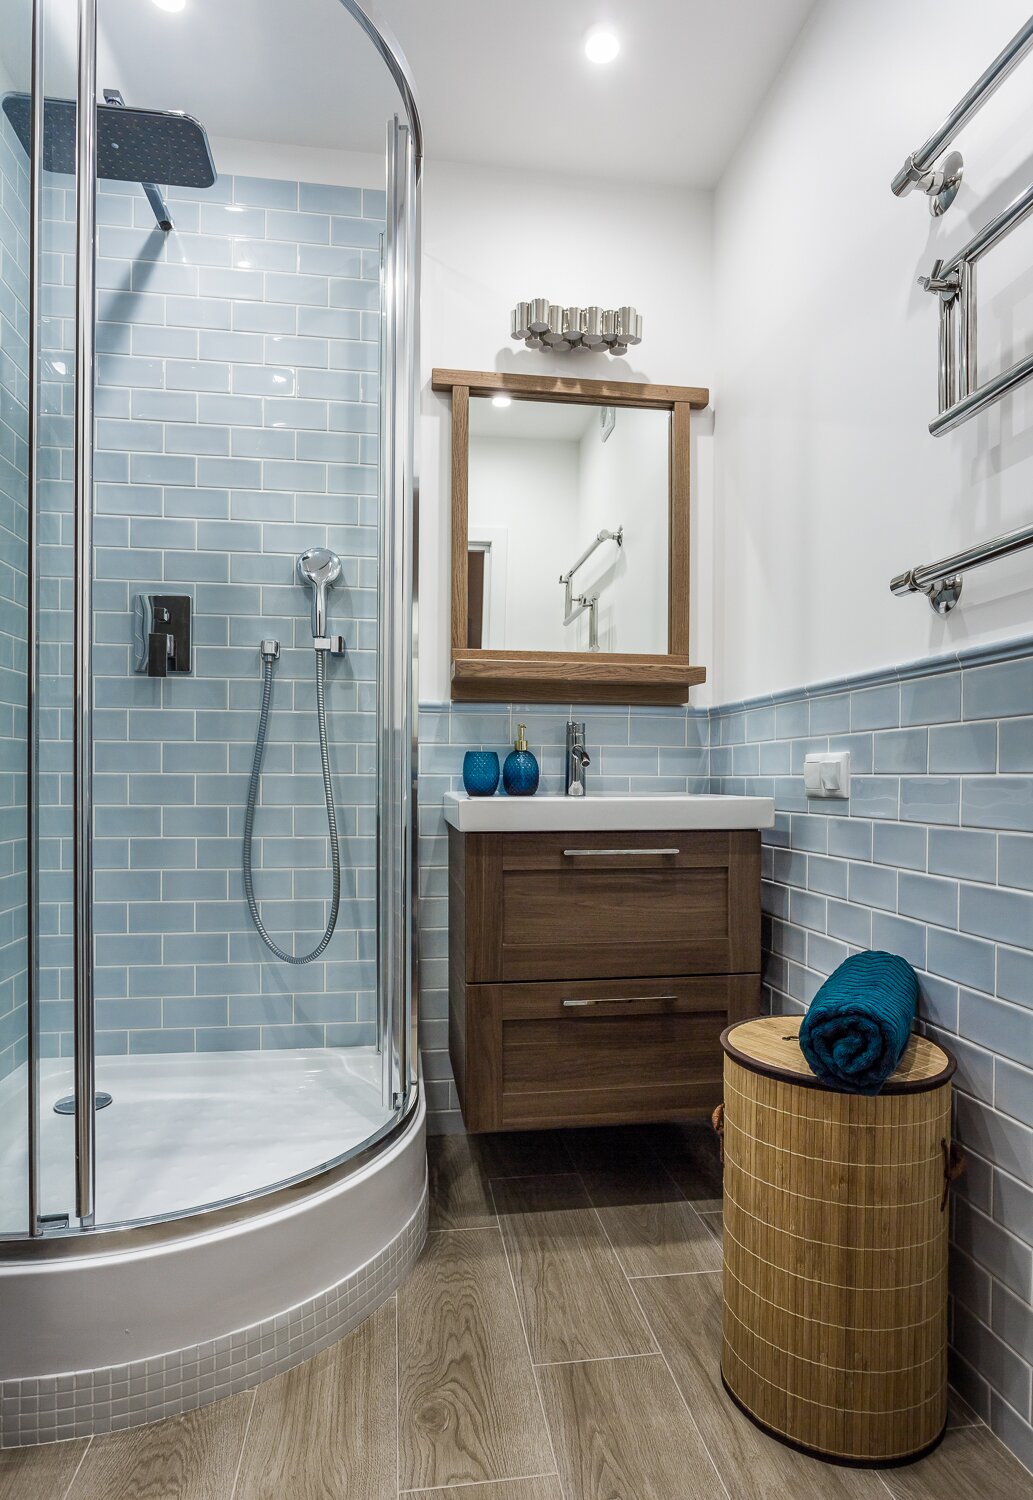
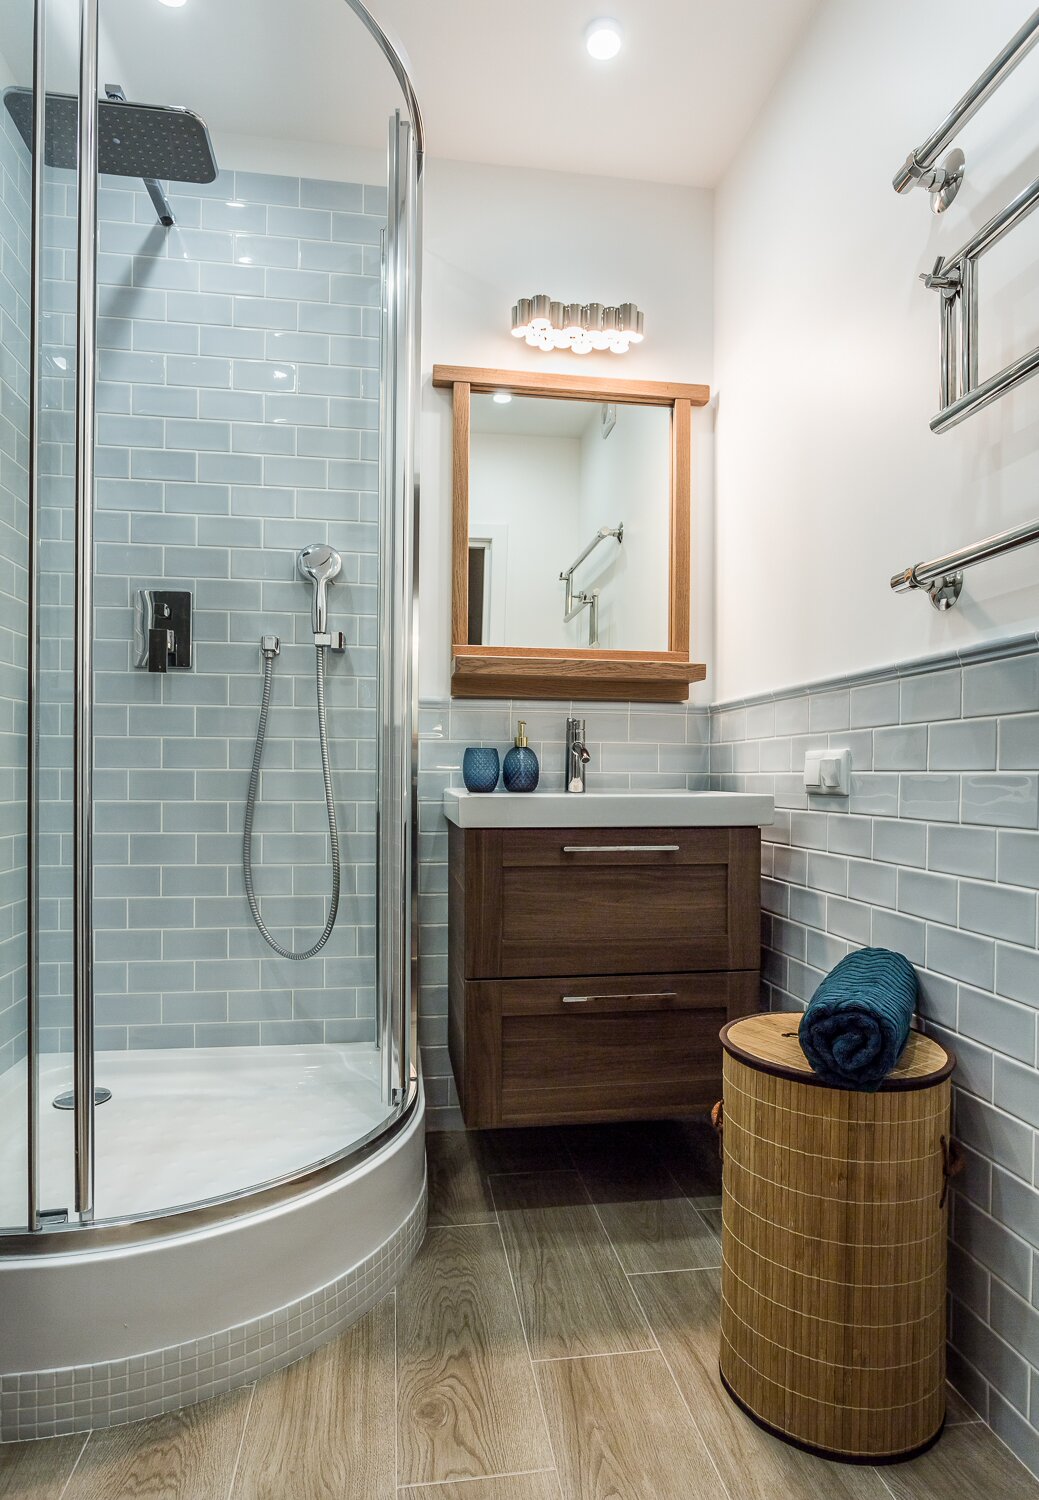
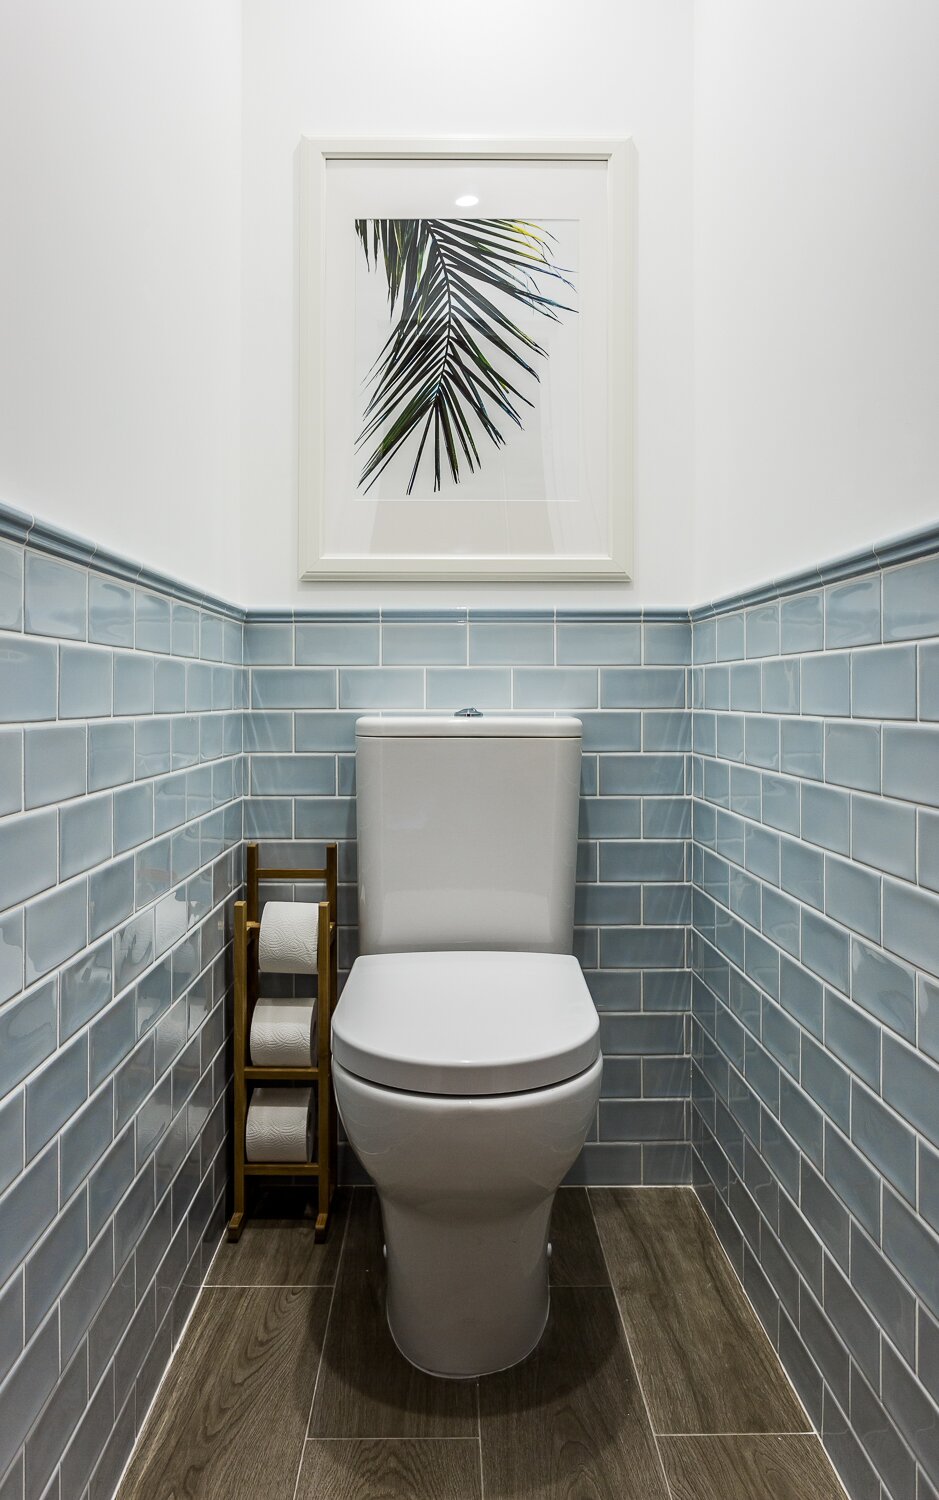
And here is the finished result:
In this room: sink cabinet and wall mounted storage cabinet are from IKEA. Mirror is handmade from solid oak wood by local artisan. Accessories and towels are from H&M home. Palm tree poster is from this Etsy shop.
Have question about bathroom renovation? Ask me in the comments.
Need my help in redesigning your bathroom? Check my out my e-design services – online design is easy and convenient way of collaboration between designer and client.

