Embellishing Your Swimming Pool with a Mural
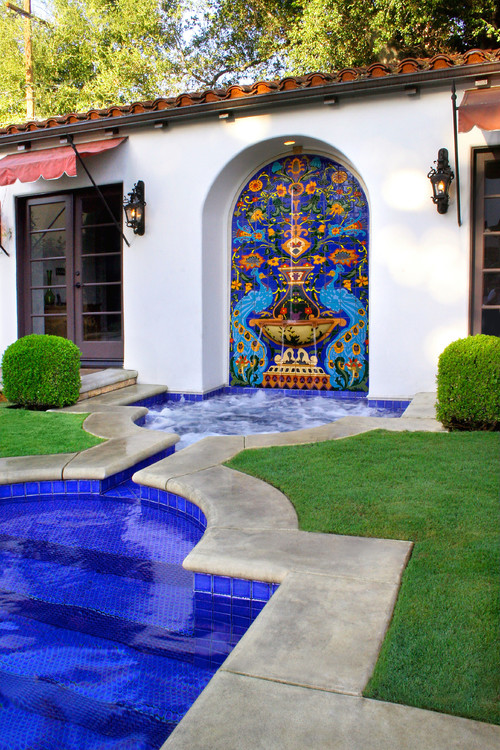
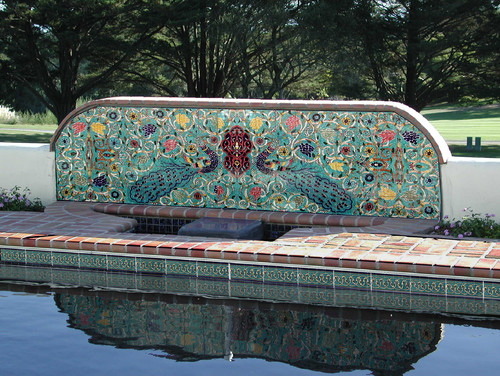
There is seldom better aesthetic improvement to your backyard than adding a pool with its surrounding to it. But what if someone told you that this experience can be made even more appealing by adding a lovely mural? Regardless of how difficult bringing this idea to life may seem, with carefully conducted preparation stage and just the right amount of determination on your side it can be achieved. Here are few things you need to do in order to add the splendor of a custom made mural to your poolside.
Making the Choice
By its very nature, this decision is not only the key to this whole idea but also the biggest dilemma you are bound to face in this entire endeavor. You need to regard the size and the shape of your pool. Some backyard pools are smaller in size, oval or even kidney shaped, so some designs made for standard square or rectangle shaped pools won’t be any good for them. Planning and measuring is the key here. You can always check out some online mural ideas for inspiration, but if you feel confident enough about your creative side, you can always design your own mural.
Choosing the Right Paint
Let’s face it, painting a wall is one thing, but painting a mural inside of a pool is something completely different. Because of this, it needs to be approached with an extreme caution. For its durability, transparency and many other incredible features, it is often recommended that you use quality rubber paint. This is an important step and as such it deserves your undivided attention.
Preparing the Pool
It goes without saying that you will have to drain the pool first. After all the water is gone, examine the pool floor and walls for any potential damage and cracks. Now, the methods for underwater and dry pool repairs are essentially different for obvious reasons. For dry repairs, you will need a hose, clean towel, silica sand, paint and paint brush or roller. When you have your pool fixed, you need to clean and prepare it for painting, this is where you acid washing is your best option. This is quite hazardous so always remember to wear rubber gloves, protective clothing and respiratory mask.
The Painting Process
It is now time to initiate the process of painting itself. First of all, priming the surfaces is the essential for the clarity of picture and its composition in general. Next, you need to tape the area you do not want painted in order to protect it. Finally, you can start painting. Spray painter or low nap paint roller it matters not, each has its own set of flaws and advantages and each gets the job done. Before you start, make sure that you are also supplied with a small hand brush for some of the tighter corners.
Arming Yourself with Patience
Remember one thing before you start. This is not something that was planned for those impatient. A process like this can last for several days but is in the end always worth all the time invested. It is also a good idea to make a sketch of your mural on a piece of paper so that you can remind yourself of all the tiny details that need to be addressed.
In the end, all of this might seem as too much work, however nothing is too much work for getting the poolside of your dreams. You can never put a price tag on a dream, so do not be afraid to dream big and settle for no less. A world is your oyster and with a pool floor as your canvas what could possibly go wrong.


