DIY Project: Shabby-Chic Decoupage Storage Box
When my sister-in-law, Alla got pregnant, she started to have lots of free time, which she used for self-development and learning new hobbies. She always wanted to know how to do decoupage, and finally she could find the time to attend the classes to learn the technique. She was so kind to share her knowledge and give me the master-class.
For this lesson she used a plain wood box (it can be purchased in IKEA or any crafts store). Storage boxes is one of the most useful things at home and it is nice to make them not only practical, but appealing too. You can use them for keeping jewellery, sewing kits, crafts supplies, hair accessories and many other little things that we always have in our house.
So, I am ready to share with you tutorial of this DIY Project: Shabby-Chic Decoupage Storage Box.
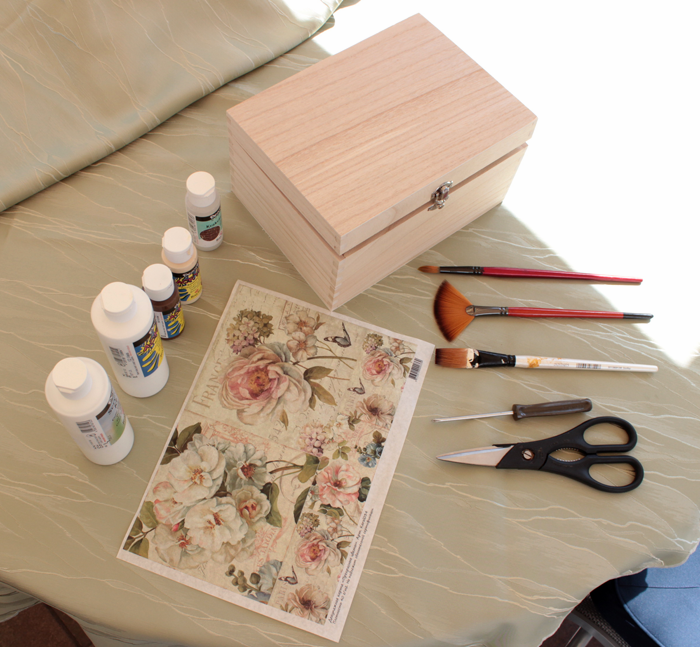
Here are the tools that you will need:
1. Decoupage rice paper
2. Plain box
3. Brush for applying glue glue and two paint brushes (big and small).
4. Scissors and screw driver
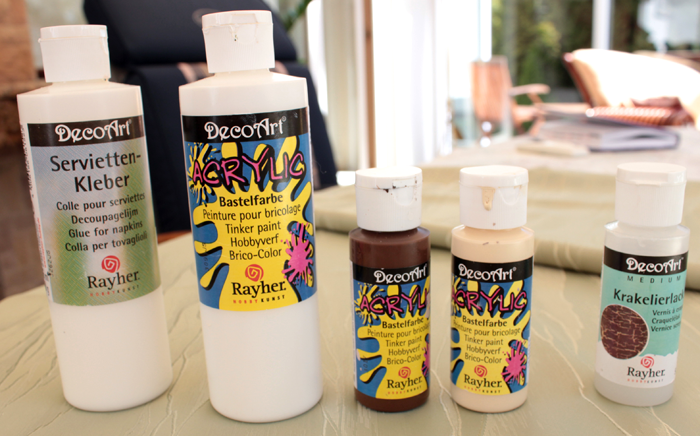
5. Plus this set of decoupage paints, glue and varnish:
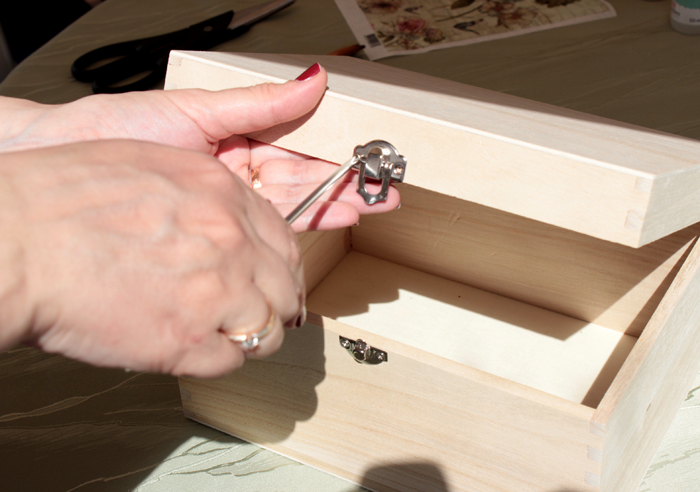
1. Unscrew the lock on the box so that it will not get dirty with paint:
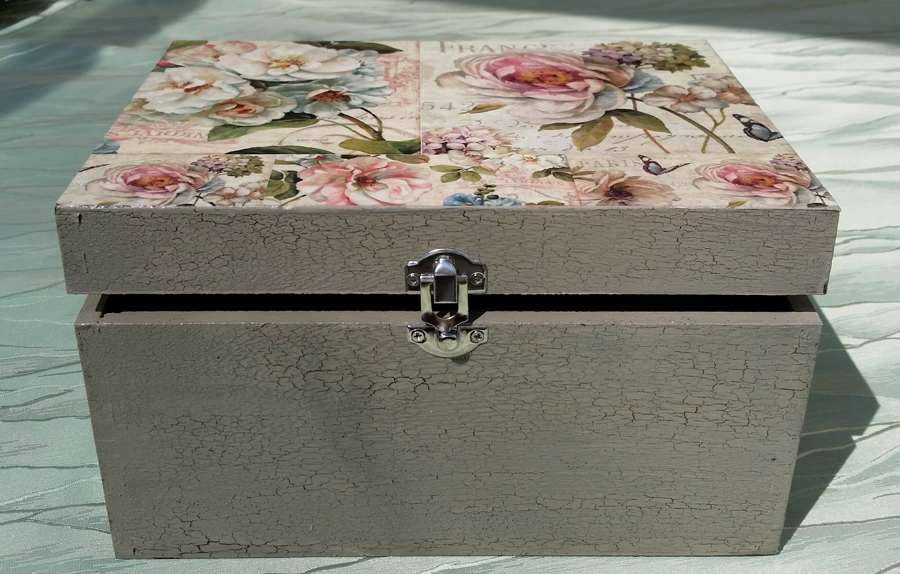
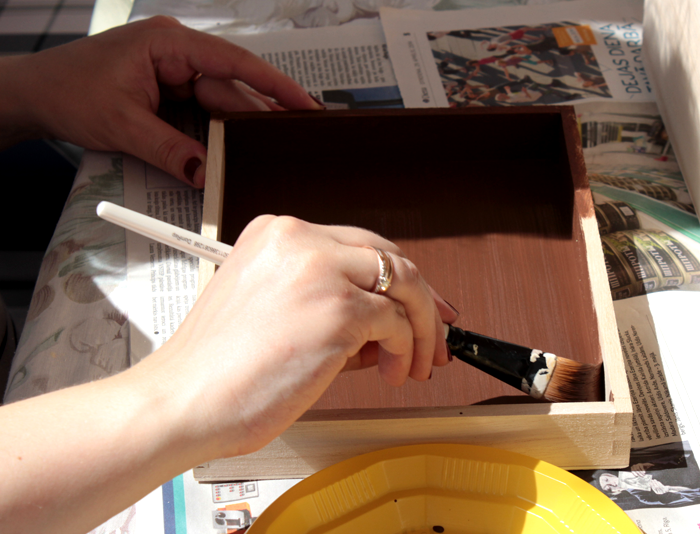
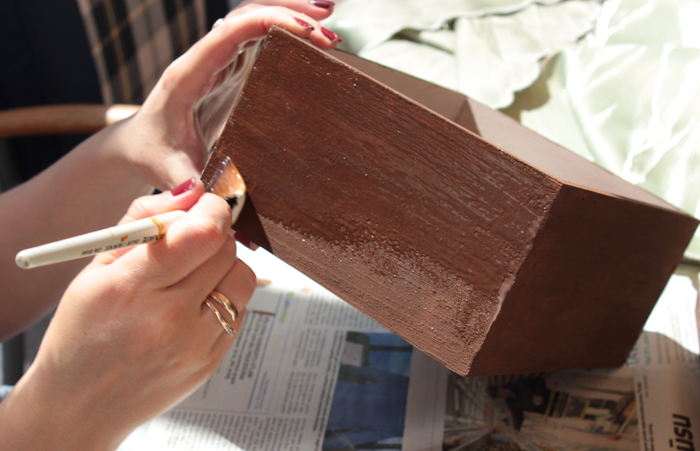
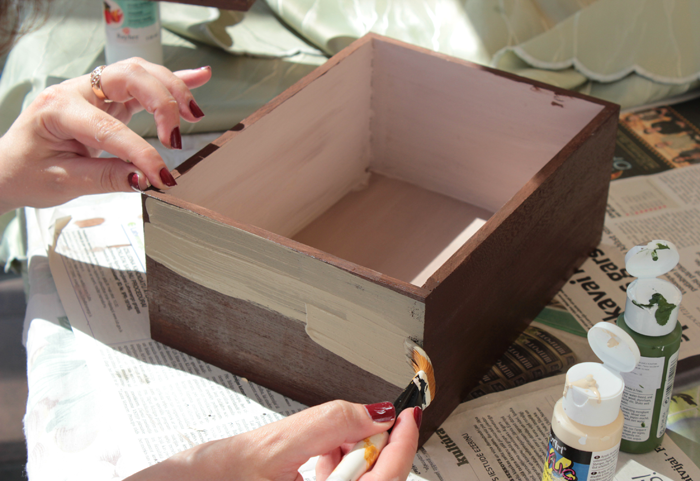
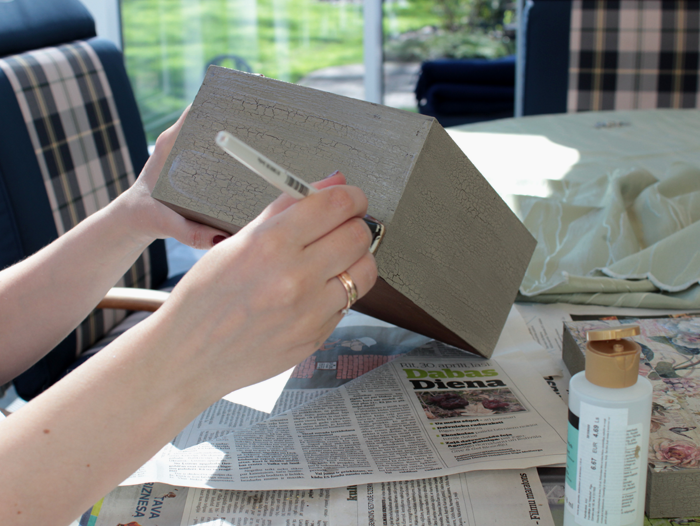
3. Now it is time to paint the box from outside (leaving only the top part which will be covered with decoupage). Alla wanted to achieve a vintage, shabby-chic look with crackles on the surface. That’s why she covered the box with dark brown colour first (it will be visible through crackles when they appear), then applied special varnish (“Krakelierlack” by DecoArt) and covered with soft green colour on the top.
One thing to consider: the thicker is the coat of lacquer, the bigger are the crackles at the end.
5. Cut out the rice decoupage paper to the size of the top. By gently holding one end of the paper so it doesn’t move start covering it with a thin layer of glue. If the paper was anyway moved during this process you can gently relocate it with your hands. Use special brush to remove any air bubbles or wrinkles.
6. Leave it to dry.
7. Attach back the lock.
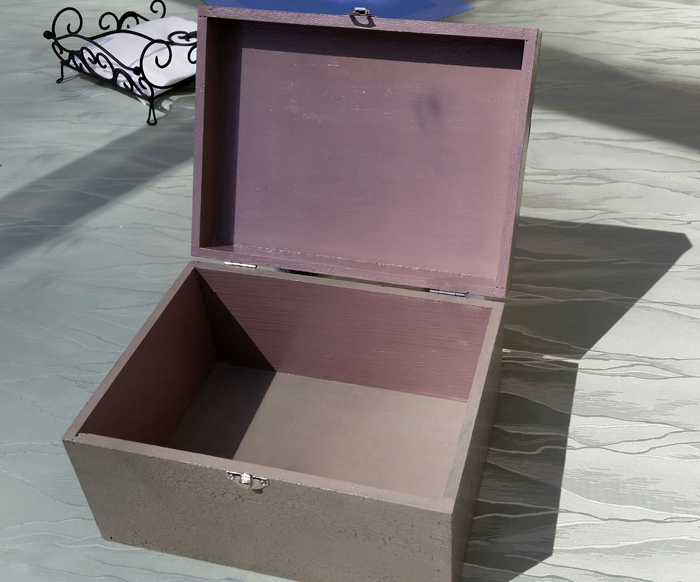
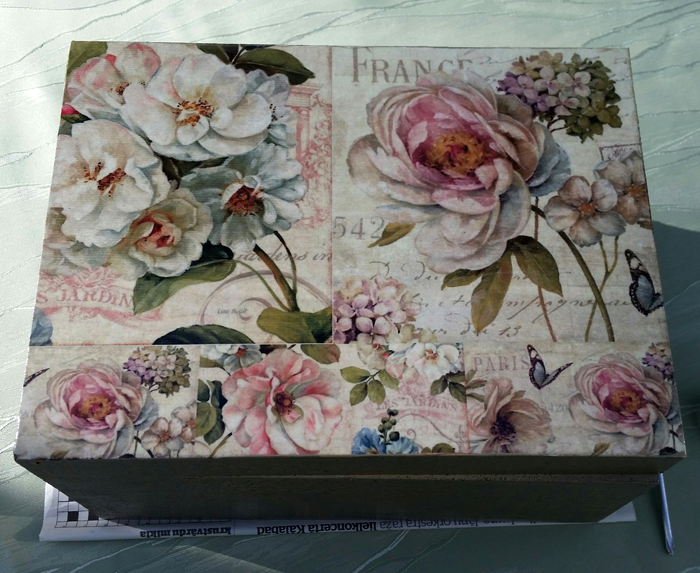
That’s all! The box is ready:
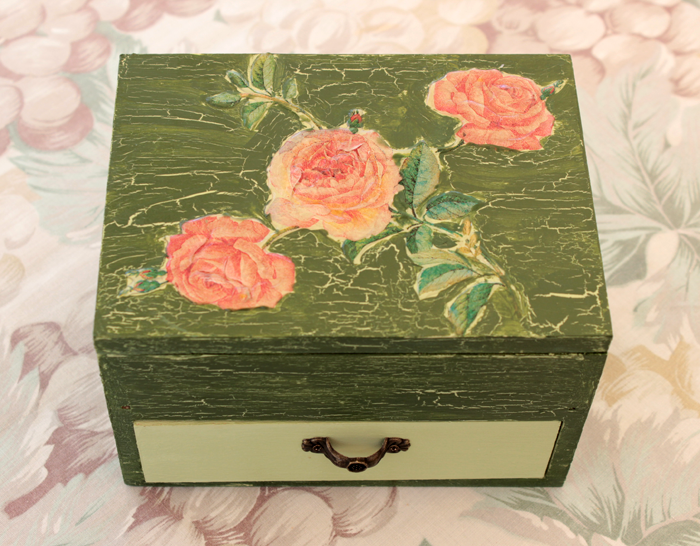
Apart from this box, Alla made another one, using different technique: instead of rice paper, she applied special decoupage tissues, where she cut out first the chosen images (flowers) and then attached them with glue to the surface.

