Before & After: My Bedroom Makeover
This is a going to be a remarkable post for me, as it the 100th article that I publish! And it’s going to be devoted to a remarkable occasion – makeover of our new apartment.
I was writing recently that we moved to Yerevan. I also mentioned that I started our apartment makeover with the bedroom, when I was talking about creative ideas for a headboard and when I was choosing an artwork for it in Tbilisi.
When we were looking for the apartment the primary condition for us was that it should be right in the center of the city. We didn’t pay much attention to its condition, as we knew that we will want to refurbish it according to our taste.
When we found one, it was matching most of our criteria, plus it was relatively cheap. The condition of the rooms though was awful and it really needed some improvement. I knew that I would start with our bedroom, though usually, this is the last room to renovate for most of the people. The reason is that it is a hidden corner and all efforts usually go to the “public” spaces such as living and dining rooms. Not for me though. I perceive bedroom as a sanctuary where I unwind after a long day, a place for relaxation and positive emotions. It has to be beautiful and cozy!
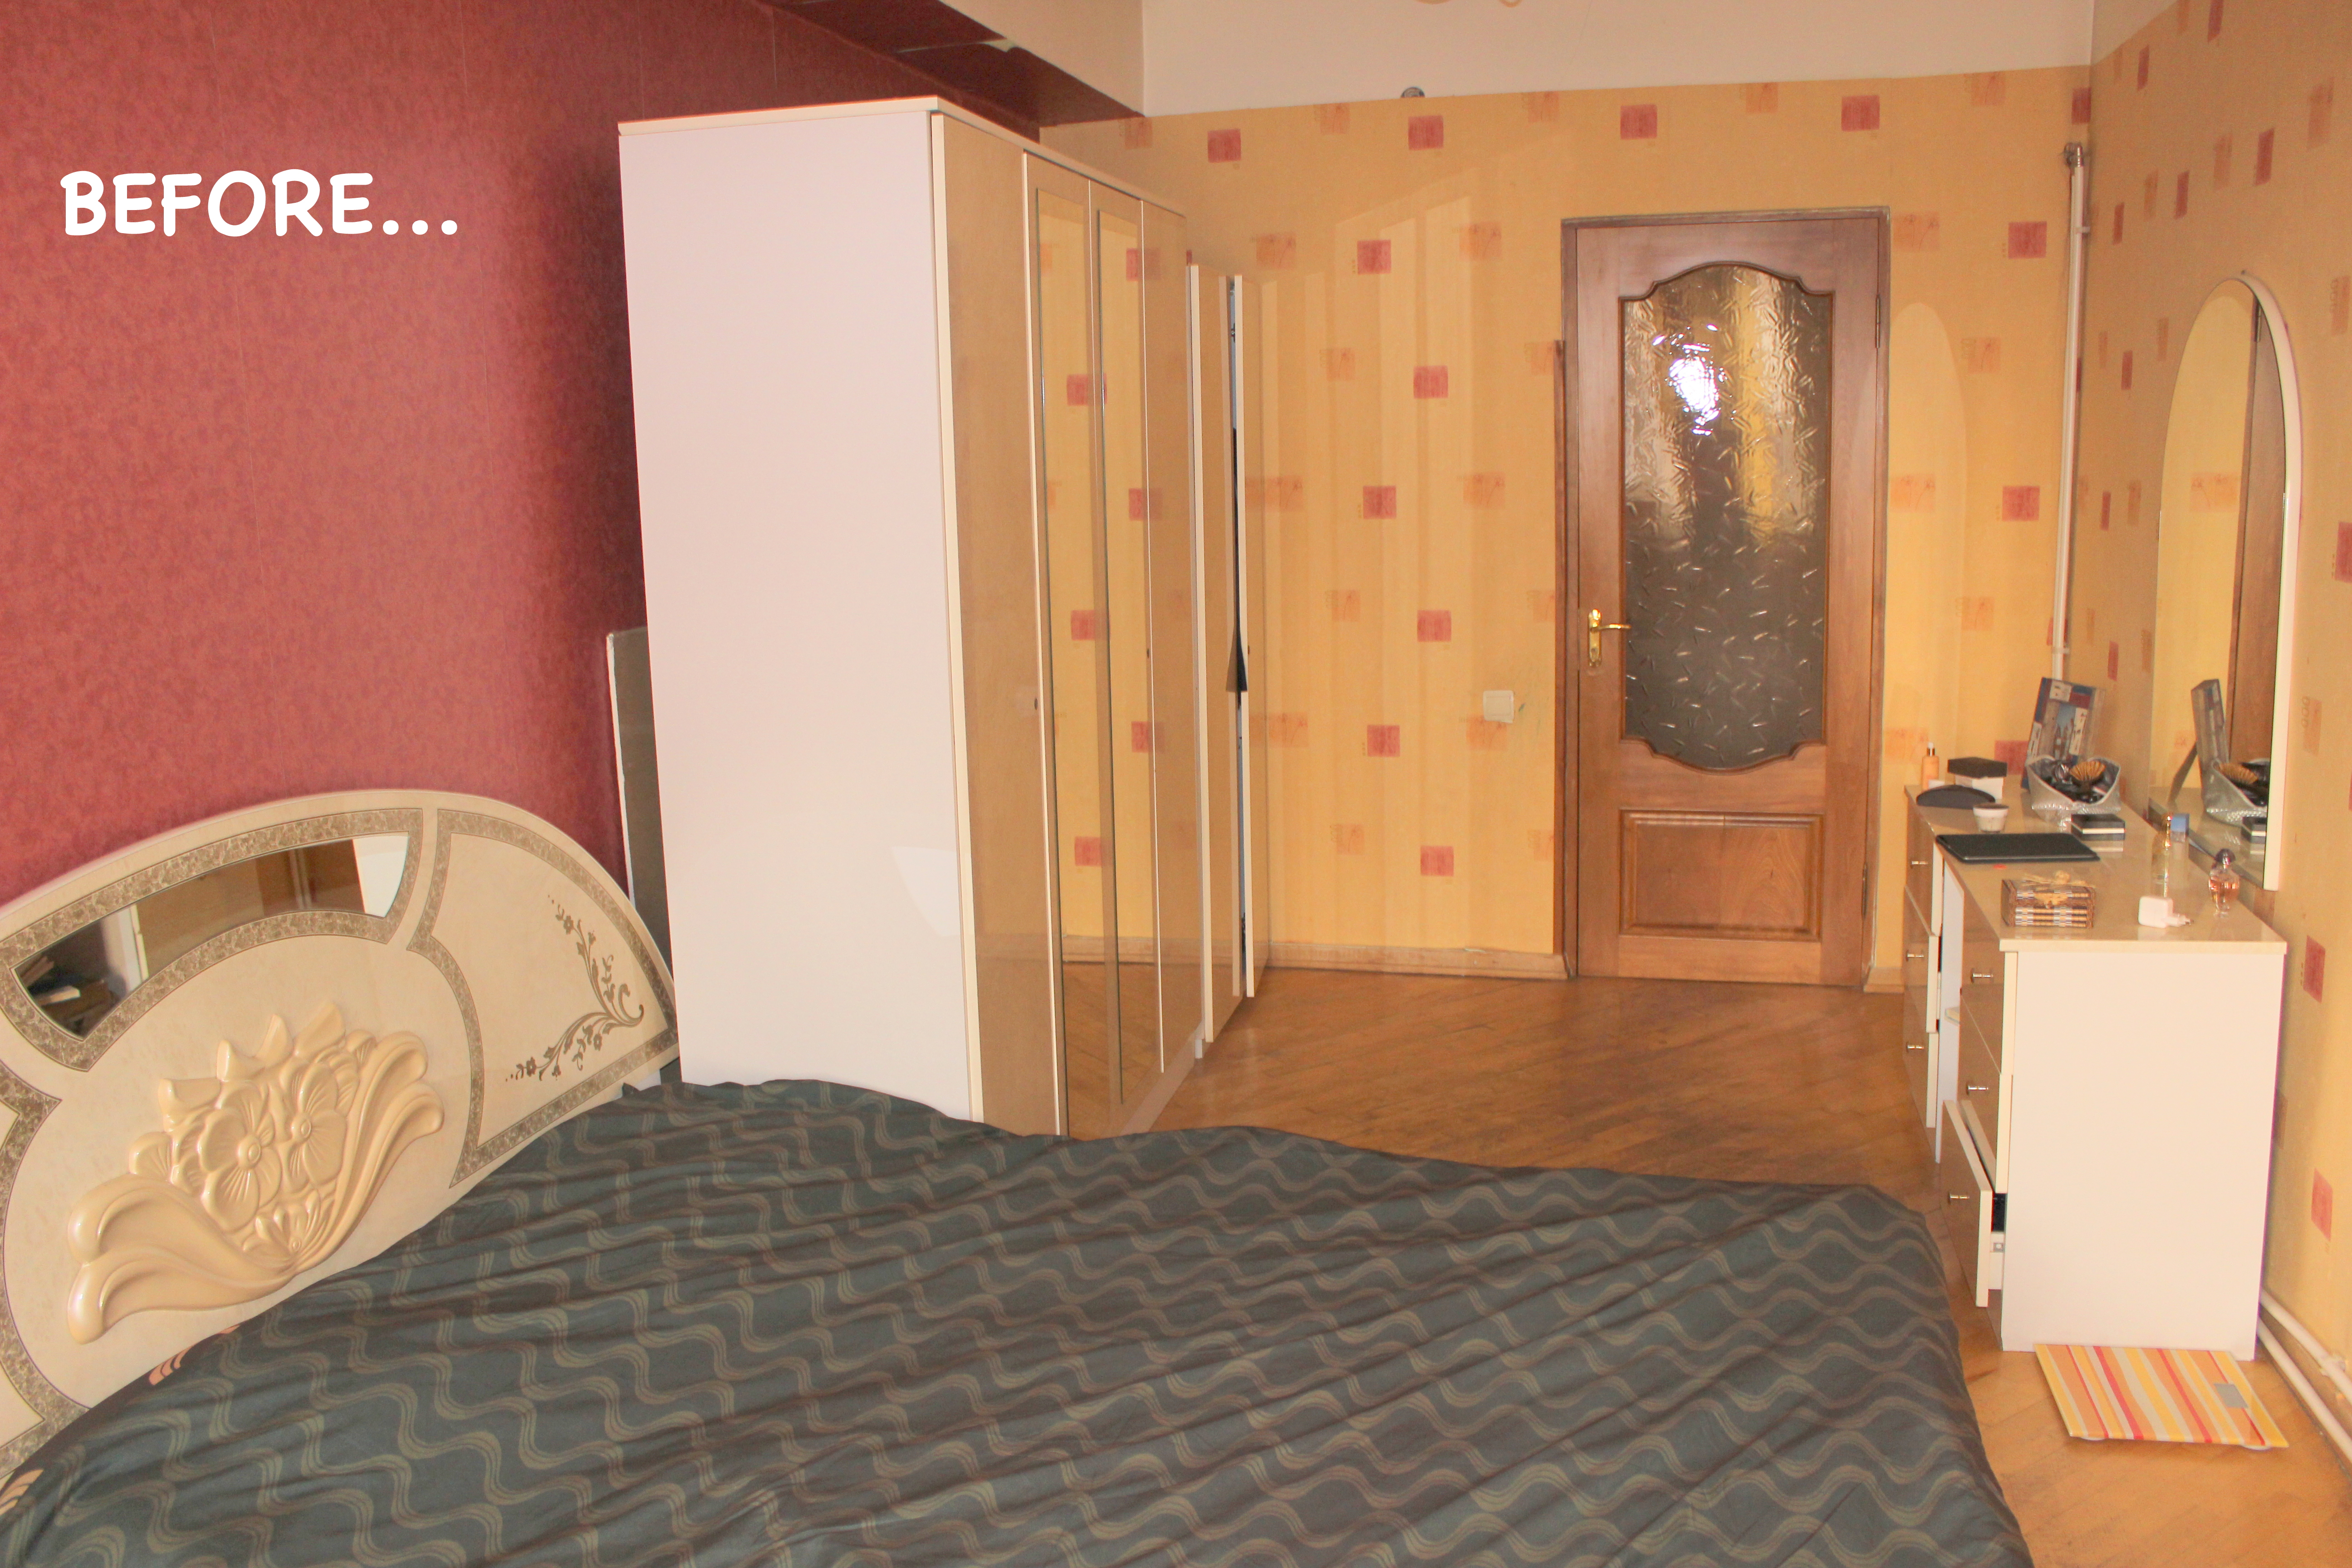
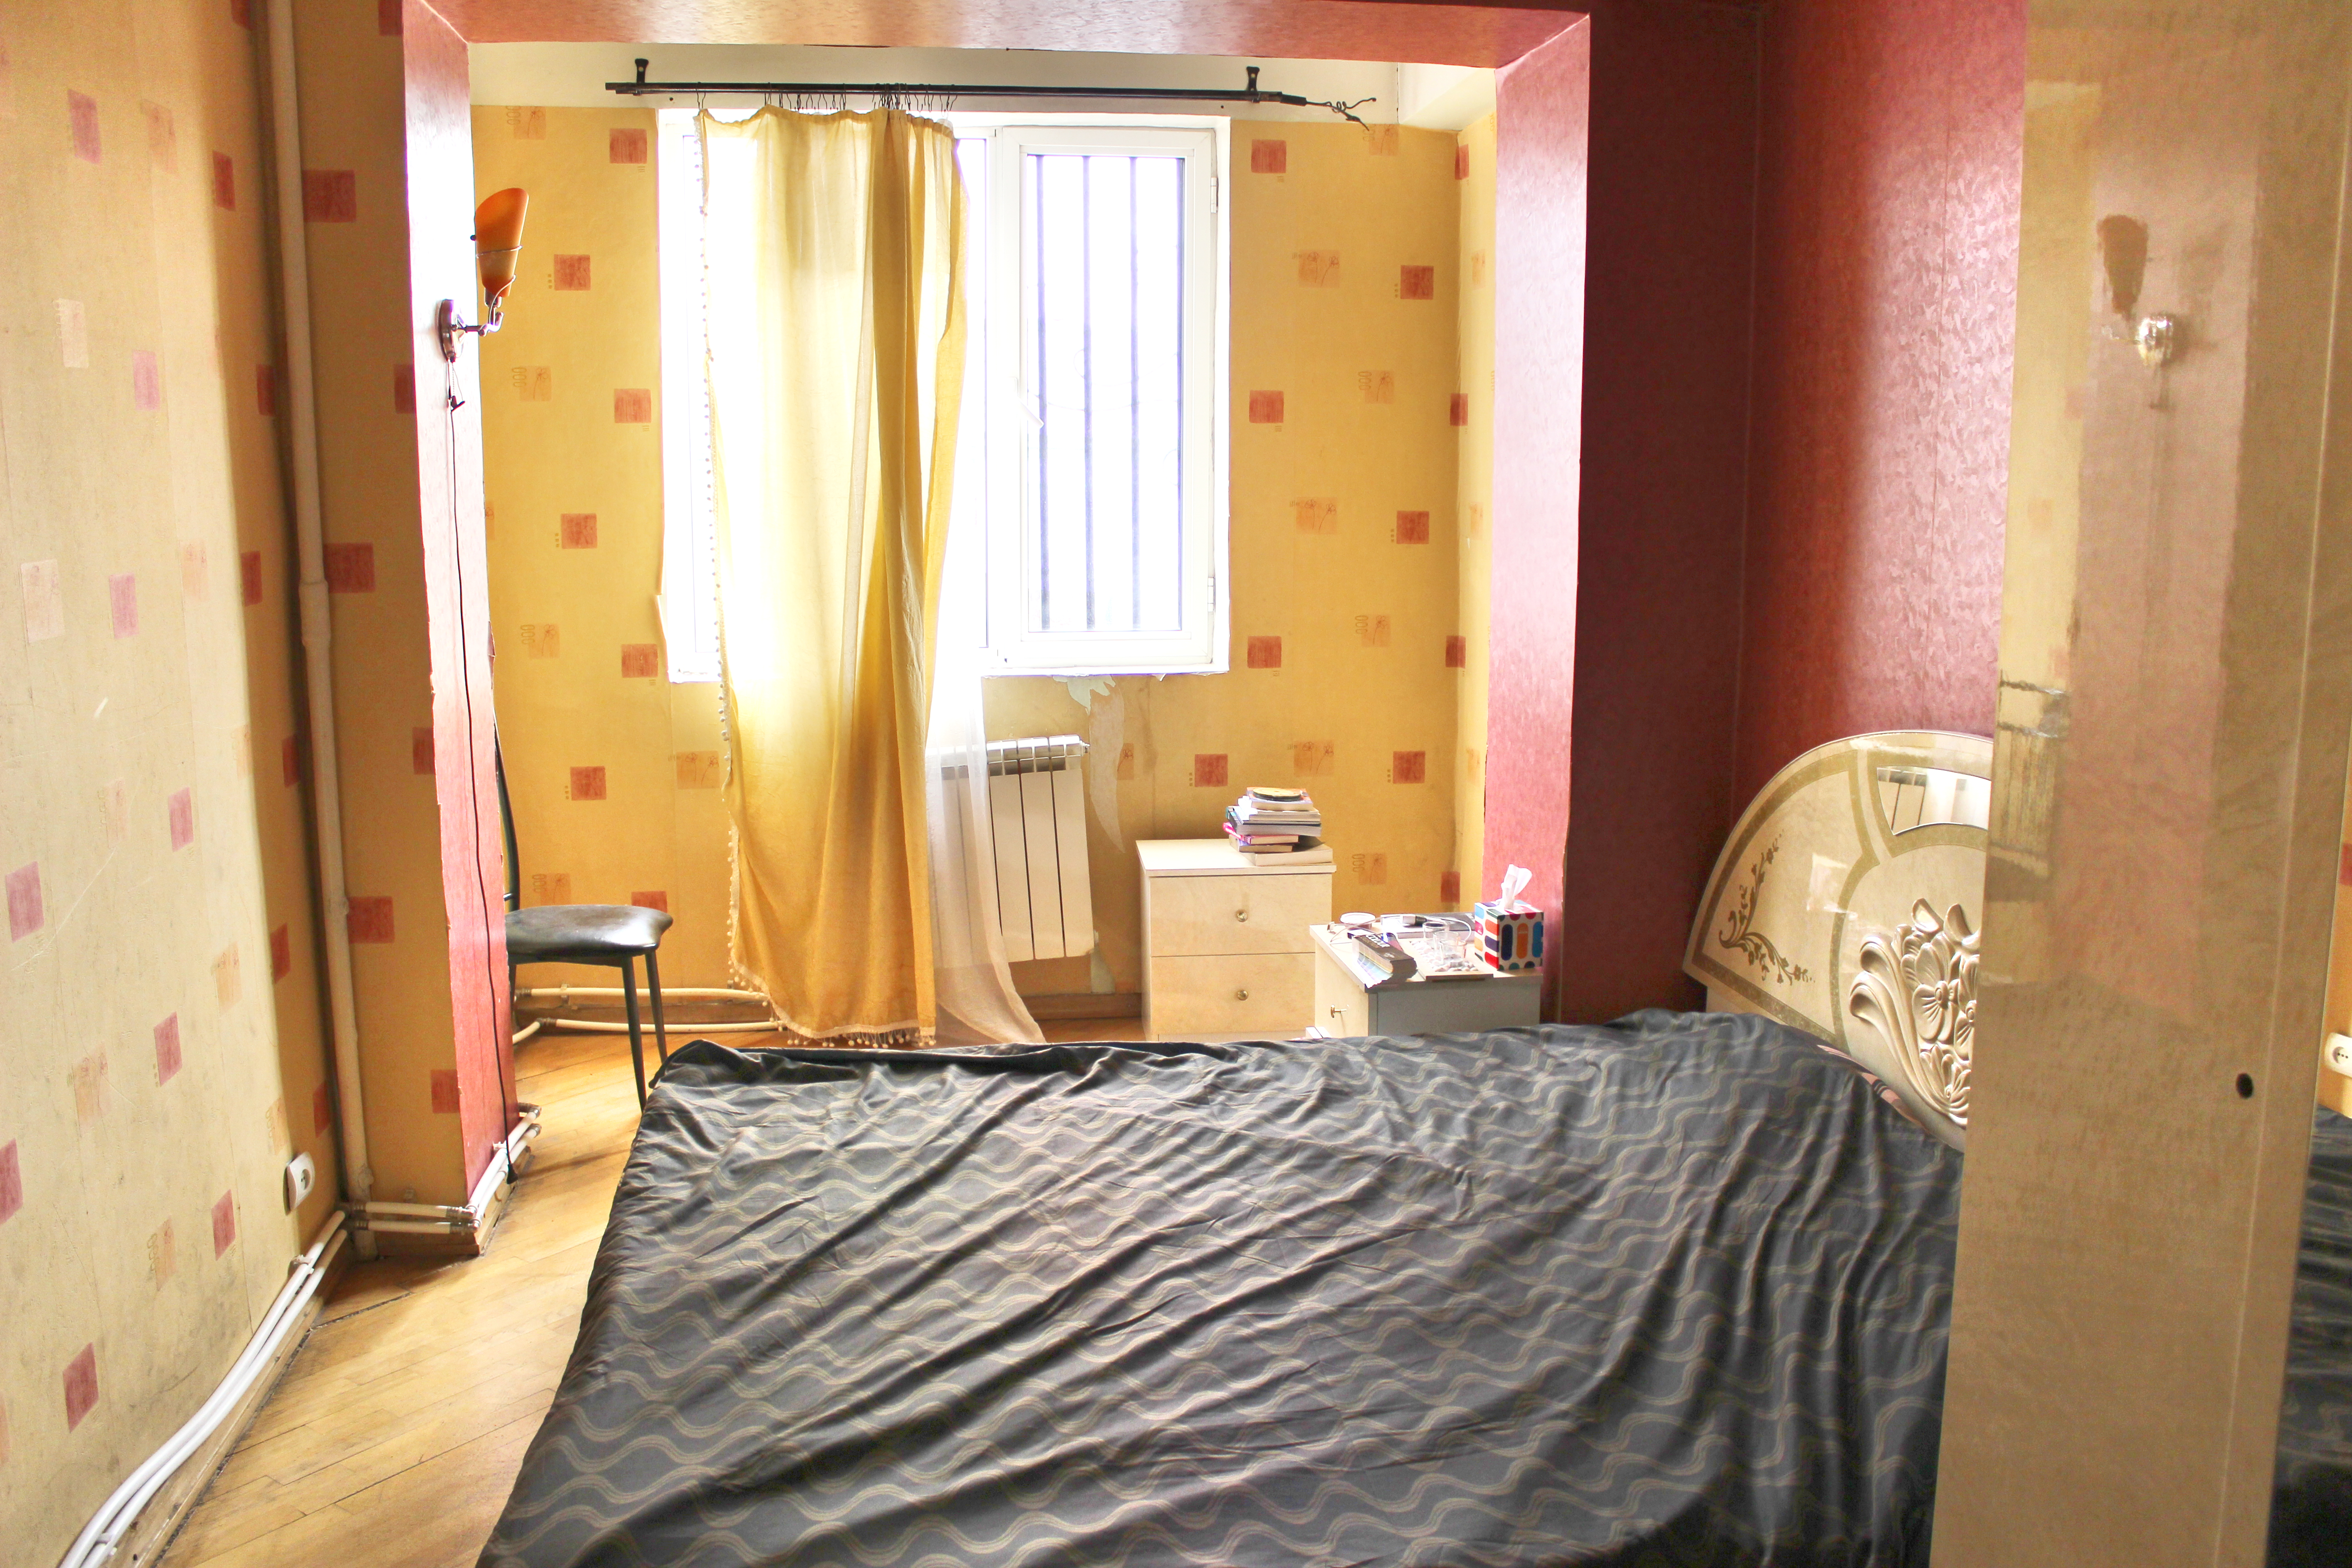
As I mentioned the condition of all the rooms was pretty bad. This is how my bedroom looked before (don’t fall off your chair please!):
Pretty ugly, no?
And needless to say that I had to face some real challenges:
1) I could change the wall and ceiling finishing but not the floor – it is too costly and the owners wouldn’t allow.
2) All this horrible furniture is a given and I couldn’t just throw it away from the balcony as I wish.
3) Those ugly pipes which are running around the room have to stay there as this is our heating system (!).
4) The house itself is pretty old and there are many imperfections (this is a soft word to describe those terrible scratches, cracks, and dints) on the walls and ceiling.
Here is my scope of work:
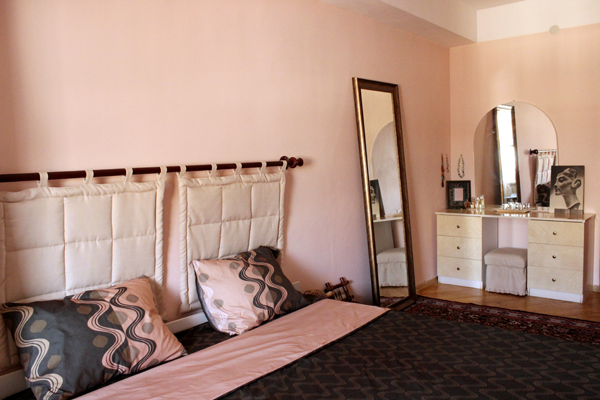
– Old wallpaper removed, ceiling painted white acrylic emulsion and the walls with Dulux Mango Melody 5 paint.
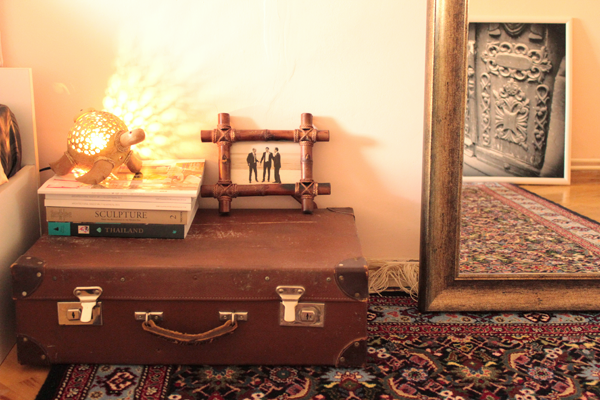
– I placed a handmade Caucasian rug on the floor and it has covered most of the room hiding the old parquet. Now I even like places where it is visible – it has this vintage, shabby chic look.
– I removed the plastic headboard and ordered a custom-tailored made from fabric cushions which I hung on the curtain rod (you can find more creative ideas for a DIY headboard here).
– The wardrobe was removed and went to the storage room (luckily we have one and we made a dressing room there, which allowed us to get rid of a lot of unnecessary things from bedroom and living room.
And now after 2 weeks of thinking, running, choosing, painting, sweating my bedroom is ready!
Ta-da:
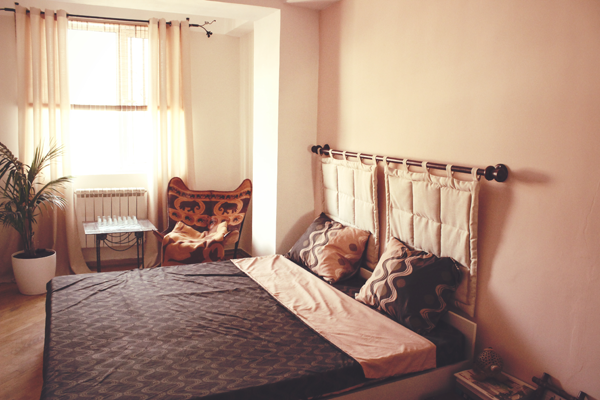
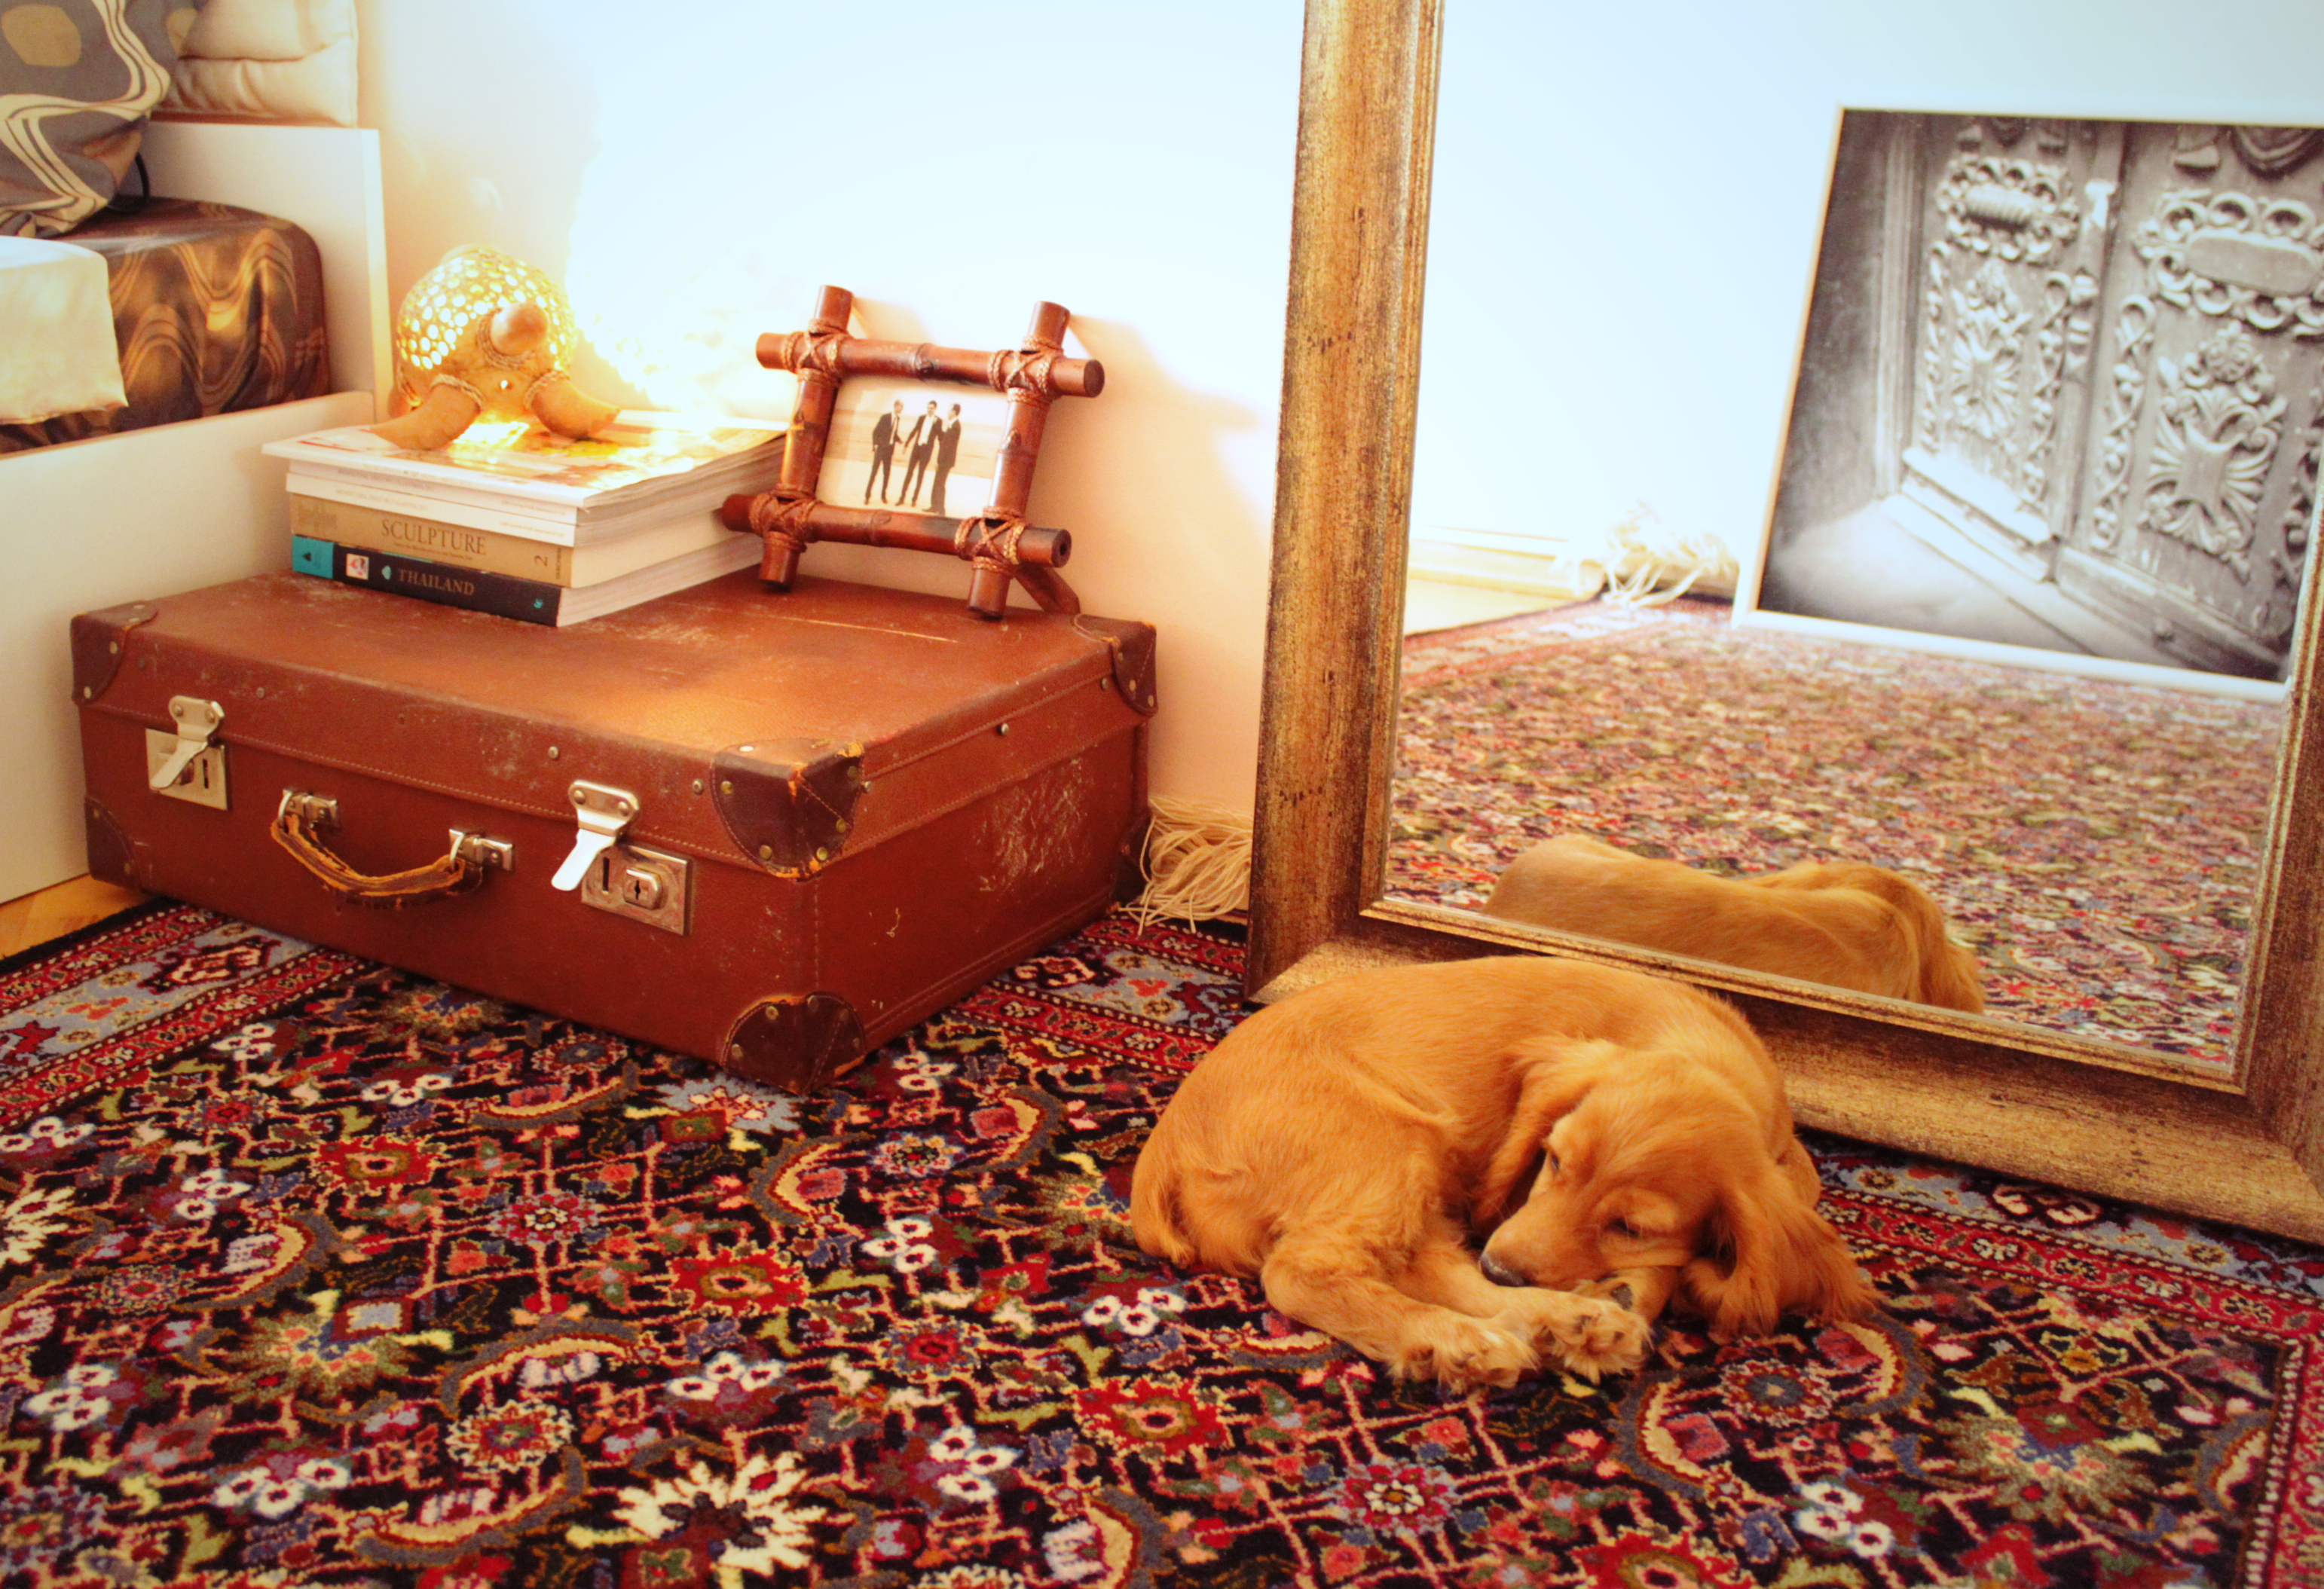
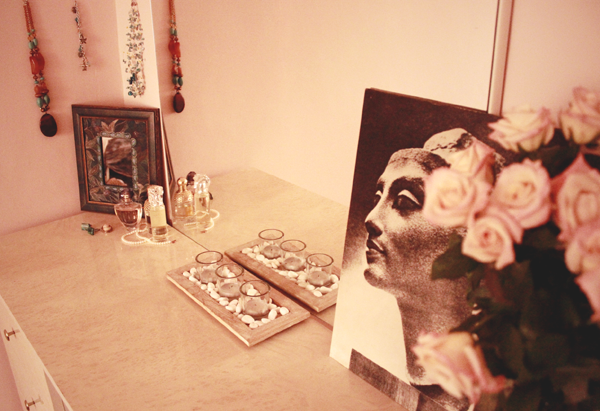
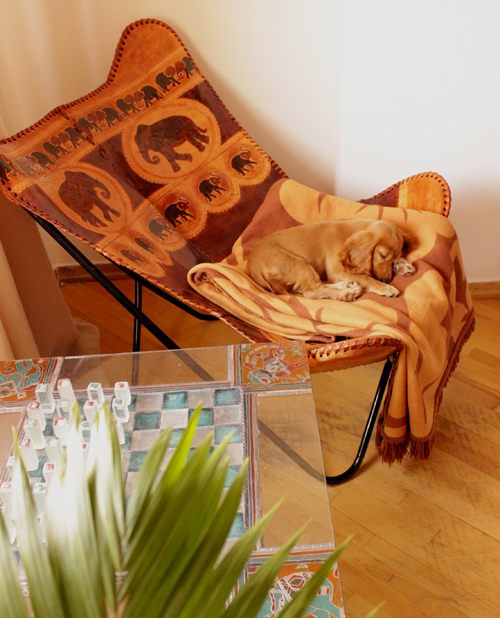
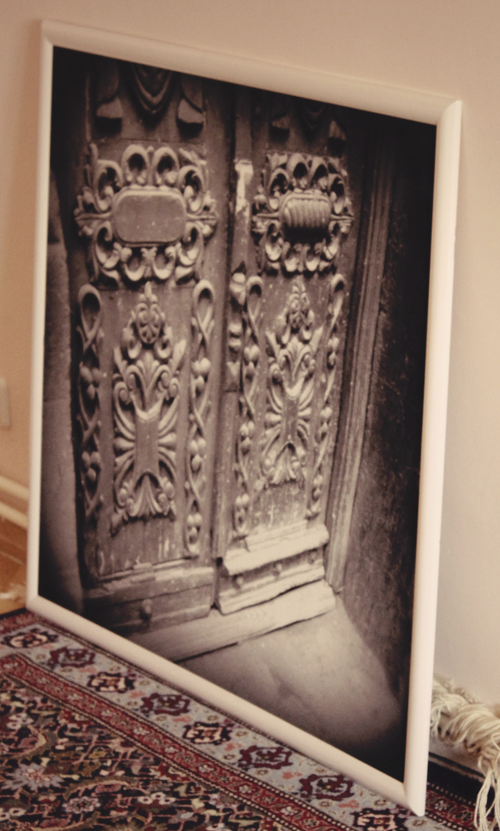
So, my bedroom is over and I am working on my living room now. It is so nice on the weekend to close the bamboo shade and have an afternoon nap in my newly refurbished bedroom!
Related articles
- Hunting Art in Tbilisi (essenziale-hd.com)
- 15 Easy DIY Ideas for a Stylish Headboard (essenziale-hd.com)

