Illuminating Art: A Buyer’s Guide to Picture Lighting
Pictures in museums and stately homes are invariably crowned by some sort of picture lighting, but it’s not always something we think to add as a feature in our own homes. But, using light to bring out particular features of a favourite painting, a framed picture poster, or even a tapestry, can make all the difference to your artwork and how it is viewed. Picture lights also bring a sense of drama and atmosphere to your home interior.
Picture lighting is an especially nice feature in a room where there is little natural light. It also creates excellent ambient home lighting.
Overall picture lighting is definitely worth the investment if you want to get the most out of your artwork. But there are pitfalls you need to be aware of. Artwork needs to be protected from light damage and while daylight is the most damaging form of light, artificial light can also have a damaging effect.
We’ve put together a simple guide with tips and information on picture lighting to help you get the most out of your artwork, without causing unnecessary damage.
Where to hang your pictures
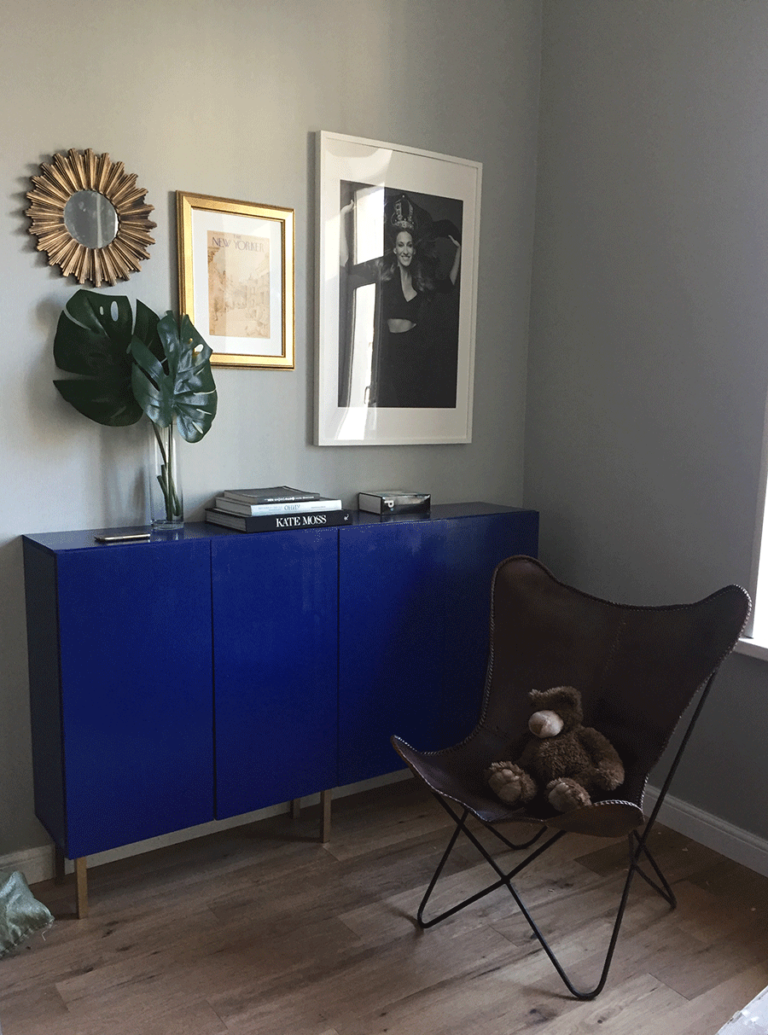
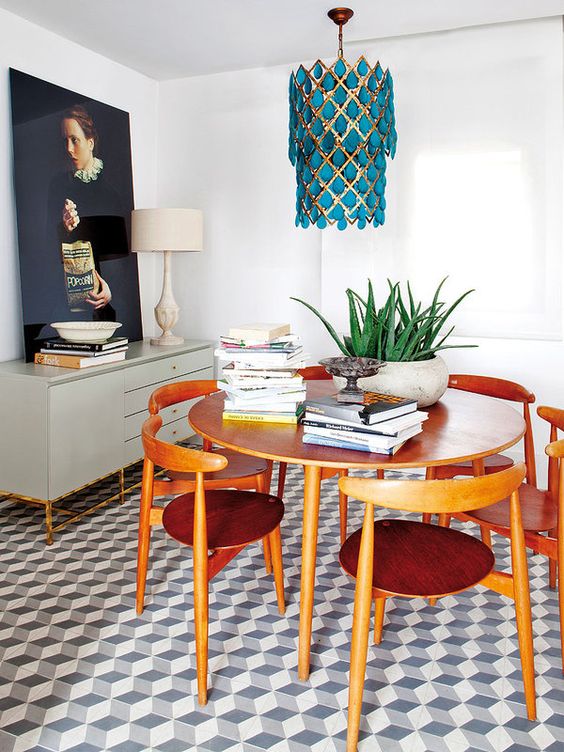
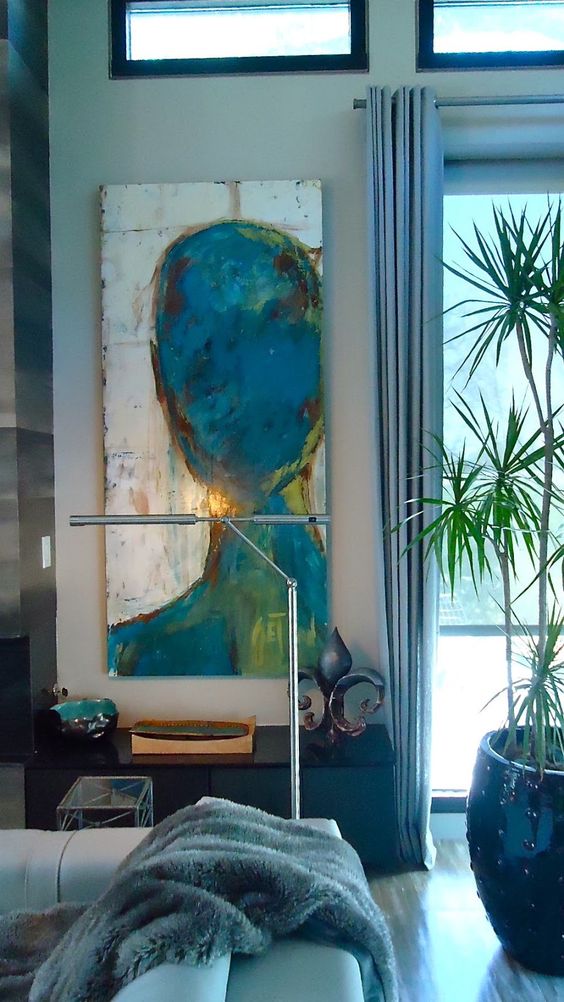
There is an art to arranging art. Most people have a tendency to hang artwork too high. The centre of the image should be at eye level. In living rooms, people tend to be sitting so it can be hung even lower. Line up the bottom of the picture a hand-width above the sofa as a good measure for where to place art in the living room.
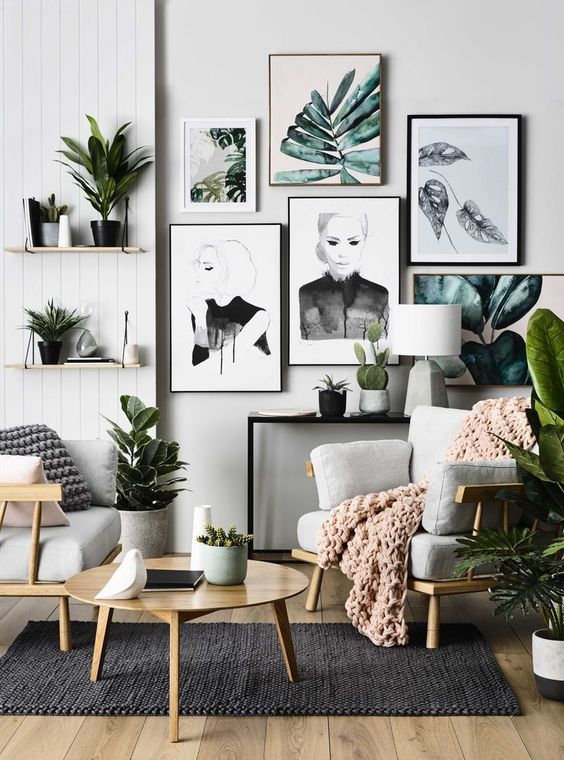
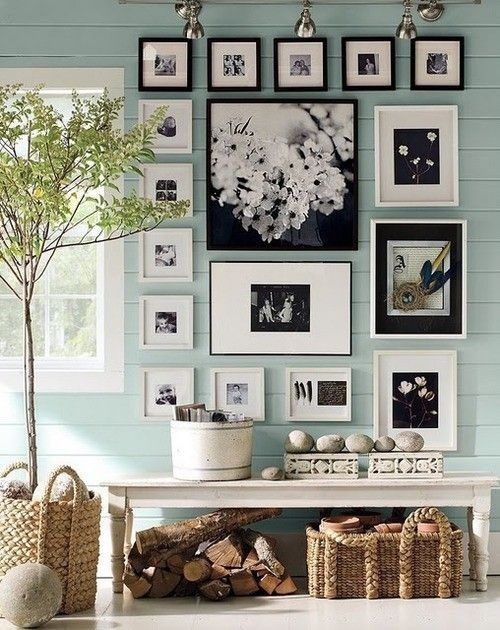
Artwork works well above a sofa, but make sure it is to scale. Above a sofa, artwork should be at least two thirds the sofa width. Personal and family art is great for the bedroom. It’s OK to create a mix and match gallery anywhere in the home, mixing art with pottery and mirrors, but make sure there is breathing room between each piece.
Artwork can also be propped up on a mantel or against a wall. If you are hanging art in the kitchen be sure it’s not in a space where it could easily be damaged by water or heat.
How to position your picture light
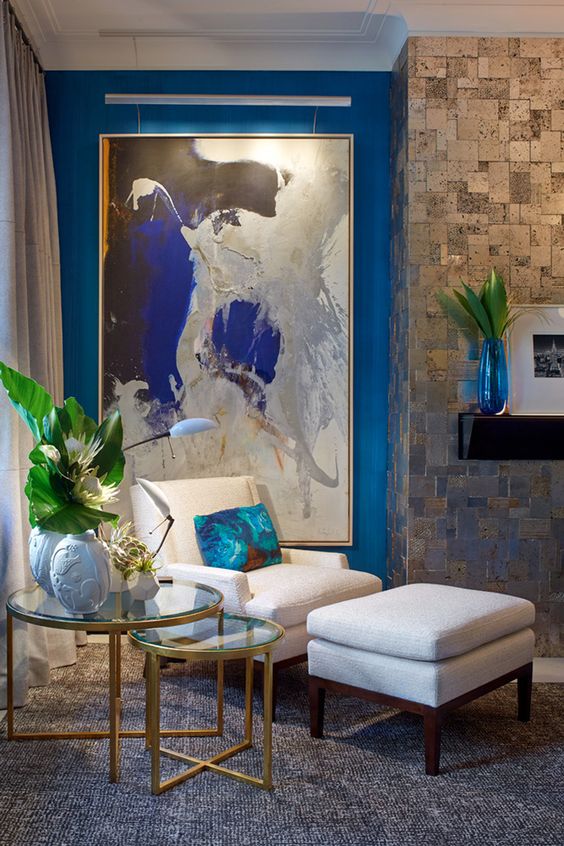
Position your picture light centrally above your picture. To reduce glare place the light at a 30-degree angle (or a 35-degree angle for larger frames). Place lights far enough away from the artwork to avoid heat damage. As for intensity, the general rule is to light the artwork three times more brightly than the rest of the room.
How to choose the correct size picture light
There’s no exact science when choosing a size for art lighting. For landscape pictures it’s generally held that the picture light should be roughly a half or a third of the picture width, not including the frame. For portrait pictures, go for a picture light closer to half the width of the picture, not including the frame. Generally, the larger a picture is, the more light it will need to properly illuminate it.

Oil paintings are more difficult to light because of the spectral highlights shown when light is directly on the painting. A broad-based LED light source is best for oil paintings.
The different styles of picture lighting
There are various styles of picture lighting ranging from wall-mounted to freestanding options. There are also a wide array of designs to suit the particular style of your home, from modern through to traditional styles. Here’s a brief round-up of the main picture lighting styles.
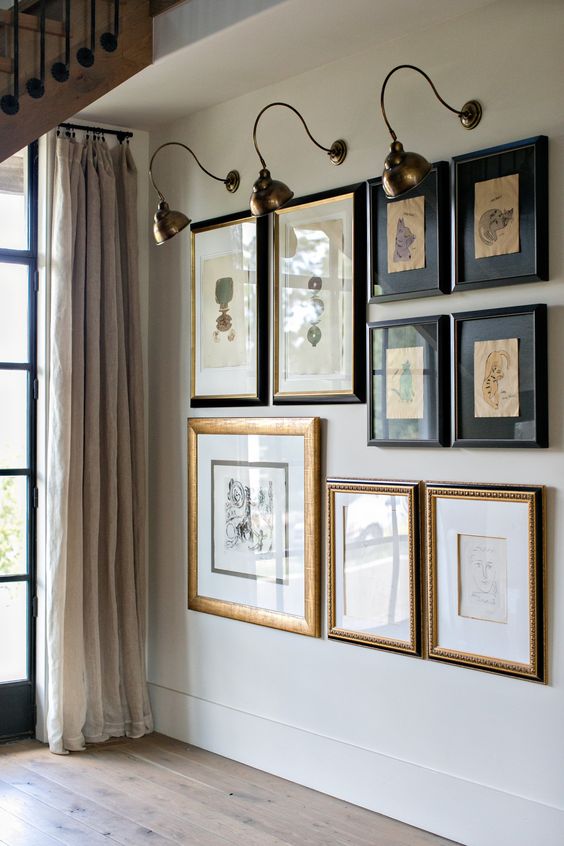
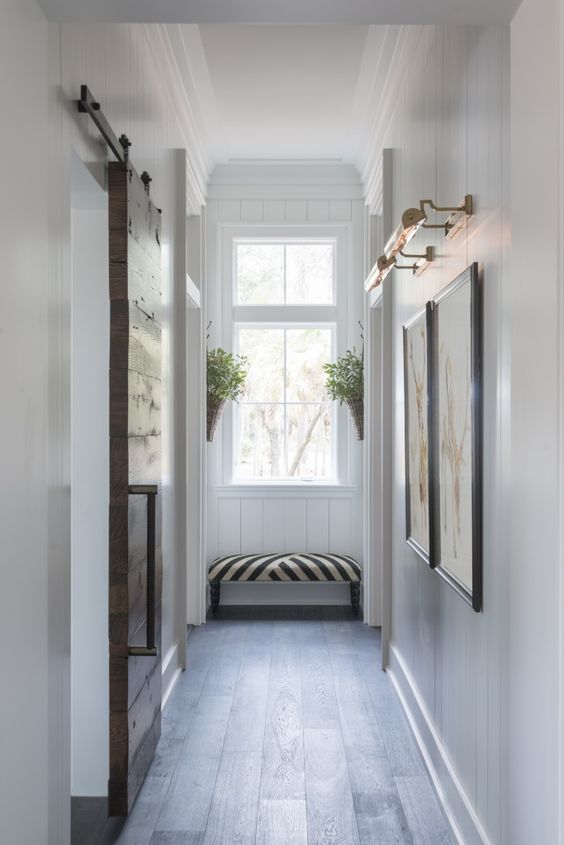
Wall-mounted picture lights
As the name suggests, this type of light is attached to the wall, close to the picture it is lighting. There needs to be sufficient space between the top of the picture and the ceiling, so it’s a particularly good picture lighting solution for rooms with high ceilings.
Ceiling-mounted picture lights
Again the name is a giveaway – this type of lighting is mounted on the ceiling. This type of lighting makes perfect sense when a piece of art is hung on a wall close to the ceiling. There are a few options with this type of lighting. Recessed lighting is a permanent fitting that is incorporated into the ceiling. It’s a fairly expensive option, but looks very effective. Track lights or spotlights are an alternative and are attached to the ceiling rather than sunken into it.
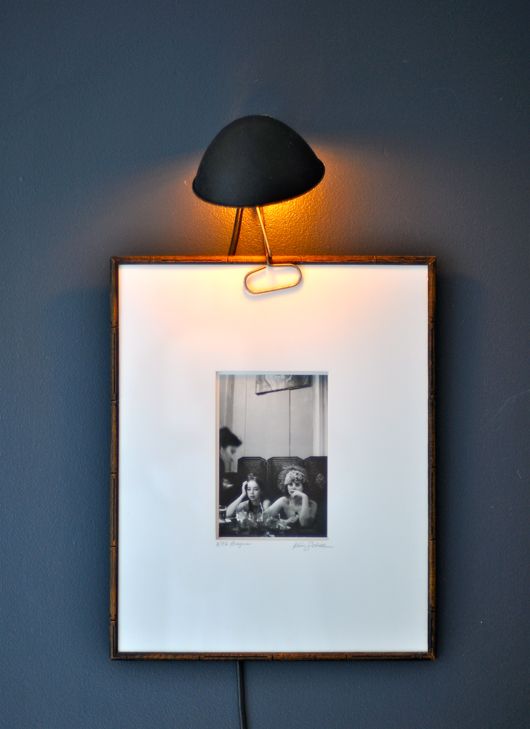
Clamp on picture lights
A simple solution, clamp on picture lights attach to the frame or the edge of the artwork itself. Some simply attach to the back of the artwork and arc out over the top to light the picture. This style of picture lighting can add something to the artwork itself, but is not generally recommended for expensive pieces of art in elaborate frames, as it may damage the frame.
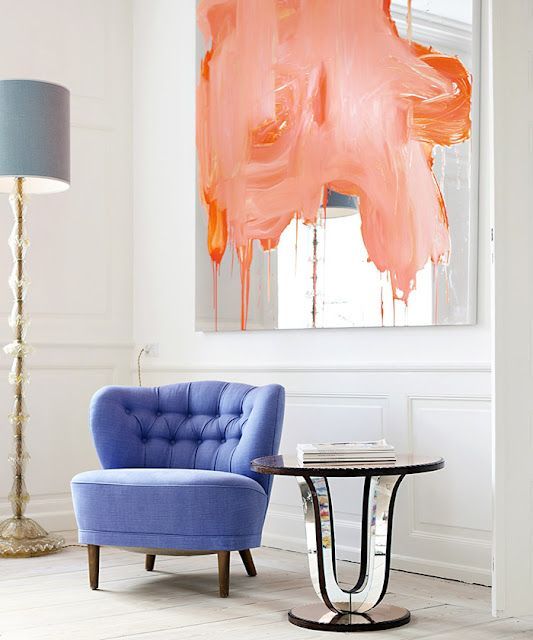
Freestanding picture lights
Probably the easiest option and offering greater flexibility on moving artwork around the home, freestanding picture lights are a convenient choice and come without the hassle of installing lighting to ceilings or walls.
Types of picture lighting bulbs
- Incandescent – standard bulbs (usually candle bulbs) giving a warmish, yellow light.
- Halogen – gives a bright, sharp, white light, and is one of the best light sources for viewing pictures. However, halogen bulbs get quite hot so positioning is important so as not to damage the picture.
- LED – gives a clear, whitish light, and doesn’t give off heat. These are also low energy so have minimal running costs. Even museums are using LED lighting for artwork.
Extra do’s and don’ts for picture lighting
- Aim for an even spread of light across the whole surface of the picture.
- Limit the time you have your picture lit, to avoid unnecessary damage.
- Picture lights are not suitable for the bathroom.
- Fluorescent lights are not good for artwork. They alter the colour of the artwork, and emit a high level of ultraviolet rays which can cause damage and accelerate fading.
- Avoid putting any artwork in direct sunlight.