Bathroom Makeover: Lighting, Electricity Plan and Sample Board
Hello, friends!
March has started busy-busy for me. I am continuing the bathroom makeover project – the tiles have arrived today (yay!) and I am expecting all furniture and appliances delivery on Tuesday. By then my interior design project should be 100% ready to start the renovation works.
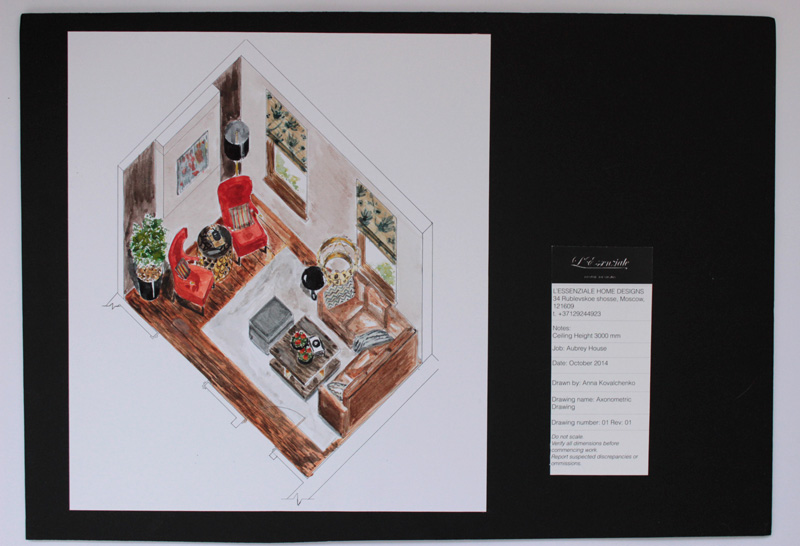
In the previous post I showed how I made floor plan, mood board and concept.

Today is the technical part: lighting and electricity. As I mentioned before I mostly use Archicad for my projects so all these drawings are done in this program. If you are looking for something easier and quicker check out Live Home 3D Pro which is a great alternative if you just started to learn interior design or planning renovation and need an easy and user-friendly software.
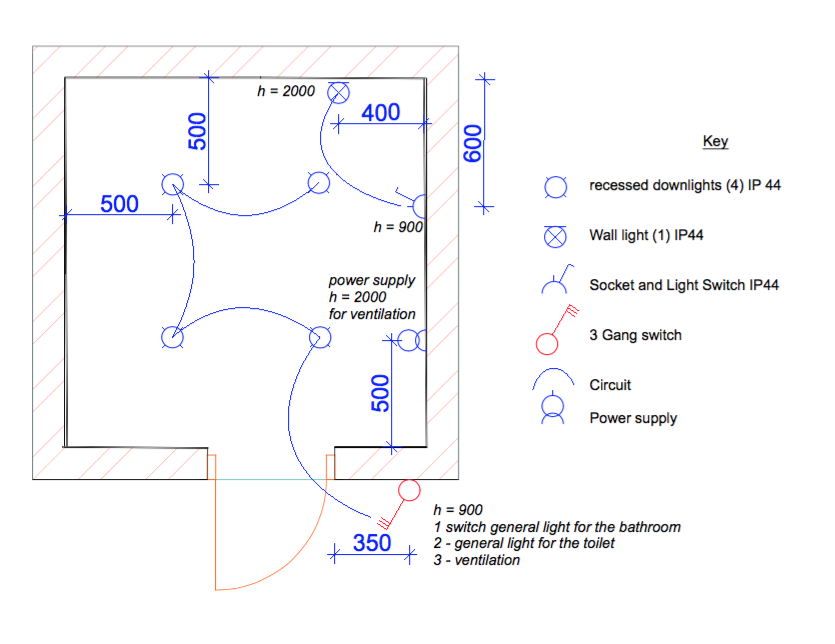
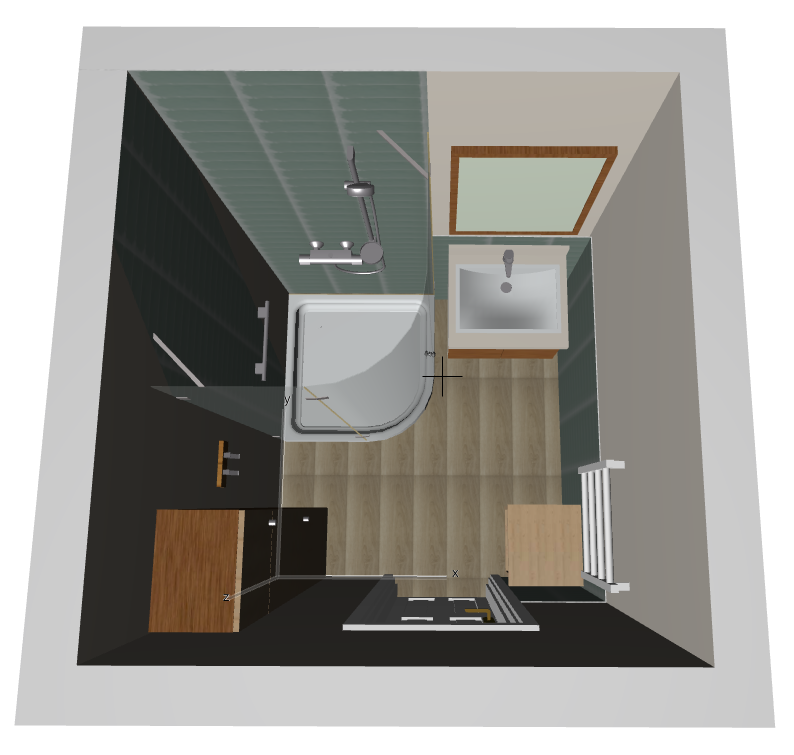
I usually make the electricity plan, circuits plan and sockets plans separately, but because here the project is very small I put information on one drawing – I think it is still very clear. Though there are some certain standards in the industry at the end of the day it is up to you how to present your project to a client or your construction team. The main thing is that the builders need to understand everything and your drawings have to be precise and not confusing.
If you put on your plan a socket for example, it is your responsibility to mark exactly where it will be located (the height, the distance from the end of the wall, etc.). All circuits need to be connected to the switches, and the height and location of switches need to be also marked.
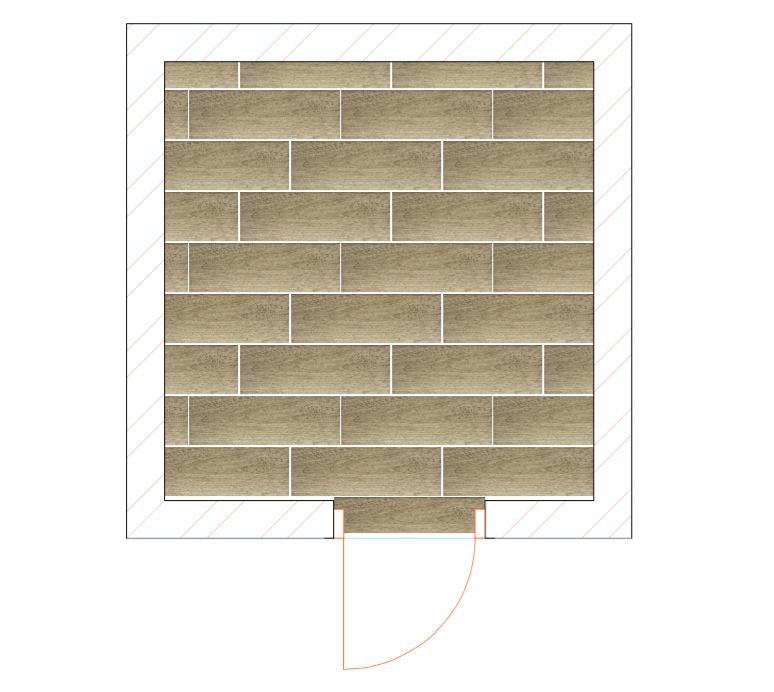
Archicad is also great for layering tiles. Drop me in the comments if it will be interesting for you to learn how I do it and I will probably make a video tutorial. Here is my flooring plan with the actual tiles that I have chosen. Tiles measure 200 X 600 mm and Archicad allows to layer them up to scale and even include distance for the seams (2-3 mm). Consider which corners will be visible and which will be hidden (by shower cabin, furniture), if the corner is visible it is better not to put there the cut piece of tile.
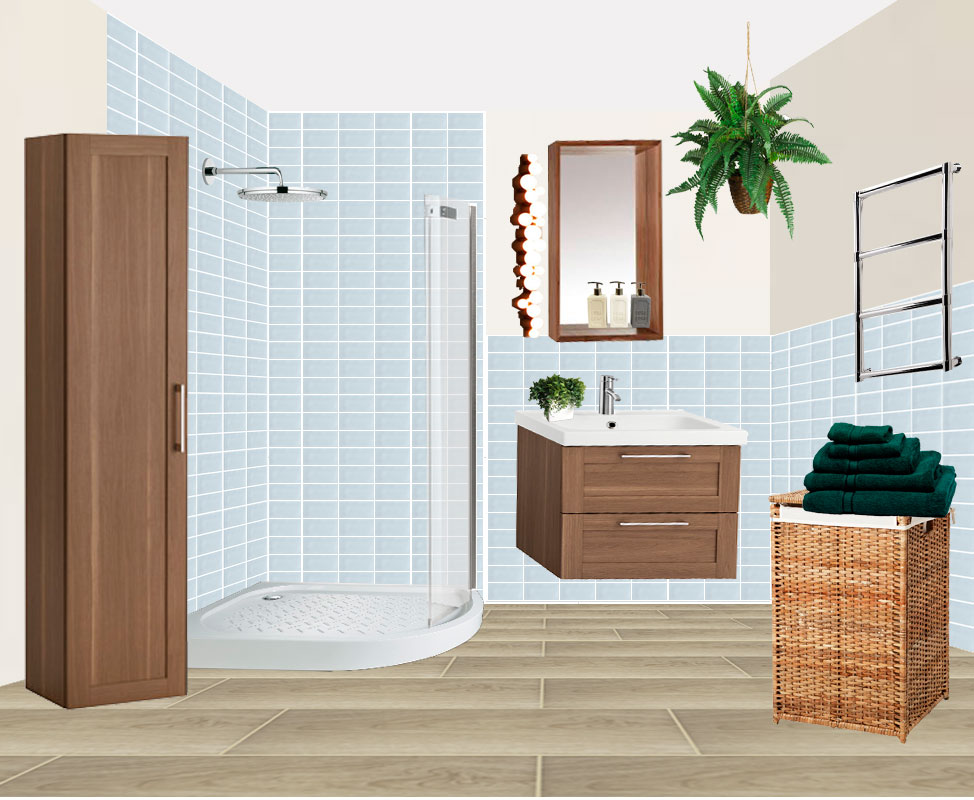
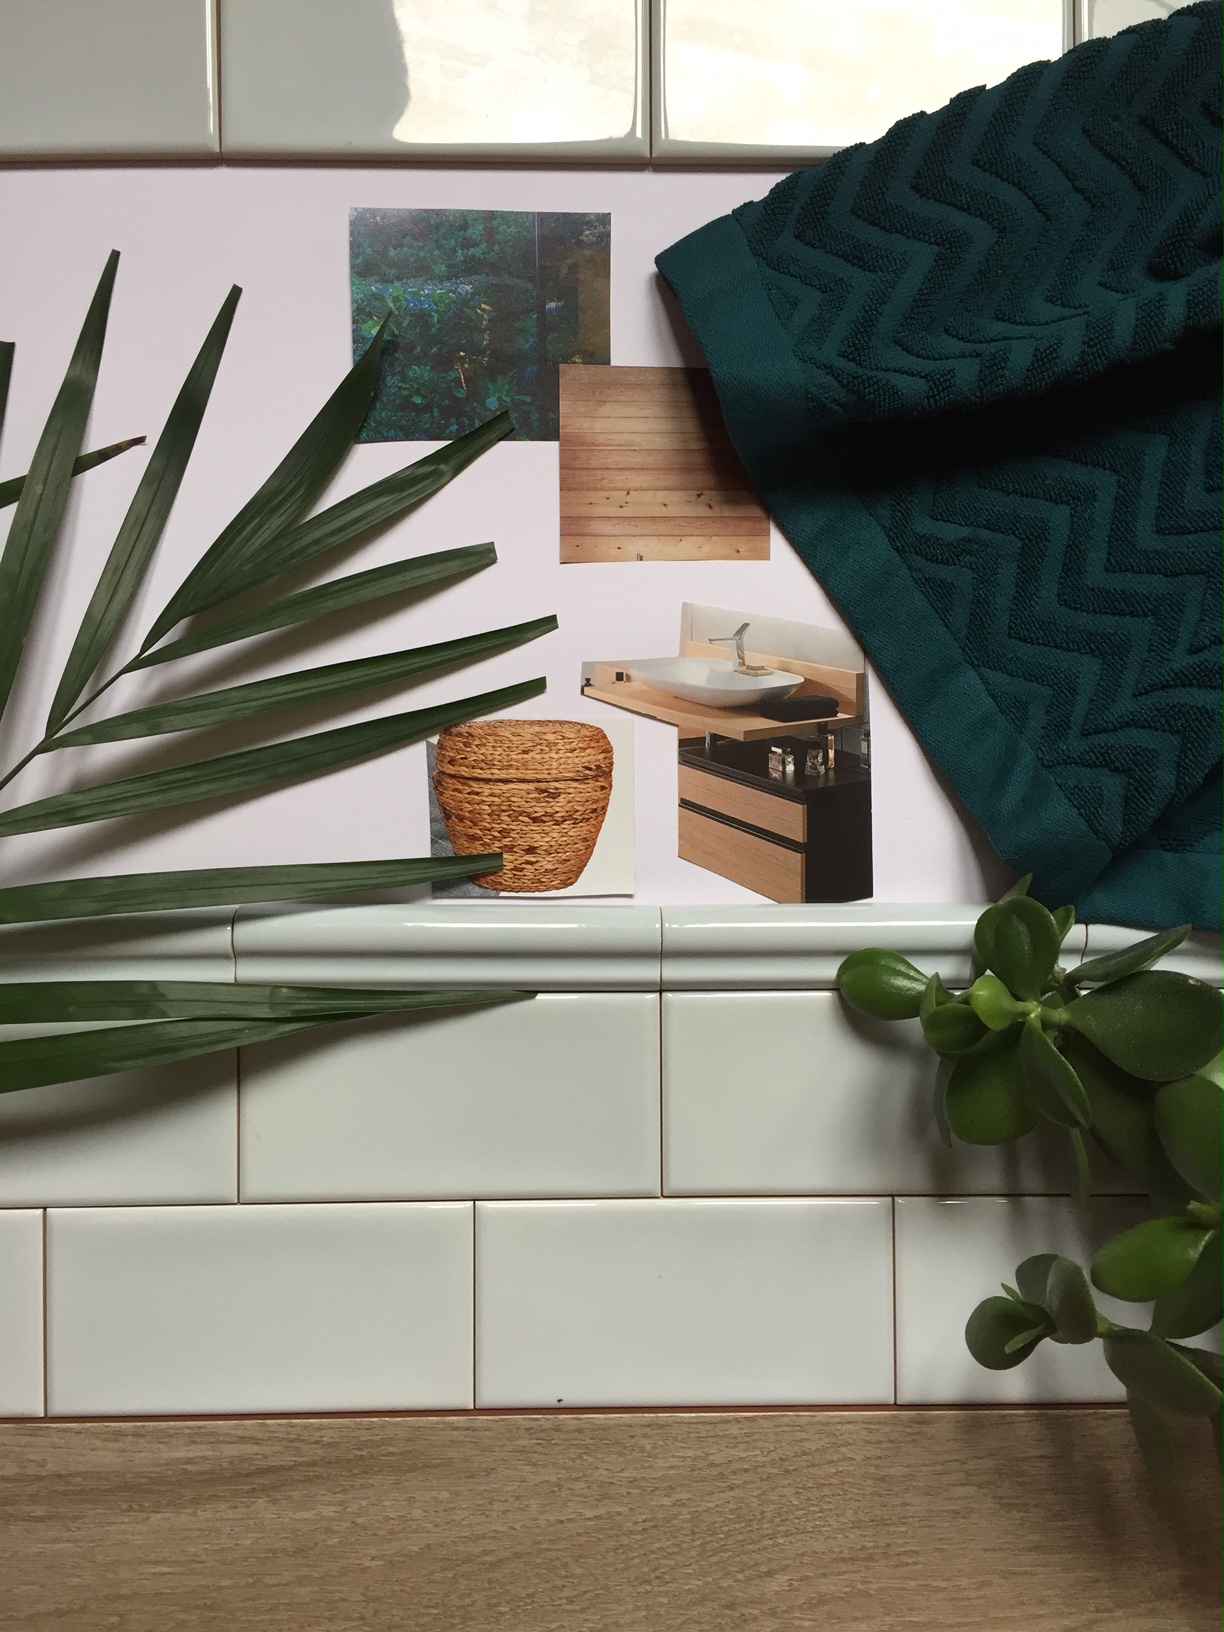
And finally the last thing I wanted to share today is my sample board. This is a great tool for interior designers where you just put together samples of finishes, textiles and furniture pictures to see how they all coordinate with each other. Sometimes I add some inspirational images too or pictures of furniture that I will not necessarily include, but I like the style and probably will search for something similar.
Hope this post was useful for you!
If you like my ideas and want to hire me – it is very easy: start with having a look at my e-design services.
If you are an interior designer yourself (or soon will become one!), you might want to check my books – one is about various interior styles (a guide through historic styles from 17th to 20th century), another one is about marketing your interior design business and tools for getting new clients:
[ebook_store ebook_id=”15760″]
[ebook_store ebook_id=”16032″]