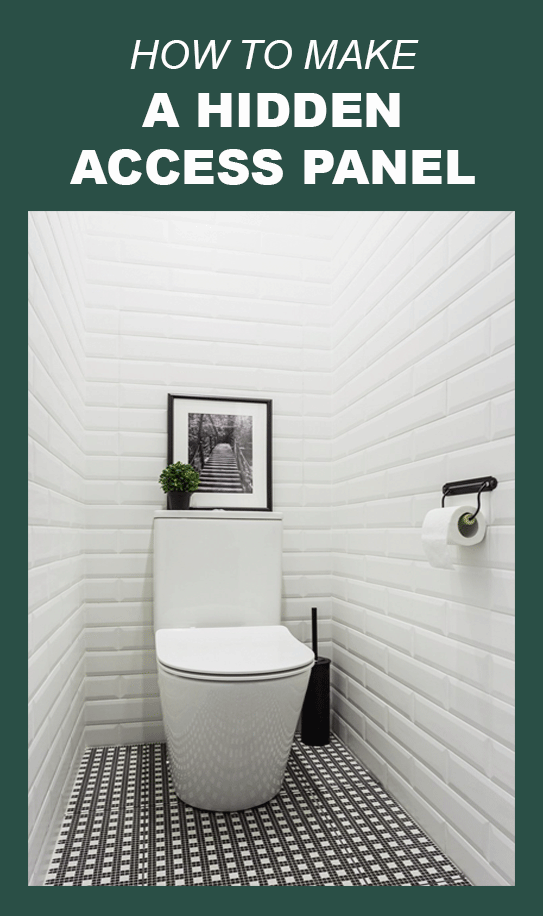
How to Make a Hidden Access Panel With Subway Tiles
Good evening, friends!
I am just back from the apartment that I am currently renovating, where my construction guys just finished to layer tiles in the bathroom. I thought I would share in this post several pictures of the hidden access panels that they’ve made inside the bathroom and toilet.
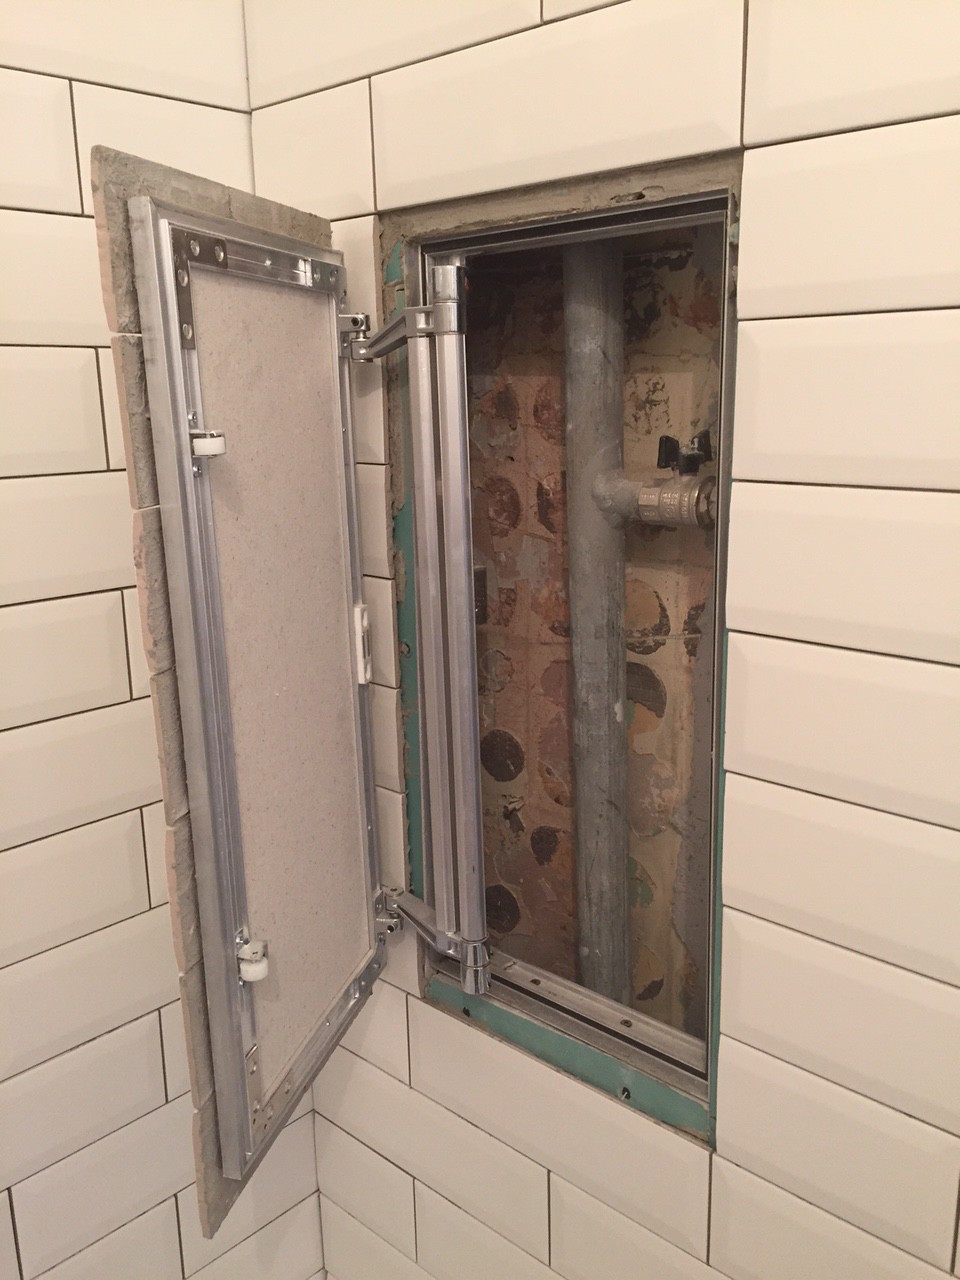
These panels are required in the bathroom to give an access to the pipes. Usually, we try to hide those unattractive features inside the walls, but at the same time, it is important to have access to them in case of emergency. It is great if you have an opportunity to make them outside your bathroom (e.g. to make access from the other side of the wall), however sometimes there is no choice, like in the situation with this small apartment that I am doing.
So, first of all, we have purchased these magnetic panels – I always prefer to buy bigger size of them: if something happens you can freely access and quickly fix the breaking.
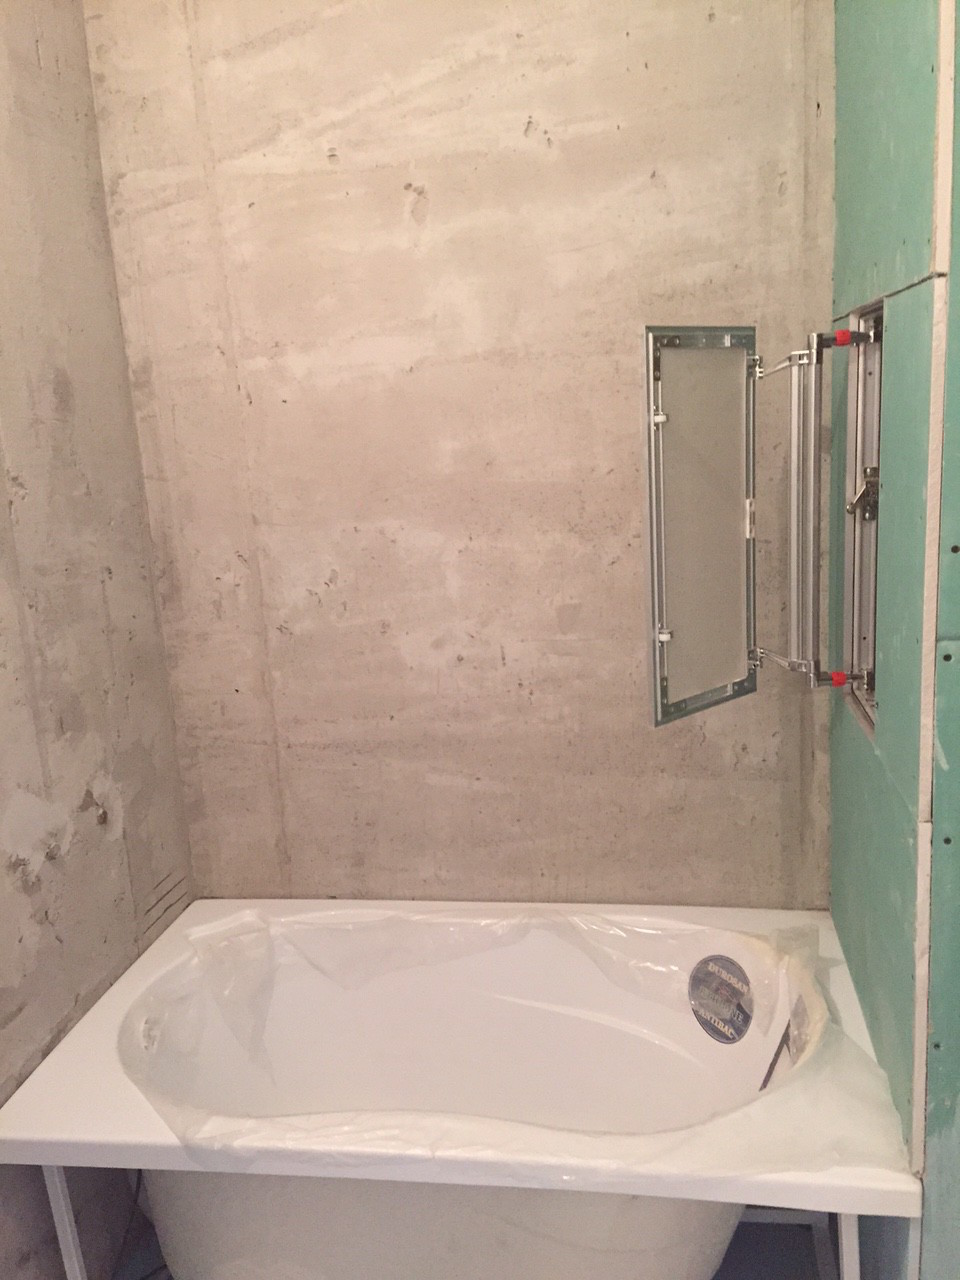
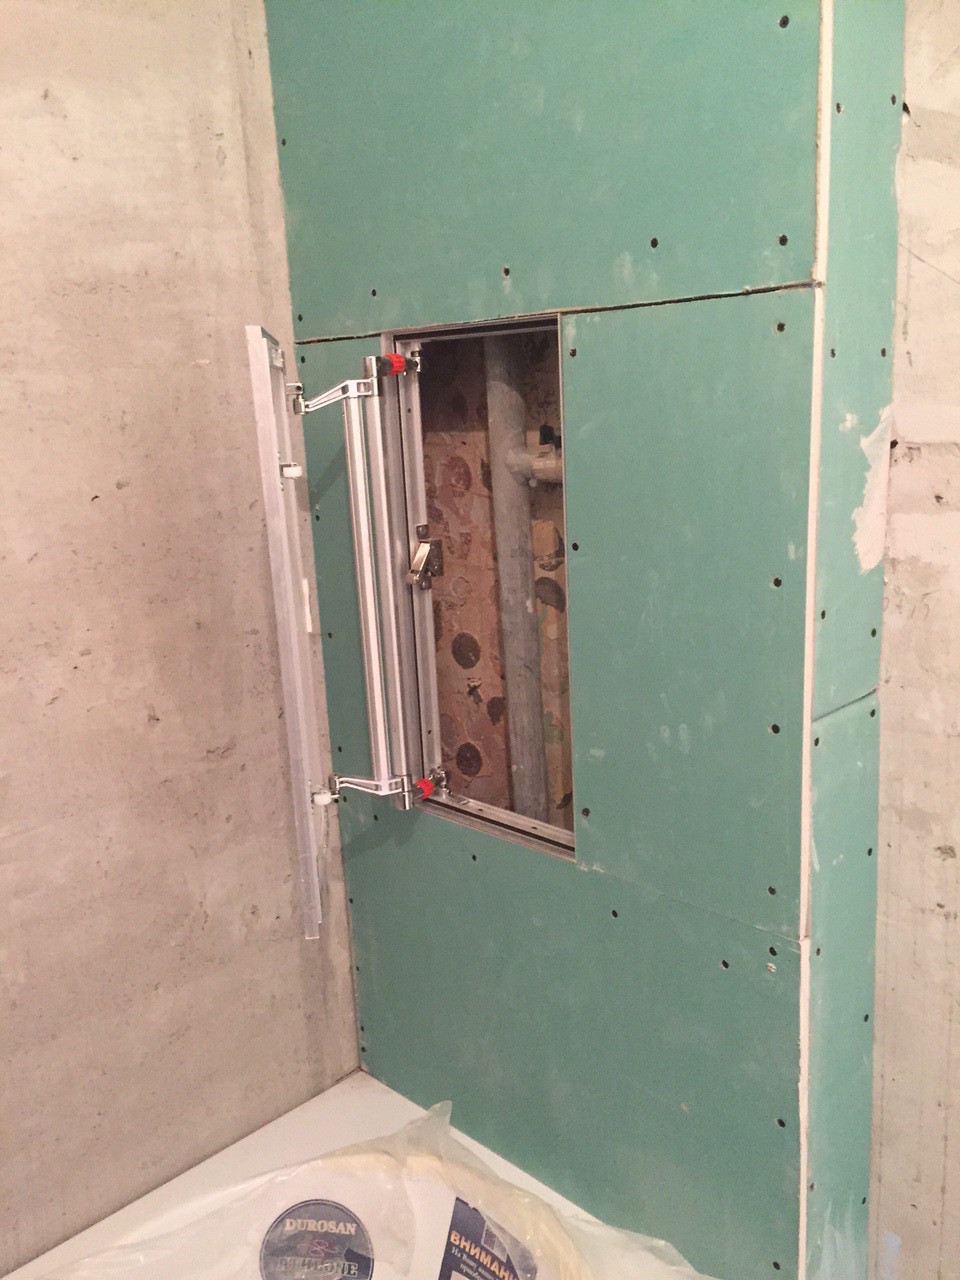

Ideally, the access panel shouldn’t be located in the wet area, but here we had no other option. If it is the same in your case, make sure that the panel’s frame is insulated with silicone.
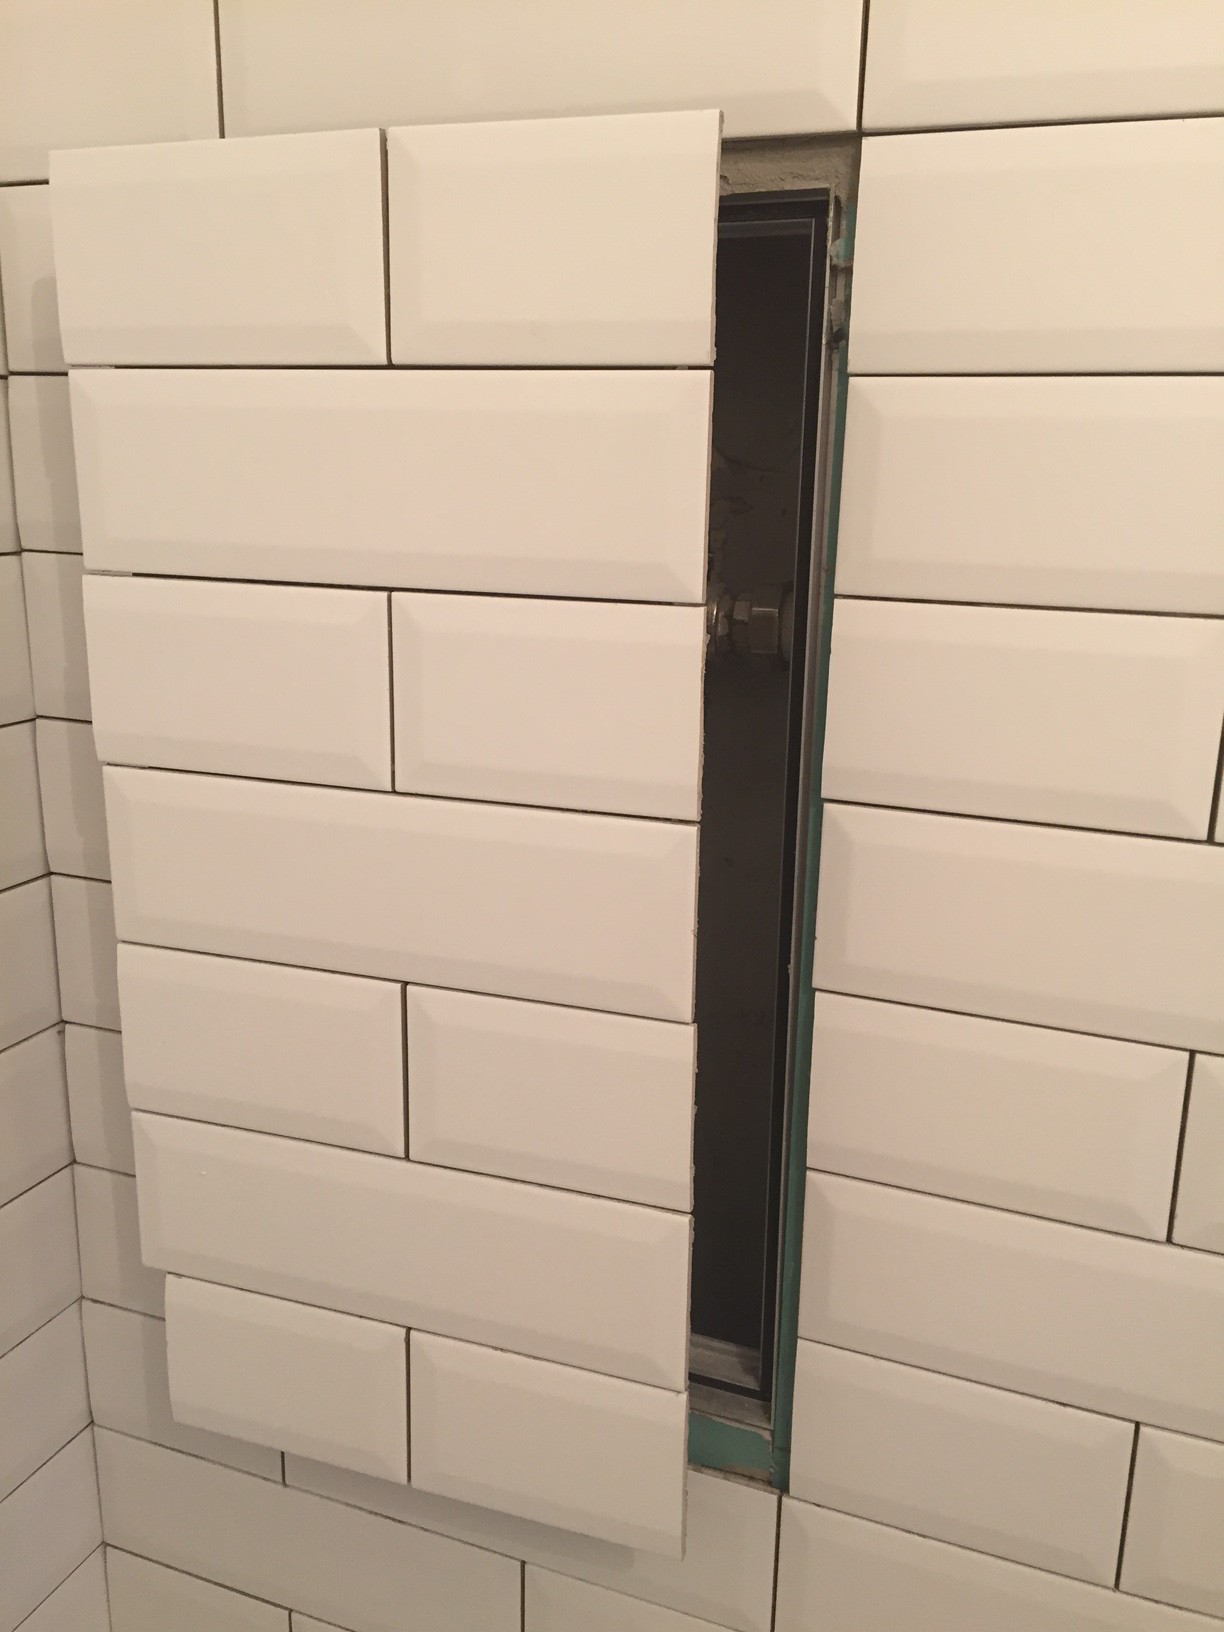
It’s great if your tiles exactly fit the size of the panel. However, it is not always the case. I have picked these white subway tiles for the bathroom, so it was clear that we need to cut them somehow.
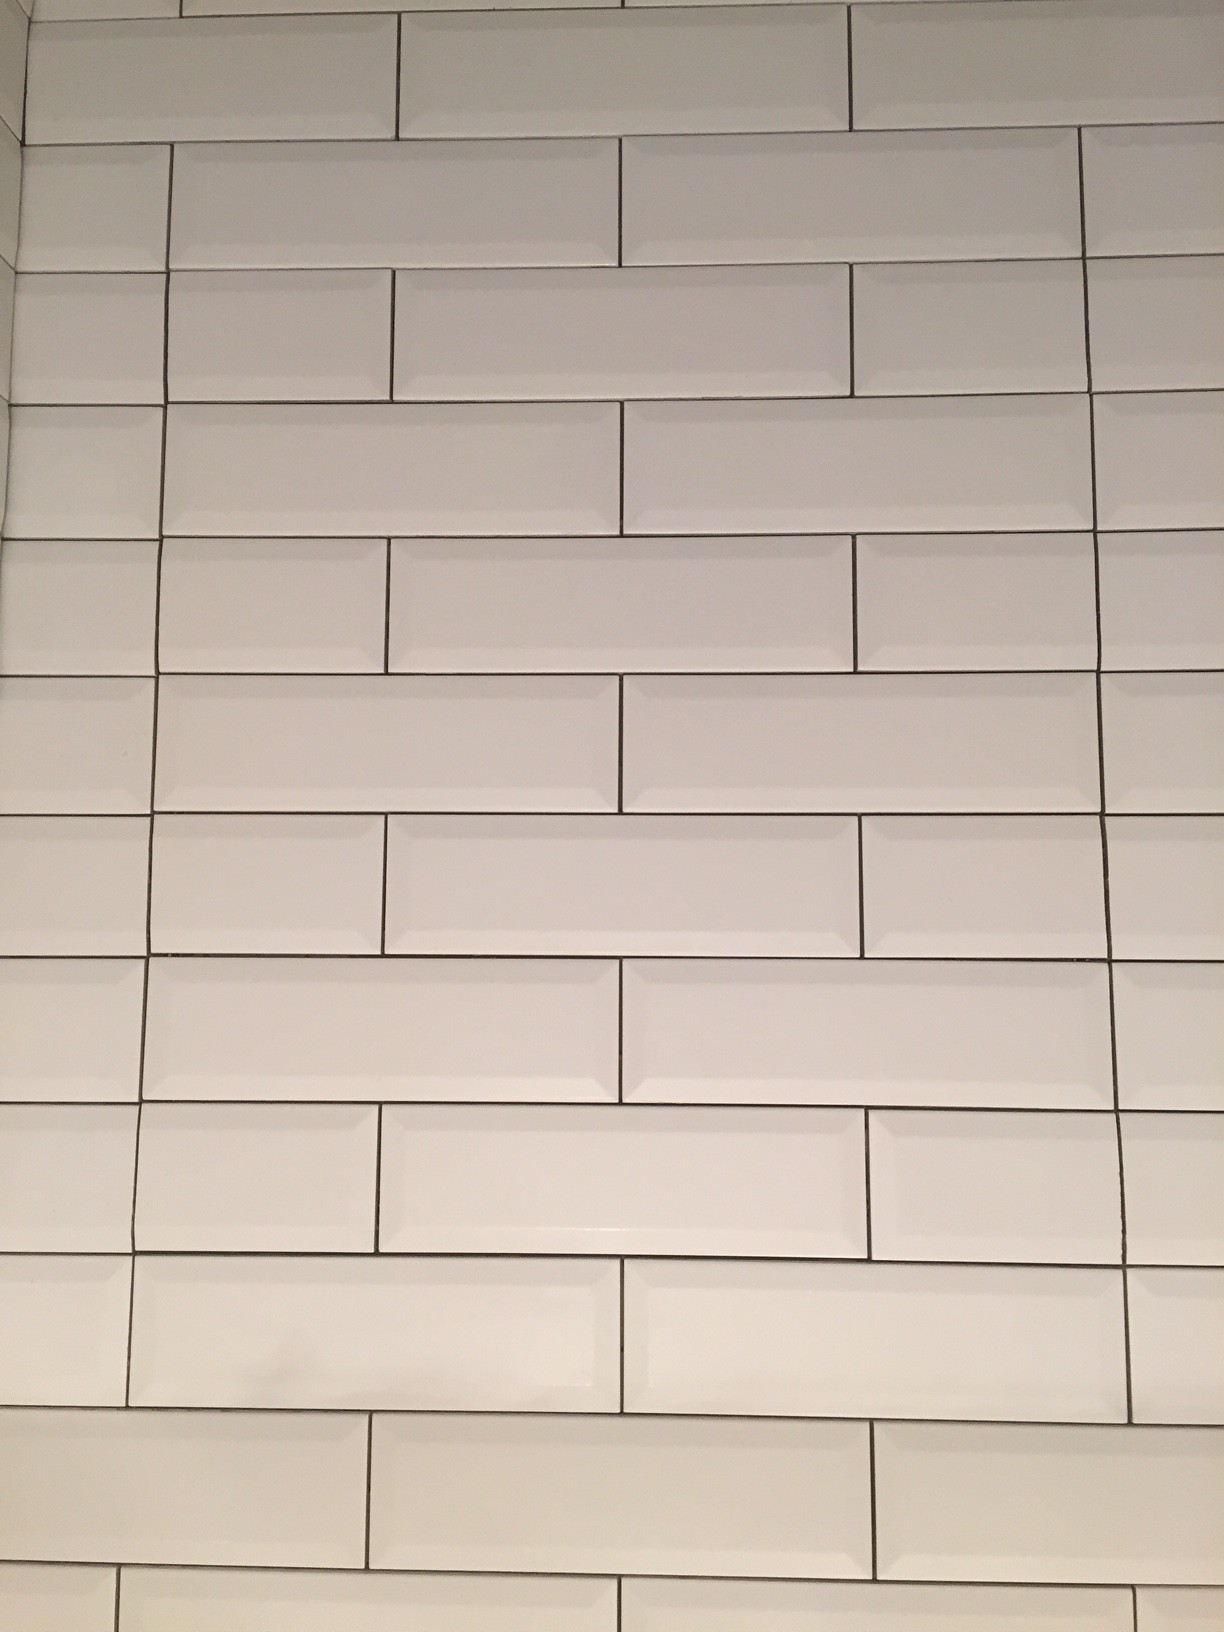
It is good to draw the center line on the panel and than creating a layout using it as a starting point. On the large panel in the toilet, we layered two whole tiles and then used one and two halves on the row below. In the bathroom, there was one whole tile and then two halves on the next row. The panels look almost invisible:
Hope that this post was useful! Check out the photos of completed project here:
New project: Apartment in Black and White