DIY Project: Graphic Painted Walls

Happy Saturday, my dear readers!
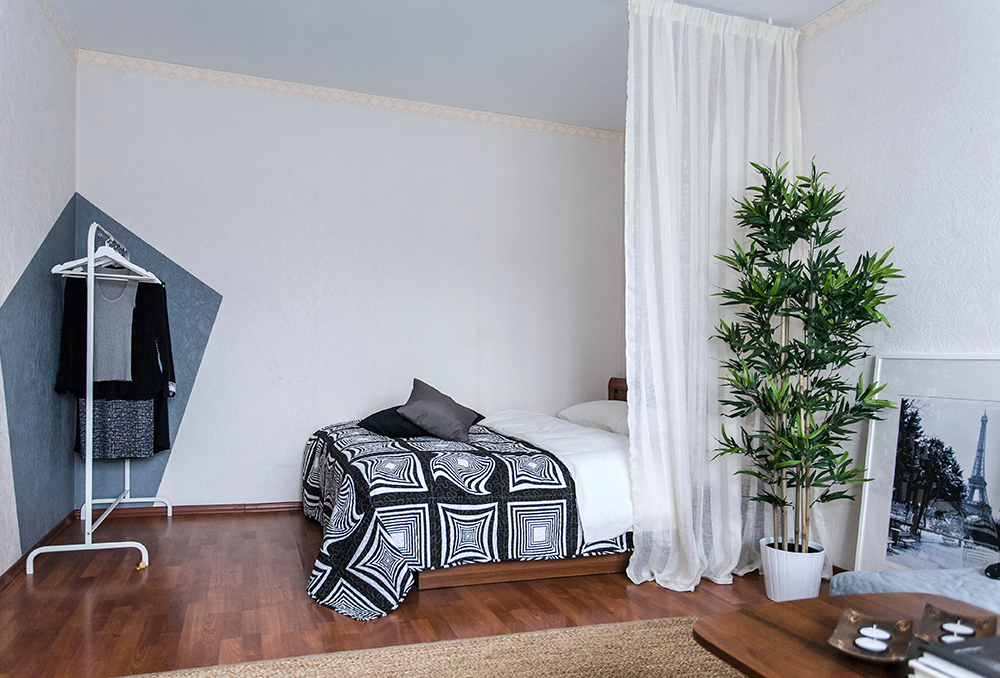
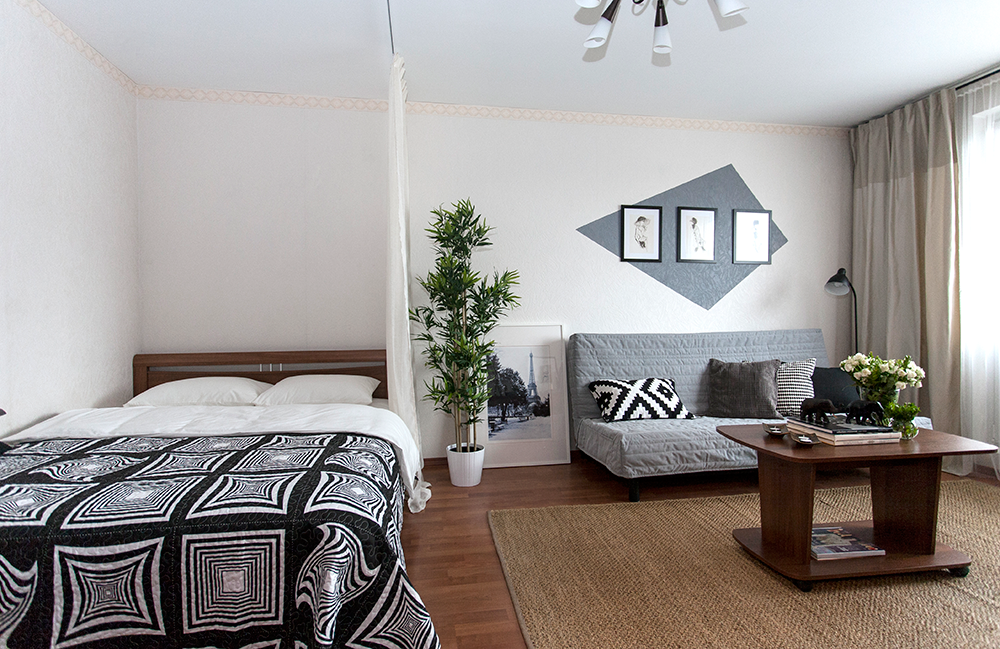
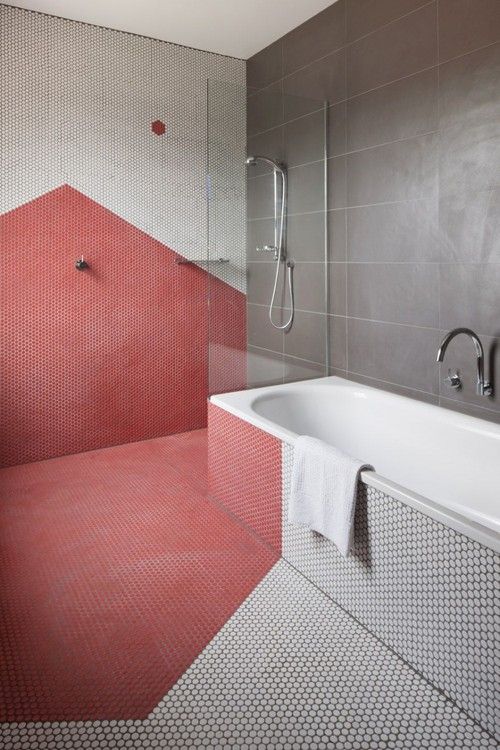
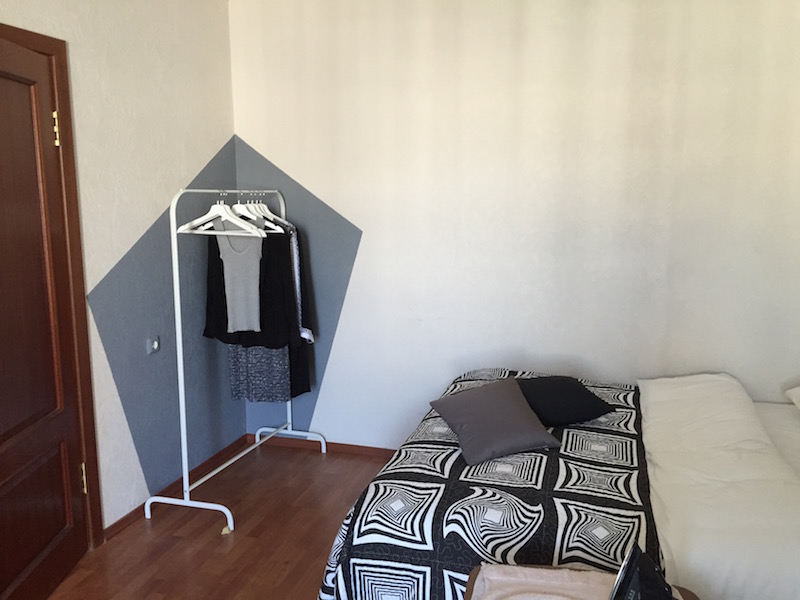
In my recent post I shared with you my recent project – studio apartment makeover. One of the decorating idea that I have used was graphic painted walls: it is super easy to implement, costs almost nothing and is able to convert the most dull wall into an eye-catching feature. I hope you liked the idea and in this post today I am going to share with you a step by step tutorial for this hassle-free DIY project.
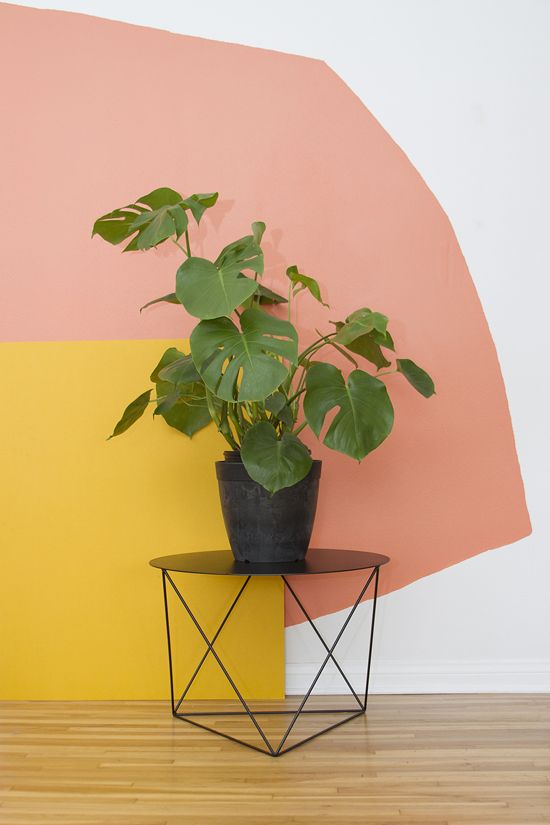
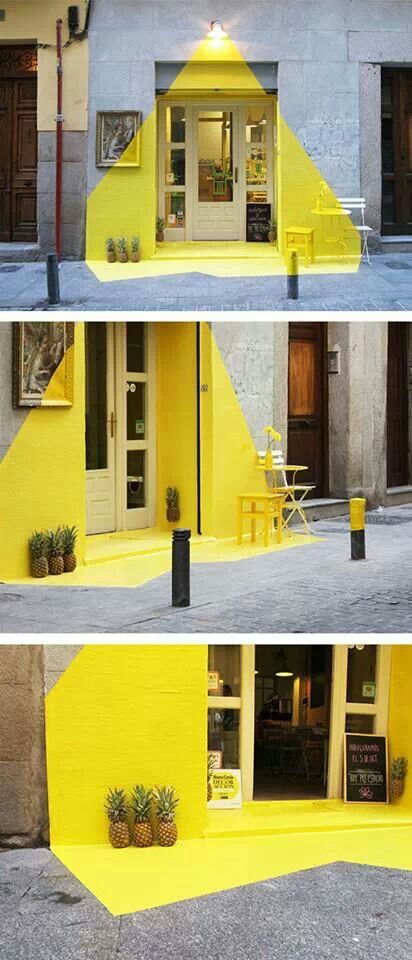
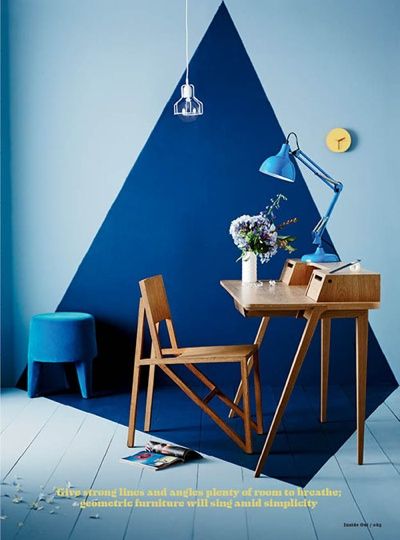
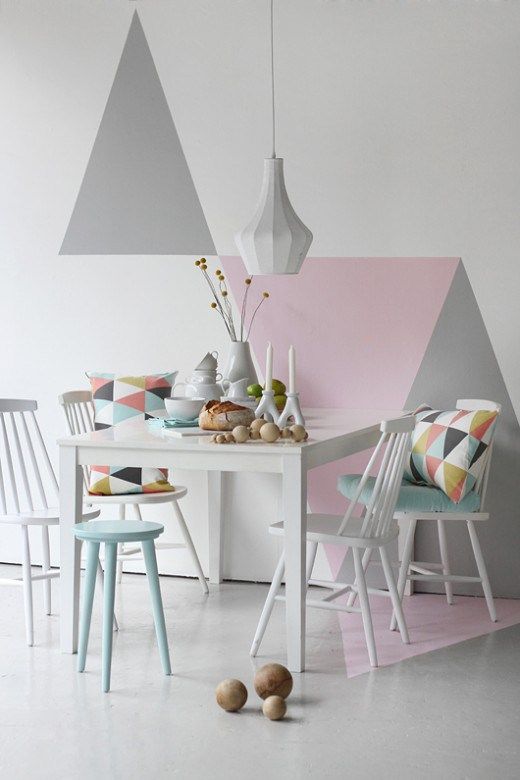
So it all started with some inspiration from my Pinterest boards: 
Here are the tools that you will need:
- paint
- paint tray
- paint roller
- small brush
- plastic drop cloth to protect furniture and floor from drips of paint
Steps:
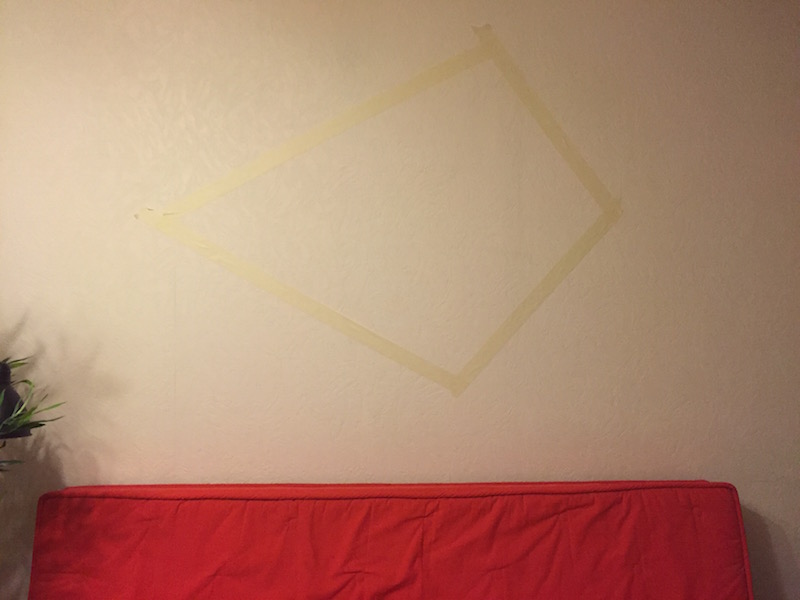
Using the tape detect the area of the wall that you wish to paint. Don’t be afraid to go bigger for even more dramatic effect.
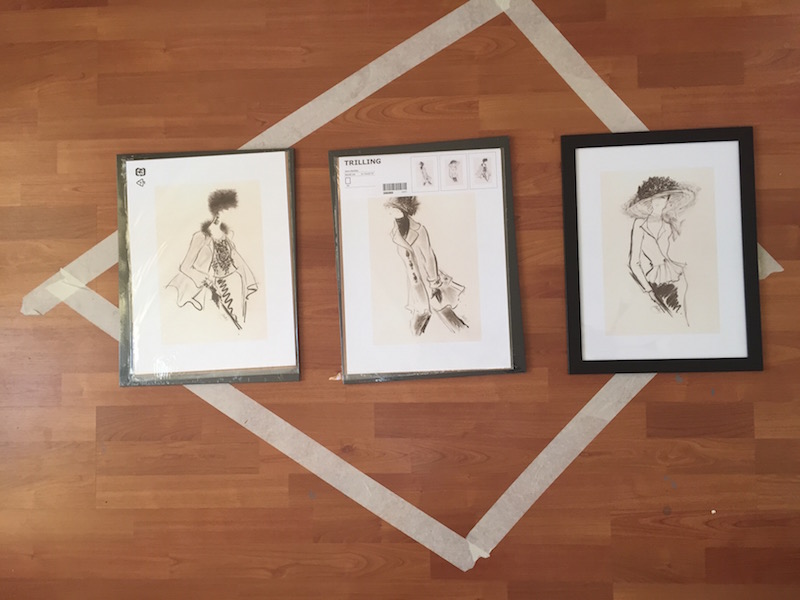
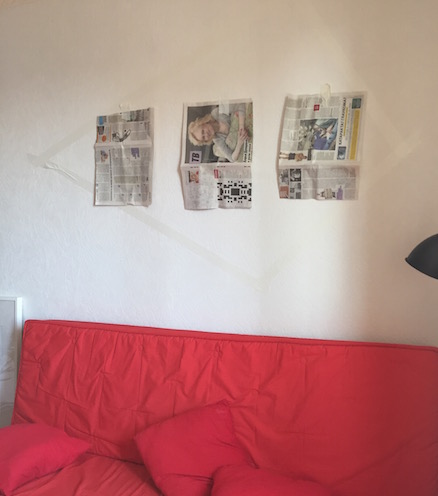
If your are using your geometric figure as a background for displaying art prints, photography or paintings, you need to make sure that they will fit nicely in it. Use templates made of newspaper to “try” your art on the floor. I also have drawn a similar shape on the floor to play around with my posters and decide on how better allocated them on the walls:
Protect the floor with plastic cloth and the skirting board with tape.
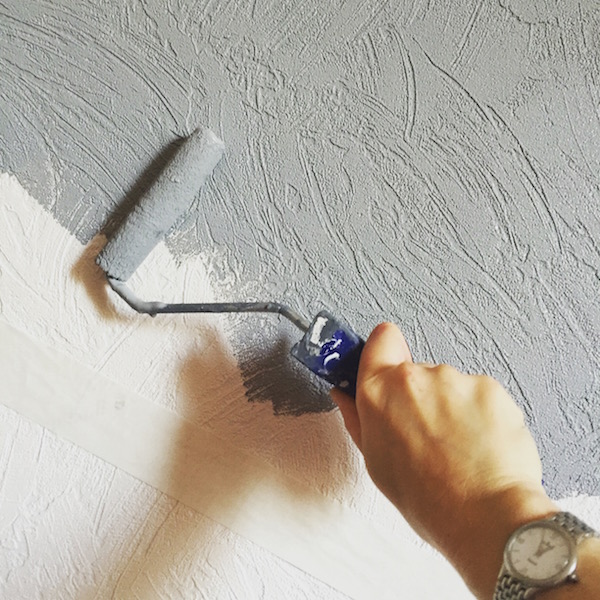
Paint the selected are with small paint roller. Don’t put too much pressure on the edges with tape, as otherwise the paint will leak underneath it and the border will not be very even. You can also use a small paint brush for painting the borders.
Remove the tape and let the paint dry completely.
Voila: