DIY Project: Coffee Table Made of an Old Pallet
Hello, friends! Today I am delighted to have Amandine Dowle here on L’Essenziale blog to share this amazing project of creating beautiful shabby-chic coffee table out of an old wooden pallet. Enjoy!
I would like to share with you one of my DIY project that has been a great success. Indeed I had a lot of nice feedbacks and compliments on my coffee table made of an old pallet.
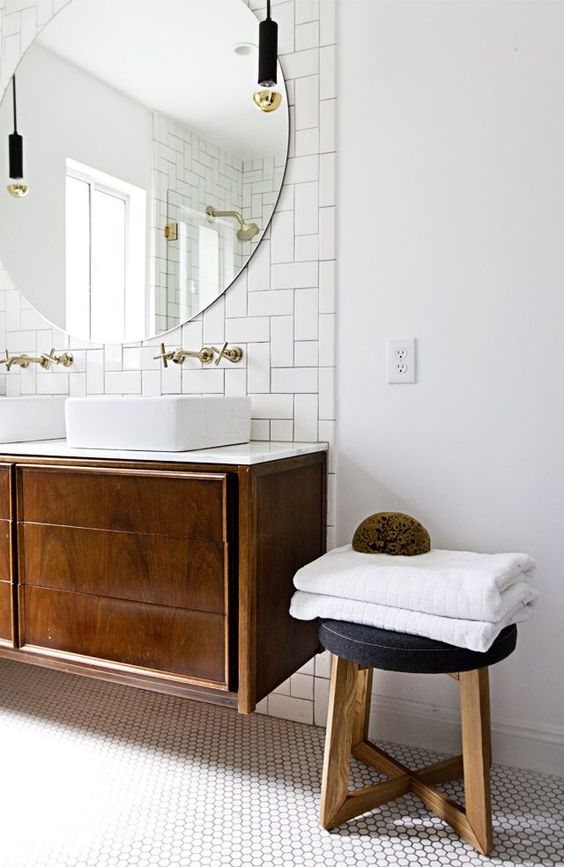
Living first in Canada, I moved in Milan, Italy, a year ago into this two levels loft in the center of the city. My husband and I immediately felt in love for the lovely wood floor, the huge terrace and the height of the ceilings. The living room was already furnished with modern and cold white and brown bookshelves and a TV stand. In the same room, we have the staircase to get to the second floor, a vintage fridge and an old white desk. I did like how furnished was the apartment.
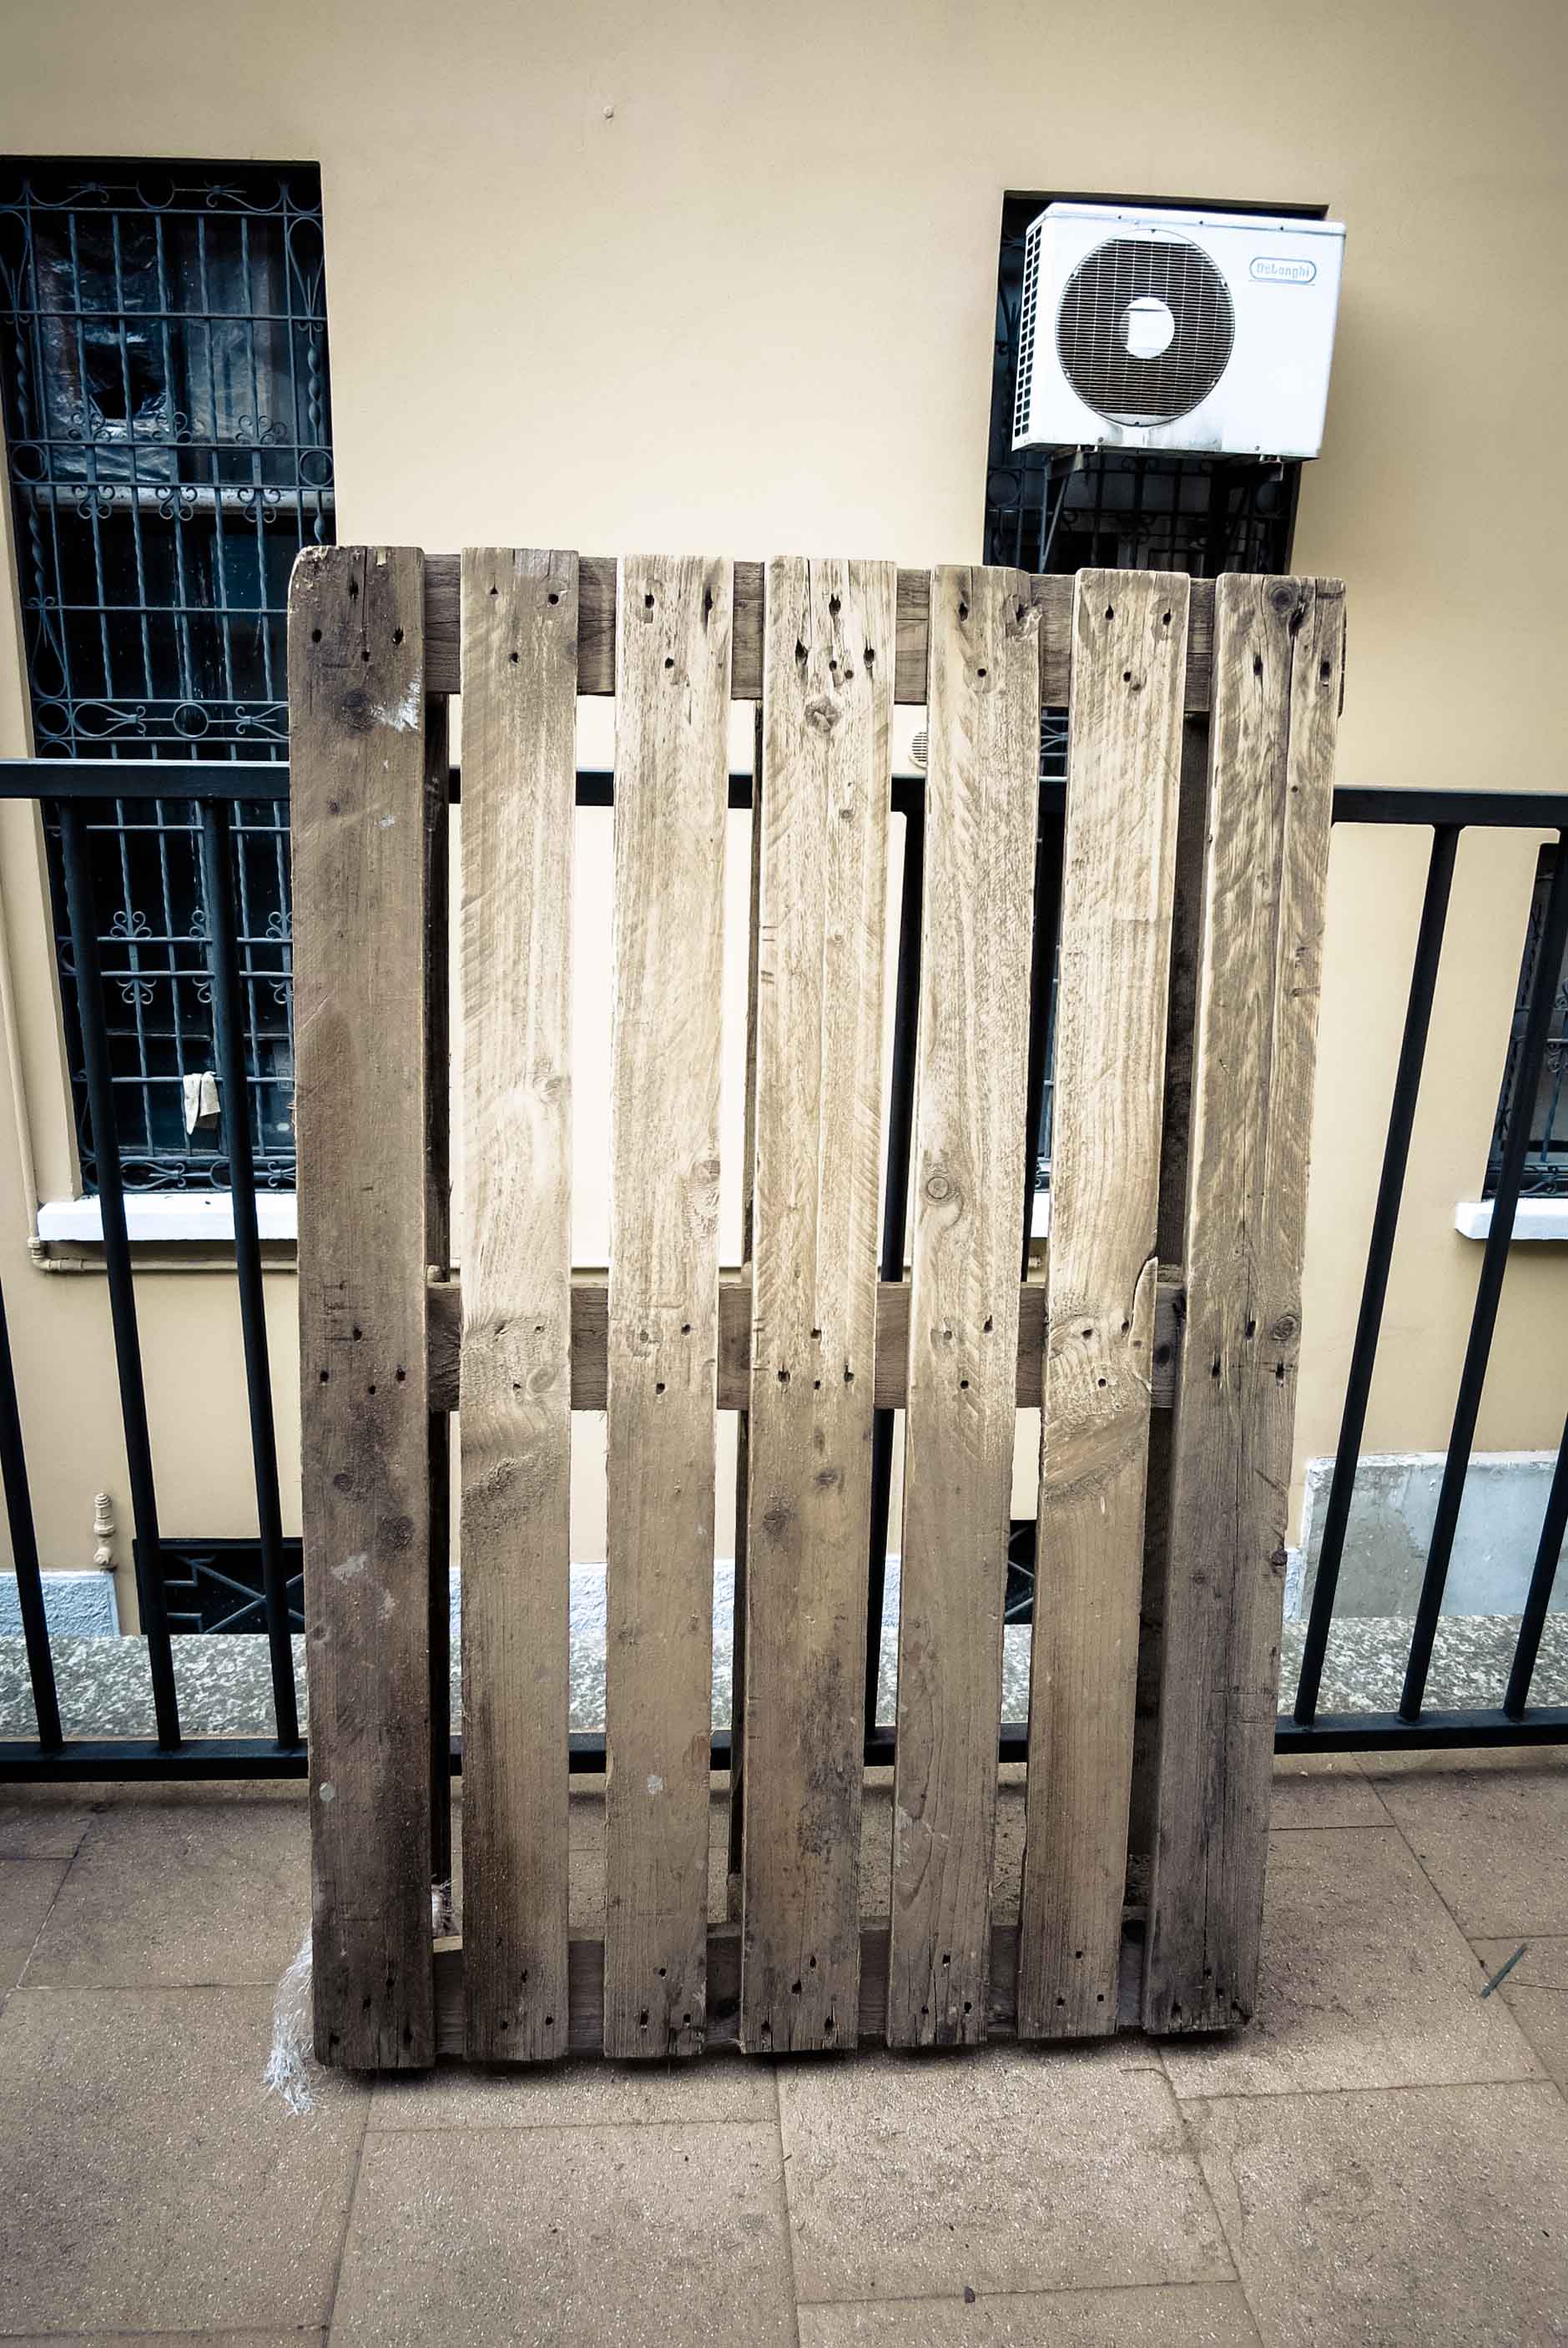
However the poor coffee table didn’t fit into our living room. So I have decided to give a try in making my own vintage-look coffee table using an old pallet. After few researches on the Internet, I went to the “ortomercato”, which is the biggest vegetables, meet and fish market in Milan, to buy a 3 euros pallet that I have chosen old and a bit ruined.
Find below my tutorial.
First, here is what you need to buy before starting:
- 5 meters of sandpaper, which is a heavy paper with abrasive material attached to its surface. Usually the material used for the abrading particles in case you work on wood is the garnet. Make sure is enough thick because you will need to remove 1 cm of the entire surface
- 2 liters of transparent flatting varnish
- 4 casters including two that you can locked of the size you want depending on how high you want you table to be
- 1 broom to remove the dust
- Plastic gloves
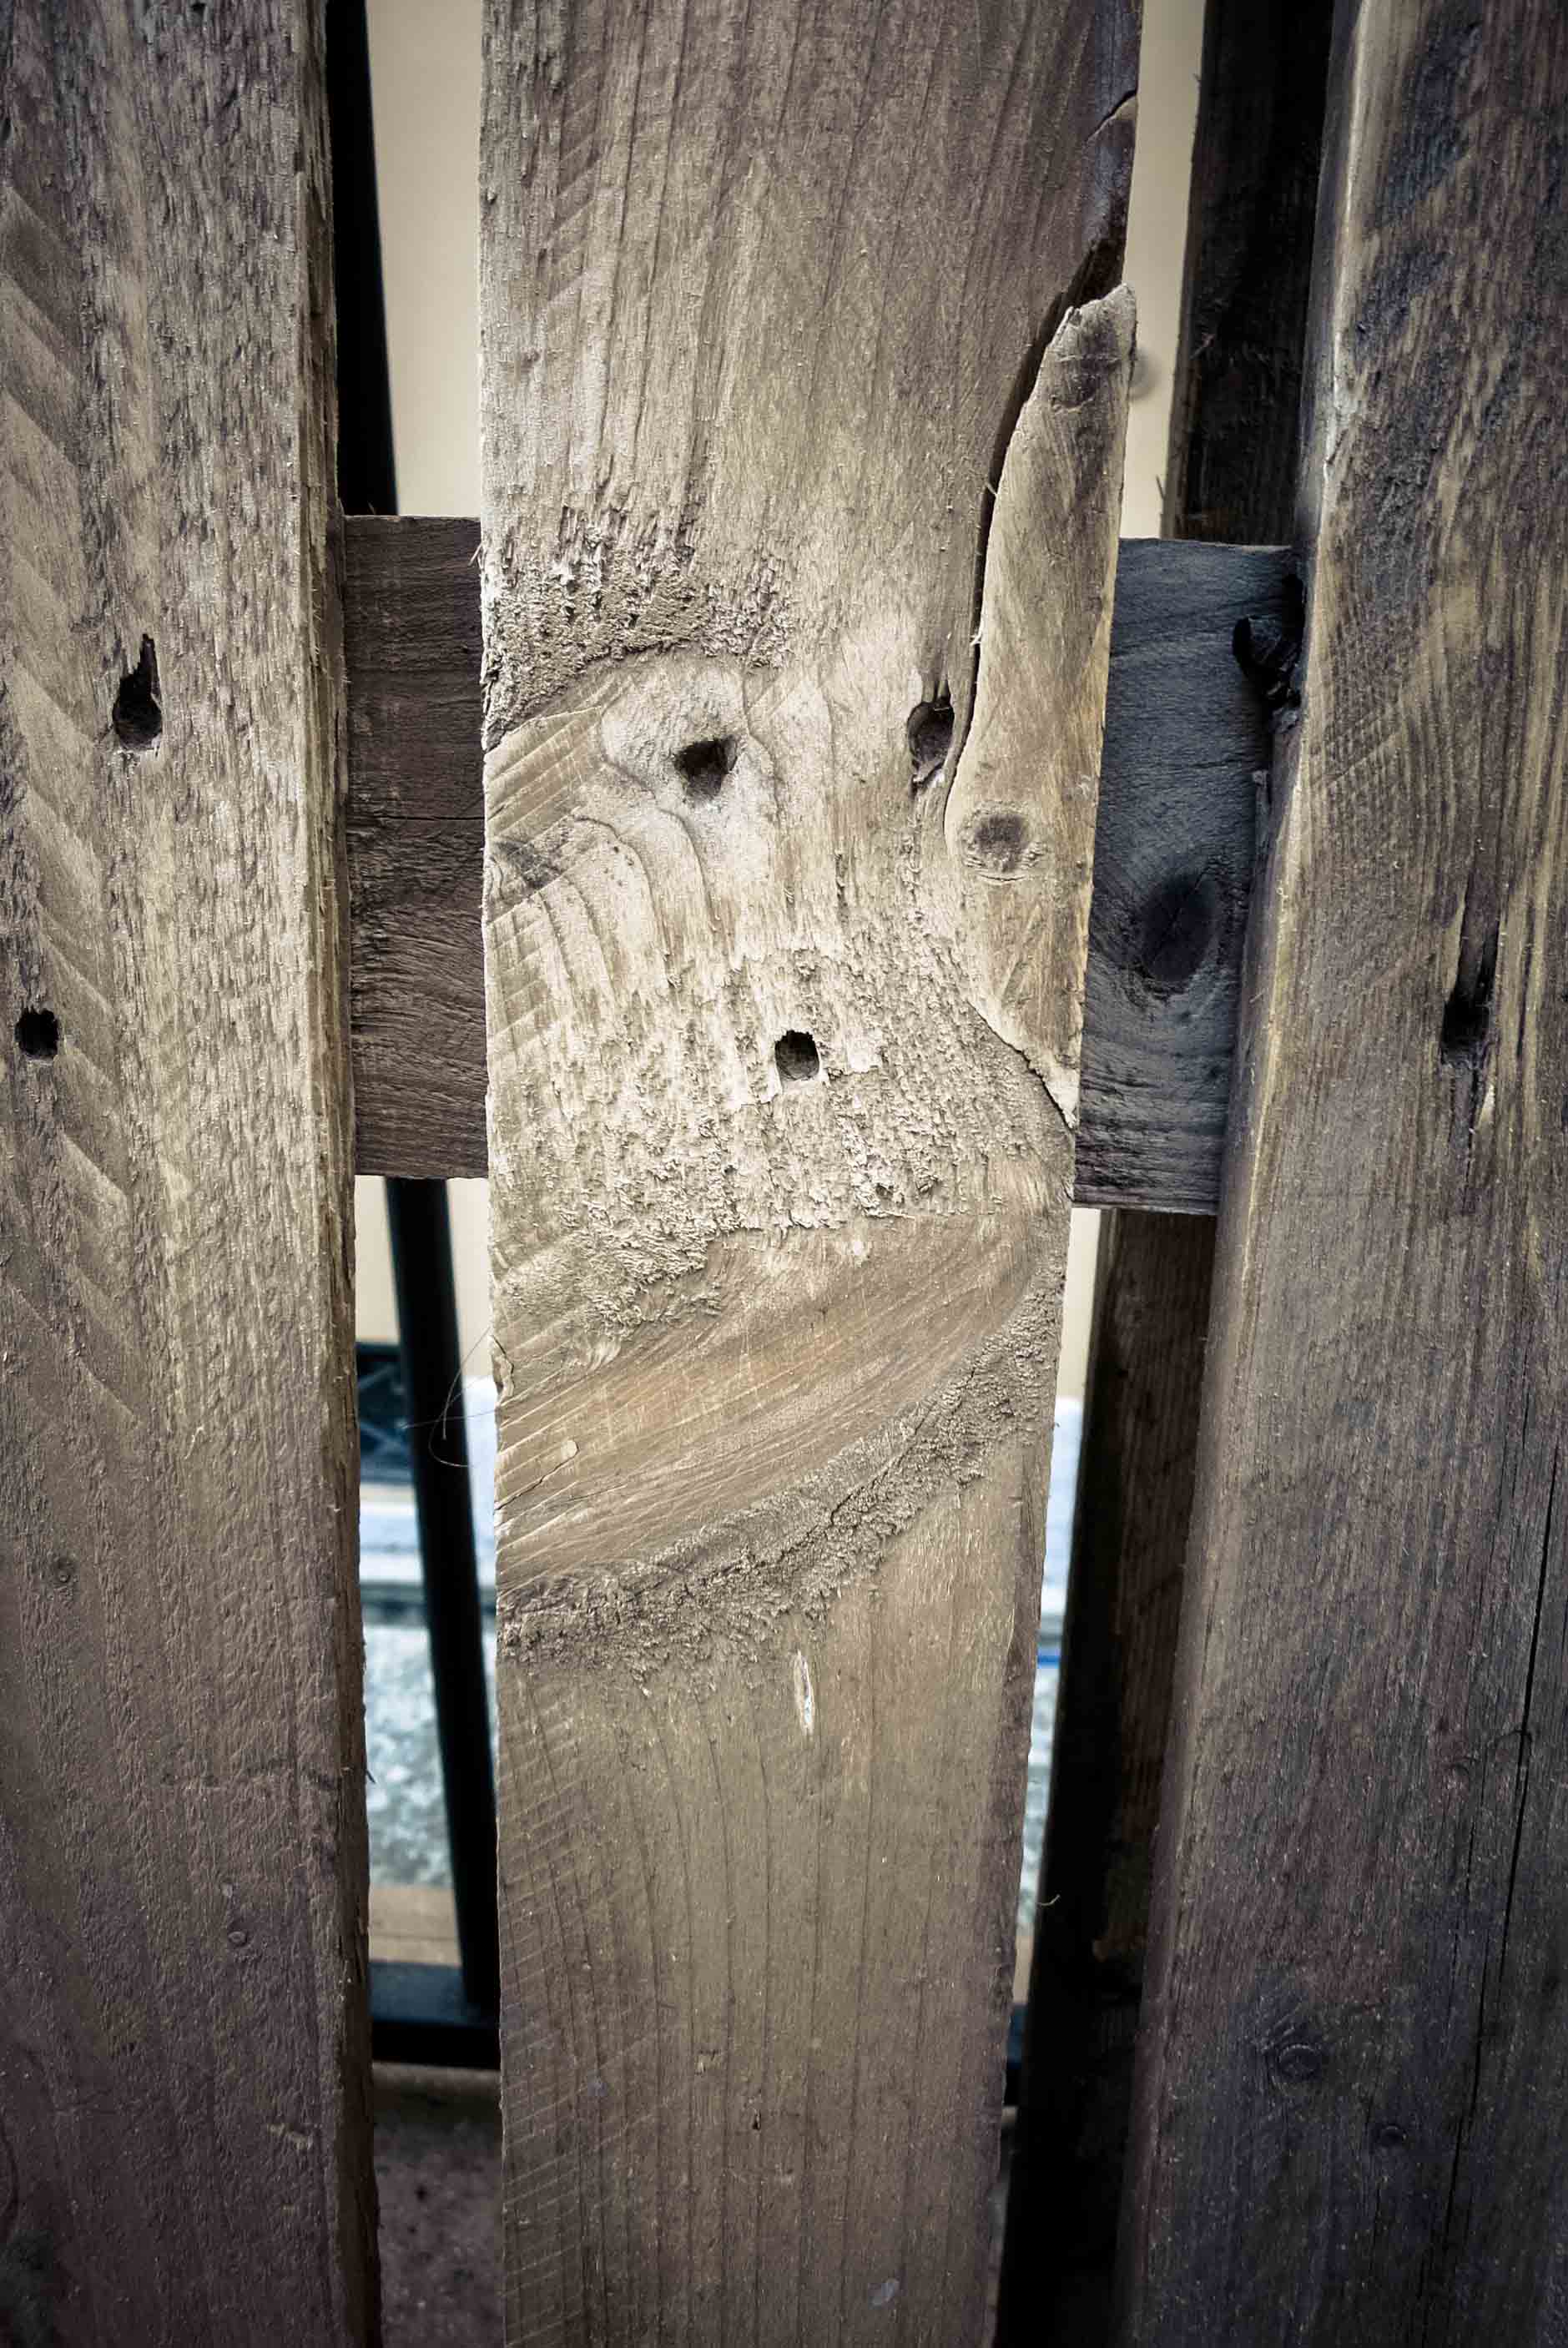
I chose the pallet old and dirty to give a vintage aspect to my living room. The first step is to clean the pallet by removing 1 cm of the old wood. Use gloves to avoid any splinter getting under your skin. This is the hardest and longest part. It took me 8 hours to clean every part of the pallet to get a soft and clean surface. It is also nice to see the wooden lines appearing.
Then, clean with the broom the pallet to remove the dust and prepare it to the varnish. You can paint the pallet twice to protect it against lights and water leaving 24 hours before starting the second layer.
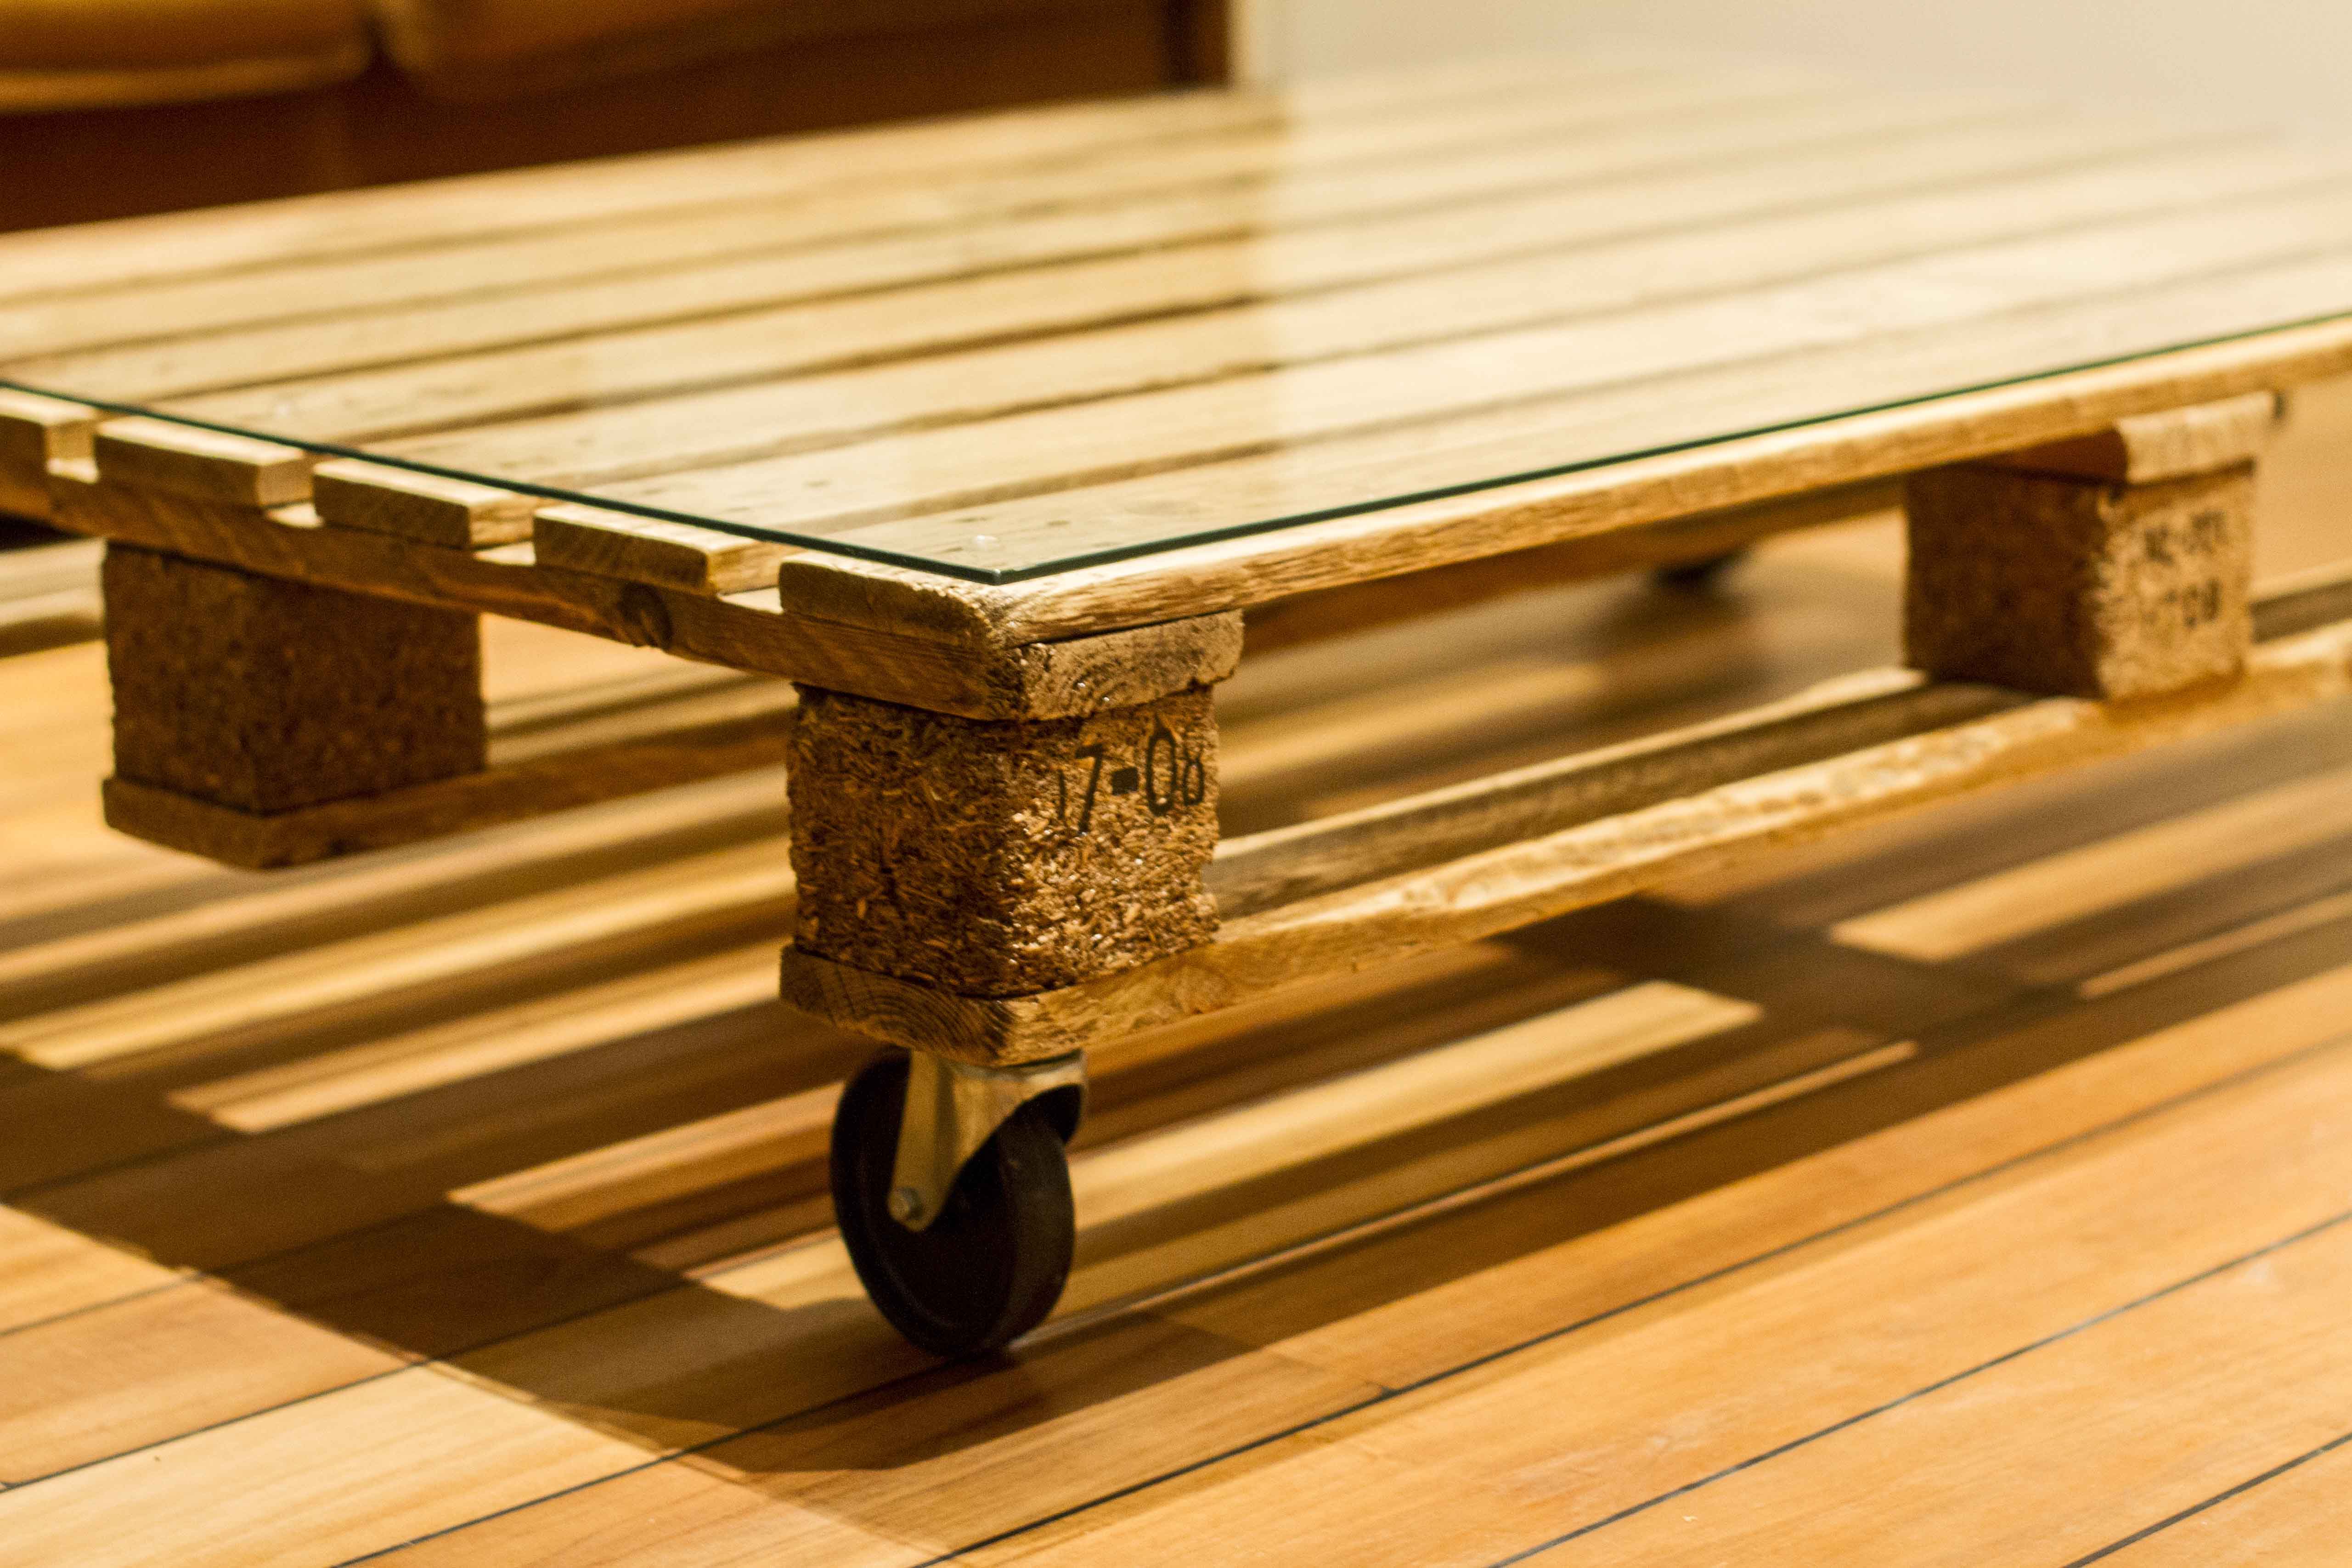
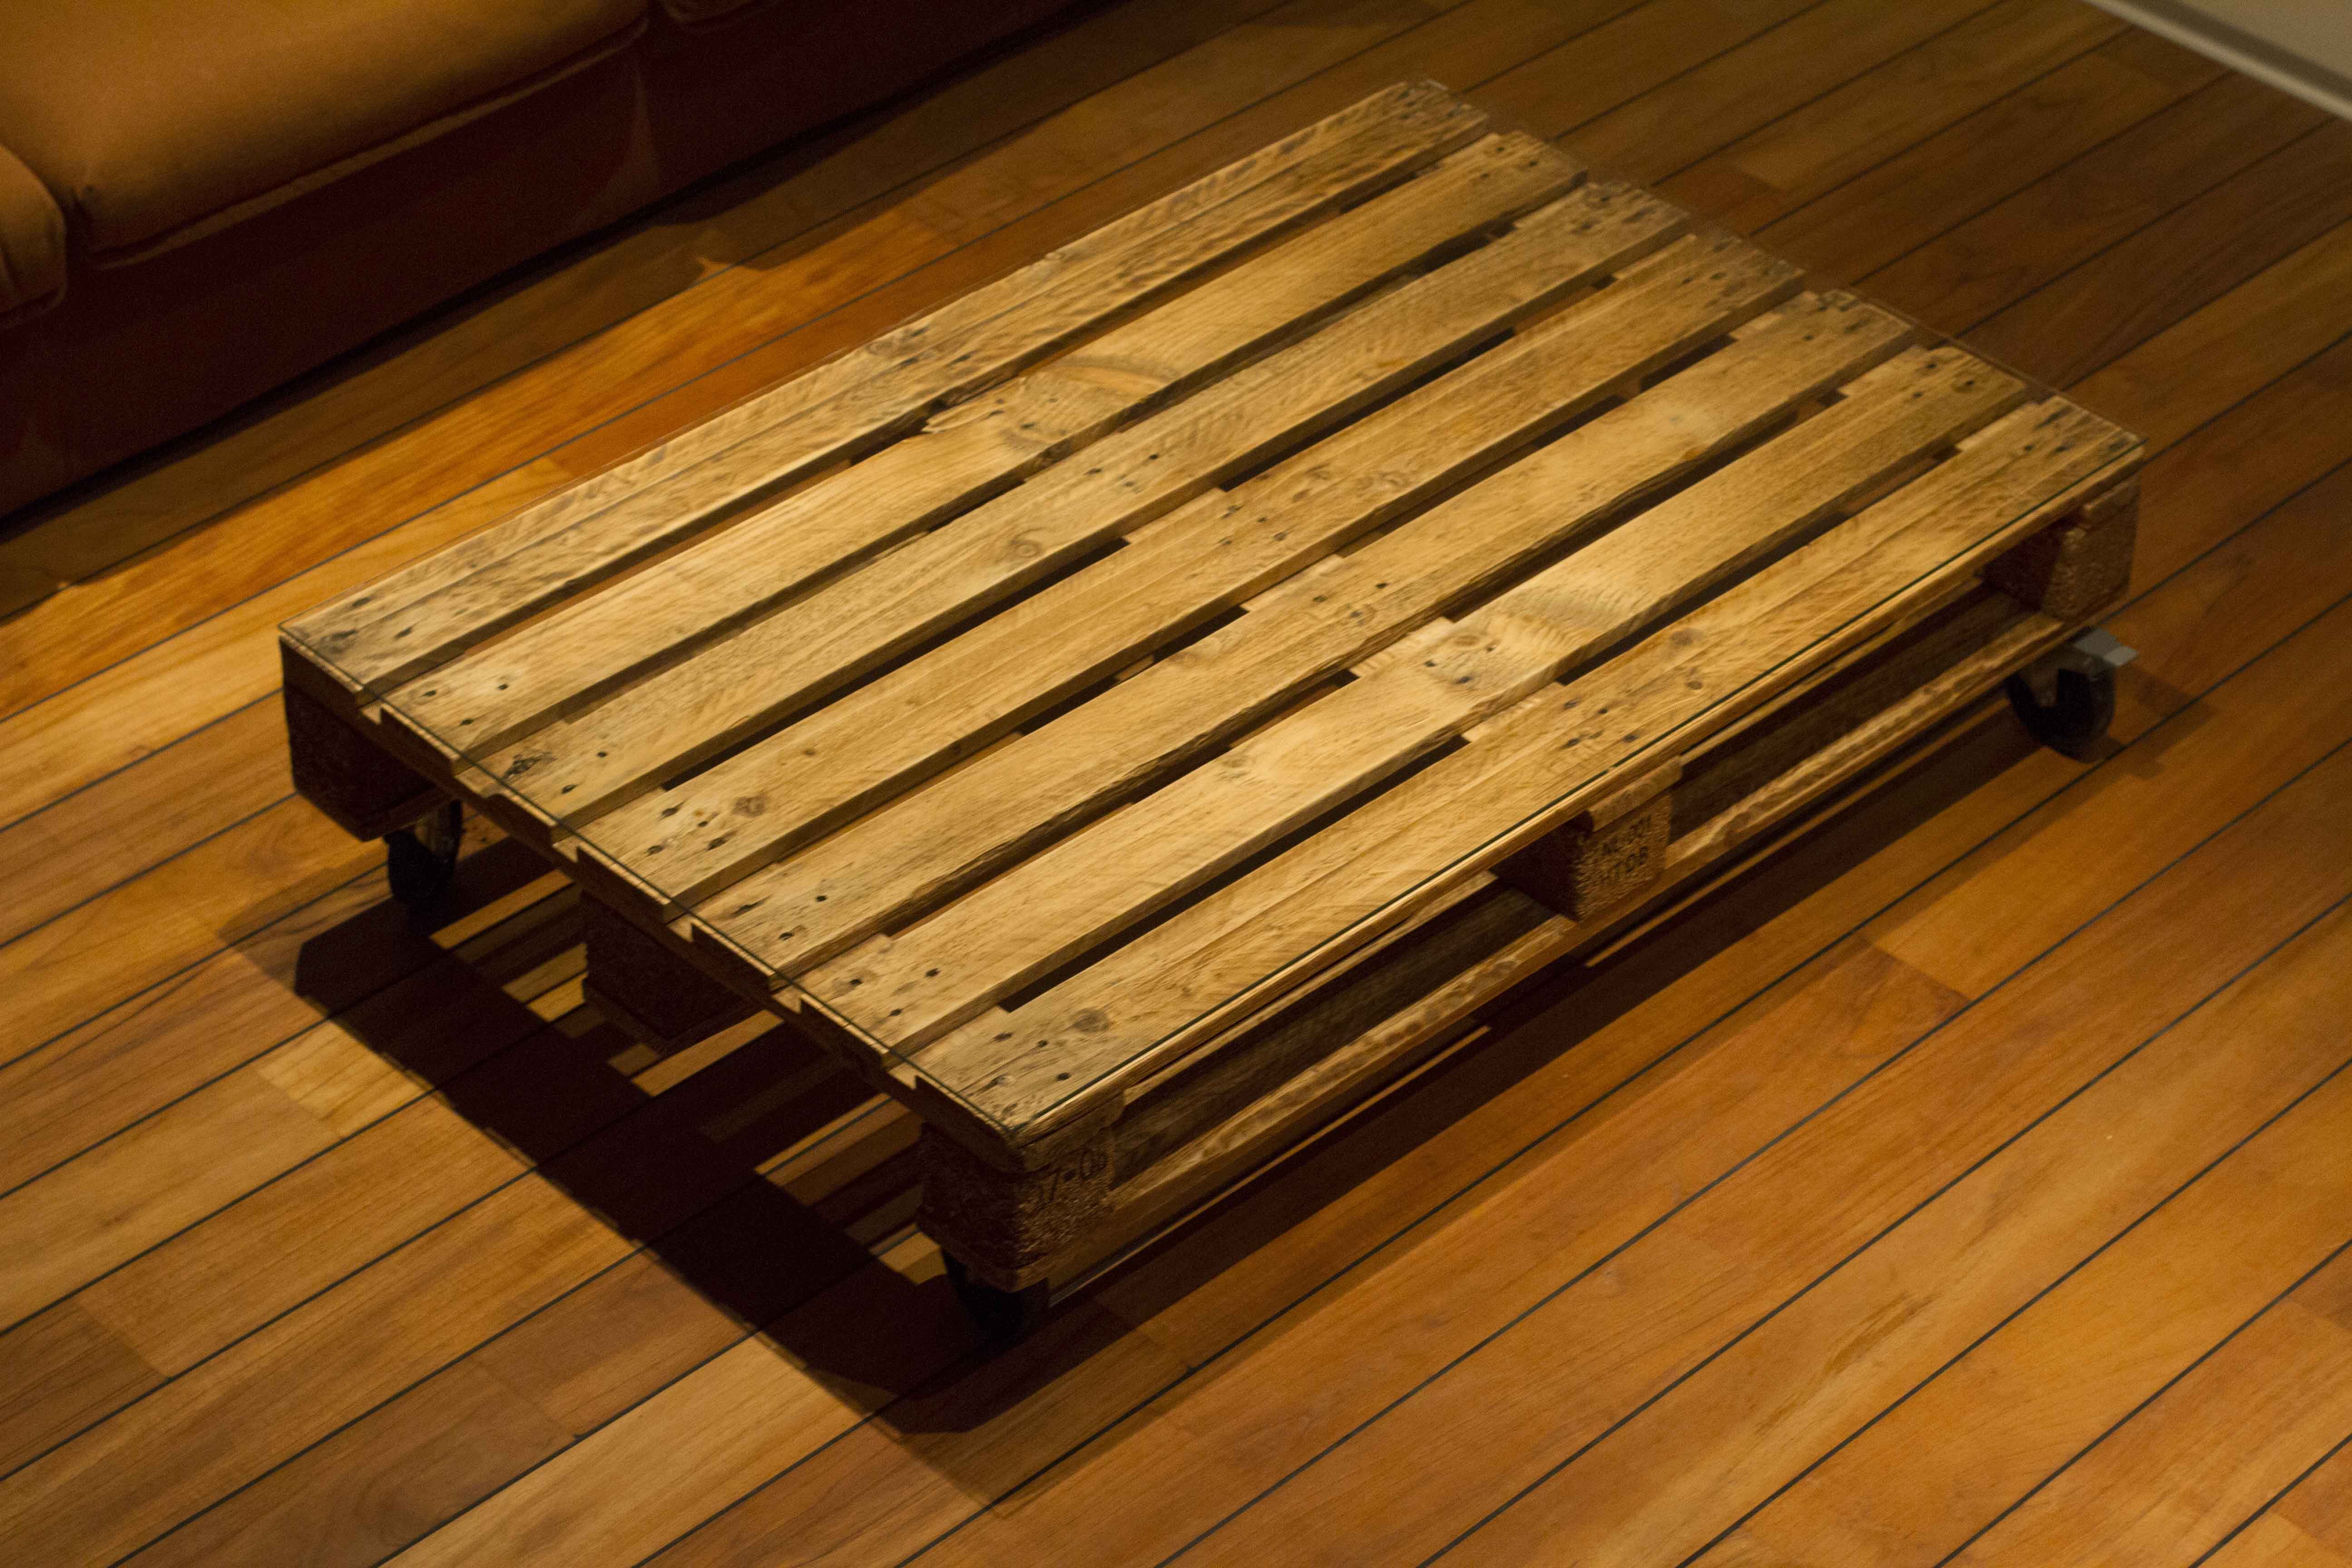
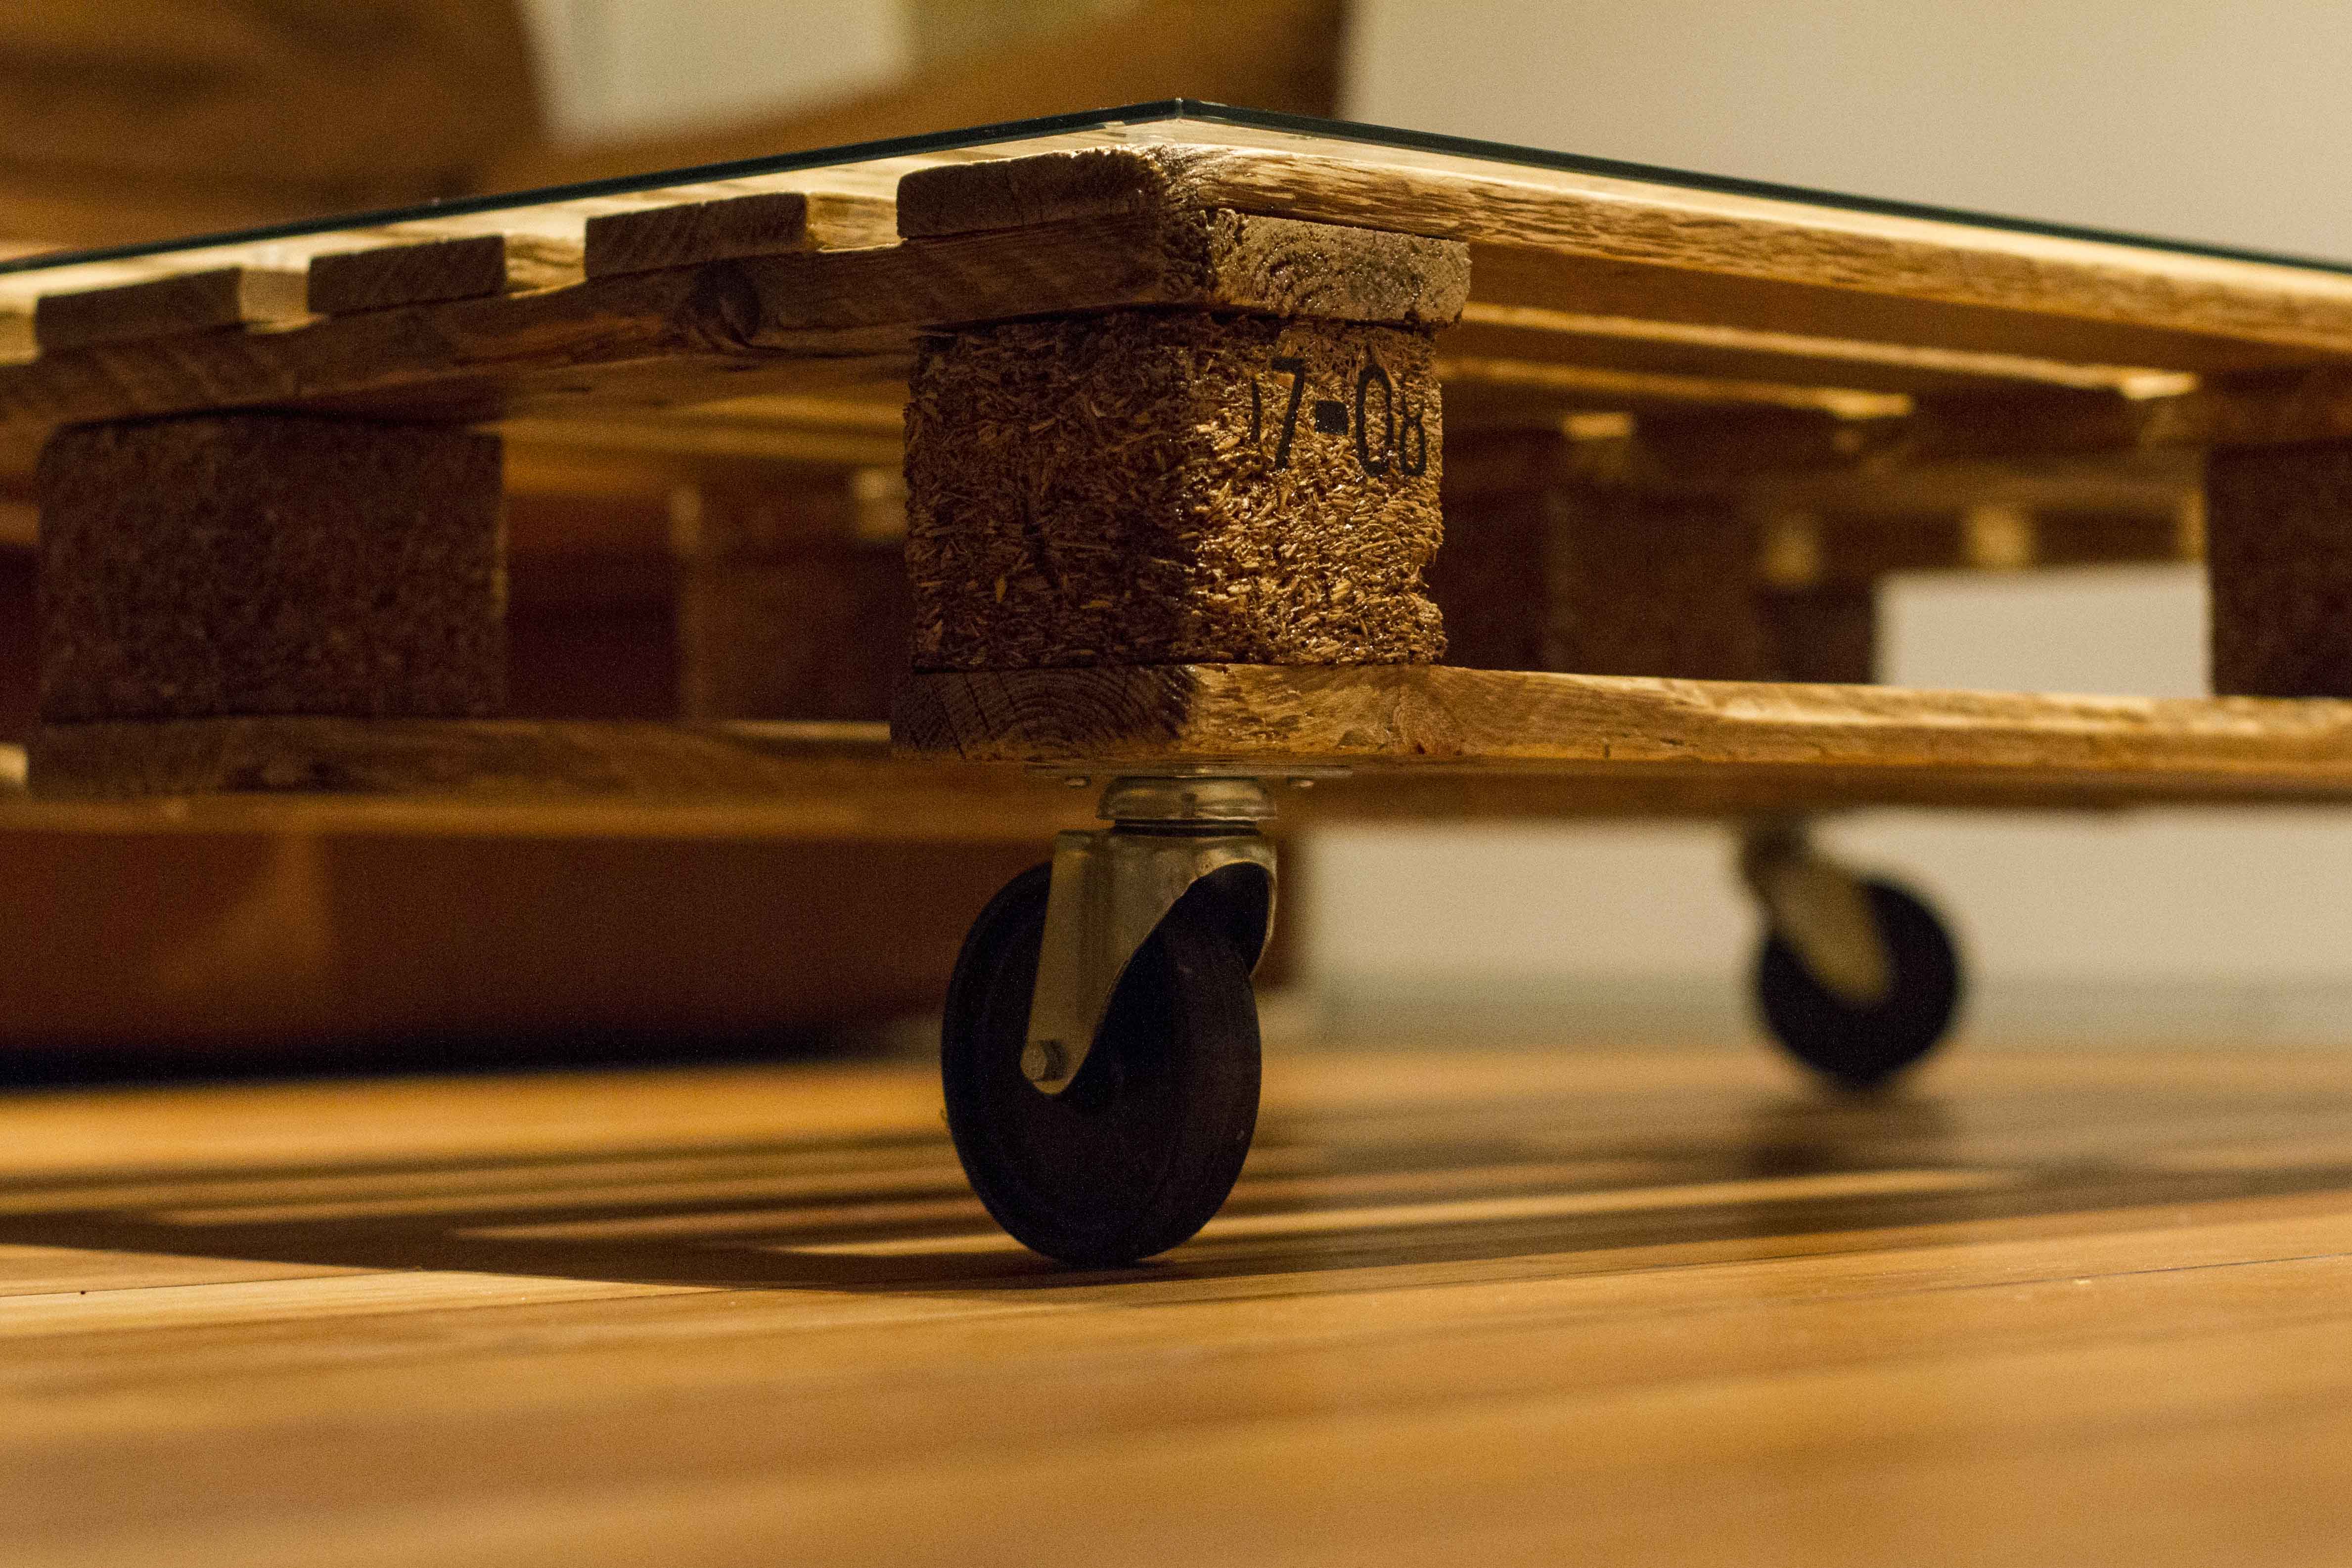
You have to leave the pallet dries for at least two days to be sure it has absorbed all the varnish. Finally, you can add the four wheels, putting the two locking casters in diagonal to stabilize your table. You can also add a glass tabletop that you can order at the right measures. For this project you can use “Framing Nailer” to spike safer and more conveniently.
Here are the results:
© L’Essenziale Home Designs, 2014. Unauthorized use and/or duplication of this material without express and written permission from this blog’s author and/or owner is strictly prohibited. Excerpts and links may be used, provided that full and clear credit is given to Anna Kovalchenko and L’Essenziale Home Designs with appropriate and specific direction to the original content.