A Step-by-Step Guide to Refitting Your Kitchen
Sooner or later, every kitchen needs to be redone. It’s one of the most used rooms in a home and takes a lot of wear and tear. So if you’re ready for a fresh, new look, here’s an easy, step-by-step guide to refitting your kitchen.
1. Do the Prep Work, and Do it Right
Gather all the tools and materials you’ll need. Some ideas include basic things like: screwdrivers; hammer; tape measure; laser level; drill and bits; steps; protective eye glasses; hand saw and, preferably, a circular saw for longer cuts; sand paper of varying grades; brushes (from small to large); decorators caulk; sealant; and an electrical test metre.
Bear in mind that those are just the basics. You’ll need more than that, so if that’s all you have, then this is a job that’s probably beyond you.
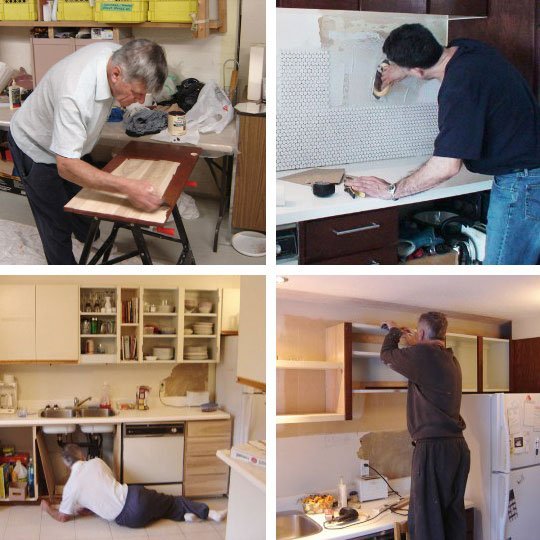
2. Tear Down
Now it’s time to tear down the old stuff. Make sure that the power and water are both turned off. Then remove cabinets, fixtures and anything else that’s being replaced. If there are areas that need to be sanded or holes to fill, take care of those now, and apply an initial base coat of paint. There is absolutely no point, at all, in spending the time and money to update your kitchen if the walls are marred by holes, scratches and scuffs.
Remember this when you are getting bored with preparation and want to get stuck into the real work: a stitch in time saves nine.
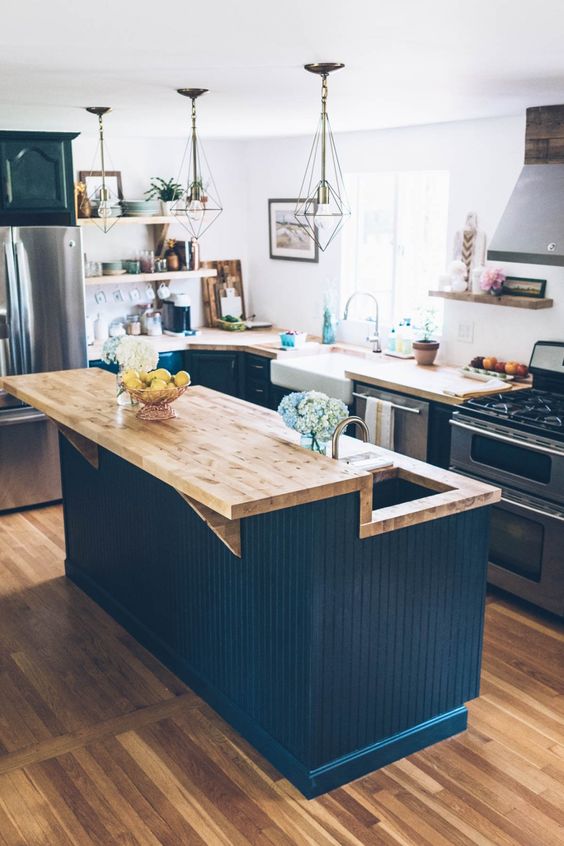
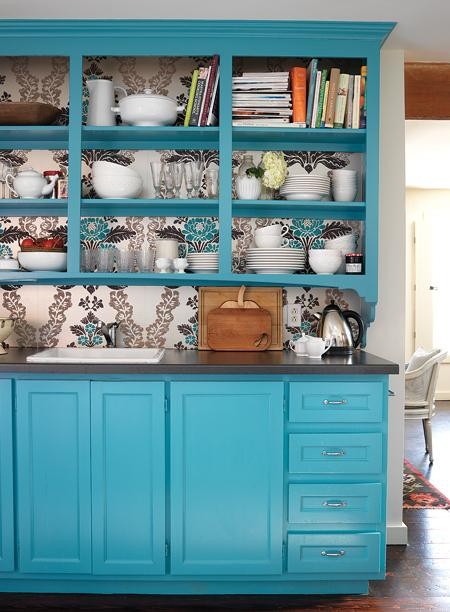
3. Install the Cabinets
Determine the placement of your new cabinets and start the assembly by positioning one in the corner. All adjoining cabinets should be fixed together with hardware. This will keep them stable and connected. Once cabinets are adjoined to the walls, you can add their doors, fronts and drawers. The final step is to attach any handles with the appropriate hardware. Make sure that all cabinets are set at the same height and make adjustments as necessary.
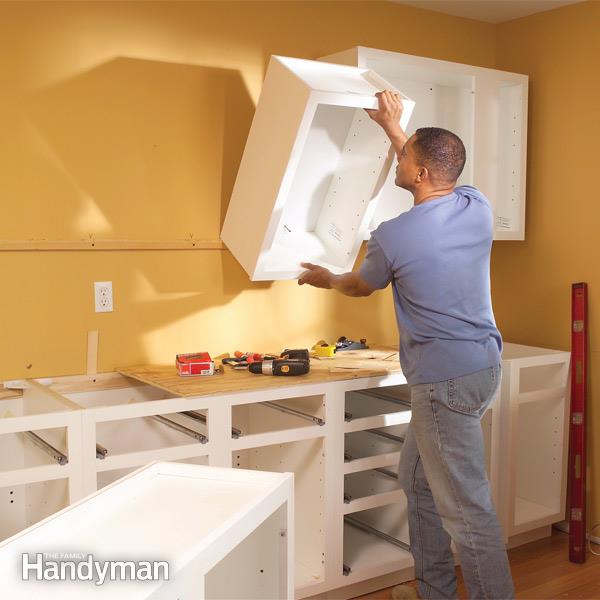
There are many detailed guides to installing cabinets online, but this one is particularly good.
4. Paint
Before you move on to other replacements, now is the time to finish the paint job. Add an additional layer or two, depending on the quality of the coverage. Allow each layer to dry completely before adding another one. Again, don’t take shortcuts if you want the final job to be a good one. Pay special attention to corners and tight spots, covering them completely but not allowing paint to drip down them and cause bubbling.
And here’s a tip from personal experience: if you are using an obscure color (one that’s been mixed for you or is from a small manufacturer who may be hard to get hold of in a year or two), buy more than you need.
5. Appliances
Adding new appliances can change the whole look of your kitchen. Upgrading from a standard fridge/freezer to an integrated American style fridge/freezer that you can control with your phone and pours iced water is worth it all by itself! Even so, there are some basics to cover.
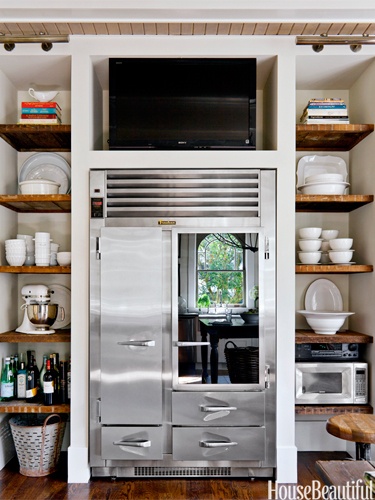
If your appliances are not integrated, choose colors that will complement the room, and make sure the size you select fits well with the rest of the layout. Appliances are all fairly standard in terms of width, so you won’t have any issues there. One thing though, which is again from personal experience, don’t skimp. It’s worth the extra money to have the aforementioned awesome fridge/freezer of your dreams.
And one more tip in this section: you’ll need to know how to defrost a freezer if you plan on installing a new one in your new kitchen. Can you think of anything worse than getting that wrong and damaging what you’ve just installed?
6. Redo Fixtures and Doors
Once you’ve moved past the first five steps, you can move on to the doors and other fixtures in the room. If you’re replacing any doors, make sure each hinge is properly placed and is screwed in tightly. A properly fitted door will allow free swinging. If there are noticeably large gaps at the top or bottom or the door drags when you’re opening it, adjust it to correct the issue.
To replace light fixtures, make sure a certified electrician has checked the wiring for proper connections and potential fire hazards. Then simply put them into place, being sure to use all accompanying hardware for the proper fit. When you’re finished, test them to make sure they work.