DIY Project: Tufted Headboard
It’s been a while I didn’t make any DIY projects. Now with the move to Latvia I have several do-it-yourself ideas on how to make our new nest cozier. One of them was to construct a tufted headboard for our new bed: it didn’t have any and it was pretty inconvenient to sleep with pillows leaned against the bare wall.
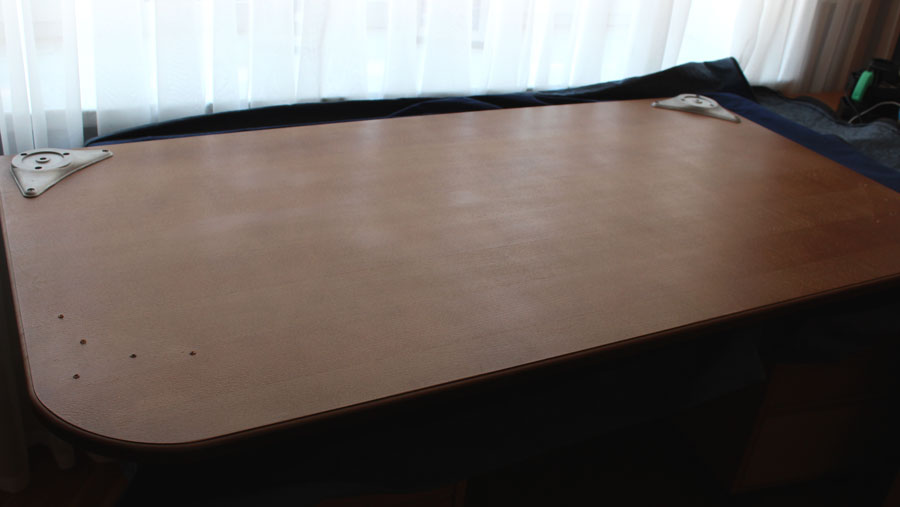
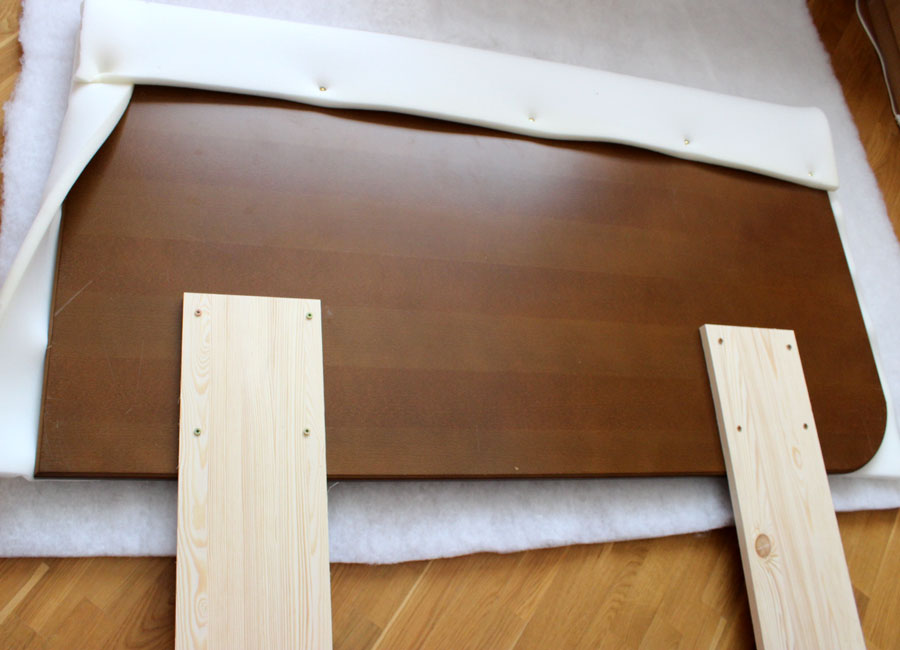
Underneath our bed we have found the cover of the old writing desk – what an amazing workpiece for a future headboard! Plus we were so lucky that it was exactly the same width as our bed so we even didn’t have to cut it. Here how it used to look:
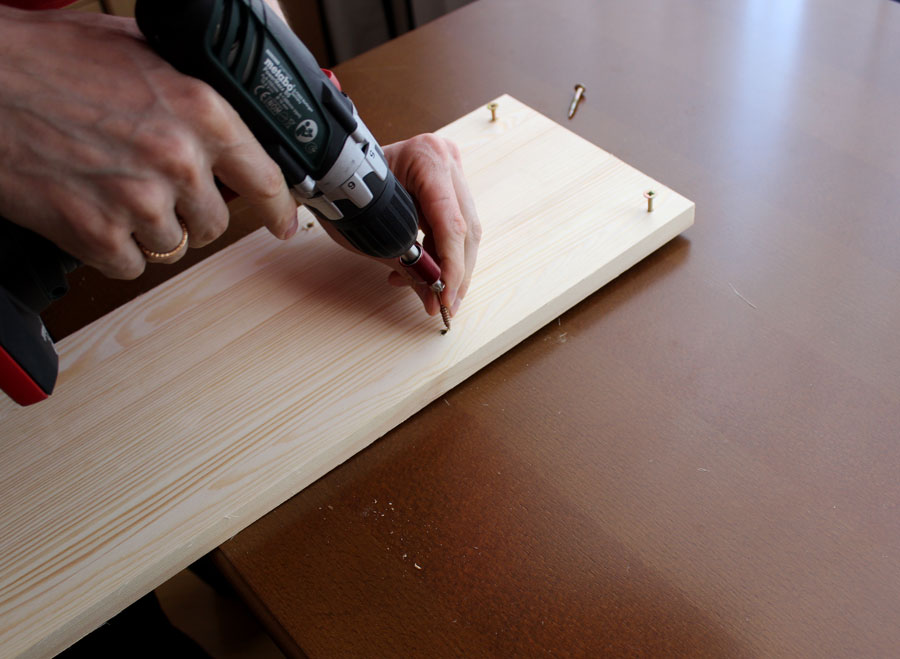
Of course those fasteners for the legs we had to unscrew. The board was a bit low so we have bought two wooden slats which would serve as legs. Apart from that we have purchased the following materials:
– Upholstery fabric (length and width of the headboard plus 15 centimetres on each side)
– Foam (dimensions of the headboard plus 10 centimetres on each side)
– Sintepon (same size as foam)
– 8 Long self-tapping screws and screwdriver
– Upholstery nails
– Decorative trim
You will probably require the working table though we have made majority of work on the floor.
Here is our step-by-step guide:
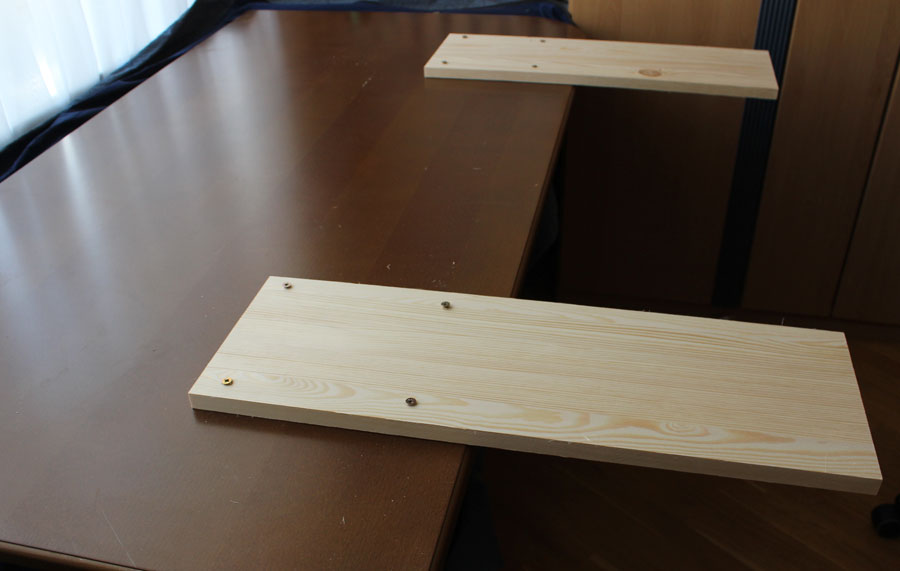
1) Attach wooden slats to the back of the headboard:
Make sure that the second leg is exactly on the same level, otherwise the headboard will stand sloped:
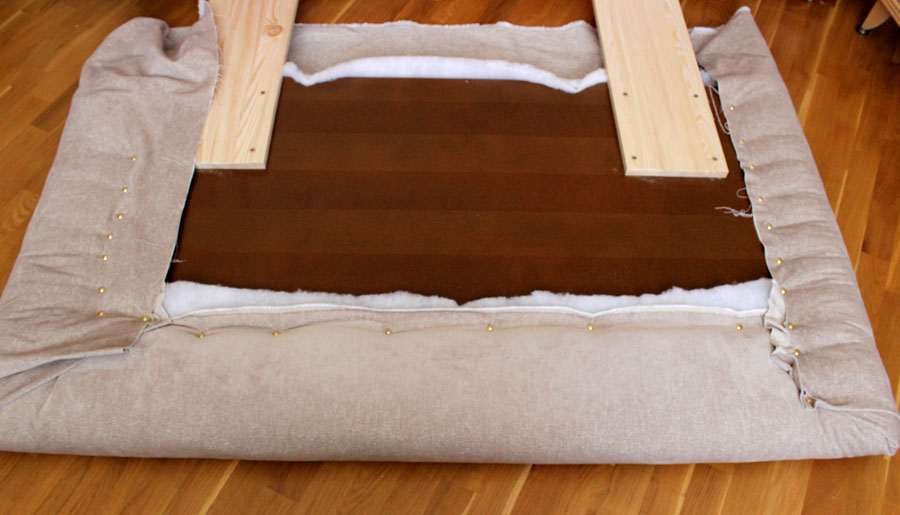
2) Put the foam on the front side of the board. On the sides and on the top fold it around the edges and attach on the back with upholstery nails. 
3) Do the same with sintepon:
4) Now is time to upholster headboard. Make sure that you stretch fabric well so that there are no waves and bumps on the surface:
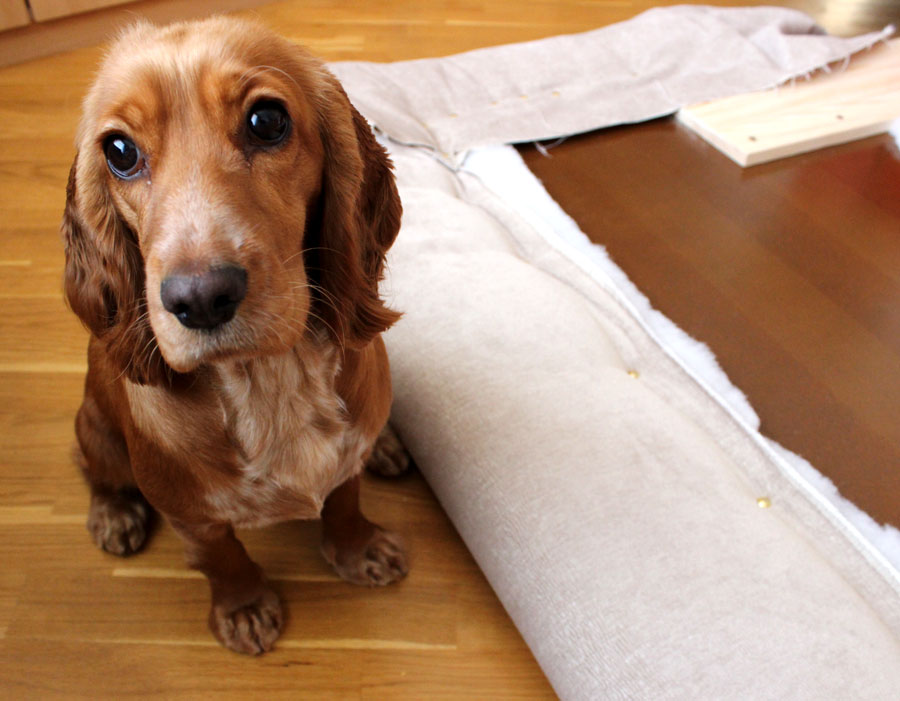
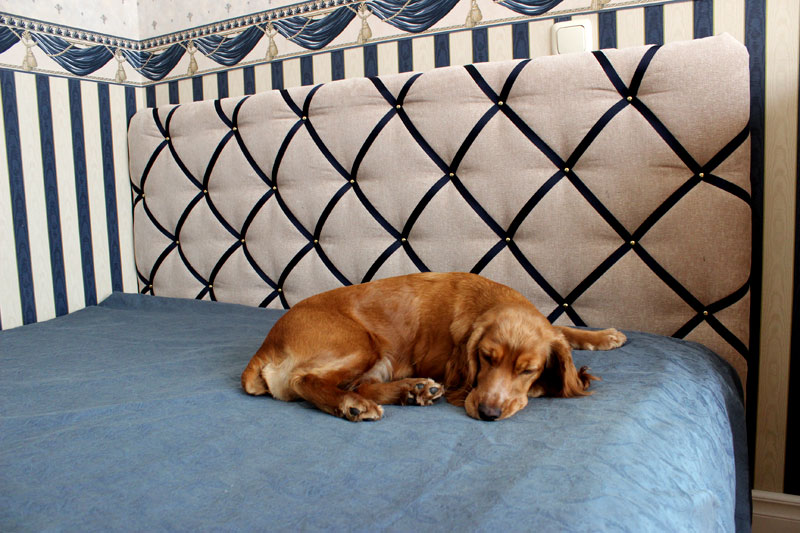
 You will probably need the help of another person at this stage. We did it together with my husband and of course our assistant Dolce was always there:
Here how the headboard should look at this step from the front side: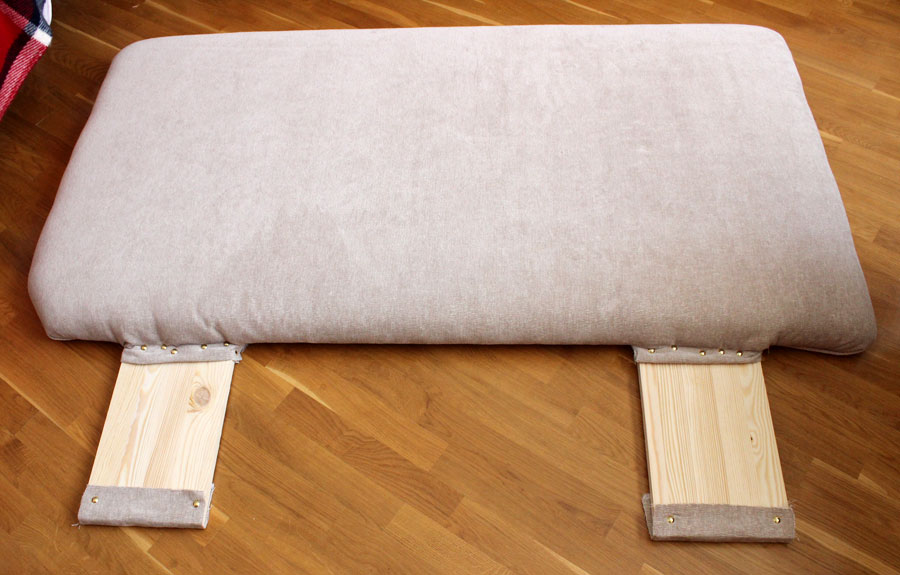
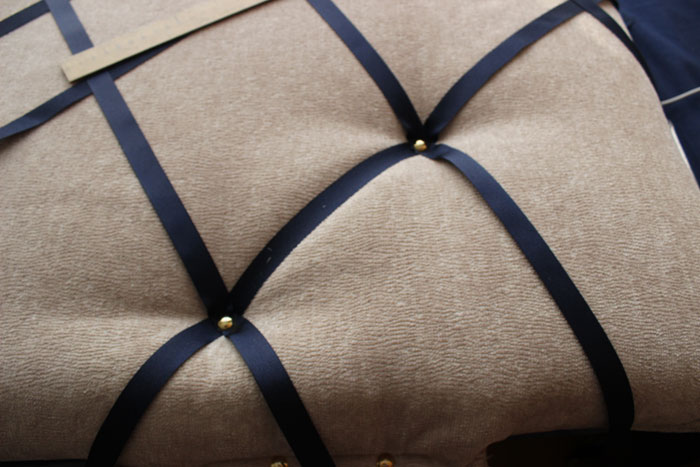
5) Now it is time for decoration. I used for that purpose simple decorative blue trim and upholstery nails. I made the layout of my rhomboid design by measuring equal distances from diagonally laid trims.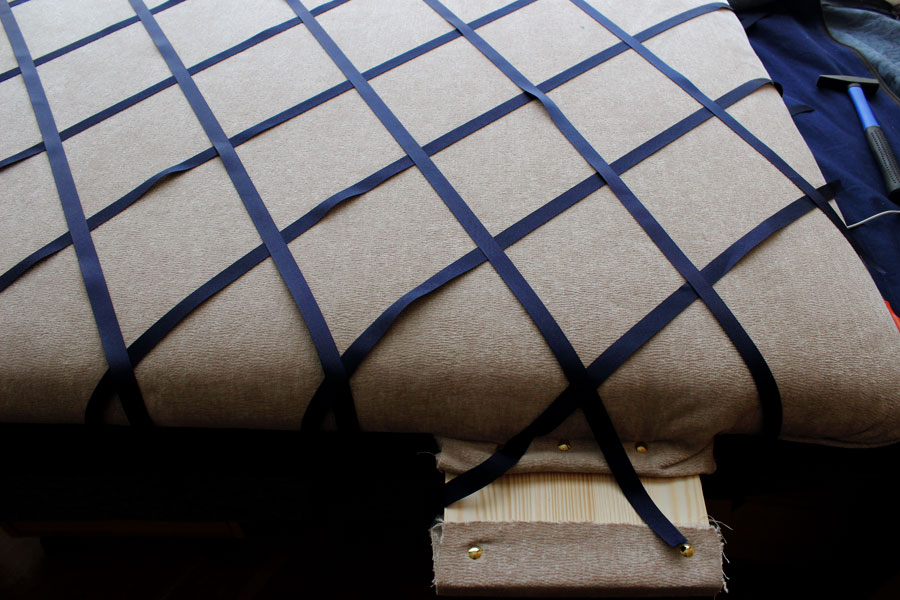
6) Attach the trims on their intersection with upholstery nails:
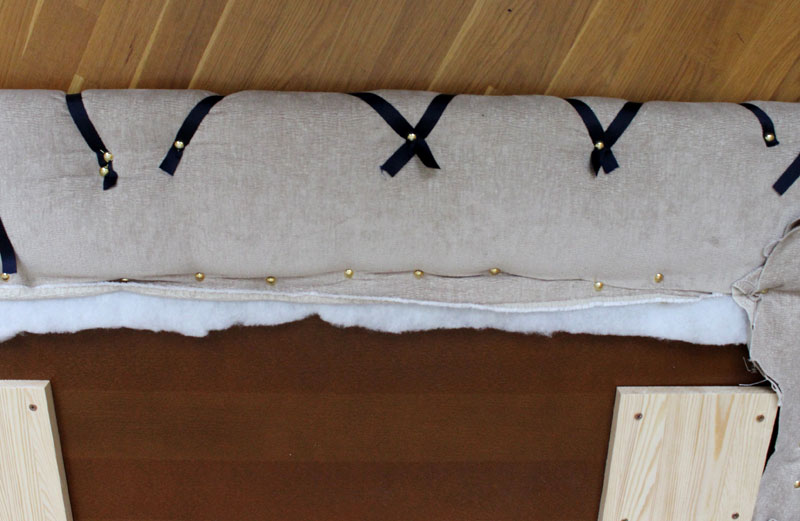
7) The last step will be to fix the ends of strips on the reverse side of headboard:
Now you just need to put the headboard behind the bed. Voila!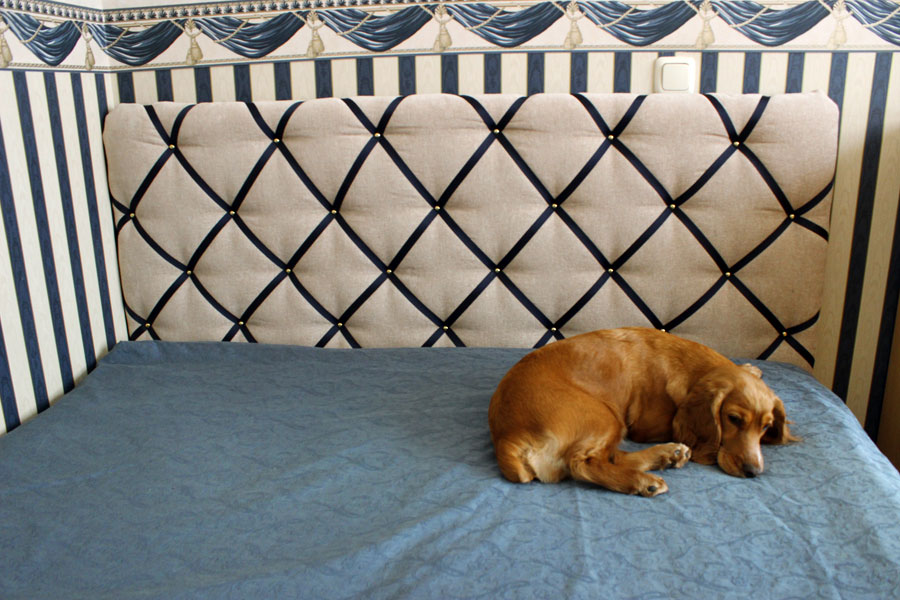
What do you think about this project? Looking forward to hearing your comments!