Basic Product Photography For Online Shops
In this post, I will share with you some very easy tricks which will help you to make more professional product photographs for your online shop, if you happen to have one of course. Actually, these tips can be useful for any blogger I believe, so keep on reading.
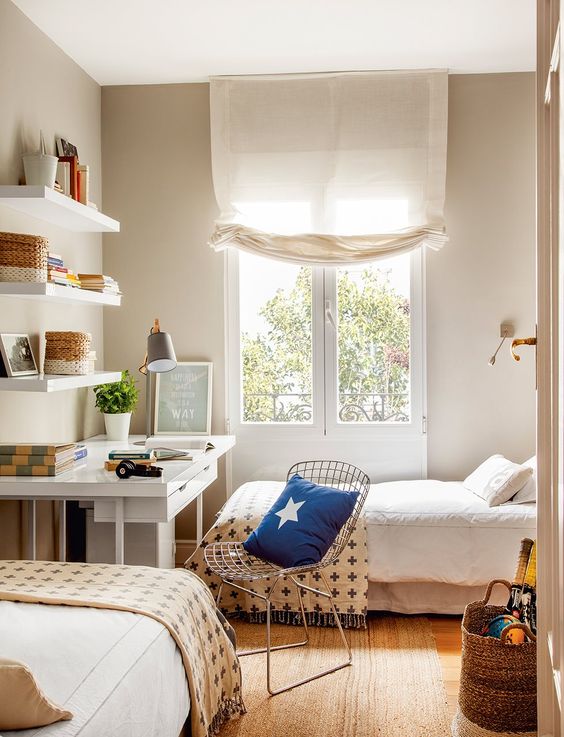
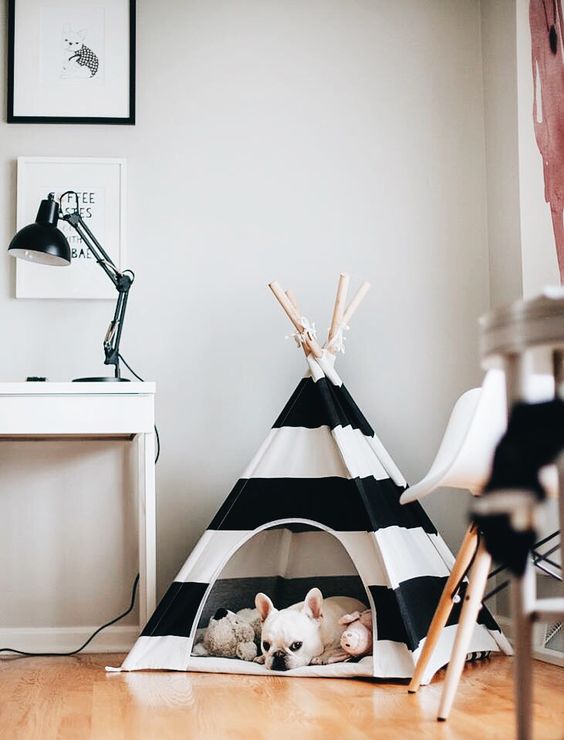
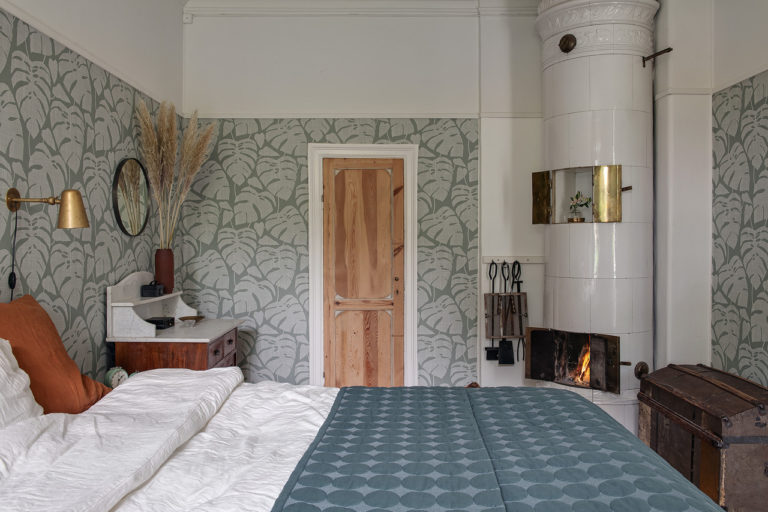
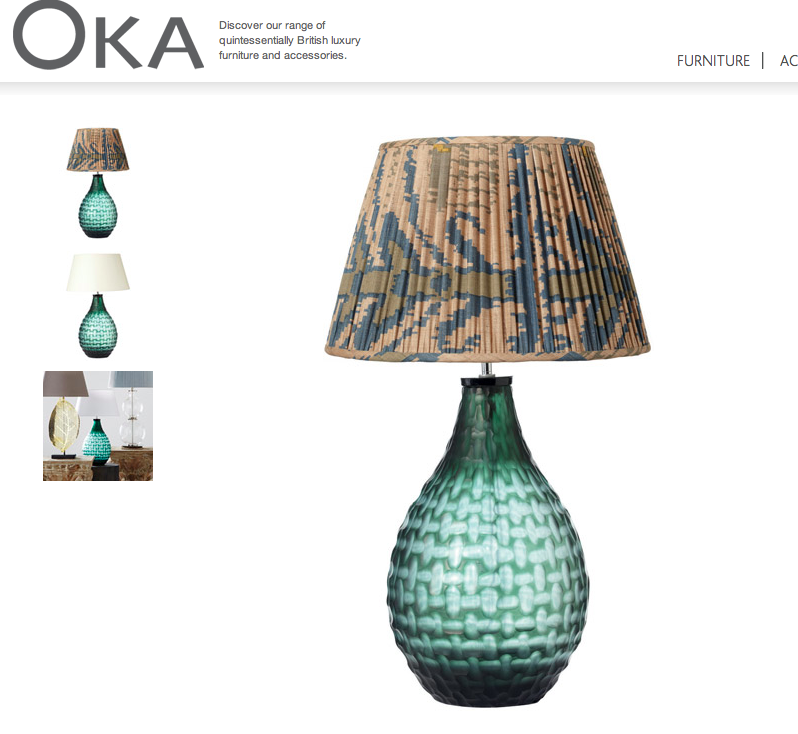
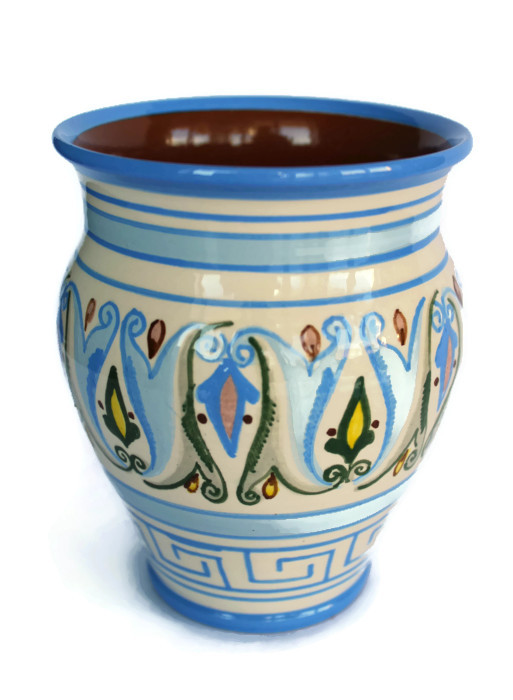
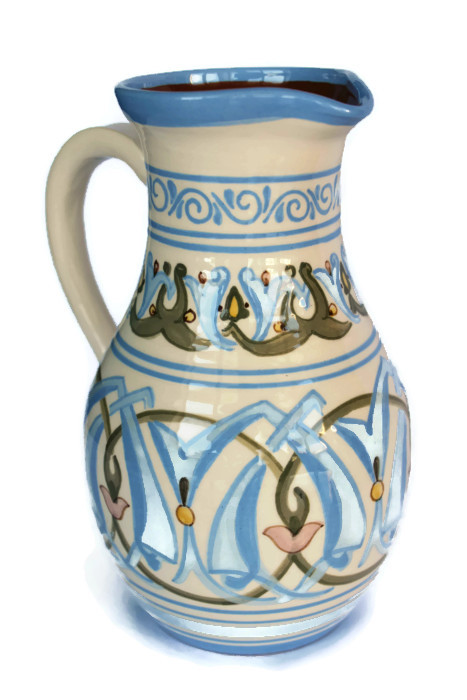
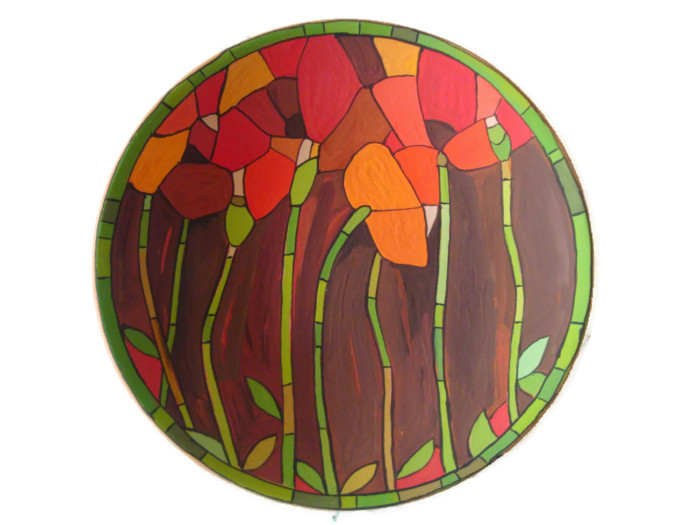
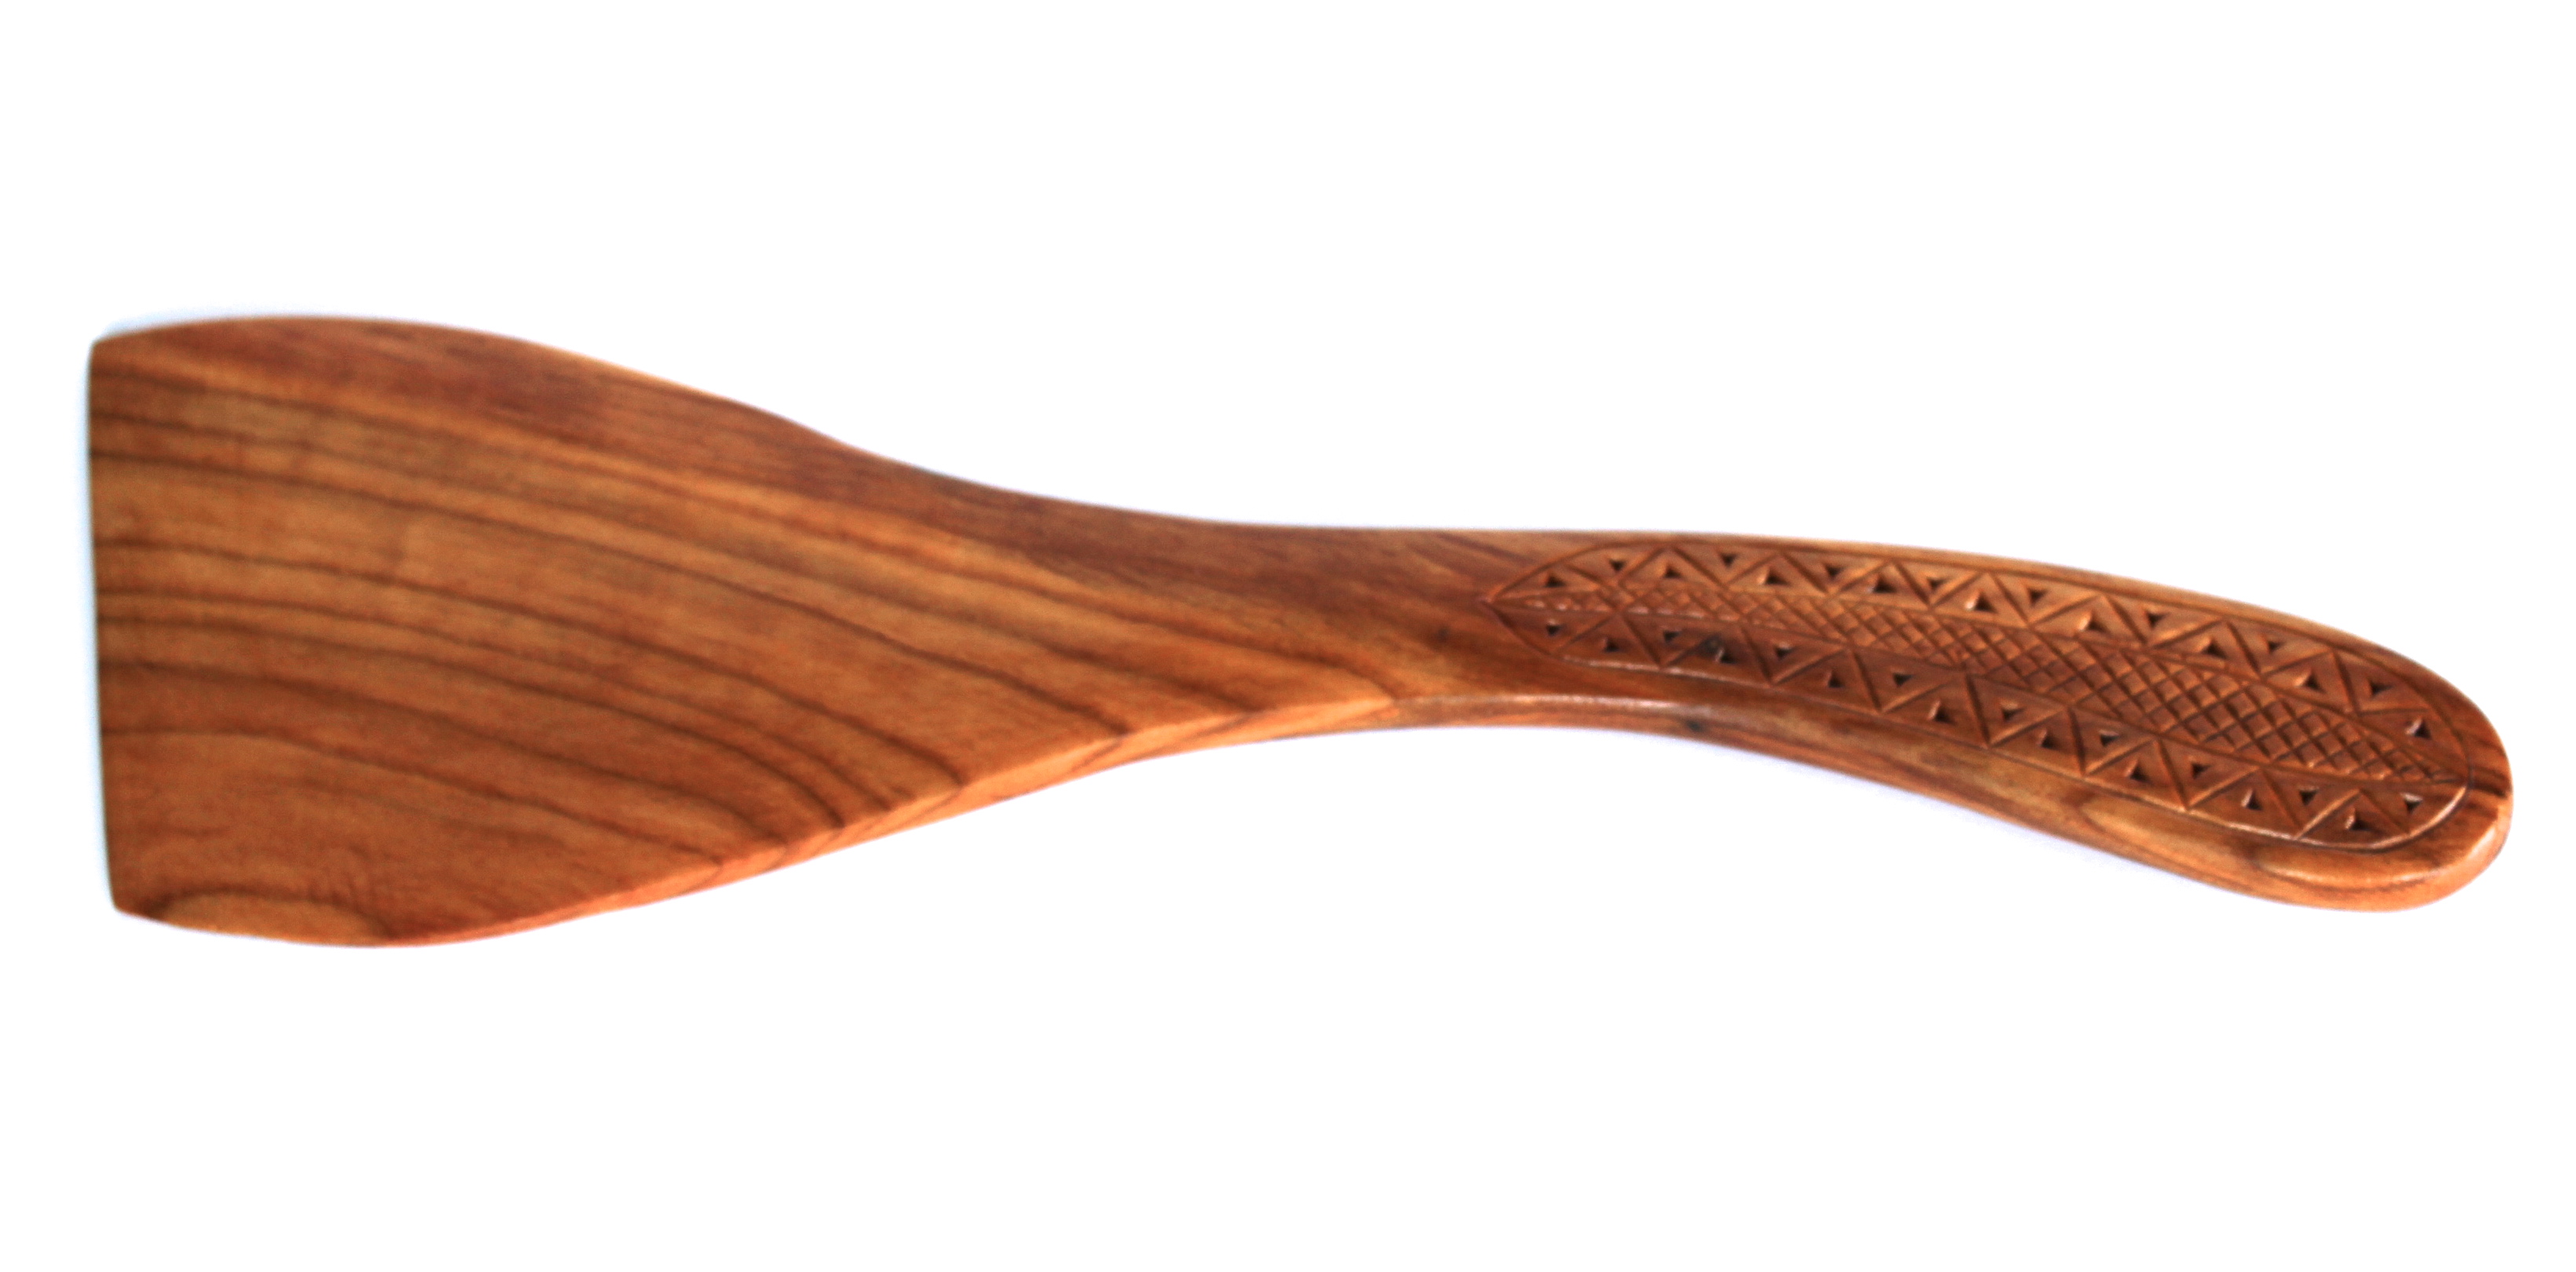
So back to the product photography. I really need to have good pictures of the home accessories which I sell in my online boutique: when the buyer doesn’t have an opportunity to personally see or touch the product, good imagery is an absolute must. To be honest, not all photos which I already have are really good, but I am working on updating my gallery. There are different options for taking product photography: on the plain white background, in natural surroundings or in the context. Today I will talk about the first one and our goal will be to get something like this at the end:
Here is equipment which you will need:
– good digital camera and tripod
– plain white paper format A2 or bigger (depending on the size of the product you shoot)
– Scotch tape
– computer with Internet access
1. First of all, you need to have a lot of natural light. Better to shoot objects during the day but avoid direct sunlight. Forget about the flash – it is your enemy number one as flash produces very hard shadows and unpleasant yellow tones on the images.
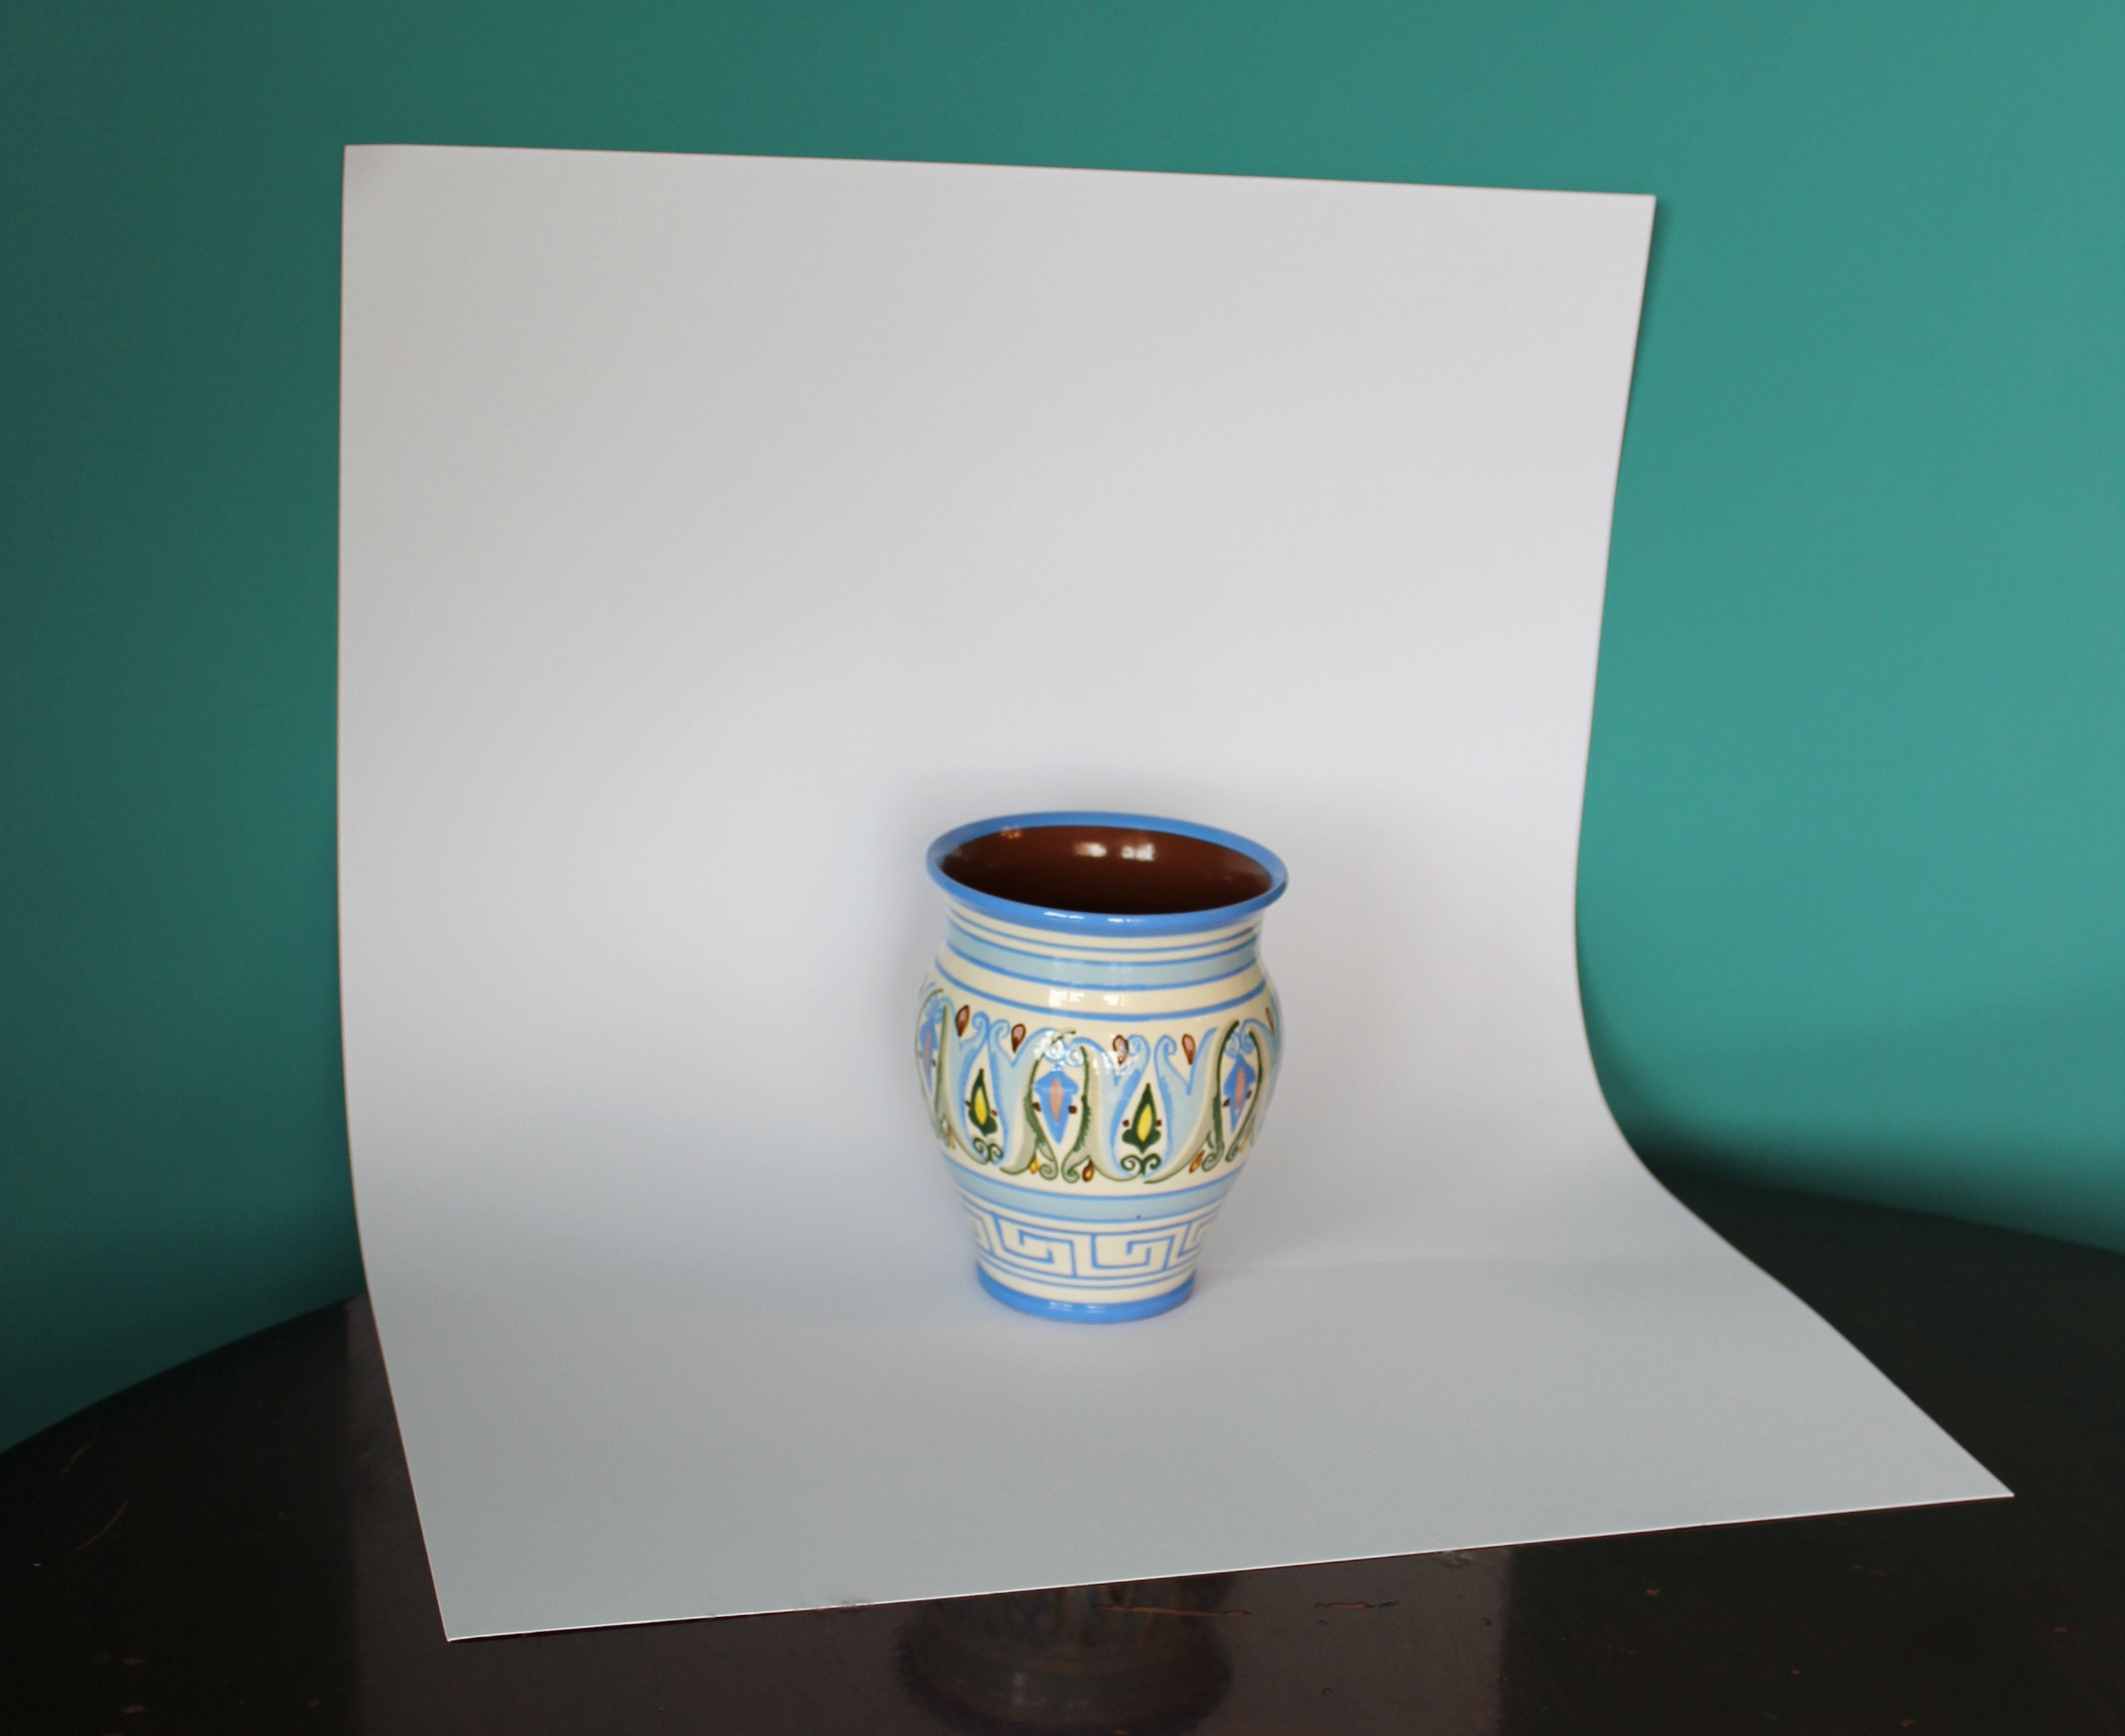
2. Prepare your background. As I mentioned I used a simple sheet of plain white paper. From one side I attached it to the table with the scotch tape and from the other, I simply leaned it against the wall. Don’t fold it – better to have this seamless infinity curve:
3) Start shooting your object from different distances and angles. Try to catch the unique point of view and make greater close-ups to show various features of your product. Play with different modes on your camera too, for detailed photos use “Macro” mode (flower icon).
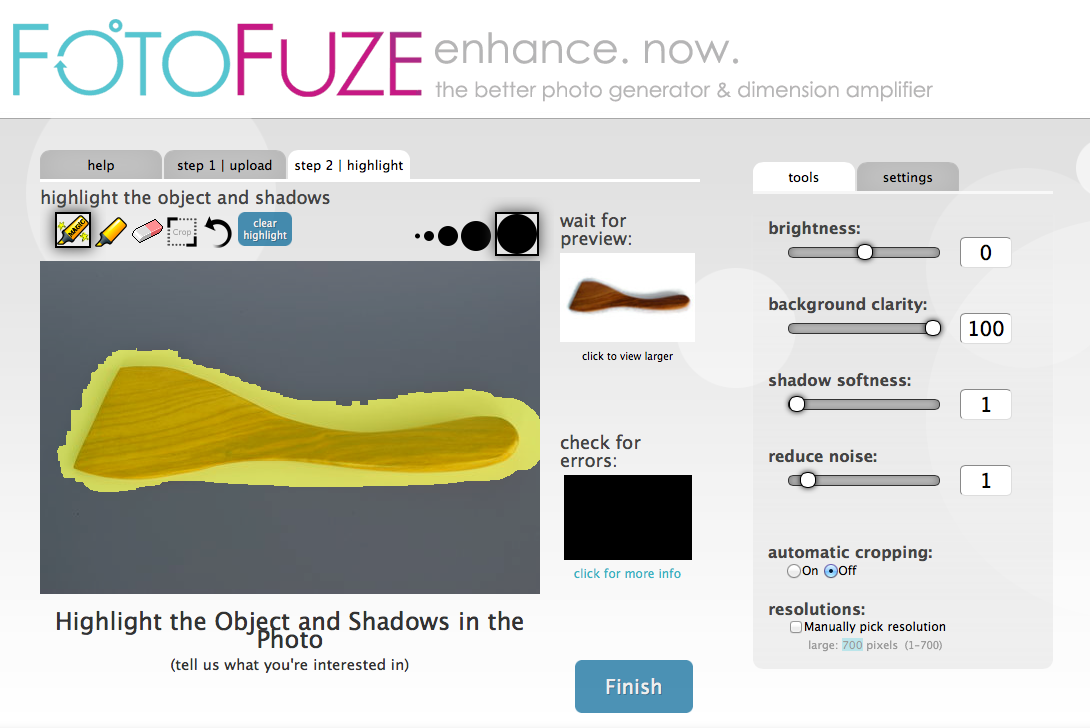
4) Now is time for editing. First of all make simple adjustments, such as cropping and lightening. If you use Mac you can do it directly in the iPhoto library. Now is the time to get rid of gray tones and imperfections of your white background. I do it in FotoFuze – it is the easiest software I ever used and it is also free which makes it even more pleasant. Enough to download your image, select the object and shadows with a special highlighter and click “finish” button and you will see the dramatic change!
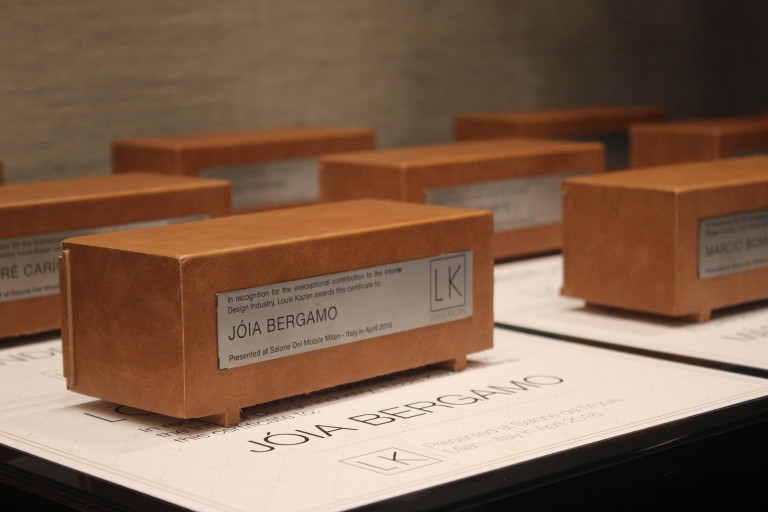
Here are the photos which I made following these easy steps.

Was this helpful? Looking forward to receiving your comments!